2005 Hyundai Terracan warning light
[x] Cancel search: warning lightPage 446 of 539
3 IN CASE OF EMERGENCY
2
!WARNING:
If the engine refuses to start, no attempt should be made to push or tow start the vehicle. Vehicles with automatic transmission or fuel in-jection will not be able to be started in this manner since no drive is transmitted through the automatictransmission whilst the engine is not running, and in the case of fuel injected derivatives, the fuel pumpwill not operate under tow start conditions. In addition, if the ve- hicle is equipped with an exhaustcatalyst, damage to the catalyst may result if the vehicle is tow started. HPD020B1-E If The Engine Cannot Be Cranked
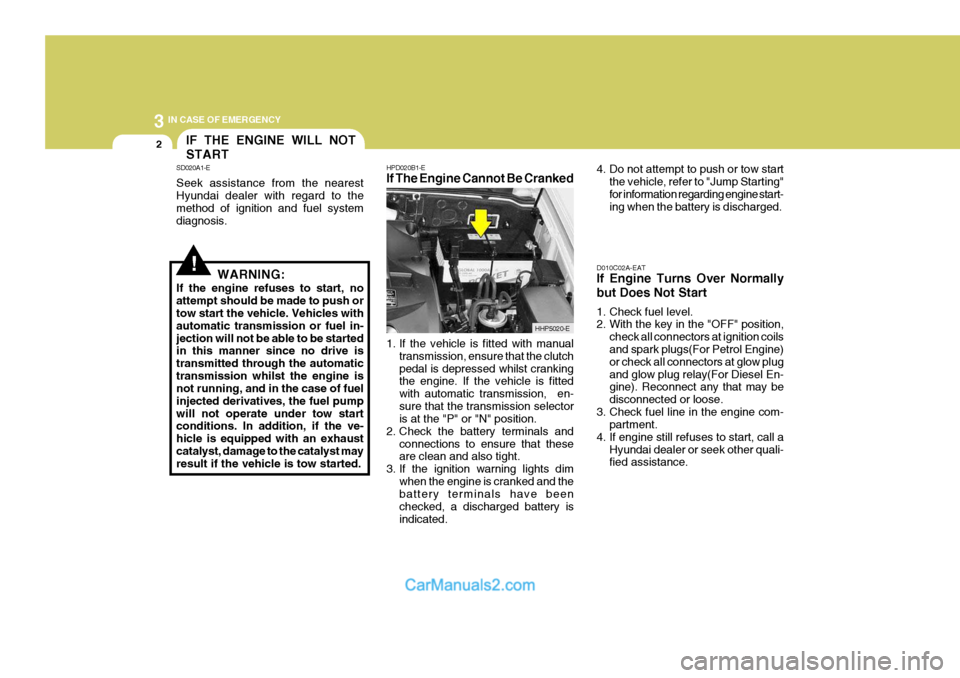
1. If the vehicle is fitted with manual
transmission, ensure that the clutch pedal is depressed whilst cranking the engine. If the vehicle is fitted with automatic transmission, en-sure that the transmission selector is at the "P" or "N" position.
2. Check the battery terminals and
connections to ensure that theseare clean and also tight.
3. If the ignition warning lights dim
when the engine is cranked and thebattery terminals have been checked, a discharged battery isindicated. 4. Do not attempt to push or tow start
the vehicle, refer to "Jump Starting"for information regarding engine start- ing when the battery is discharged.
D010C02A-EAT If Engine Turns Over Normally but Does Not Start
1. Check fuel level.
2. With the key in the "OFF" position, check all connectors at ignition coilsand spark plugs(For Petrol Engine) or check all connectors at glow plugand glow plug relay(For Diesel En- gine). Reconnect any that may be disconnected or loose.
3. Check fuel line in the engine com- partment.
4. If engine still refuses to start, call a Hyundai dealer or seek other quali- fied assistance.
IF THE ENGINE WILL NOT START
SD020A1-E Seek assistance from the nearest Hyundai dealer with regard to the method of ignition and fuel system diagnosis.
HHP5020-E
Page 447 of 539
3
IN CASE OF EMERGENCY
3
!
D010A01A-EAT If Engine Stalls Whilst Driving
1. Reduce your speed gradually, keep-
ing a straight line. Move cautiously off the road to a safe place.
2. Turn on your emergency flashers.
3. Try starting the engine again. If your
vehicle will not start, contact Hyundai dealer or seek other qualified assis- tance.
CAUTION:
Personal injury and damage to thevehicle may occur if jump starting isnot performed correctly. If any doubt exists as to how this operation should be performed, seek assistance fromqualified personnel. WARNING:
Motor vehicle batteries containsulphuric acid and emit hydrogen gas. Protective clothing should be worn and care exercised to preventthe acid from coming into contact with skin or clothing and the ve- hicle. Naked lights should not bepermitted in the vicinity of the bat- tery. Care should be exercised to prevent sparks occurring duringconnection. If acid accidentally comes into contact with skin or eyes, the affected area should im- mediately be flushed with copious amounts of water and medical as-sistance sought.
!
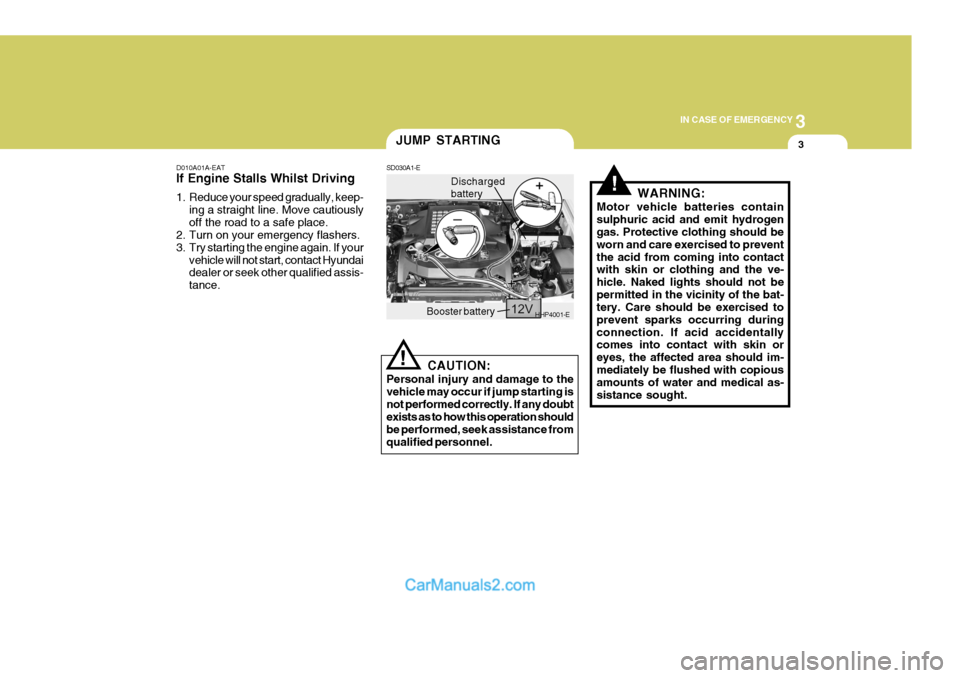
JUMP STARTING
SD030A1-E
HHP4001-EBooster battery Discharged battery
Page 481 of 539
6 OWNER MAINTENANCE
4
G030B03HP-EAT
Recommended Oil
1. Petrol Engine
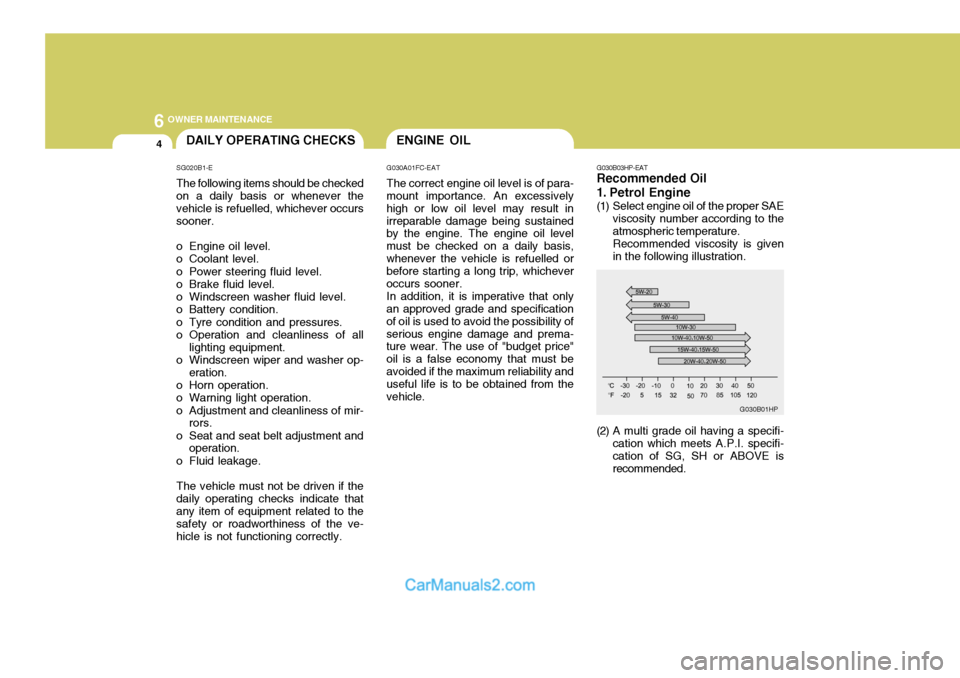
(1) Select engine oil of the proper SAE
viscosity number according to the atmospheric temperature.Recommended viscosity is givenin the following illustration.
(2) A multi grade oil having a specifi- cation which meets A.P.I. specifi-cation of SG, SH or ABOVE isrecommended.DAILY OPERATING CHECKS
SG020B1-E The following items should be checked on a daily basis or whenever the vehicle is refuelled, whichever occurssooner.
o Engine oil level.
o Coolant level.
o Power steering fluid level.
o Brake fluid level.
o Windscreen washer fluid level.
o Battery condition.
o Tyre condition and pressures.
o Operation and cleanliness of all lighting equipment.
o Windscreen wiper and washer op-
eration.
o Horn operation.
o Warning light operation.
o Adjustment and cleanliness of mir- rors.
o Seat and seat belt adjustment and operation.
o Fluid leakage. The vehicle must not be driven if the daily operating checks indicate that any item of equipment related to the safety or roadworthiness of the ve-hicle is not functioning correctly.ENGINE OIL
G030A01FC-EAT The correct engine oil level is of para-
mount importance. An excessively high or low oil level may result inirreparable damage being sustained by the engine. The engine oil level must be checked on a daily basis,whenever the vehicle is refuelled or before starting a long trip, whichever occurs sooner.
In addition, it is imperative that only
an approved grade and specificationof oil is used to avoid the possibility ofserious engine damage and prema- ture wear. The use of "budget price" oil is a false economy that must beavoided if the maximum reliability and useful life is to be obtained from the vehicle.
G030B01HP
Page 497 of 539
6 OWNER MAINTENANCE
20
!
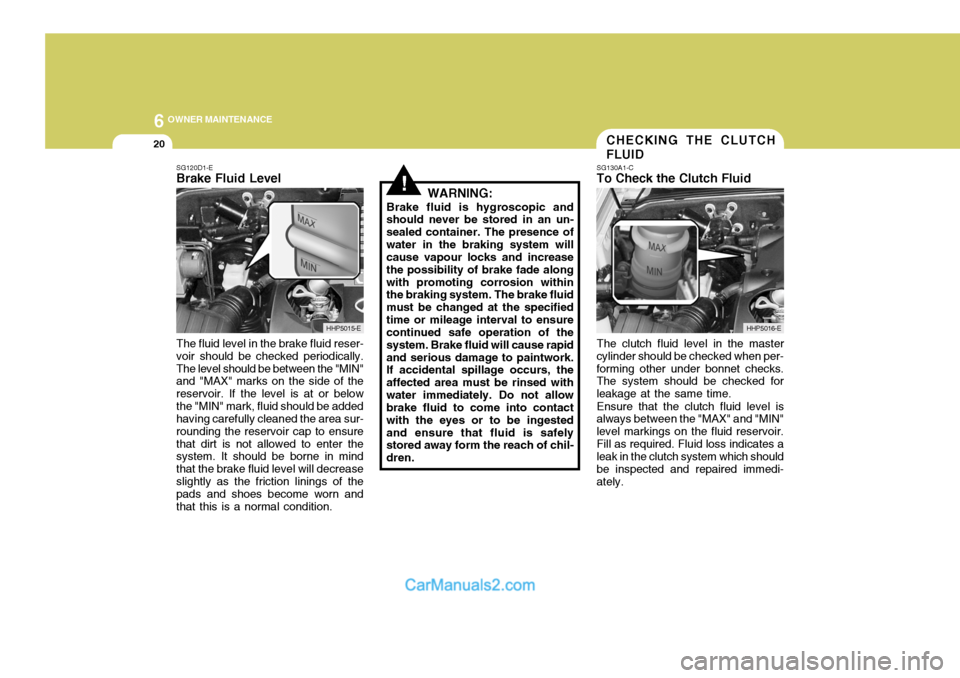
SG120D1-E Brake Fluid Level The fluid level in the brake fluid reser- voir should be checked periodically.The level should be between the "MIN" and "MAX" marks on the side of the reservoir. If the level is at or belowthe "MIN" mark, fluid should be added having carefully cleaned the area sur- rounding the reservoir cap to ensurethat dirt is not allowed to enter the system. It should be borne in mind that the brake fluid level will decreaseslightly as the friction linings of the pads and shoes become worn and that this is a normal condition. WARNING:
Brake fluid is hygroscopic and
should never be stored in an un-sealed container. The presence ofwater in the braking system will cause vapour locks and increase the possibility of brake fade alongwith promoting corrosion within the braking system. The brake fluid must be changed at the specifiedtime or mileage interval to ensure continued safe operation of the system. Brake fluid will cause rapidand serious damage to paintwork. If accidental spillage occurs, the affected area must be rinsed withwater immediately. Do not allow brake fluid to come into contact with the eyes or to be ingestedand ensure that fluid is safely stored away form the reach of chil- dren. The clutch fluid level in the master
cylinder should be checked when per-forming other under bonnet checks. The system should be checked for leakage at the same time.
Ensure that the clutch fluid level is
always between the "MAX" and "MIN"level markings on the fluid reservoir.Fill as required. Fluid loss indicates a leak in the clutch system which should be inspected and repaired immedi-ately.
HHP5015-E
CHECKING THE CLUTCH FLUID
SG130A1-C
To Check the Clutch Fluid
HHP5016-E
Page 503 of 539
6 OWNER MAINTENANCE
26
!
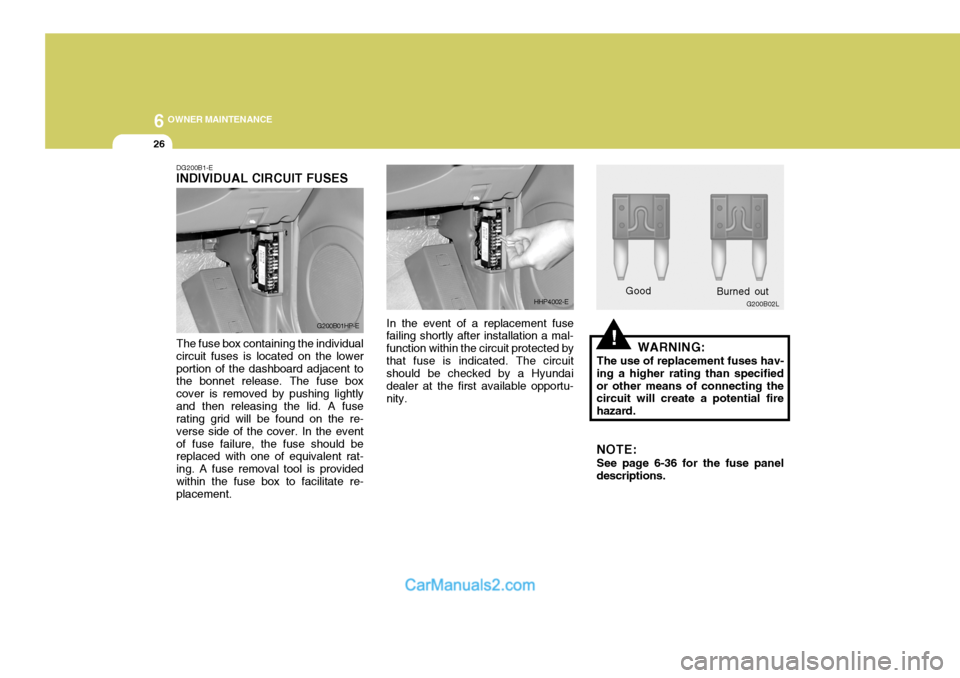
DG200B1-E INDIVIDUAL CIRCUIT FUSES The fuse box containing the individual circuit fuses is located on the lowerportion of the dashboard adjacent to the bonnet release. The fuse box cover is removed by pushing lightlyand then releasing the lid. A fuse rating grid will be found on the re- verse side of the cover. In the eventof fuse failure, the fuse should be replaced with one of equivalent rat- ing. A fuse removal tool is providedwithin the fuse box to facilitate re- placement. In the event of a replacement fuse
failing shortly after installation a mal- function within the circuit protected bythat fuse is indicated. The circuit should be checked by a Hyundai dealer at the first available opportu-nity. WARNING:
The use of replacement fuses hav-
ing a higher rating than specifiedor other means of connecting the circuit will create a potential fire hazard.
NOTE: See page 6-36 for the fuse panel
descriptions.
G200B01HP-E
HHP4002-EGood G200B02L
Burned out
Page 504 of 539
6
OWNER MAINTENANCE
27
!WARNING:
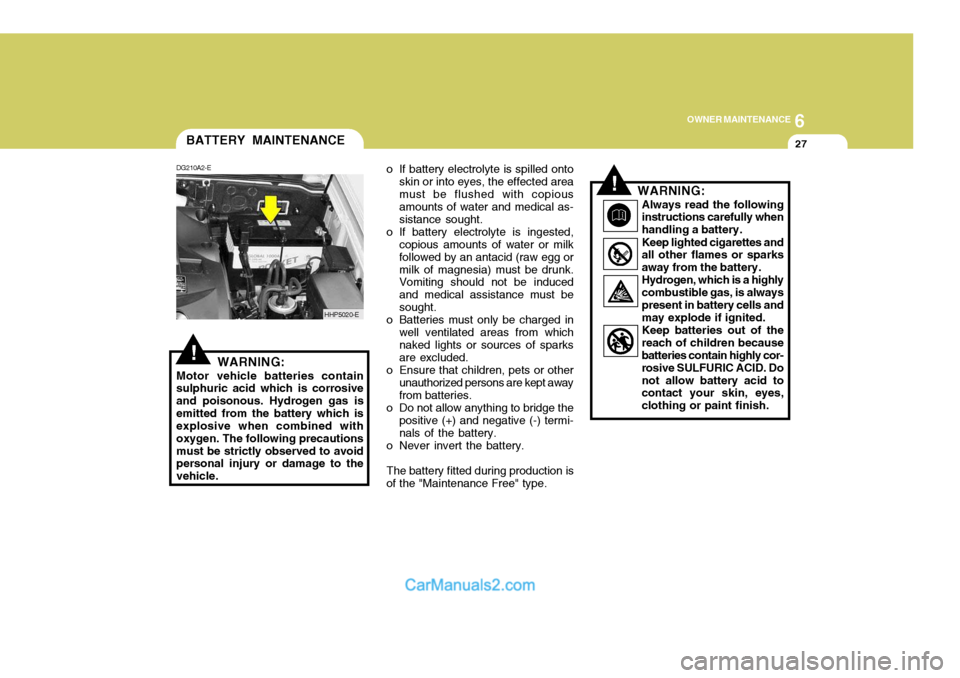
Motor vehicle batteries contain sulphuric acid which is corrosive and poisonous. Hydrogen gas isemitted from the battery which is explosive when combined with oxygen. The following precautionsmust be strictly observed to avoid personal injury or damage to the vehicle. o If battery electrolyte is spilled onto
skin or into eyes, the effected areamust be flushed with copious amounts of water and medical as- sistance sought.
o If battery electrolyte is ingested, copious amounts of water or milkfollowed by an antacid (raw egg ormilk of magnesia) must be drunk. Vomiting should not be induced and medical assistance must besought.
o Batteries must only be charged in well ventilated areas from which naked lights or sources of sparks are excluded.
o Ensure that children, pets or other unauthorized persons are kept awayfrom batteries.
o Do not allow anything to bridge the
positive (+) and negative (-) termi-nals of the battery.
o Never invert the battery.
The battery fitted during production is
of the "Maintenance Free" type.
BATTERY MAINTENANCE
DG210A2-E
HHP5020-E
!WARNING: Always read the following instructions carefully when handling a battery. Keep lighted cigarettes and all other flames or sparks away from the battery.Hydrogen, which is a highlycombustible gas, is alwayspresent in battery cells and may explode if ignited. Keep batteries out of the reach of children because batteries contain highly cor- rosive SULFURIC ACID. Donot allow battery acid to contact your skin, eyes, clothing or paint finish.
Page 508 of 539
6
OWNER MAINTENANCE
31
!
!
3. Check to be sure that the warning
lamp illuminates when the ignition key is turned to "ON", and that it goes off when the engine is started. If in doubt, consult your nearest authorised HYUNDAI dealer.
NOTE: It is recommended that water accu- mulated in the fuel filter should be removed by an authorised Hyundai dealer.
WARNING:
Be sure to carefully wipe away anywater drained out in this manner, because the fuel mixed in the water might be ignited and resultin a fire. Before attempting to replace a head-
light bulb, be sure the switch is turned to the "OFF" position.
The next paragraph shows how to
reach the headlight bulbs so they may be changed. Be sure to replacethe burned-out bulb with one of the same number and wattage rating.
Ensure that the replacement bulb has
the same cap configuration and watt-age as the original.
See page 6-35 for the wattage descrip-
tions.
CAUTION:
Keep the lamps out of contact with
petroleum product, such as oil, petrol, etc.
REPLACING HEADLIGHT BULBS
G260A01HP-EAT
G270A01B-EAT Headlight Bulb
1. Allow the bulb to cool. Wear eye
protection.
2. Open the engine bonnet.
3. Always grasp the bulb by its plas- tic base, avoid touching the glass.
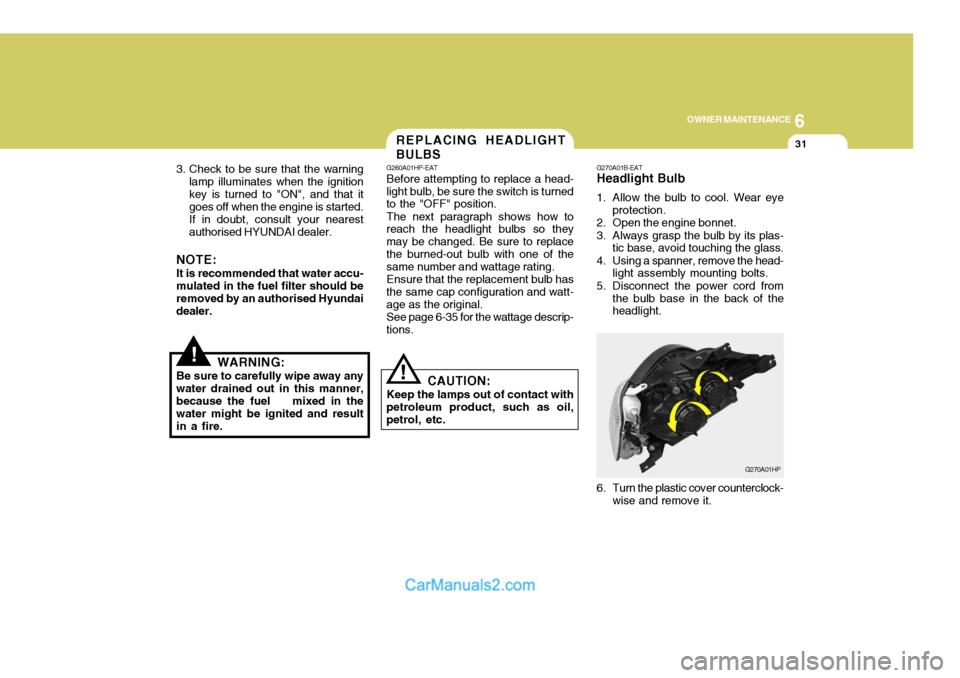
4. Using a spanner, remove the head- light assembly mounting bolts.
5. Disconnect the power cord from the bulb base in the back of the headlight.
G270A01HP
6. Turn the plastic cover counterclock- wise and remove it.
Page 509 of 539
6 OWNER MAINTENANCE
32
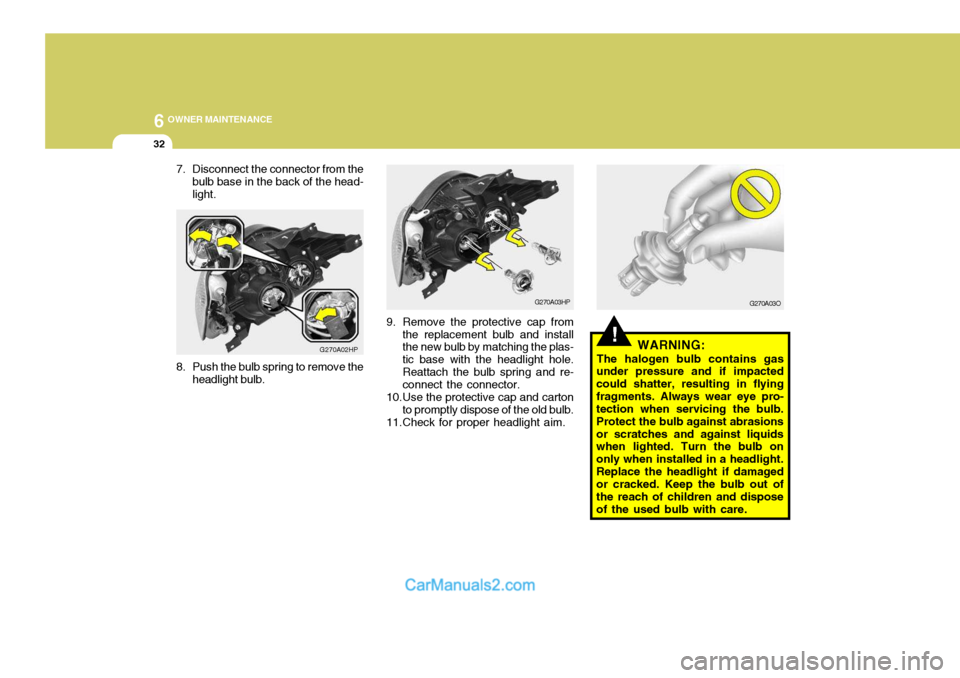
7. Disconnect the connector from the
bulb base in the back of the head- light.
G270A02HP
8. Push the bulb spring to remove the headlight bulb.
!WARNING:
The halogen bulb contains gas
under pressure and if impacted could shatter, resulting in flyingfragments. Always wear eye pro- tection when servicing the bulb. Protect the bulb against abrasionsor scratches and against liquids when lighted. Turn the bulb on only when installed in a headlight.Replace the headlight if damaged or cracked. Keep the bulb out of the reach of children and disposeof the used bulb with care.
G270A03HP
9. Remove the protective cap from the replacement bulb and install the new bulb by matching the plas- tic base with the headlight hole.Reattach the bulb spring and re- connect the connector.
10.Use the protective cap and carton to promptly dispose of the old bulb.
11.Check for proper headlight aim. G270A03O