2005 Hyundai Terracan warning light
[x] Cancel search: warning lightPage 383 of 539
1CONTROLS AND EQUIPMENT
78
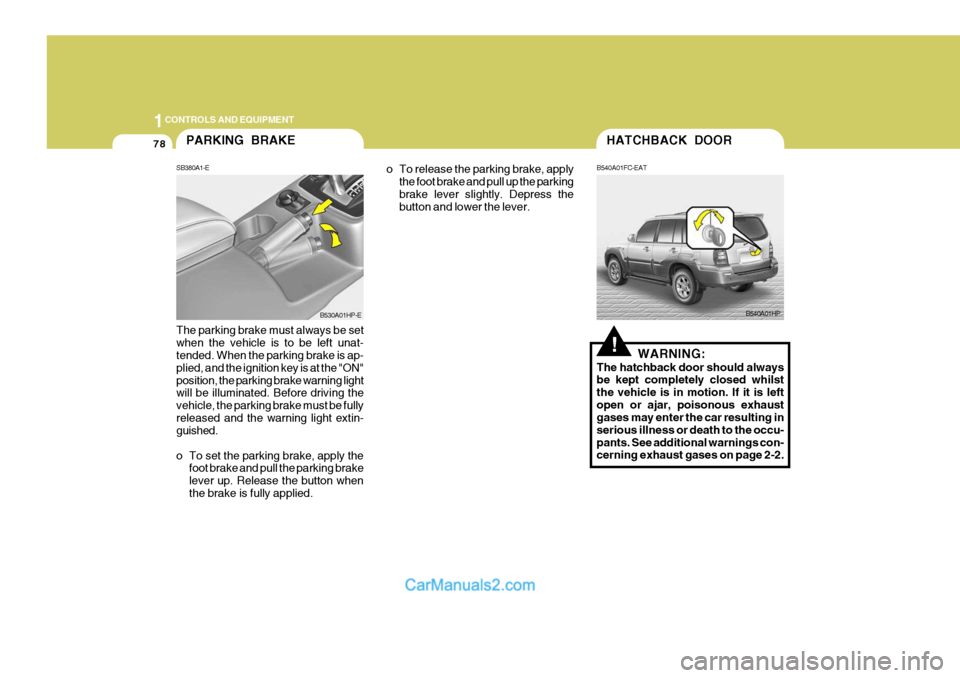
o To release the parking brake, applythe foot brake and pull up the parking brake lever slightly. Depress the button and lower the lever.
The parking brake must always be set when the vehicle is to be left unat- tended. When the parking brake is ap- plied, and the ignition key is at the "ON"position, the parking brake warning light will be illuminated. Before driving the vehicle, the parking brake must be fullyreleased and the warning light extin- guished.
o To set the parking brake, apply the foot brake and pull the parking brake lever up. Release the button whenthe brake is fully applied.PARKING BRAKE
SB380A1-E
B530A01HP-E
!
B540A01HP
HATCHBACK DOOR
B540A01FC-EAT
WARNING:
The hatchback door should always be kept completely closed whilst the vehicle is in motion. If it is leftopen or ajar, poisonous exhaust gases may enter the car resulting in serious illness or death to the occu-pants. See additional warnings con- cerning exhaust gases on page 2-2.
Page 387 of 539
1CONTROLS AND EQUIPMENT
82
!
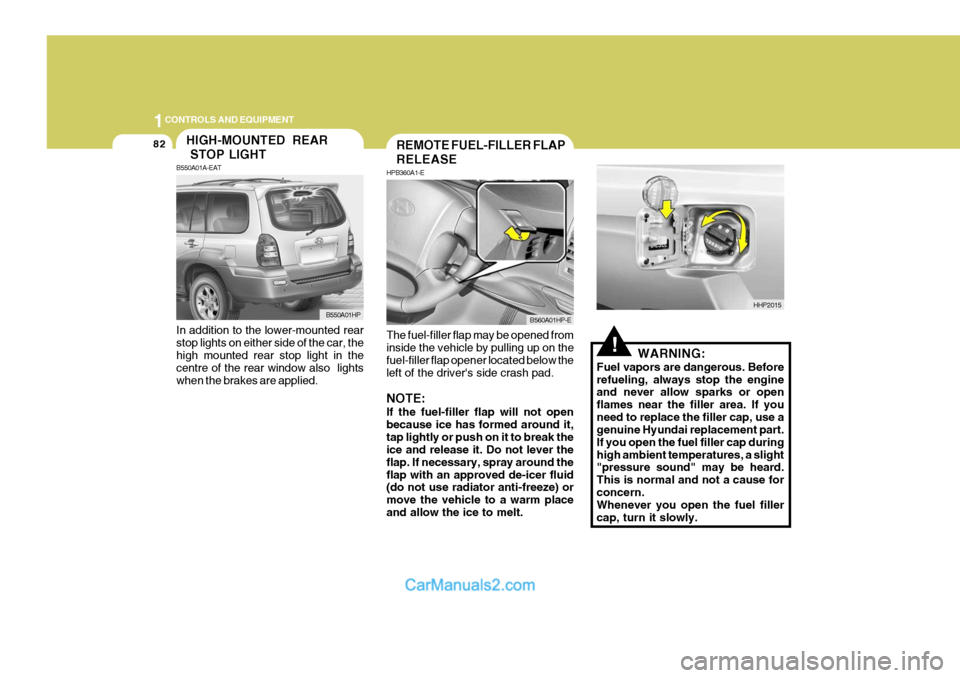
The fuel-filler flap may be opened from inside the vehicle by pulling up on the fuel-filler flap opener located below theleft of the driver's side crash pad. NOTE: If the fuel-filler flap will not open because ice has formed around it,tap lightly or push on it to break the ice and release it. Do not lever the flap. If necessary, spray around theflap with an approved de-icer fluid (do not use radiator anti-freeze) or move the vehicle to a warm placeand allow the ice to melt. WARNING:
Fuel vapors are dangerous. Beforerefueling, always stop the engine and never allow sparks or open flames near the filler area. If youneed to replace the filler cap, use a genuine Hyundai replacement part. If you open the fuel filler cap duringhigh ambient temperatures, a slight "pressure sound" may be heard. This is normal and not a cause forconcern. Whenever you open the fuel filler cap, turn it slowly.
REMOTE FUEL-FILLER FLAP RELEASE
HPB360A1-E
B560A01HP-E
HHP2015
In addition to the lower-mounted rear stop lights on either side of the car, the high mounted rear stop light in the centre of the rear window also lightswhen the brakes are applied.
HIGH-MOUNTED REAR STOP LIGHT
B550A01A-EAT
B550A01HP
Page 389 of 539
1CONTROLS AND EQUIPMENT
84
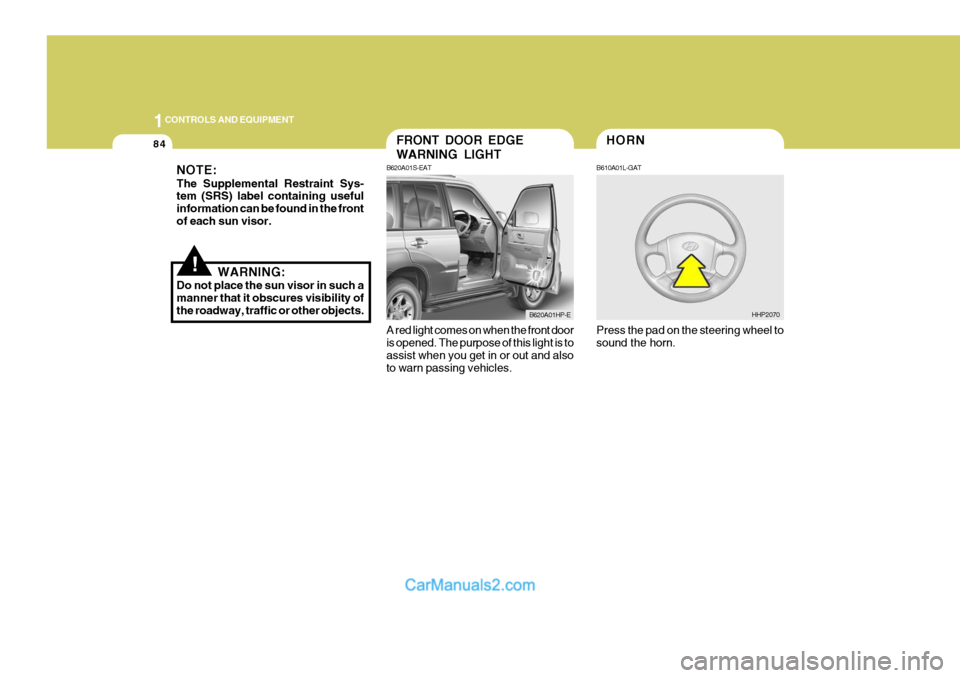
A red light comes on when the front door is opened. The purpose of this light is to assist when you get in or out and also to warn passing vehicles.Press the pad on the steering wheel tosound the horn.FRONT DOOR EDGE WARNING LIGHT
B620A01S-EAT
B620A01HP-EHHP2070
!
NOTE: The Supplemental Restraint Sys- tem (SRS) label containing useful information can be found in the frontof each sun visor.
WARNING:
Do not place the sun visor in such amanner that it obscures visibility ofthe roadway, traffic or other objects.
HORN
B610A01L-GAT
Page 390 of 539
1
CONTROLS AND EQUIPMENT
85
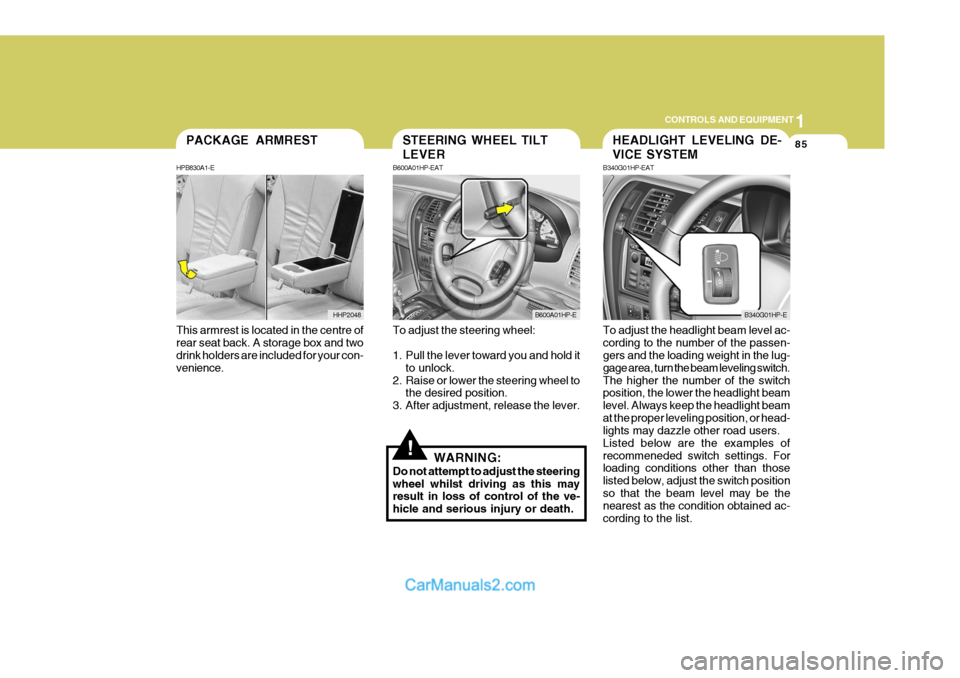
This armrest is located in the centre of rear seat back. A storage box and two drink holders are included for your con- venience.PACKAGE ARMREST
HPB830A1-E
HHP2048
!
To adjust the steering wheel:
1. Pull the lever toward you and hold it to unlock.
2. Raise or lower the steering wheel to the desired position.
3. After adjustment, release the lever.
WARNING:
Do not attempt to adjust the steering wheel whilst driving as this may result in loss of control of the ve- hicle and serious injury or death. To adjust the headlight beam level ac-cording to the number of the passen- gers and the loading weight in the lug- gage area, turn the beam leveling switch.The higher the number of the switch position, the lower the headlight beam level. Always keep the headlight beamat the proper leveling position, or head- lights may dazzle other road users. Listed below are the examples ofrecommeneded switch settings. For loading conditions other than those listed below, adjust the switch positionso that the beam level may be the nearest as the condition obtained ac- cording to the list.
STEERING WHEEL TILT LEVER
B600A01HP-EAT
B600A01HP-E
HEADLIGHT LEVELING DE- VICE SYSTEM
B340G01HP-EAT
B340G01HP-E
Page 416 of 539
2
DRIVING YOUR HYUNDAI
3
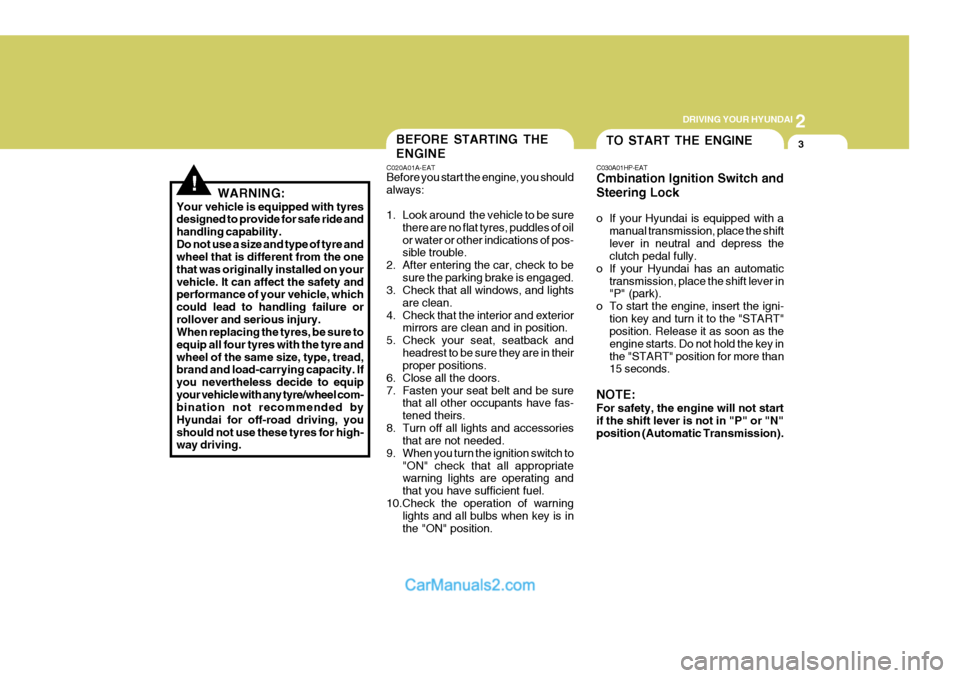
!WARNING:
Your vehicle is equipped with tyres designed to provide for safe ride and handling capability.Do not use a size and type of tyre and wheel that is different from the one that was originally installed on yourvehicle. It can affect the safety and performance of your vehicle, which could lead to handling failure orrollover and serious injury. When replacing the tyres, be sure to equip all four tyres with the tyre andwheel of the same size, type, tread, brand and load-carrying capacity. If you nevertheless decide to equipyour vehicle with any tyre/wheel com- bination not recommended by Hyundai for off-road driving, youshould not use these tyres for high- way driving.
TO START THE ENGINEBEFORE STARTING THE ENGINE
C020A01A-EAT Before you start the engine, you should always:
1. Look around the vehicle to be sure
there are no flat tyres, puddles of oil or water or other indications of pos- sible trouble.
2. After entering the car, check to be
sure the parking brake is engaged.
3. Check that all windows, and lights
are clean.
4. Check that the interior and exterior mirrors are clean and in position.
5. Check your seat, seatback and headrest to be sure they are in theirproper positions.
6. Close all the doors.
7. Fasten your seat belt and be sure that all other occupants have fas-tened theirs.
8. Turn off all lights and accessories that are not needed.
9. When you turn the ignition switch to "ON" check that all appropriate warning lights are operating and that you have sufficient fuel.
10.Check the operation of warning lights and all bulbs when key is inthe "ON" position. C030A01HP-EAT Cmbination Ignition Switch and Steering Lock
o If your Hyundai is equipped with a
manual transmission, place the shift lever in neutral and depress the clutch pedal fully.
o If your Hyundai has an automatic
transmission, place the shift lever in"P" (park).
o To start the engine, insert the igni- tion key and turn it to the "START"position. Release it as soon as the engine starts. Do not hold the key inthe "START" position for more than 15 seconds.
NOTE: For safety, the engine will not start if the shift lever is not in "P" or "N" position (Automatic Transmission).
Page 417 of 539
2 DRIVING YOUR HYUNDAI
4
!WARNING:
The engine must never be turned off and the key removed from the igni-tion key cylinder whilst the vehicle is in motion since the steering lock will operate and control of the vehiclewill be lost.
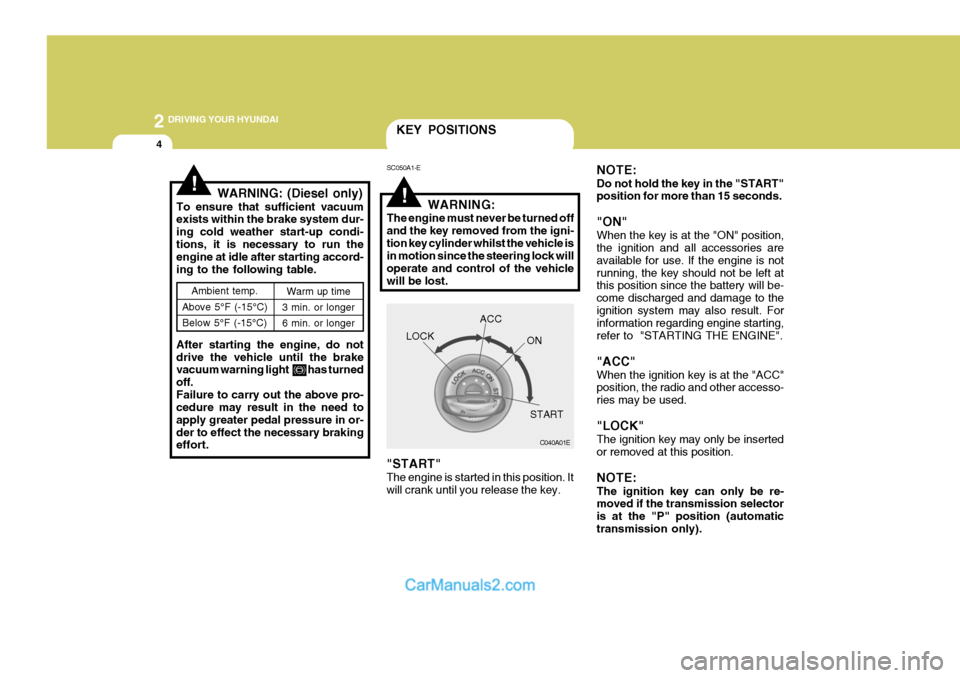
"START" The engine is started in this position. It will crank until you release the key.
Ambient temp.
Above 5°F (-15°C) Below 5°F (-15°C) Warm up time
3 min. or longer 6 min. or longer
!WARNING: (Diesel only)
To ensure that sufficient vacuum exists within the brake system dur- ing cold weather start-up condi-tions, it is necessary to run the engine at idle after starting accord- ing to the following table. After starting the engine, do not drive the vehicle until the brake vacuum warning light has turned off.Failure to carry out the above pro- cedure may result in the need to apply greater pedal pressure in or-der to effect the necessary braking effort.
KEY POSITIONS
SC050A1-E
C040A01E
LOCK
ACC
ON
START
NOTE: Do not hold the key in the "START" position for more than 15 seconds. "ON" When the key is at the "ON" position, the ignition and all accessories are available for use. If the engine is notrunning, the key should not be left at this position since the battery will be- come discharged and damage to theignition system may also result. For information regarding engine starting, refer to "STARTING THE ENGINE". "ACC" When the ignition key is at the "ACC" position, the radio and other accesso- ries may be used. "LOCK" The ignition key may only be inserted or removed at this position. NOTE: The ignition key can only be re- moved if the transmission selector is at the "P" position (automatictransmission only).
Page 425 of 539
2 DRIVING YOUR HYUNDAI
12
!
C090I01E-EAT
CAUTION:
o Shift into "R" and "P" only when the vehicle has completely stopped.
o Do not accelerate the engine in reverse or any of the forward posi-tions with the brakes applied.
o Always apply the footbrake when shifting from "P" or "N" to "R","D", "2" or "L" position.
o Do not use the "P" (Park) posi- tion in place of the parking brake.Always set the parking brake,shift the transmission into "P" (Park) and turn off the ignition when you leave the vehicle, evenmomentarily. Never leave the ve- hicle unattended whilst the en- gine is running.
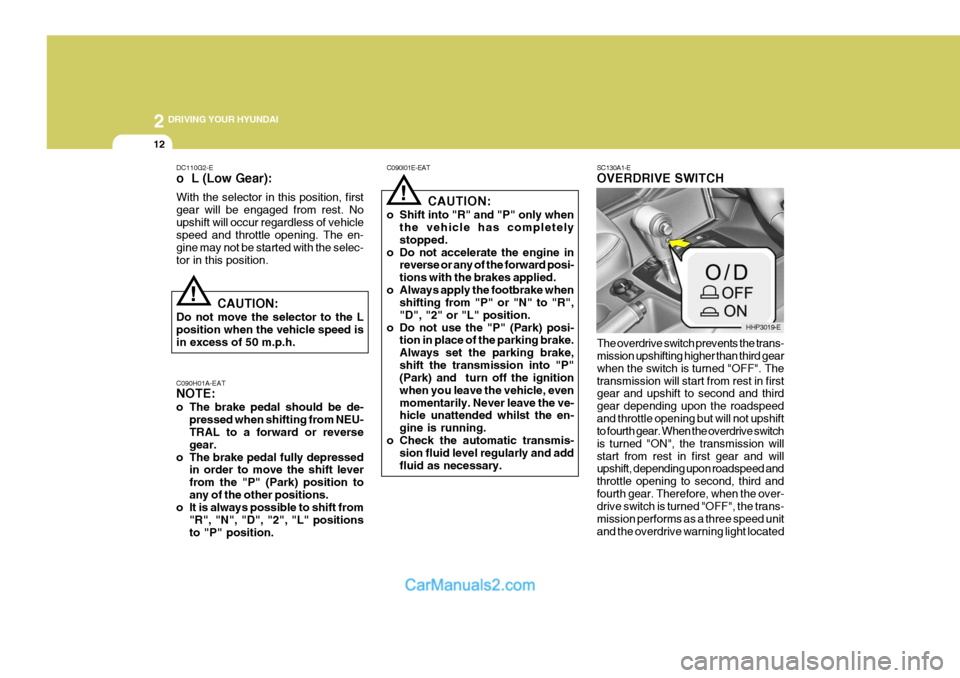
o Check the automatic transmis- sion fluid level regularly and addfluid as necessary. SC130A1-E OVERDRIVE SWITCH The overdrive switch prevents the trans- mission upshifting higher than third gear when the switch is turned "OFF". Thetransmission will start from rest in first gear and upshift to second and third gear depending upon the roadspeedand throttle opening but will not upshift to fourth gear. When the overdrive switch is turned "ON", the transmission willstart from rest in first gear and will upshift, depending upon roadspeed and throttle opening to second, third andfourth gear. Therefore, when the over- drive switch is turned "OFF", the trans- mission performs as a three speed unitand the overdrive warning light located
!
DC110G2-E o L (Low Gear): With the selector in this position, first gear will be engaged from rest. Noupshift will occur regardless of vehicle speed and throttle opening. The en- gine may not be started with the selec-tor in this position.
CAUTION:
Do not move the selector to the Lposition when the vehicle speed isin excess of 50 m.p.h. C090H01A-EAT NOTE:
o The brake pedal should be de- pressed when shifting from NEU- TRAL to a forward or reverse gear.
o The brake pedal fully depressed in order to move the shift leverfrom the "P" (Park) position toany of the other positions.
o It is always possible to shift from
"R", "N", "D", "2", "L" positionsto "P" position.
HHP3019-E
Page 434 of 539
2
DRIVING YOUR HYUNDAI
21
!
Water entering the engine air intake will cause severe engine damage. Water can wash the grease from wheel bearings, causing rusting and prema-ture failure, and may also enter the axles, transmission and transfer case, reducing the gear oil's lubricating quali-ties. CAUTION:
o Whilst the full-time 4WD vehicle is
being raised on a jack, never start the engine or cause the tyres to rotate. There is the danger that rotating tyres touching the ground couldcause the vehicle to go off the jack and to jump forward.
o If one of the front or rear wheels begins to spin in mud, snow, etc.,the vehicle can sometimes be driven out by depressing the ac-celerator pedal further; however, avoid running the engine continu- ously at high rpm because doingso could damage the 4WD system.
!WARNING:
o Avoid high cornering speeds.
o Do not make quick steering wheel movements, such as sharp lane charges or fast, sharp turns.
o The risk of rollover is greatly in-
creased if you lose control of yourvehicle at highway speeds.
o In a collision crash, an unbelted
person is significantly more likelyto die than a person wearing a seatbelt.
o Loss of control often occurs if two or more wheels drop off the road- way and the driver oversteers toreenter the roadway.
o In the event your vehicle leaves
the roadway, do not steer sharply.Instead, slow down before pulling back into the travel lanes.
!
ANTI-LOCK BRAKE SYSTEM (ABS)
C120A02A-EAT (Not all models) The Anti-Lock Brake System (ABS) is designed to prevent wheel lock-upduring sudden braking or on hazard- ous road surfaces. The ABS control module monitors the wheel speed andcontrols the pressure applied to each brake. Thus, in emergency situations or on slick roads, ABS will increasevehicle control during braking. NOTE: During ABS operation, a slight pul- sation may be felt in the brake pedal when the brakes are applied. Also, a noise may be heard in the enginecompartment whilst braking. These conditions are normal and indicate that the anti-lock brake system isfunctioning properly.
WARNING:
ABS will not prevent accidents due to improper or dangerous driving manoeuvres. Even though vehiclecontrol is improved during emer-