2005 Hyundai Terracan warning lights
[x] Cancel search: warning lightsPage 360 of 539
1
CONTROLS AND EQUIPMENT
55
!
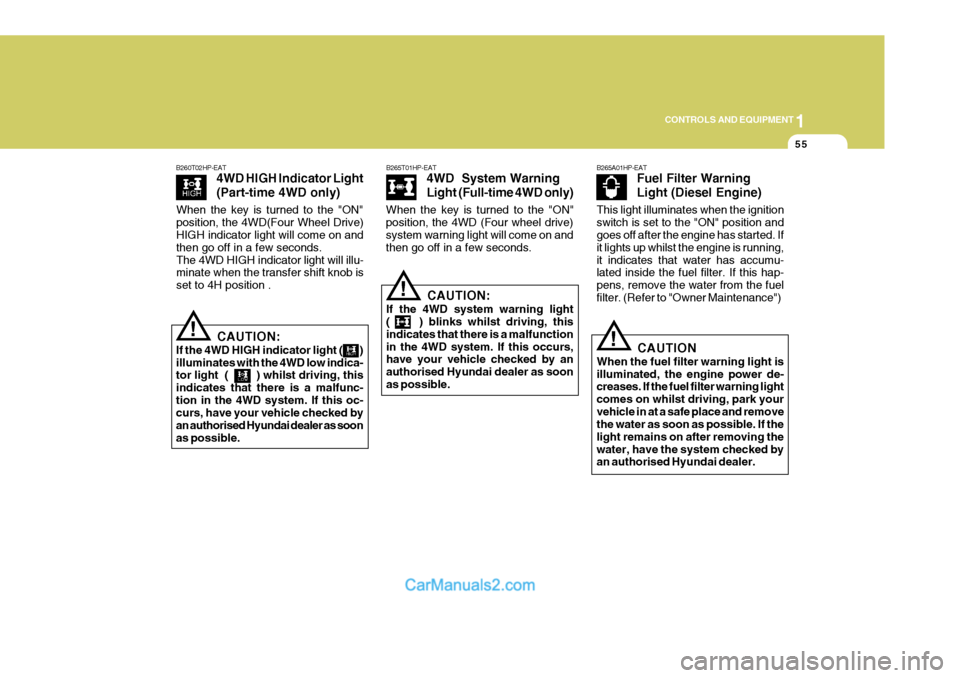
B265T01HP-EAT
4WD System Warning
Light (Full-time 4WD only)
CAUTION:
If the 4WD system warning light ( ) blinks whilst driving, this indicates that there is a malfunctionin the 4WD system. If this occurs, have your vehicle checked by an authorised Hyundai dealer as soonas possible.
!
B260T02HP-EAT
4WD HIGH Indicator Light (Part-time 4WD only)
CAUTION:
If the 4WD HIGH indicator light ( ) illuminates with the 4WD low indica- tor light ( ) whilst driving, this indicates that there is a malfunc-tion in the 4WD system. If this oc- curs, have your vehicle checked by an authorised Hyundai dealer as soonas possible.
B265A01HP-EAT Fuel Filter Warning Light (Diesel Engine)
!CAUTION
When the fuel filter warning light is illuminated, the engine power de- creases. If the fuel filter warning light comes on whilst driving, park yourvehicle in at a safe place and remove the water as soon as possible. If the light remains on after removing thewater, have the system checked by an authorised Hyundai dealer.
When the key is turned to the "ON" position, the 4WD(Four Wheel Drive) HIGH indicator light will come on and then go off in a few seconds.The 4WD HIGH indicator light will illu- minate when the transfer shift knob is set to 4H position .
When the key is turned to the "ON"position, the 4WD (Four wheel drive) system warning light will come on and then go off in a few seconds.
This light illuminates when the ignitionswitch is set to the "ON" position and goes off after the engine has started. If it lights up whilst the engine is running,it indicates that water has accumu- lated inside the fuel filter. If this hap- pens, remove the water from the fuelfilter. (Refer to "Owner Maintenance")
Page 365 of 539
1CONTROLS AND EQUIPMENT
60
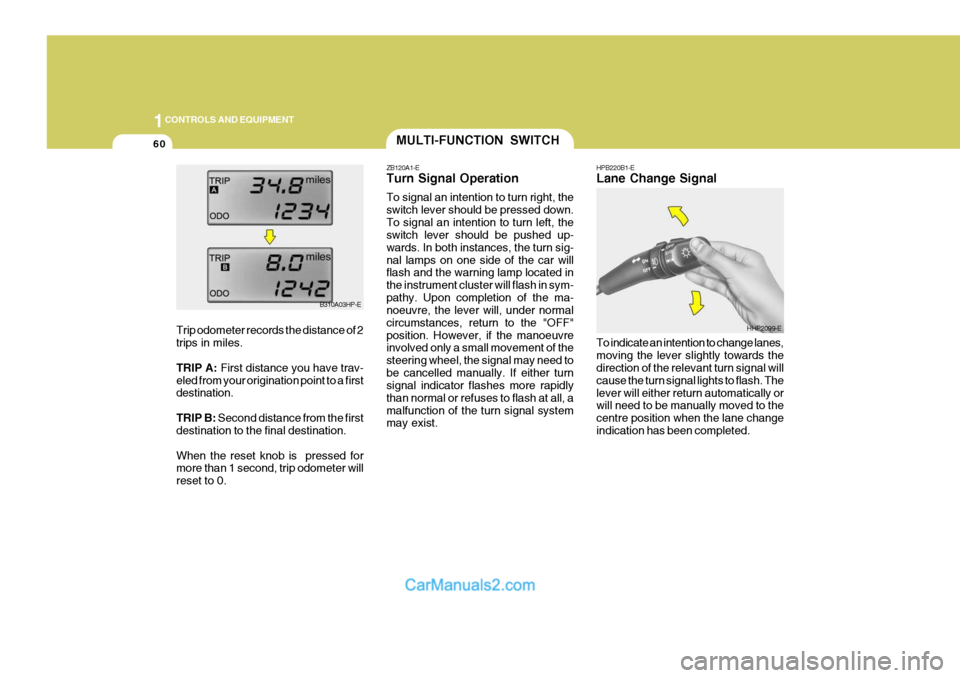
HPB220B1-E Lane Change Signal To indicate an intention to change lanes, moving the lever slightly towards the direction of the relevant turn signal will cause the turn signal lights to flash. Thelever will either return automatically or will need to be manually moved to the centre position when the lane changeindication has been completed.MULTI-FUNCTION SWITCH
ZB120A1-E Turn Signal Operation To signal an intention to turn right, the switch lever should be pressed down.To signal an intention to turn left, the switch lever should be pushed up- wards. In both instances, the turn sig-nal lamps on one side of the car will flash and the warning lamp located in the instrument cluster will flash in sym-pathy. Upon completion of the ma- noeuvre, the lever will, under normal circumstances, return to the "OFF"position. However, if the manoeuvre involved only a small movement of the steering wheel, the signal may need tobe cancelled manually. If either turn signal indicator flashes more rapidly than normal or refuses to flash at all, amalfunction of the turn signal system may exist.
HHP2099-E
B310A03HP-E
Trip odometer records the distance of 2 trips in miles. TRIP A: First distance you have trav-
eled from your origination point to a first destination. TRIP B: Second distance from the first
destination to the final destination.When the reset knob is pressed for more than 1 second, trip odometer will reset to 0.
Page 370 of 539
1
CONTROLS AND EQUIPMENT
65
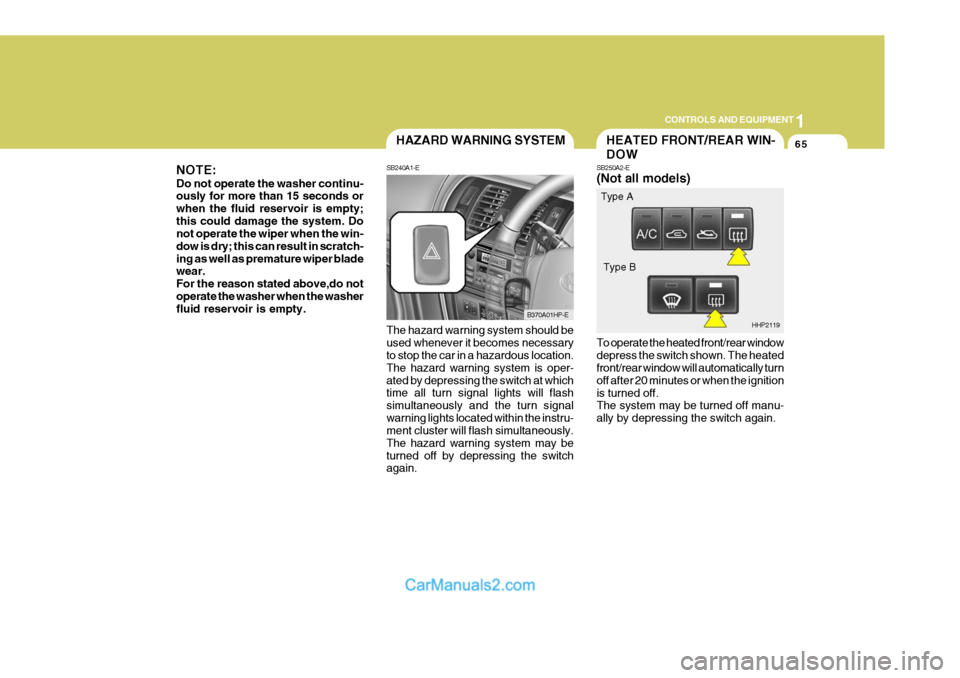
The hazard warning system should be used whenever it becomes necessary to stop the car in a hazardous location. The hazard warning system is oper-ated by depressing the switch at which time all turn signal lights will flash simultaneously and the turn signalwarning lights located within the instru- ment cluster will flash simultaneously. The hazard warning system may beturned off by depressing the switch again.HAZARD WARNING SYSTEM
SB240A1-E
B370A01HP-E
NOTE: Do not operate the washer continu- ously for more than 15 seconds or when the fluid reservoir is empty;this could damage the system. Do not operate the wiper when the win- dow is dry; this can result in scratch-ing as well as premature wiper blade wear. For the reason stated above,do notoperate the washer when the washer fluid reservoir is empty.
To operate the heated front/rear window depress the switch shown. The heated front/rear window will automatically turn off after 20 minutes or when the ignitionis turned off. The system may be turned off manu- ally by depressing the switch again.
HEATED FRONT/REAR WIN- DOW
SB250A2-E (Not all models)
HHP2119
Type A
Type B
Page 382 of 539
1
CONTROLS AND EQUIPMENT
77
!
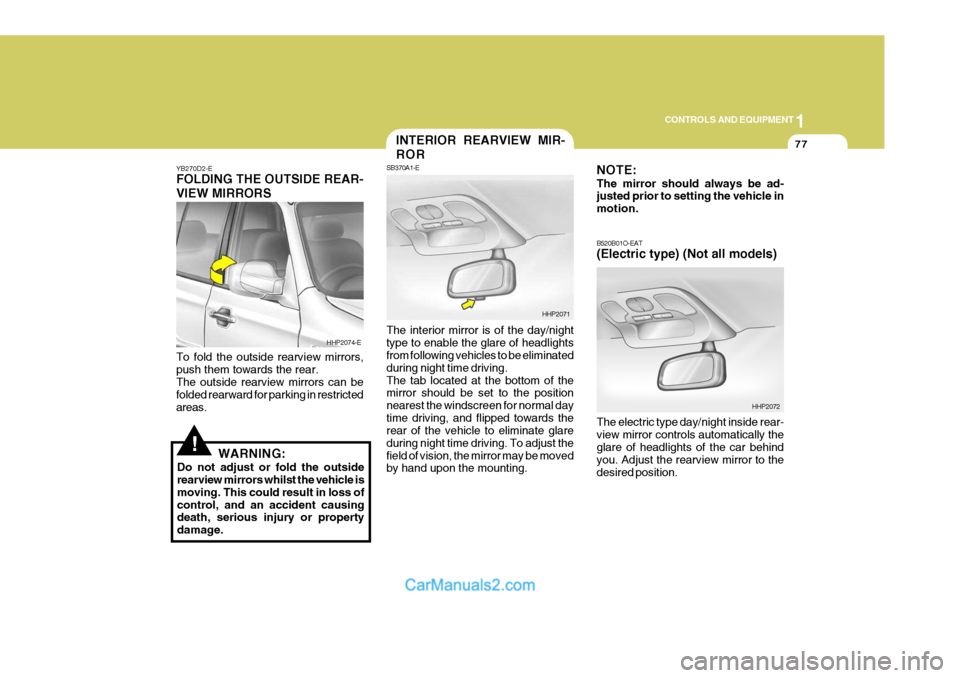
YB270D2-E FOLDING THE OUTSIDE REAR- VIEW MIRRORS To fold the outside rearview mirrors, push them towards the rear. The outside rearview mirrors can be folded rearward for parking in restrictedareas.
WARNING:
Do not adjust or fold the outside rearview mirrors whilst the vehicle is moving. This could result in loss ofcontrol, and an accident causing death, serious injury or property damage. The interior mirror is of the day/nighttype to enable the glare of headlights from following vehicles to be eliminated during night time driving.The tab located at the bottom of the mirror should be set to the position nearest the windscreen for normal daytime driving, and flipped towards the rear of the vehicle to eliminate glare during night time driving. To adjust thefield of vision, the mirror may be moved by hand upon the mounting.
HHP2074-E
HHP2071
INTERIOR REARVIEW MIR- ROR
SB370A1-E NOTE: The mirror should always be ad- justed prior to setting the vehicle in motion. B520B01O-EAT (Electric type) (Not all models) The electric type day/night inside rear- view mirror controls automatically the glare of headlights of the car behind you. Adjust the rearview mirror to thedesired position.
HHP2072
Page 387 of 539
1CONTROLS AND EQUIPMENT
82
!
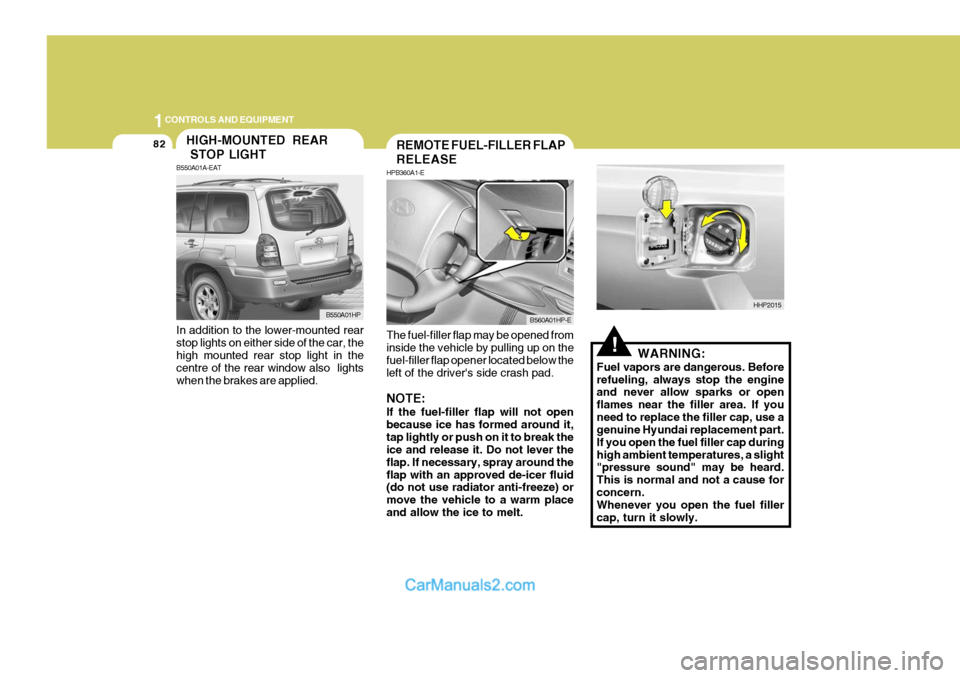
The fuel-filler flap may be opened from inside the vehicle by pulling up on the fuel-filler flap opener located below theleft of the driver's side crash pad. NOTE: If the fuel-filler flap will not open because ice has formed around it,tap lightly or push on it to break the ice and release it. Do not lever the flap. If necessary, spray around theflap with an approved de-icer fluid (do not use radiator anti-freeze) or move the vehicle to a warm placeand allow the ice to melt. WARNING:
Fuel vapors are dangerous. Beforerefueling, always stop the engine and never allow sparks or open flames near the filler area. If youneed to replace the filler cap, use a genuine Hyundai replacement part. If you open the fuel filler cap duringhigh ambient temperatures, a slight "pressure sound" may be heard. This is normal and not a cause forconcern. Whenever you open the fuel filler cap, turn it slowly.
REMOTE FUEL-FILLER FLAP RELEASE
HPB360A1-E
B560A01HP-E
HHP2015
In addition to the lower-mounted rear stop lights on either side of the car, the high mounted rear stop light in the centre of the rear window also lightswhen the brakes are applied.
HIGH-MOUNTED REAR STOP LIGHT
B550A01A-EAT
B550A01HP
Page 390 of 539
1
CONTROLS AND EQUIPMENT
85
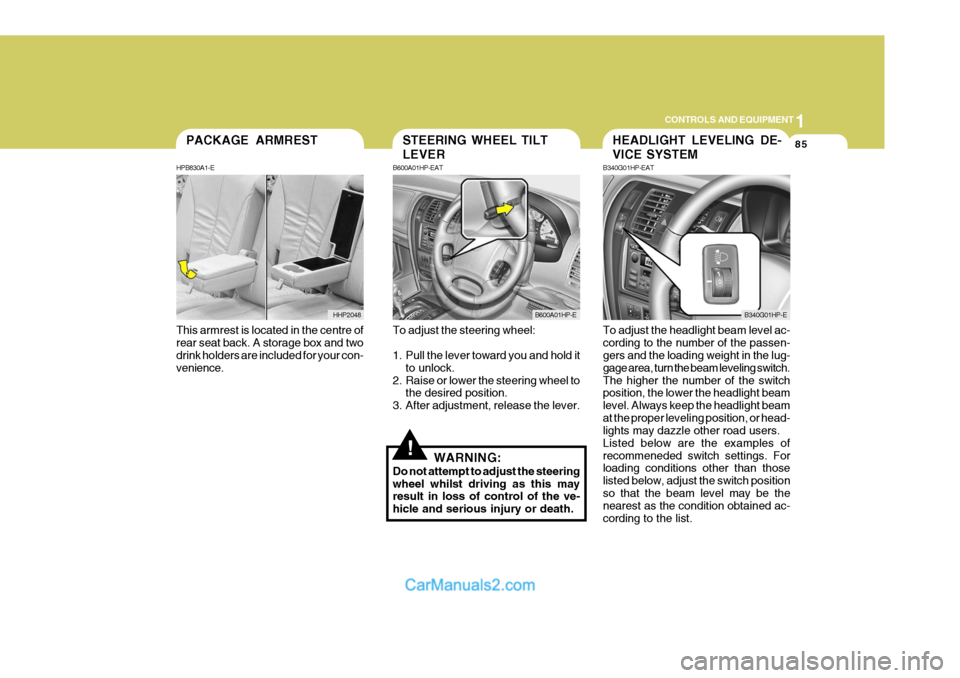
This armrest is located in the centre of rear seat back. A storage box and two drink holders are included for your con- venience.PACKAGE ARMREST
HPB830A1-E
HHP2048
!
To adjust the steering wheel:
1. Pull the lever toward you and hold it to unlock.
2. Raise or lower the steering wheel to the desired position.
3. After adjustment, release the lever.
WARNING:
Do not attempt to adjust the steering wheel whilst driving as this may result in loss of control of the ve- hicle and serious injury or death. To adjust the headlight beam level ac-cording to the number of the passen- gers and the loading weight in the lug- gage area, turn the beam leveling switch.The higher the number of the switch position, the lower the headlight beam level. Always keep the headlight beamat the proper leveling position, or head- lights may dazzle other road users. Listed below are the examples ofrecommeneded switch settings. For loading conditions other than those listed below, adjust the switch positionso that the beam level may be the nearest as the condition obtained ac- cording to the list.
STEERING WHEEL TILT LEVER
B600A01HP-EAT
B600A01HP-E
HEADLIGHT LEVELING DE- VICE SYSTEM
B340G01HP-EAT
B340G01HP-E
Page 416 of 539
2
DRIVING YOUR HYUNDAI
3
!WARNING:
Your vehicle is equipped with tyres designed to provide for safe ride and handling capability.Do not use a size and type of tyre and wheel that is different from the one that was originally installed on yourvehicle. It can affect the safety and performance of your vehicle, which could lead to handling failure orrollover and serious injury. When replacing the tyres, be sure to equip all four tyres with the tyre andwheel of the same size, type, tread, brand and load-carrying capacity. If you nevertheless decide to equipyour vehicle with any tyre/wheel com- bination not recommended by Hyundai for off-road driving, youshould not use these tyres for high- way driving.
TO START THE ENGINEBEFORE STARTING THE ENGINE
C020A01A-EAT Before you start the engine, you should always:
1. Look around the vehicle to be sure
there are no flat tyres, puddles of oil or water or other indications of pos- sible trouble.
2. After entering the car, check to be
sure the parking brake is engaged.
3. Check that all windows, and lights
are clean.
4. Check that the interior and exterior mirrors are clean and in position.
5. Check your seat, seatback and headrest to be sure they are in theirproper positions.
6. Close all the doors.
7. Fasten your seat belt and be sure that all other occupants have fas-tened theirs.
8. Turn off all lights and accessories that are not needed.
9. When you turn the ignition switch to "ON" check that all appropriate warning lights are operating and that you have sufficient fuel.
10.Check the operation of warning lights and all bulbs when key is inthe "ON" position. C030A01HP-EAT Cmbination Ignition Switch and Steering Lock
o If your Hyundai is equipped with a
manual transmission, place the shift lever in neutral and depress the clutch pedal fully.
o If your Hyundai has an automatic
transmission, place the shift lever in"P" (park).
o To start the engine, insert the igni- tion key and turn it to the "START"position. Release it as soon as the engine starts. Do not hold the key inthe "START" position for more than 15 seconds.
NOTE: For safety, the engine will not start if the shift lever is not in "P" or "N" position (Automatic Transmission).
Page 446 of 539
3 IN CASE OF EMERGENCY
2
!WARNING:
If the engine refuses to start, no attempt should be made to push or tow start the vehicle. Vehicles with automatic transmission or fuel in-jection will not be able to be started in this manner since no drive is transmitted through the automatictransmission whilst the engine is not running, and in the case of fuel injected derivatives, the fuel pumpwill not operate under tow start conditions. In addition, if the ve- hicle is equipped with an exhaustcatalyst, damage to the catalyst may result if the vehicle is tow started. HPD020B1-E If The Engine Cannot Be Cranked
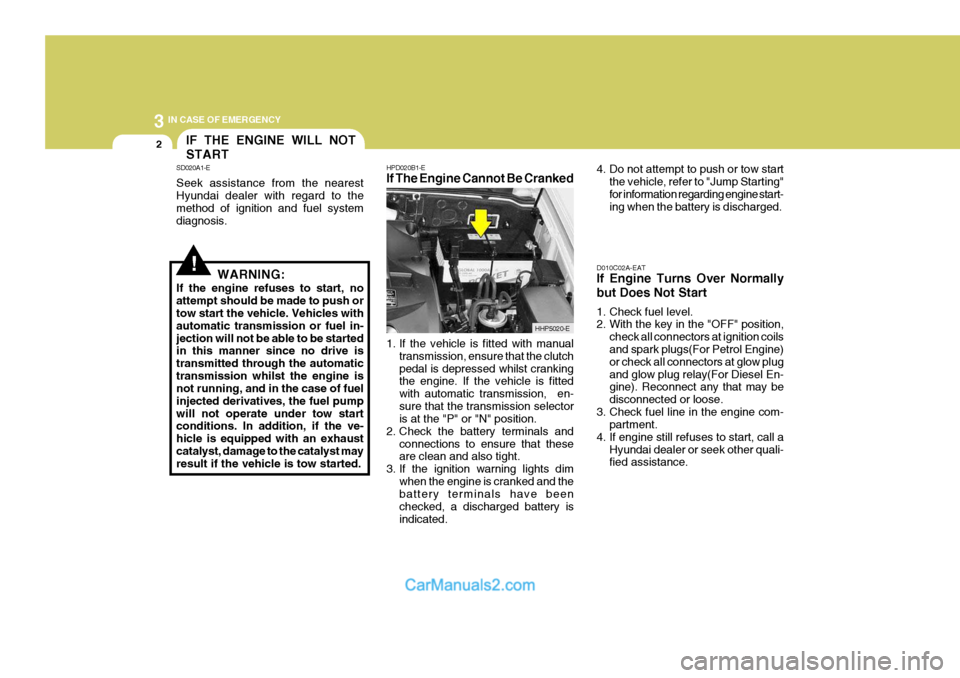
1. If the vehicle is fitted with manual
transmission, ensure that the clutch pedal is depressed whilst cranking the engine. If the vehicle is fitted with automatic transmission, en-sure that the transmission selector is at the "P" or "N" position.
2. Check the battery terminals and
connections to ensure that theseare clean and also tight.
3. If the ignition warning lights dim
when the engine is cranked and thebattery terminals have been checked, a discharged battery isindicated. 4. Do not attempt to push or tow start
the vehicle, refer to "Jump Starting"for information regarding engine start- ing when the battery is discharged.
D010C02A-EAT If Engine Turns Over Normally but Does Not Start
1. Check fuel level.
2. With the key in the "OFF" position, check all connectors at ignition coilsand spark plugs(For Petrol Engine) or check all connectors at glow plugand glow plug relay(For Diesel En- gine). Reconnect any that may be disconnected or loose.
3. Check fuel line in the engine com- partment.
4. If engine still refuses to start, call a Hyundai dealer or seek other quali- fied assistance.
IF THE ENGINE WILL NOT START
SD020A1-E Seek assistance from the nearest Hyundai dealer with regard to the method of ignition and fuel system diagnosis.
HHP5020-E