Page 7 of 273
Your Vehicle at a Glance
Your Vehicle at a Glance
5
HEADLIGHTS/TURN SIGNALS
LIGHT CONTROL
SWITCH
REMOTE AUDIO
CONTROLS STEERING WHEEL
ADJUSTMENT CRUISE CONTROL
WINDSHIELD WIPERS/
WASHERS REAR WINDOW
DEFOGGER VTM-4
LOCK
HORN
CRUISE
CONTROL
MASTER
SWITCH HAZARD WARNING
BUTTON
VSA OFF
SWITCH PASSENGER AIRBAG
OFF INDICATOR
(P.
71) (P.73)
(P.164 )
(P. 31)
(P. 73)
(P. 70)
(P.
138)
(P. 74)
(P. 122)
(P.
138)
(P.
172)
(P.
97)
(P.
92)
MOONROOF BUTTONS
Page 30 of 273

Moving the f ront seat f orcibly
back against cargo on the seat or
f loor behind it.
Hanging heavy items on the f ront
passenger seat, or placing heavy
items in the seat-back pocket.
When the airbag is turned of f , an
indicator in the center of the
dashboard will come on indicating
passenger airbag ‘‘OFF’’ (see page
).
To ensure that the passenger’s
advanced front airbag system will
work properly,
This includes: A rear passenger pushing or
pulling on the back of the
passenger’s seat.
If there is no passenger in the f ront
seat, the airbag will be off. However,
the Passenger Airbag Of f indicator
will not come on.
Also,makesurethefloormatbehind
the f ront passenger’s seat is hooked
to the floor mat anchor (see page
). If it is not, the mat may
interf ere with the proper operation
of the sensors and operation of the
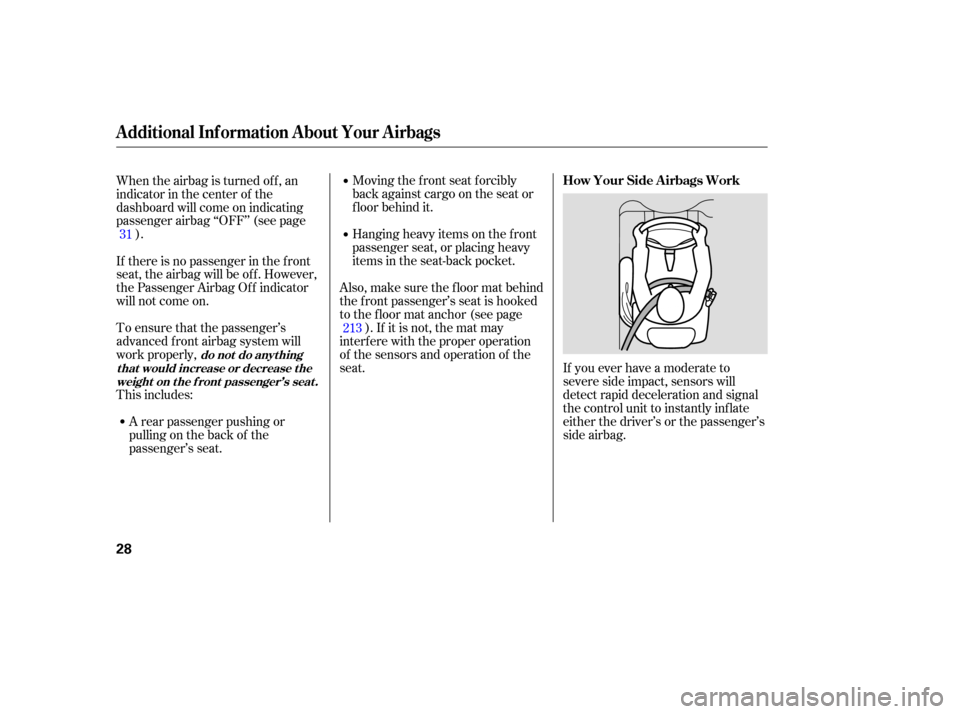
seat. If you ever have a moderate to
severe side impact, sensors will
detect rapid deceleration and signal
the control unit to instantly inf late
either the driver’s or the passenger’s
side airbag.
31
213
Additional Inf ormation About Your Airbags
How Your Side A irbags Work
do not do anyt hing
t hat would increase or decrease t he weight on t he f ront passenger’s seat .
28
Page 57 of 273

This section gives inf ormation about
the controls and displays that
contribute to the daily operation of
your vehicle. All the essential
controls are within easy reach............................
Control Locations .56
............................
Instrument Panel .57
.............................................
Gauges .66
...............
Odometer/Trip Meter . 66
..................................
Fuel Gauge .66
...................
Temperature Gauge . 67
....
Outside Temperature Gauge . 67
..........
Check Fuel Cap Indicator . 68
Controls Near the Steering ...........................................
Wheel .69
.
Windshield Wipers and Washers . 70
...........
Turn Signal and Headlights . 71
................
Daytime Running Lights . 72
........
Instrument Panel Brightness . 72
.................
Hazard Warning Button . 73
.................
Rear Window Def ogger . 73
..........
Steering Wheel Adjustment . 74
...............................
Keys and Locks .75
........................
Immobilizer System .75
................................
Ignition Switch .77
......................................
Door Locks .78
......................
Power Door Locks .78
..............
Childproof Door Locks . 79
.......................
Remote Transmitter .79
..................................
Seats Heaters .82
.................................................
Seats .83 ......
Detachable Seat Belt Anchors . 88
.............................................
Mirrors .88
..............................
Power Windows .90
.........................................
Moonroof .92
.................................
Parking Brake .93
...........
Interior Convenience Items . 94
.......................
Beverage Holders .95
..........
Accessory Power Sockets . 95
...............
Console Compartment . 95
......................
Sunglasses Holder .96
....................................
Glove Box .96
......................................
Sun Visor .96
...............................................
Lights .97
Instruments and Controls
Inst rument s and Cont rols
55
Page 64 of 273

The lef t or right turn signal indicator
blinks when you signal a lane change
or turn. If the indicators do not blink
or blink rapidly, it usually means one
of the turn signal bulbs is burned out
(see page ). Replace the bulb as
soon as possible, since other drivers
cannot see that you are signaling.If a brake light does not work, the
indicator comes on
when you push the brake pedal with
the ignition switch in the ON (II)
position.
A burned out brake light is a hazard
when drivers behind you cannot tell
you are braking. Have your brake
lights repaired right away. All the indicators in the monitor
come on f or a f ew seconds when you
turn the ignition switch to ON (II).
When you push the Hazard Warning
button, both turn signal indicators
blink. All turn signals on the outside
of the vehicle should f lash. The appropriate indicator comes on
in this monitor if the trunk or either
door is not closed tightly.
209 Turn Signal and
Hazard Warning
Indicators
Brake L amp Indicator Door and Tailgate Open Monitor
Instrument Panel
62
BRAKE LAMP
Page 71 of 273
�ÎTo use the horn, press the pad around the ‘‘H’’ logo.
Controls Near the Steering Wheel
Inst rument s and Cont rols
69
VTM-4LOCK
LIGHT CONTROL
SWITCH
CRUISE CONTROLHAZARD WARNING BUTTON
HEADLIGHTS/TURN SIGNALS
REAR WINDOW
DEFOGGER
CRUISE CONTROL
MASTER SWITCH
REMOTE AUDIO
CONTROLS WINDSHIELD WIPERS/
WASHERS
VSA OFF SWITCH
MOON ROOF
STEERING WHEEL
ADJUSTMENT HORN
PASSENGER AIRBAG
OFF INDICATOR
(P.92)
(P.97) (P.172)
(P.138)
(P.122) (P.74) (P.138) (P.70)(P.
73)
(P.
31)
(P.164)
(P.73)
(P.71)
Page 73 of 273

�µ
�µ
�µ To turn on the high
beams, push the lever f orward until
you hear a click. The blue high beam
indicator will come on (see page ).
To turn of f the high beams, pull the
lever back. To flash the high beams,
pull the lever f arther back, and then
release it. The high beams remain on
until the lever is released.
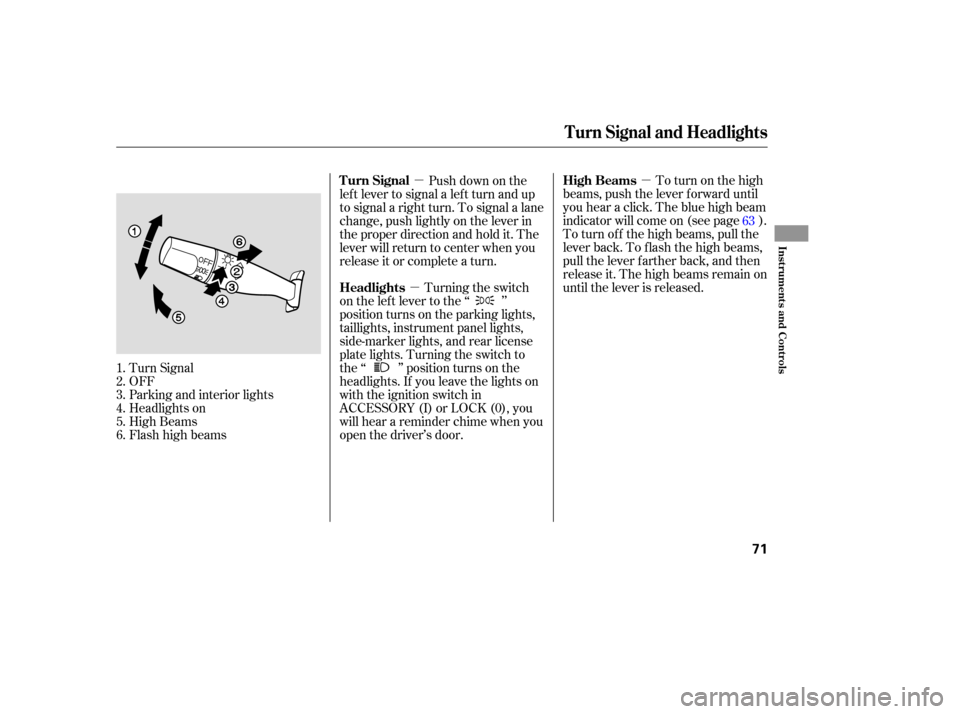
Turn Signal
OFF
Parking and interior lights
Headlights on
High Beams
Flashhighbeams Push down on the
lef t lever to signal a lef t turn and up
to signal a right turn. To signal a lane
change, push lightly on the lever in
the proper direction and hold it. The
lever will return to center when you
release it or complete a turn.
Turning the switch
on the lef t lever to the ‘‘ ’’
position turns on the parking lights,
taillights, instrument panel lights,
side-marker lights, and rear license
plate lights. Turning the switch to
the ‘‘ ’’ position turns on the
headlights. If you leave the lights on
with the ignition switch in
ACCESSORY (I) or LOCK (0), you
will hear a reminder chime when you
open the driver’s door.
1.
2.
3.
4.
5.
6. 63
Turn Signal and Headlights
High Beams
Turn Signal
Headlights
Inst rument s and Cont rols
71
Page 75 of 273

Make sure the rear window is clear
and you have good visibility bef ore
starting to drive.
The def ogger wires on the inside of
the rear window can be accidentally
damaged. When cleaning the glass,
always wipe side-to-side.
The rear window def ogger will clear
fog, frost, and thin ice from the
window. Push the def ogger button to
turn it on and off. The indicator
above the button comes on to show
the def ogger is on. If you do not turn
it of f , the def ogger will shut itself of f
af ter about 15 minutes. It also shuts
of f when you turn of f the ignition
switch. You have to turn the
def ogger on again when you restart
the vehicle.
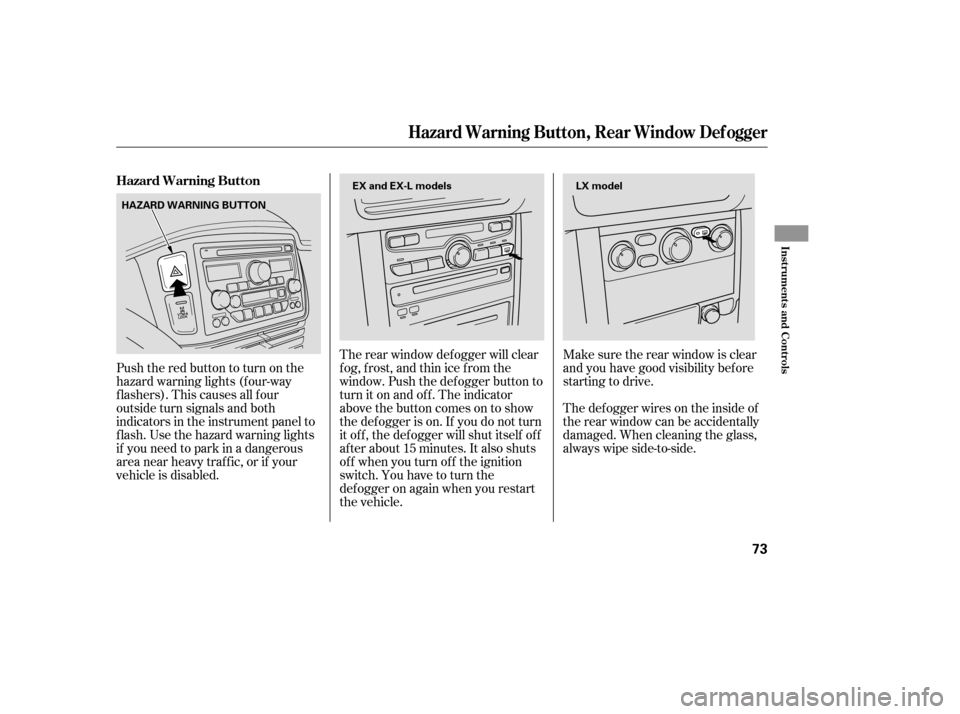
Pushtheredbuttontoturnonthe
hazard warning lights (f our-way
flashers). This causes all four
outside turn signals and both
indicators in the instrument panel to
f lash. Use the hazard warning lights
if you need to park in a dangerous
area near heavy traffic, or if your
vehicle is disabled. Hazard Warning Button
Hazard Warning Button, Rear Window Def ogger
Inst rument s and Cont rols
73
LX model
HAZARD WARNING BUTTON EX and EX-L models
Page 109 of 273

�µ�µ�´
�µ �µ
�µ
The ignition switch must be in the
ACCESSORY (I) or ON (II) position.
Turn the system on by pushing the
PWR/VOL knob or the AM/FM
button. Adjust the volume by turning
the PWR/VOL knob.
The SEEK f unction
searches up and down f rom the
current f requency to f ind a station
with a strong signal. To activate it,
press the /( ) or /( )
side of the bar, then release it.
The SCAN f unction
samples all stations with strong
signals on the selected band. To
activate it, press the SCAN button,
then release it. You will see SCAN in
the display. The system will scan f or
a station with a strong signal. When
it f inds one, it will stop and play that
station f or about f ive seconds.
If you do nothing, the system will
then scan f or the next strong station
and play it for five seconds. When it
plays a station you want to listen to,
press the SCAN button again. Each preset button can
store one f requency on AM, and two
f requencies on FM.
Select the desired band, AM or
FM. FM1 and FM2 let you store
two f requencies with each preset
button.
UsetheTUNE,SEEK,orSCAN
function to tune the radio to a
desired station.
Pickapresetbutton,andholdit
until you hear a beep.
Repeat steps 1 through 3 to store a
total of six stations on AM and
twelve stations on FM.
The preset f requencies will be lost if
your vehicle’s battery goes dead, is
disconnected, or the radio f use is
removed.
The band and f requency that the
radio was last tuned to is displayed.
To change bands, press the AM/FM
button. On the FM band, ST will be
displayed if the station is broadcast-
ing in stereo. Stereo reproduction on
AM is not available.
Use the TUNE knob to
tune the radio to a desired f requency.
Turn the knob right to tune to a
higher f requency, or lef t to tune to a
lower f requency. You can use any of f ive methods to
find radio station on the selected
band: , , , the
preset buttons, and 1.
2.
3.
4.
CONT INUED
Playing the Radio
To Play the Radio
SEEK
SCANPreset
TUNE To Select a Station T UNE SEEK SCA N AUTO SELECT.
Features
107