Page 244 of 312

INTERIOR
For fabric, carpets, cloth seats and safety belts:
• Remove dust and loose dirt with a vacuum cleaner.
• Remove light stains and soil with Motorcraft Professional Strength
Carpet & Upholstery Cleaner (ZC-54).
• If grease or tar is present on the material, spot-clean the area first
with Motorcraft Spot and Stain Remover (ZC-14).
• If a ring forms on the fabric after spot cleaning, clean the entire area
immediately (but do not oversaturate) or the ring will set.
• Do not use household cleaning products or glass cleaners, which can
stain and discolor the fabric and affect the flame retardant abilities of
the seat materials.
Do not use cleaning solvents, bleach or dye on the vehicle’s
seatbelts, as these actions may weaken the belt webbing.
LEATHER SEATS (IF EQUIPPED, EXCEPT FOR THE KING RANCH
F–250 AND F–350 CREWCAB)
Your leather seating surfaces have a clear, protective coating over the
leather.
For King Ranch F-250 and F-350 CrewCab leather seats, refer to
separate section in this chapter.
• To clean, use a soft cloth with Motorcraft Deluxe Leather and Vinyl
Cleaner (ZC-11–A). Dry the area with a soft cloth.
• To help maintain its resiliency and color, use the Motorcraft Deluxe
Leather Care Kit (ZC-11–D), available from your authorized dealer.
• Do not use household cleaning products, alcohol solutions, solvents or
cleaners intended for rubber, vinyl and plastics, or oil/petroleum-based
leather conditioners. These products may cause premature wearing of
the clear, protective coating on the seat.
Note: In some instances, color or dye transfer can occur when wet
clothing comes in contact with leather upholstery. If this occurs, the
leather should be cleaned immediately to avoid permanent staining.
LEATHER SEATS FOR THE KING RANCH F-250 AND F-350
CREWCAB ONLY (IF EQUIPPED)
Your vehicle is equipped with seating covered in premium, top-grain
leather which is extremely durable, but still requires special care and
maintenance in order to ensure longevity and comfort.
2005 F250/350/450/550 (f23)
Owners Guide (post-2002-fmt)
USA_English (fus)Cleaning
244
Page 247 of 312

SERVICE RECOMMENDATIONS
To help you service your vehicle:
• We highlight do-it-yourself items in the engine compartment for easy
location.
• We provide a scheduled maintenance guide which makes tracking
routine service easy.
If your vehicle requires professional service, your dealership can provide
the necessary parts and service. Check your Warranty Guide/Owner
Information Guide to find out which parts and services are covered.
Use only recommended fuels, lubricants, fluids and service parts
conforming to specifications. Motorcraft parts are designed and built to
provide the best performance in your vehicle.
PRECAUTIONS WHEN SERVICING YOUR VEHICLE
• Do not work on a hot engine.
• Make sure that nothing gets caught in moving parts.
• Do not work on a vehicle with the engine running in an enclosed
space, unless you are sure you have enough ventilation.
• Keep all open flames and other burning (cigarettes) material away
from the battery and all fuel related parts.
Working with the engine off
• Automatic transmission:
1. Set the parking brake and shift to P (Park).
2. Turn off the engine and remove the key.
3. Block the wheels.
• Manual transmission:
1. Set the parking brake, depress the clutch and place the gearshift in 1
(First).
2. Turn off the engine and remove the key.
3. Block the wheels.
Working with the engine on
• Automatic transmission:
1. Set the parking brake and shift to P (Park).
2. Block the wheels.
2005 F250/350/450/550 (f23)
Owners Guide (post-2002-fmt)
USA_English (fus)Maintenance and Specifications
Maintenance and Specifications
247
Page 248 of 312
• Manual transmission:
1. Set the parking brake, depress the clutch and place the gearshift in N
(Neutral).
2. Block the wheels.
Note: Do not start your engine with the air cleaner removed and do not
remove it while the engine is running.
OPENING THE HOOD
1. Inside the vehicle, pull the hood
release handle located under the
bottom left corner of the instrument
panel.
2. Go to the front of the vehicle and
release the auxiliary latch located
under the right center of the hood.
Slide the handle to release the
auxiliary latch.
3. Lift the hood until the lift
cylinders hold it open.
2005 F250/350/450/550 (f23)
Owners Guide (post-2002-fmt)
USA_English (fus)Maintenance and Specifications
248
Page 249 of 312
IDENTIFYING COMPONENTS IN THE ENGINE COMPARTMENT
5.4L V8 gasoline engines
Refer to the 6.0 Liter Power Stroke Direct Injection Turbo Diesel
Owner’s Guide Supplement for diesel engine component locations.
1. Transmission fluid dipstick (automatic transmission)
2. Air filter assembly
3. Engine coolant reservoir
4. Brake fluid reservoir
5. Clutch fluid reservoir (manual transmission)
6. Underhood relay box
7. Power steering fluid reservoir
8. Engine oil dipstick
9. Engine oil filler cap
10. Windshield washer fluid reservoir
11. Battery
2005 F250/350/450/550 (f23)
Owners Guide (post-2002-fmt)
USA_English (fus) Maintenance and Specifications
249
Page 250 of 312
6.8L V10 gasoline engine
Refer to the 6.0 Liter Power Stroke Direct Injection Turbo Diesel
Owner’s Guide Supplement for diesel engine component locations.
1. Transmission fluid dipstick (automatic transmission)
2. Engine coolant reservoir
3. Brake fluid reservoir
4. Clutch fluid reservoir (manual transmission)
5. Underhood relay box
6. Power steering fluid reservoir
7. Air filter assembly
8. Engine oil dipstick
9. Engine oil filler cap
10. Windshield washer fluid reservoir
11. Battery 1 2 3 4 5
10 9 8 7 611
2005 F250/350/450/550 (f23)
Owners Guide (post-2002-fmt)
USA_English (fus)Maintenance and Specifications
250
Page 251 of 312

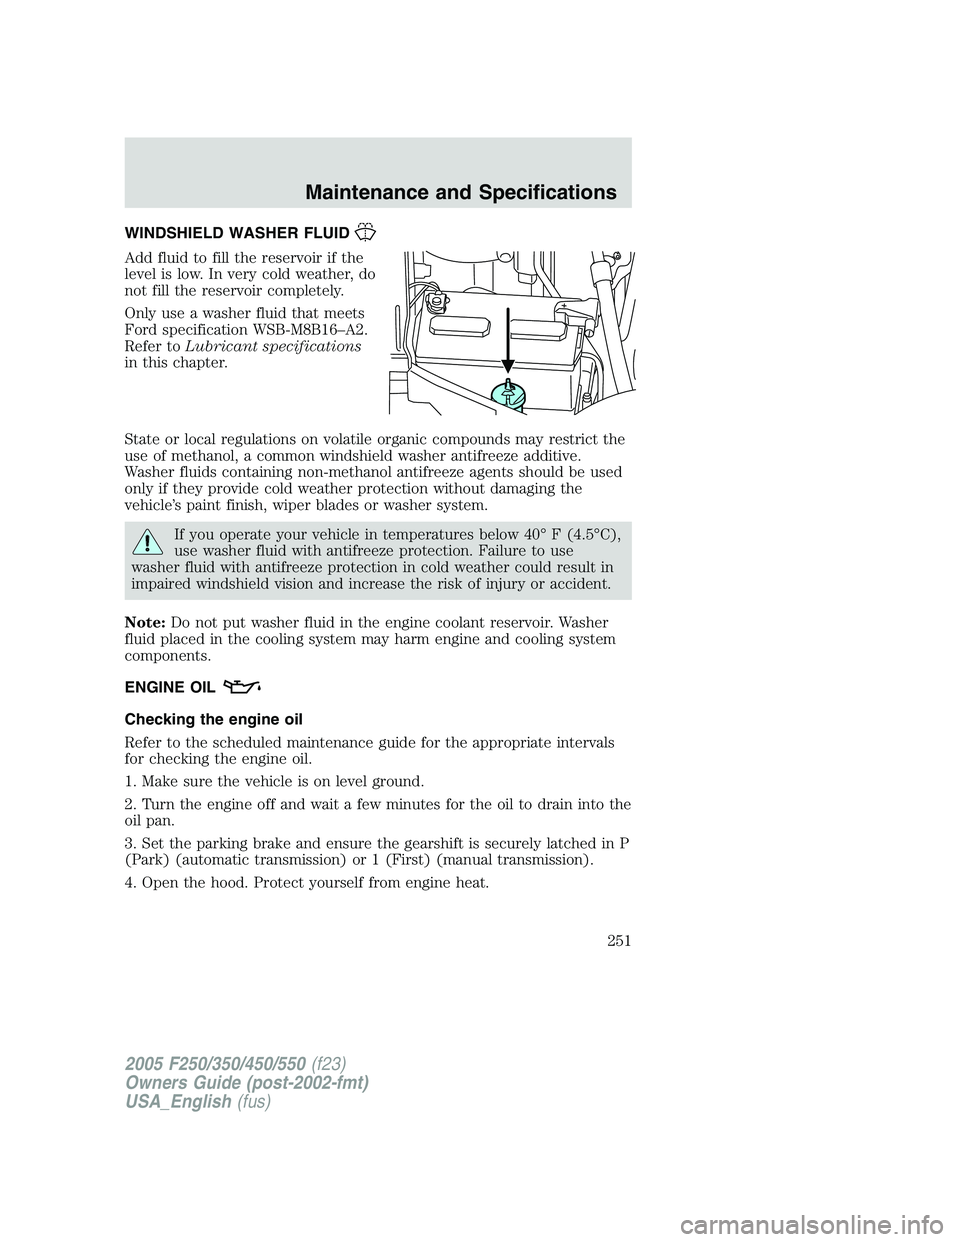
WINDSHIELD WASHER FLUID
Add fluid to fill the reservoir if the
level is low. In very cold weather, do
not fill the reservoir completely.
Only use a washer fluid that meets
Ford specification WSB-M8B16–A2.
Refer to Lubricant specifications
in this chapter.
State or local regulations on volatile organic compounds may restrict the
use of methanol, a common windshield washer antifreeze additive.
Washer fluids containing non-methanol antifreeze agents should be used
only if they provide cold weather protection without damaging the
vehicle’s paint finish, wiper blades or washer system.
If you operate your vehicle in temperatures below 40° F (4.5°C),
use washer fluid with antifreeze protection. Failure to use
washer fluid with antifreeze protection in cold weather could result in
impaired windshield vision and increase the risk of injury or accident.
Note: Do not put washer fluid in the engine coolant reservoir. Washer
fluid placed in the cooling system may harm engine and cooling system
components.
ENGINE OIL
Checking the engine oil
Refer to the scheduled maintenance guide for the appropriate intervals
for checking the engine oil.
1. Make sure the vehicle is on level ground.
2. Turn the engine off and wait a few minutes for the oil to drain into the
oil pan.
3. Set the parking brake and ensure the gearshift is securely latched in P
(Park) (automatic transmission) or 1 (First) (manual transmission).
4. Open the hood. Protect yourself from engine heat.
2005 F250/350/450/550 (f23)
Owners Guide (post-2002-fmt)
USA_English (fus) Maintenance and Specifications
251
Page 252 of 312
5. Locate and carefully remove the engine oil level indicator (dipstick).
• 5.4L V8 engine
• 6.8L V10 engine
2005 F250/350/450/550 (f23)
Owners Guide (post-2002-fmt)
USA_English (fus)Maintenance and Specifications
252
Page 253 of 312

6. Wipe the indicator clean. Insert the indicator fully, then remove it
again.
• If the oil level is between the MIN and MAX marks, the oil level is
acceptable. DO NOT ADD OIL.
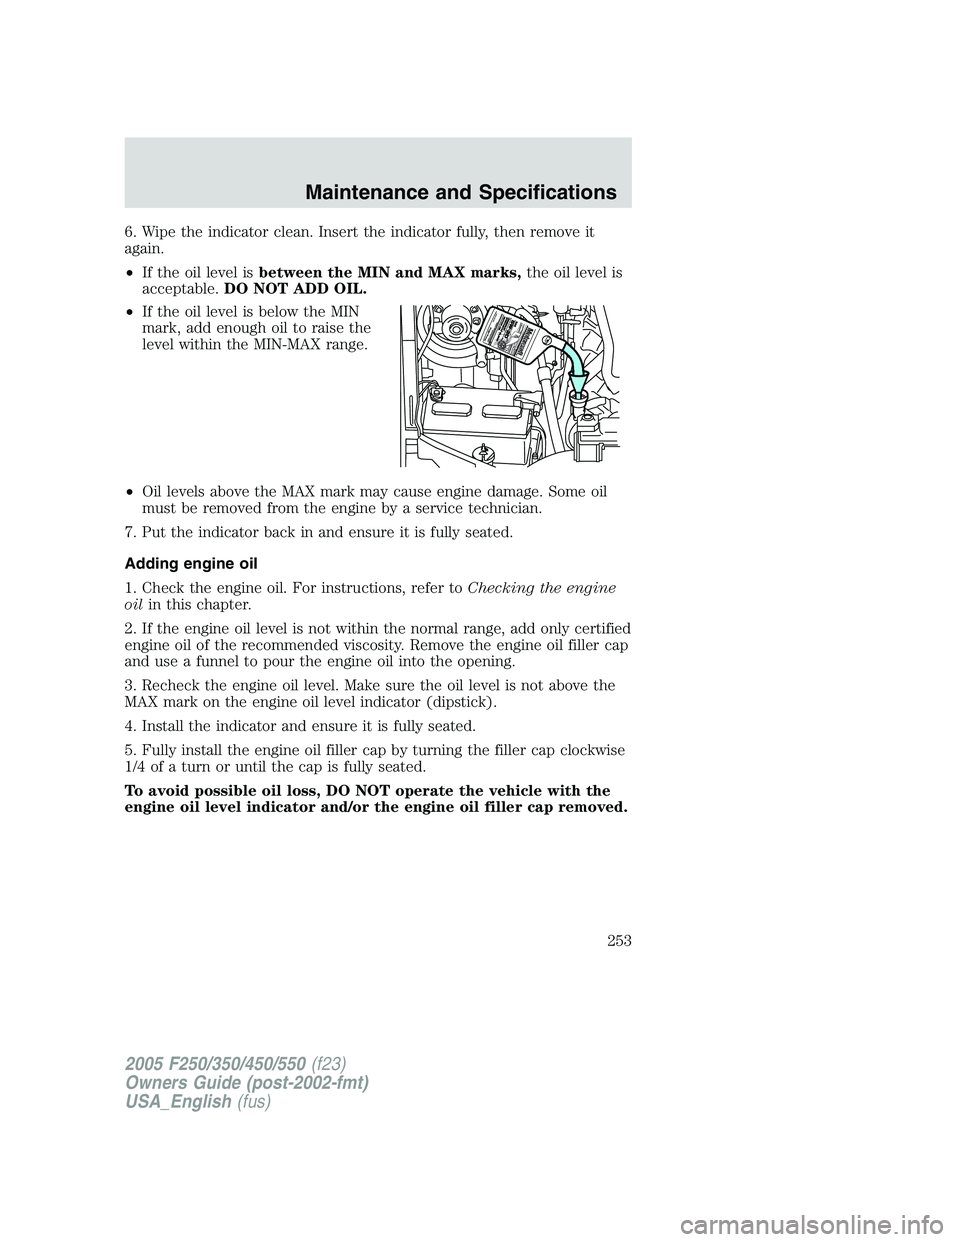
• If the oil level is below the MIN
mark, add enough oil to raise the
level within the MIN-MAX range.
• Oil levels above the MAX mark may cause engine damage. Some oil
must be removed from the engine by a service technician.
7. Put the indicator back in and ensure it is fully seated.
Adding engine oil
1. Check the engine oil. For instructions, refer to Checking the engine
oil in this chapter.
2. If the engine oil level is not within the normal range, add only certified
engine oil of the recommended viscosity. Remove the engine oil filler cap
and use a funnel to pour the engine oil into the opening.
3. Recheck the engine oil level. Make sure the oil level is not above the
MAX mark on the engine oil level indicator (dipstick).
4. Install the indicator and ensure it is fully seated.
5. Fully install the engine oil filler cap by turning the filler cap clockwise
1/4 of a turn or until the cap is fully seated.
To avoid possible oil loss, DO NOT operate the vehicle with the
engine oil level indicator and/or the engine oil filler cap removed.
2005 F250/350/450/550 (f23)
Owners Guide (post-2002-fmt)
USA_English (fus) Maintenance and Specifications
253