Page 184 of 480

CAUTION!• To avoid damage to the roof rack and vehicle, do
not exceed the maximum roof rack load capacity
of 68 kg (150 lbs). Always distribute heavy loads
as evenly as possible and secure the load appro-
priately.
• Long loads which extend over the windshield,
such as wood panels or surfboards, or loads with
large frontal area should be secured to both the
front and rear of the vehicle.
• Travel at reduced speeds and turn corners care-
fully when carrying large or heavy loads on the
roof rack. Wind forces, due to natural causes or
nearby truck traffic, can add sudden upward
loads. This is especially true on large flat loads
and may result in damage to the cargo or your
vehicle. WARNING!Cargo must be securely tied before driving your
vehicle. Improperly secured loads can fly off the
vehicle, particularly at high speeds, resulting in
personal injury or property damage. Follow the Roof
Rack Cautions when carrying cargo on your roof
rack.184 UNDERSTANDING THE FEATURES OF YOUR VEHICLE
Page 299 of 480

Reset Mode - Electronic Transmission
The transmission is monitored electronically for abnor-
mal conditions. If a condition is detected that could cause
damage, the transmission automatically shifts into sec-
ond gear. The transmission remains in second gear
despite the forward gear selected. Park (P), Reverse (R),
and Neutral (N) will continue to operate. This Reset
feature allows the vehicle to be driven to a dealer for
service without damaging the transmission.
In the event that the problem has been momentary, the
transmission can be reset to regain all forward gears.
• Stop the vehicle and shift into Park (P).
• Turn the key to OFF then restart the engine.
• Shift into the desired range and resume driving.
NOTE: Even if the transmission can be reset, it is
recommended that you visit a dealer at your earliest possible convenience. Your dealer has diagnostic equip-
ment to determine if the problem could recur.
If the transmission cannot be reset, dealer service is
required.
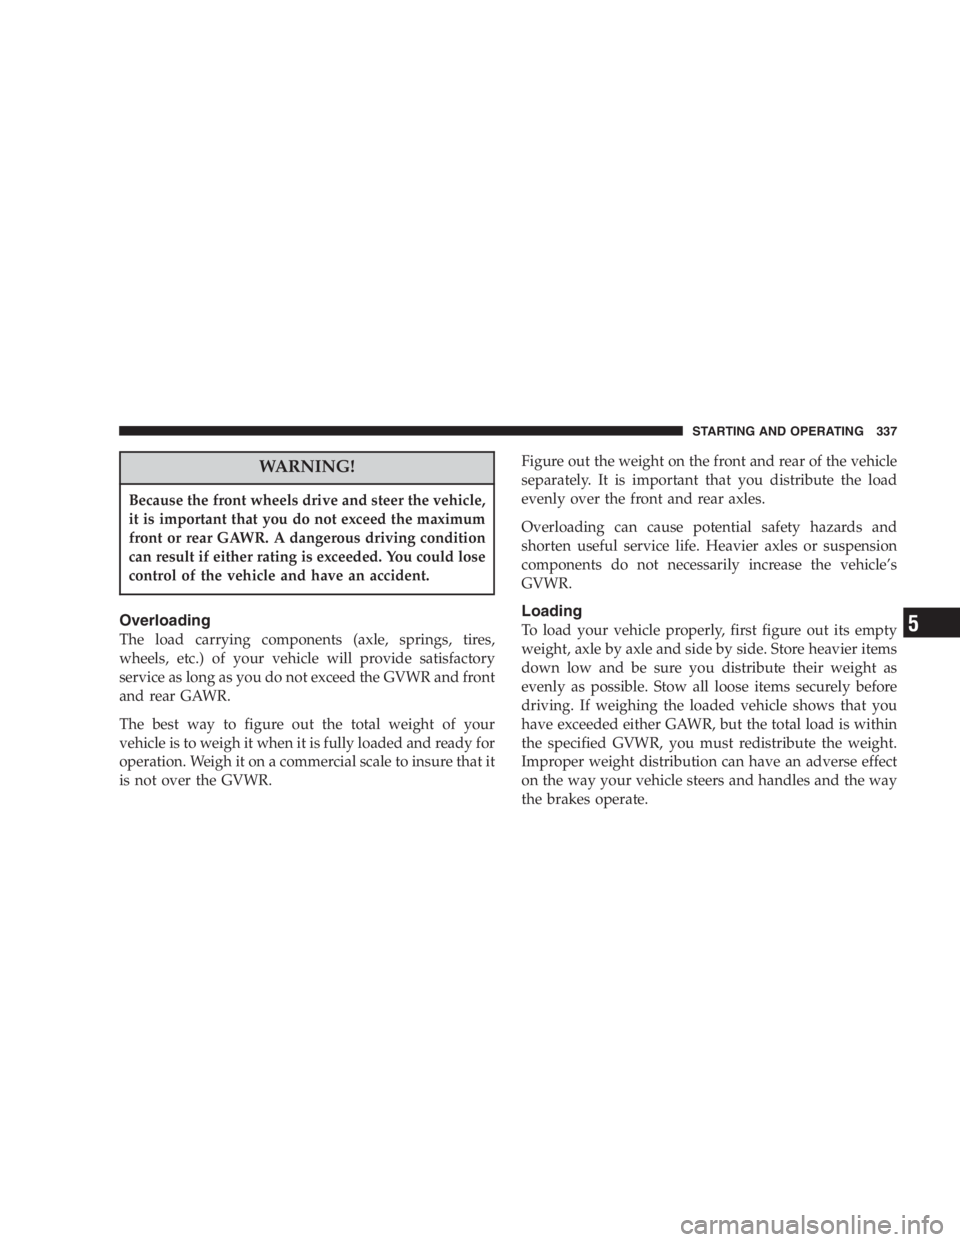
Gear Ranges
DO NOT race the engine when shifting from PARK or
NEUTRAL positions into another gear range.
• “ P ” Park
Supplements the parking brake by locking the transmis-
sion. The engine can be started in this range. Never
attempt to use PARK while vehicle is in motion. Transmission Gear Ranges STARTING AND OPERATING 299
5
Page 335 of 480
NOTE:
• Tighten the gas cap until you hear a “ clicking ” sound.
This is an indication that the gas cap is properly
tightened. If the gas cap is not secured properly the
Malfunction Indicator Light will turn on. Make sure
that the gas cap is tightened each time the vehicle is
refueled.
• When the fuel nozzle “ clicks ” or shuts off, the fuel
tank is full. WARNING!• Never have any smoking materials lit in or near
the vehicle when the gas cap is removed or the
tank filled.
• Never add fuel to the vehicle when the engine is
running.
• A fire may result if gasoline is pumped into a
portable container that is inside of a vehicle. You
could be burned. Always place gas containers on
the ground while filling. STARTING AND OPERATING 335
5
Page 337 of 480

WARNING!Because the front wheels drive and steer the vehicle,
it is important that you do not exceed the maximum
front or rear GAWR. A dangerous driving condition
can result if either rating is exceeded. You could lose
control of the vehicle and have an accident.
Overloading
The load carrying components (axle, springs, tires,
wheels, etc.) of your vehicle will provide satisfactory
service as long as you do not exceed the GVWR and front
and rear GAWR.
The best way to figure out the total weight of your
vehicle is to weigh it when it is fully loaded and ready for
operation. Weigh it on a commercial scale to insure that it
is not over the GVWR. Figure out the weight on the front and rear of the vehicle
separately. It is important that you distribute the load
evenly over the front and rear axles.
Overloading can cause potential safety hazards and
shorten useful service life. Heavier axles or suspension
components do not necessarily increase the vehicle ’ s
GVWR.
Loading
To load your vehicle properly, first figure out its empty
weight, axle by axle and side by side. Store heavier items
down low and be sure you distribute their weight as
evenly as possible. Stow all loose items securely before
driving. If weighing the loaded vehicle shows that you
have exceeded either GAWR, but the total load is within
the specified GVWR, you must redistribute the weight.
Improper weight distribution can have an adverse effect
on the way your vehicle steers and handles and the way
the brakes operate. STARTING AND OPERATING 337
5
Page 354 of 480

6. These locations are on the sill flange of the body and
consist of a pair of downstanding tabs. The jack is to be
located, engaging the flange, between the pair of tabs
closest to the wheel to be changed. Place the wrench on
the jack screw and turn to the right until the jack head is
properly engaged in the described location. Do not raise
the vehicle until you are sure the jack is securely
engaged.
7. Raise the vehicle by turning the jack screw to the right,
using the swivel wrench. Raise the vehicle only until the
tire just clears the surface and enough clearance is
obtained to install the spare tire. Minimum tire lift
provides maximum stability. WARNING!Raising the vehicle higher than necessary can make
the vehicle less stable. It could slip off the jack and
hurt someone near it. Raise the vehicle only enough
to remove the tire.
8. Remove the wheel lug nuts, for vehicles with wheel
covers, remove the cover from the wheel by hand. Do not
pry the wheel cover off. Then pull the wheel off the hub.
9. Install the compact spare tire. Lightly tighten the lug
nuts. To avoid the risk of forcing the vehicle off the jack,
do not tighten the lug nuts fully until the vehicle has been
lowered.
NOTE: Do not install the wheel cover on the compact
spare.
Do not use a hammer or force to install the wheel covers.354 WHAT TO DO IN EMERGENCIES
Page 355 of 480

10. Lower the vehicle by turning the jack screw to the
left.
11. Finish tightening the lug nuts. Push down on the
wrench while tightening for increased leverage. Alternate
lug nuts until each nut has been tightened twice. Correct
wheel nut tightness is 130 N · m (95 ft. lbs). If in doubt
about the correct tightness, have them checked with a
torque wrench by your dealer or at a service station.
12. Lower the jack to its fully closed position.
13. Secure the flat tire as follows:
• Place the deflated (flat) tire and compact spare tire
cover assembly in the rear cargo area, have the tire
repaired or replaced as soon as possible. WARNING!A loose deflated (flat) tire thrown forward in a
collision or hard stop could injure the occupants in
the vehicle. Have the deflated (flat) tire repaired or
replaced immediately.
CAUTION!Vehicle damage will occur if the compact spare tire
cover assembly is installed without the compact
spare tire in position. Place the deflated (flat) tire
and compact spare tire cover assembly in the rear
cargo area.
14. Stow the cable and wheel spacer before driving the
vehicle, reassemble the winch handle extensions to form
a “ T ’ and fit the winch “ T ” handle over the drive nut. WHAT TO DO IN EMERGENCIES 355
6
Page 356 of 480
Rotate the nut to the right approximately 33 turns until
the winch mechanism clicks at least three times.
15. Stow the jack, jack handle and winch handle tools.
WARNING!A loose jack, thrown forward in a collision or hard
stop could endanger the occupants of the vehicle.
Always stow the jack parts in the place provided.
16. Check the compact spare tire pressure as soon as
possible. Correct pressure as required.
Secure The Spare Tire As Follows:
1. To stow the compact spare tire/cover assembly on
vehicles equipped with fold-in-floor seating, assemble
the winch handle extensions to form a “ T ’ and fit the
winch “ T ” handle over the drive nut. Rotate the nut to
the left approximately 33 turns until the winch mecha-
nism stops turning freely, this will allow enough slack in
the cable to allow you to pull the wheel spacer out from
under the vehicle.Jack Removal/Installation356 WHAT TO DO IN EMERGENCIES
Page 363 of 480

5. These locations are on the sill flange of the body and
consist of a pair of downstanding tabs. The jack is to be
located, engaging the flange, between the pair of tabs
closest to the wheel to be changed. Place the wrench on
the jack screw and turn to the right until the jack head is
properly engaged in the described location. Do not raise
the vehicle until you are sure the jack is securely
engaged.
6. Raise the vehicle by turning the jack screw to the right,
using the swivel wrench. Raise the vehicle only until the
tire just clears the surface and enough clearance is
obtained to install the spare tire. Minimum tire lift
provides maximum stability. WARNING!Raising the vehicle higher than necessary can make
the vehicle less stable. It could slip off the jack and
hurt someone near it. Raise the vehicle only enough
to remove the tire.
7. Remove the wheel lug nuts, for vehicles with wheel
covers, remove the cover from the wheel by hand. Do not
pry the wheel cover off. Then pull the wheel off the hub.
8. Install the spare wheel, for vehicles with wheel covers,
align the notch in the wheel cover with the valve stem on
the wheel. Install the cover on the wheel by hand only
and install the wheel lug nuts with the cone shaped end
of the nut toward the wheel. Lightly tighten the lug nuts.
To avoid the risk of forcing the vehicle off the jack, do not
tighten the lug nuts fully until the vehicle has been
lowered. WHAT TO DO IN EMERGENCIES 363
6