2005 CHEVROLET SUBURBAN light
[x] Cancel search: lightPage 144 of 536
3. Simultaneously press and hold both the desired
button on HomeLink®and the hand-held transmitter
button. Do not release the buttons until Step 4
has been completed.
Some entry gates and garage door openers may
require you to substitute Step 3 with the procedure
noted in “Gate Operator and Canadian
Programming” later in this section.
4. The indicator light will �ash slowly at �rst and then
rapidly after HomeLink
®successfully receives the
frequency signal from the hand-held transmitter.
Release both buttons.
5. Press and hold the newly-trained HomeLink
®button
and observe the indicator light.
If the indicator light stays on constantly,
programming is complete and your device should
activate when the HomeLink
®button is pressed
and released.
To program the remaining two HomeLink
®buttons,
begin with Step 2 under “Programming HomeLink®.”
Do not repeat Step 1 as this will erase all of the
programmed channels.
If the indicator light blinks rapidly for two seconds
and then turns to a constant light, continue with
Steps 6 through 8 following to complete the
programming of a rolling-code equipped device
(most commonly, a garage door opener).6. Locate in the garage, the garage door opener
receiver (motor-head unit). Locate the “Learn”
or “Smart” button. This can usually be found where
the hanging antenna wire is attached to the
motor-head unit.
7. Firmly press and release the “Learn” or “Smart”
button. The name and color of the button may
vary by manufacturer.
You will have 30 seconds to start Step 8.
8. Return to the vehicle. Firmly press and hold the
programmed HomeLink
®button for two seconds,
then release. Repeat the press/hold/release
sequence a second time, and depending on the
brand of the garage door opener (or other rolling
code device), repeat this sequence a third time
to complete the programming.
HomeLink
®should now activate your rolling-code
equipped device.
To program the remaining two HomeLink
®buttons,
begin with Step 2 of “Programming HomeLink®.”
You do not want to repeat Step 1, as this will erase
all previous programming.
2-54
Page 145 of 536

Gate Operator and Canadian
Programming
Canadian radio-frequency laws require transmitter
signals to “time out” or quit after several seconds
of transmission. This may not be long enough for
HomeLink
®to pick up the signal during programming.
Similarly, some U.S. gate operators are manufactured
to “time out” in the same manner.
If you live in Canada, or you are having difficulty
programming a gate operator by using the
“Programming HomeLink
®” procedures (regardless of
where you live), replace Step 3 under “Programming
HomeLink
®” with the following:
Continue to press and hold the HomeLink
®button while
you press and release every two seconds (cycle)
your hand-held transmitter until the frequency signal
has been successfully accepted by HomeLink
®.
The indicator light will �ash slowly at �rst and then
rapidly. Proceed with Step 4 under “Programming
HomeLink
®” to complete.
Using HomeLink®
Press and hold the appropriate HomeLink®button for
at least half of a second. The indicator light will come
on while the signal is being transmitted.
Erasing HomeLink®Buttons
To erase programming from the three buttons do the
following:
1. Press and hold down the two outside buttons until
the indicator light begins to �ash, after 20 seconds.
Do not hold the two outside buttons for longer
than 30 seconds.
2. Release both buttons.
HomeLink
®is now in the train (learning) mode and
can be programmed at any time beginning with Step 2
under “Programming HomeLink
®” shown earlier in
this section.
Individual buttons cannot be erased, but they can
be reprogrammed. See “Reprogramming a Single
HomeLink
®Button” following this section.
2-55
Page 146 of 536
Reprogramming a Single HomeLink®
Button
To program a device to HomeLink®using a HomeLink®
button previously trained, follow these steps:
1. Press and hold the desired HomeLink
®button.
Do not release the button.
2. The indicator light will begin to �ash after
20 seconds. While still holding the HomeLink
®
button, proceed with Step 2 under “Programming
HomeLink®” shown earlier in this section.
Resetting Defaults
To reset HomeLink®to default settings do the following:
1. Hold down the two outside buttons for about
20 seconds until the indicator light begins to �ash.
2. Continue to hold both buttons until the HomeLink
®
indicator light turns off.
3. Release both buttons.
For questions or comments, contact HomeLink
®
at 1-800-355-3515, or on the Internet at
www.homelink.com.
Storage Areas
Glove Box
Open the glove box by pulling the bottom of the handle
upward.
Cupholder(s)
Your vehicle may have cupholders located in the front
and rear �oor console or in the fold down armrest, and in
the quarter trim.
Front Storage Area
Your vehicle may be equipped with a center armrest
storage compartment in the front bench seat.
To open it, fold down the armrest and press the latch
handle located at the front of the armrest. Then, let the
lid pop up and swing open.
The storage compartment may have a cassette/compact
disc holder.
2-56
Page 147 of 536
Center Console Storage Area
Your vehicle may have a console compartment with
cupholders between the bucket seats.
To open it, press the button and swing the console
lid open.
The rear of the console has a cupholder that swings
down for the rear seat passenger to use.
Luggage Carrier
If you have the luggage carrier, you can load things on
top of your vehicle.
The luggage carrier has slats and siderails attached to
the roof and crossrails which can be moved back
and forth to help secure cargo. Tie the load to the
siderails or siderail supports.
Notice:Loading cargo on the luggage carrier that
weighs more than 200 lbs (91 kg) or hangs over
the rear or sides of the vehicle may damage your
vehicle. Load cargo so that it rests on the slats
as far forward as possible and against the side rails,
making sure to fasten it securely.
Don’t exceed the maximum vehicle capacity when
loading your vehicle. For more information on vehicle
capacity and loading, seeLoading Your Vehicle
on page 4-52.To prevent damage or loss of cargo as you’re leaving,
check now and then to make sure the luggage and
cargo are still securely fastened.
Be sure the cargo is properly loaded.
If small heavy objects are placed on the roof, place
the load in the area over the rear wheels (behind
the rear side door on extended models). If you
need to, cut a piece of 3/8 inch plywood to �t inside
the crossrails and siderails to spread the load.
If plywood is used, tie it to the siderail supports.
Tie the load to the crossrails or the siderail supports.
Use the crossrails only to keep the load from sliding.
To move the crossrails, pull out on the latch release
handle at each end. Slide the crossrail to the desired
position balancing the force side to side. Push the
release handle back into the latched position and
slide the crossrail back and forth slightly to be sure
the latch snaps securely into place.
If you need to carry long items, move the crossrails
as far apart as they will go. Tie the load to the
crossrails and the siderails or siderail supports. Also
tie the load to the bumpers. Do not tie the load so
tightly that the crossrails or siderails are damaged.
After moving a crossrail, be sure it is securely locked
into the siderail.
2-57
Page 149 of 536
Cargo Cover
{CAUTION:
An improperly stored cargo cover could be
thrown about the vehicle during a collision or
sudden maneuver. You or others could be
injured. If you remove the cover, always store
it in the proper storage location. When you
put it back, always be sure that it is securely
reattached.
If you have a cargo cover, you can use it to cover items
in the cargo area of your vehicle.
To use the cover, do the following:
1. Pull the cover handle toward the rear of the vehicle.
2. Latch the cover posts into the retaining sockets
on the cargo area trim panels.
To return the cover to the retracted position, do the
following:
1. Pull up on the cover handle to release the cover
posts from the retaining sockets.
2. Let the cover move forward to the full retracted
position.To remove the cover from the vehicle, do the following:
1. Let the cover go all the way into the holder.
2. Then, grasping the passenger’s side cover endcap,
push the cover endcap toward the driver’s side of
the vehicle. The endcap should lock in the
compressed position.
3. Lift the cover up on the passenger’s side, swing the
cover rearward and take it out of the vehicle.
To put the cover in the vehicle, do the following:
1. Make sure the cover slot in the holder faces
rearward with the round surface facing down.
2. Then, hold the cover at an angle and place the
cover holder tab into the slot in the driver’s side
trim panel.
3. Move the other end of the cover forward and hold it
next to the passenger’s side trim panel slot.
4. Push the button on top of the passenger’s side
endcap. This will allow the cover to extend into
the trim slot.
5. Lightly pull on the cover holder to make sure it is
secure.
On some models there are two slots. The slots
furthest forward allow the cover to be used if the
third seat is removed or folded down.
2-59
Page 153 of 536
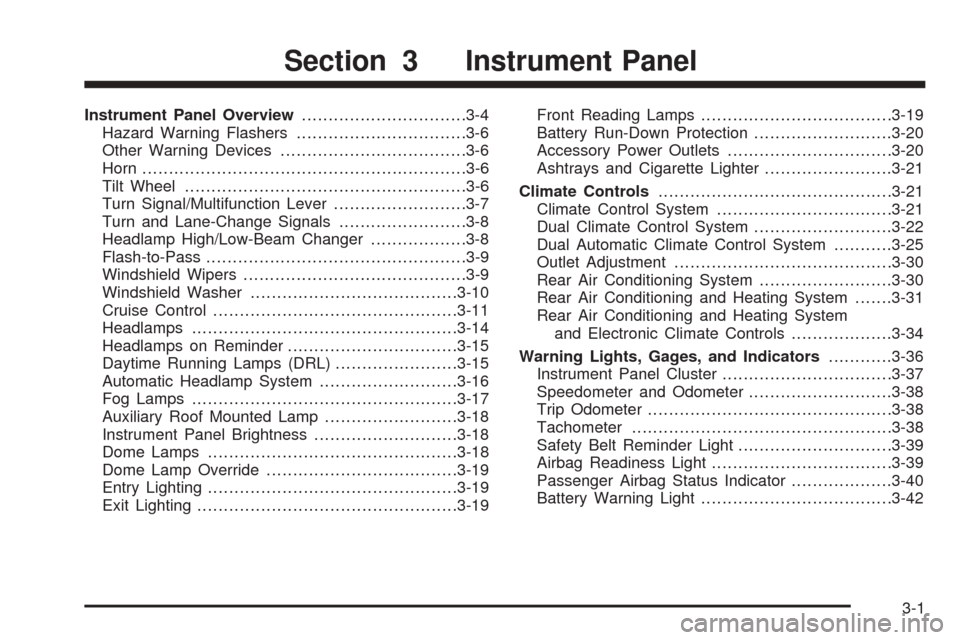
Instrument Panel Overview...............................3-4
Hazard Warning Flashers................................3-6
Other Warning Devices...................................3-6
Horn.............................................................3-6
Tilt Wheel.....................................................3-6
Turn Signal/Multifunction Lever.........................3-7
Turn and Lane-Change Signals........................3-8
Headlamp High/Low-Beam Changer..................3-8
Flash-to-Pass.................................................3-9
Windshield Wipers..........................................3-9
Windshield Washer.......................................3-10
Cruise Control..............................................3-11
Headlamps..................................................3-14
Headlamps on Reminder................................3-15
Daytime Running Lamps (DRL).......................3-15
Automatic Headlamp System..........................3-16
Fog Lamps..................................................3-17
Auxiliary Roof Mounted Lamp.........................3-18
Instrument Panel Brightness...........................3-18
Dome Lamps...............................................3-18
Dome Lamp Override....................................3-19
Entry Lighting...............................................3-19
Exit Lighting.................................................3-19Front Reading Lamps....................................3-19
Battery Run-Down Protection..........................3-20
Accessory Power Outlets...............................3-20
Ashtrays and Cigarette Lighter........................3-21
Climate Controls............................................3-21
Climate Control System.................................3-21
Dual Climate Control System..........................3-22
Dual Automatic Climate Control System...........3-25
Outlet Adjustment.........................................3-30
Rear Air Conditioning System.........................3-30
Rear Air Conditioning and Heating System.......3-31
Rear Air Conditioning and Heating System
and Electronic Climate Controls...................3-34
Warning Lights, Gages, and Indicators............3-36
Instrument Panel Cluster................................3-37
Speedometer and Odometer...........................3-38
Trip Odometer..............................................3-38
Tachometer.................................................3-38
Safety Belt Reminder Light.............................3-39
Airbag Readiness Light..................................3-39
Passenger Airbag Status Indicator...................3-40
Battery Warning Light....................................3-42
Section 3 Instrument Panel
3-1
Page 154 of 536
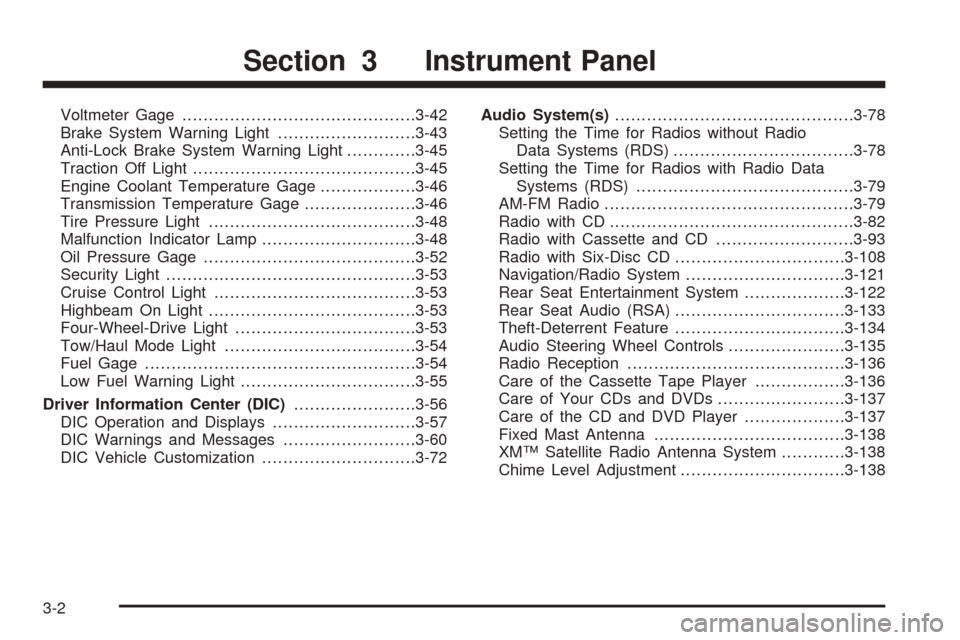
Voltmeter Gage............................................3-42
Brake System Warning Light..........................3-43
Anti-Lock Brake System Warning Light.............3-45
Traction Off Light..........................................3-45
Engine Coolant Temperature Gage..................3-46
Transmission Temperature Gage.....................3-46
Tire Pressure Light.......................................3-48
Malfunction Indicator Lamp.............................3-48
Oil Pressure Gage........................................3-52
Security Light...............................................3-53
Cruise Control Light......................................3-53
Highbeam On Light.......................................3-53
Four-Wheel-Drive Light..................................3-53
Tow/Haul Mode Light....................................3-54
Fuel Gage...................................................3-54
Low Fuel Warning Light.................................3-55
Driver Information Center (DIC).......................3-56
DIC Operation and Displays...........................3-57
DIC Warnings and Messages.........................3-60
DIC Vehicle Customization.............................3-72Audio System(s).............................................3-78
Setting the Time for Radios without Radio
Data Systems (RDS)..................................3-78
Setting the Time for Radios with Radio Data
Systems (RDS).........................................3-79
AM-FM Radio...............................................3-79
Radio with CD..............................................3-82
Radio with Cassette and CD..........................3-93
Radio with Six-Disc CD................................3-108
Navigation/Radio System..............................3-121
Rear Seat Entertainment System...................3-122
Rear Seat Audio (RSA)................................3-133
Theft-Deterrent Feature................................3-134
Audio Steering Wheel Controls......................3-135
Radio Reception.........................................3-136
Care of the Cassette Tape Player.................3-136
Care of Your CDs and DVDs........................3-137
Care of the CD and DVD Player...................3-137
Fixed Mast Antenna....................................3-138
XM™ Satellite Radio Antenna System............3-138
Chime Level Adjustment...............................3-138
Section 3 Instrument Panel
3-2
Page 157 of 536

A. Dome Lamp Override Button. SeeDome Lamp
Override on page 3-19.
B. Headlamp Controls. SeeHeadlamps on page 3-14.
C. Air Outlets. SeeOutlet Adjustment on page 3-30.
D. Automatic Transfer Case Buttons. SeeFour-Wheel
Drive on page 2-28.
E. Turn Signal/Multifunction Lever. SeeTurn
Signal/Multifunction Lever on page 3-7.
F. Instrument Panel Cluster. SeeInstrument Panel
Cluster on page 3-37.
G. Gearshift Lever. SeeAutomatic Transmission
Operation on page 2-24.
H. Tow/Haul Selector Button (If Equipped).
SeeTow/Haul Mode on page 2-27.
I. Audio System. SeeAudio System(s) on page 3-78.
J. Dual Climate Control System. SeeDual Climate
Control System on page 3-22.Dual Automatic
Climate Control System on page 3-25.
K. Instrument Panel Fuse Block. SeeInstrument Panel
Fuse Block on page 5-108.L. Hood Release. SeeHood Release on page 5-11.
M. Steering Wheel Control Buttons (If Equipped).
SeeDriver Information Center (DIC) on page 3-56
andAudio Steering Wheel Controls on page 3-135.
N. Center Instrument Panel Utility Block. SeeCenter
Instrument Panel Fuse Block on page 5-110.
O. Tilt Wheel Lever. SeeTilt Wheel on page 3-6.
P. Parking Brake Release. SeeParking Brake on
page 2-35.
Q. Cigarette Lighter. SeeAshtrays and Cigarette
Lighter on page 3-21. Accessory Power Outlets.
SeeAccessory Power Outlets on page 3-20.
R. Storage Area (If Equipped). SeeCenter Console
Storage Area on page 2-57.
S. Ashtray. SeeAshtrays and Cigarette Lighter on
page 3-21.
T. StabiliTrak
®or Traction Assist System (TAS)
Button (If Equipped). SeeStabiliTrak®System
on page 4-11orTraction Assist System (TAS) on
page 4-9.
U. Glovebox. SeeGlove Box on page 2-57.
3-5