2005 CHEVROLET SILVERADO display
[x] Cancel search: displayPage 168 of 580
Anti-Lock Brake System Warning Light.............3-41
Traction Off Light..........................................3-41
Engine Coolant Temperature Gage..................3-42
Transmission Temperature Gage.....................3-42
Malfunction Indicator Lamp.............................3-44
Oil Pressure Gage........................................3-46
Security Light...............................................3-47
Cruise Control Light......................................3-47
Highbeam On Light.......................................3-48
Four-Wheel-Drive Light..................................3-48
Tow/Haul Mode Light....................................3-48
Overdrive Disable
(Allison Transmission
®Only)........................3-48
Fuel Gage...................................................3-49
Low Fuel Warning Light.................................3-49
Driver Information Center (DIC).......................3-50
DIC Operation and Displays...........................3-51
DIC Warnings and Messages.........................3-54
DIC Vehicle Customization.............................3-63Audio System(s).............................................3-69
Setting the Time for Radios without Radio
Data Systems (RDS)..................................3-69
Setting the Time for Radios with Radio
Data Systems (RDS)..................................3-70
AM-FM Radio...............................................3-70
Radio with CD..............................................3-73
Radio with Cassette and CD..........................3-83
Radio with Six-Disc CD.................................3-98
Rear Seat Entertainment System...................3-112
Rear Seat Audio (RSA)................................3-122
Theft-Deterrent Feature................................3-124
Audio Steering Wheel Controls......................3-124
Radio Reception.........................................3-125
Care of the Cassette Tape Player.................3-125
Care of Your CDs and DVDs........................3-126
Care of the CD and DVD Player...................3-127
Fixed Mast Antenna....................................3-127
XM™ Satellite Radio Antenna System............3-127
Chime Level Adjustment...............................3-127
Section 3 Instrument Panel
3-2
Page 183 of 580
The fog lamps will be cancelled after the ignition is
turned off. If you still want to use the fog lamps after
you restart the vehicle, you will need to press the
fog lamp button again.
Some localities have laws that require the headlamps
to be on along with the fog lamps.
Auxiliary Roof Mounted Lamp
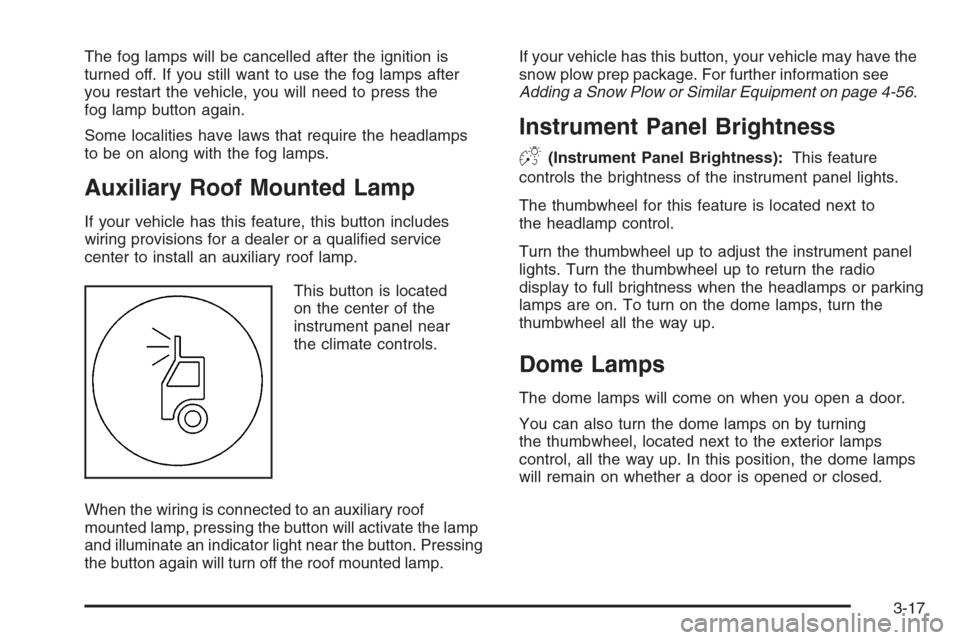
If your vehicle has this feature, this button includes
wiring provisions for a dealer or a quali�ed service
center to install an auxiliary roof lamp.
This button is located
on the center of the
instrument panel near
the climate controls.
When the wiring is connected to an auxiliary roof
mounted lamp, pressing the button will activate the lamp
and illuminate an indicator light near the button. Pressing
the button again will turn off the roof mounted lamp.If your vehicle has this button, your vehicle may have the
snow plow prep package. For further information see
Adding a Snow Plow or Similar Equipment on page 4-56.
Instrument Panel Brightness
D(Instrument Panel Brightness):This feature
controls the brightness of the instrument panel lights.
The thumbwheel for this feature is located next to
the headlamp control.
Turn the thumbwheel up to adjust the instrument panel
lights. Turn the thumbwheel up to return the radio
display to full brightness when the headlamps or parking
lamps are on. To turn on the dome lamps, turn the
thumbwheel all the way up.
Dome Lamps
The dome lamps will come on when you open a door.
You can also turn the dome lamps on by turning
the thumbwheel, located next to the exterior lamps
control, all the way up. In this position, the dome lamps
will remain on whether a door is opened or closed.
3-17
Page 191 of 580

Driver’s Side Temperature Knob
The driver’s side knob is used to adjust the temperature
of the air coming through the system on the driver’s
side. The temperature can be adjusted even if the
system is turned off. This is possible since outside air
will always �ow through the system as the vehicle
is moving forward unless it is set to recirculation mode.
See “Recirculation” later in this section.
Turn the knob counterclockwise or clockwise to lower or
increase the cabin temperature. The display will show
the temperature setting decreasing or increasing and
an arrow pointing to the driver will be displayed
under and to the left of the temperature setting.
Passenger’s Side Temperature Knob
The passenger’s side knob can be used to change the
temperature of the air coming through the system
on the passenger’s side of the vehicle. The temperature
can be adjusted even if the system is turned off. This
is possible since outside air will always �ow through the
system as the vehicle is moving forward unless it is
set to recirculation mode. See “Recirculation” later in
this section.
Turn the knob counterclockwise or clockwise to lower or
increase the cabin temperature. The display will show
the temperature setting decreasing or increasing and an
arrow pointing to the passenger will be displayed
under and to the right of the temperature setting.
The passenger’s temperature setting can be set to
match the driver’s temperature setting by pressing and
holding the AUTO button for four seconds. Both the
driver and passenger arrows will be displayed.
3-25
Page 192 of 580

Automatic Operation
AUTO (Automatic):When automatic operation is
active the system will control the inside temperature,
the air delivery, and the fan speed.
Use the steps below to place the entire system in
automatic mode:
1. Press the AUTO button.
When AUTO is selected, the display will change to
show the current driver’s set temperature, delivery
mode and fan speed. Press the AUTO button again
within �ve seconds to display the passenger’s set
temperature.
If the driver and passenger’s temperature settings
are not the same, the opposite side temperature
setting will be displayed for an additional
�ve seconds. To make the passenger’s
temperature the same as the driver’s press and
hold the AUTO button for about four seconds.
When AUTO is selected, the air conditioning
operation and air inlet will be automatically
controlled. The air conditioning compressor will
run when the outside temperature is over about
40°F (4°C). The air inlet will normally be set
to outside air. If it’s hot outside, the air inlet may
automatically switch to recirculate inside air to help
quickly cool down your vehicle. The light on the
button will illuminate in recirculation.2. Set the driver’s and passenger’s temperature.
To �nd your comfort setting, start with a 74°F (23°C)
temperature setting and allow about 20 minutes
for the system to regulate. Turn the driver’s or
passenger’s side temperature knob to adjust the
temperature setting as necessary. If you choose the
temperature setting of 60°F (15°C) the system
will remain at the maximum cooling setting. If you
choose the temperature setting of 90°F (32°C)
the system will remain at the maximum heat setting.
Choosing either maximum setting will not cause
the vehicle to heat or cool any faster.
Be careful not to cover the sensor located on the
top of the instrument panel near the windshield.
This sensor regulates air temperature based on
sun load, and also turns on your headlamps.
To avoid blowing cold air in cold weather, the
system will delay turning on the fan until warm air
is available. The length of delay depends on
the engine coolant temperature. Pressing the fan
switch will override this delay and change the fan
to a selected speed.
3-26
Page 193 of 580
9(Off):Press this button to turn off the entire climate
control system. Outside air will still enter the vehicle,
and will be directed to the �oor. This direction can
be changed by pressing the mode button. The
temperature can also be adjusted using either
temperature knob. Press the up or down arrows on
the fan switch, the defrost button, the AUTO button,
or the air conditioning button to turn the system on
when it is off.
Manual Operation
You may manually adjust the air delivery mode or
fan speed.
w9x(Fan):The switch with the fan symbol allows
you to manually adjust the fan speed. Press the up
arrow to increase fan speed and the down arrow
to decrease fan speed.
Pressing this button when the system is off will turn
the system on.
C(Mode):Press this button to manually change
the direction of the air�ow in your vehicle; repeatedly
press the button until the desired mode appears on
the display.If you press the mode button to select an air delivery
mode, the display will change to show you the selected
air mode delivery. The display will then show the
current status of the system. When the system is turned
off, the display will go blank after displaying the
current status of the system.
H(Panel):This setting will deliver air to the
instrument panel outlets.
)(Bi-Level):This setting will deliver warmer air to
the �oor and cooler air to the instrument panel outlets.
6(Floor):This setting will deliver air to the �oor
outlets.
-(Defog):See “Defogging and Defrosting” later in
this section.
@(Recirculation):Press this button to limit the
amount of outside air entering your vehicle. The light on
the recirculation button will glow. This is helpful when you
are trying to limit odors entering your vehicle and for
maximum air conditioning performance in hot weather.
Press this button again to allow outside air to enter the
vehicle. The light on the recirculation button will go off.
3-27
Page 194 of 580
Pressing this button also cancels the auto recirculation
feature. To resume the auto recirculation function, press
the AUTO button. Each time the vehicle is started, the
system will revert to the auto recirculation function.
If you select recirculation while in defrost, defog or �oor,
the light in the button will �ash and then go out to let you
know that this is not allowed. This is normal and helps to
prevent fogging.
When the weather is cool or damp, operating the system
in recirculation for extended periods of time may cause
fogging of the vehicle’s windows. To clear the fog, select
either defog or front defrost.
You may also notice that the A/C compressor will run
while in recirculation mode. This is normal and helps to
prevent fogging.
9(Off):Press this button to turn off the entire climate
control system. Outside air will still enter the vehicle,
and will be directed to the �oor. This direction can
be changed by pressing the mode button. The
temperature can also be adjusted using either
temperature knob. Press the up or down arrows on
the fan switch, the defrost button, the AUTO button,
or the air conditioning button to turn the system on
when it is off.
Display
If you press the MODE button to select an air delivery
mode, the display will change to show you the selected
air delivery mode. After ten seconds, the display will
change to show the driver temperature setting and the
selected mode.
If you press the up or down arrows on the fan switch,
the display will change to show the selected fan speed.
After ten seconds, the display will change to show
the driver temperature setting and the selected mode.
Whenever you press AUTO, the display will change
to show the following:
The current driver’s set temperature and an arrow
for �ve seconds
The current passenger’s set temperature setting
and an arrow for �ve seconds
The automatic air delivery mode and fan speed
If the driver’s and passenger’s temperature settings are
the same when AUTO is pressed, the temperature setting
and both arrows will be displayed for �ve seconds along
with the automatic air delivery mode and fan speed. After
the �ve second update, the display will change to show
the temperature setting, both arrows and AUTO.
3-28
Page 195 of 580
Air Conditioning
#
(Air Conditioning):Press this button to turn the
air conditioning (A/C) compressor on and off. The
snow�ake symbol will appear on the display when the
A/C is on and will turn off when the air conditioning is off.
Pressing this button when the outside temperature is
too cool for air conditioning will make the snow�ake
symbol �ash three times and then turn off to let
you know the air conditioning mode is not available. If
the air conditioning is on and the outside temperature
drops below a temperature which is too cool for air
conditioning to be effective, the snow�ake symbol will
turn off to let you know the air conditioning mode
has been canceled.
When air conditioning is selected or in AUTO mode,
the system will run the air conditioning automatically to
cool and dehumidify the air entering the vehicle. If
you select A/C off while in front defrost, defog or
recirculation, the A/C snow�ake symbol will turn off,
but the A/C compressor will still run to help prevent
fogging.
On hot days, open the windows long enough to let hot
inside air escape. This reduces the time it takes for
your vehicle to cool down. Then keep your windows
closed for the air conditioner to work its best.On cool, but sunny days while using manual operation
of the automatic system, use bi-level to deliver warm
air to the �oor and cooler air to the instrument
panel outlets. To warm or cool the air delivered, turn the
temperature knob to the desired setting.
In AUTO mode the system will cool and dehumidify the
air inside the vehicle. Also while in AUTO mode, the
system will maximize its performance by using
recirculation as necessary.
Defogging and Defrosting
You can use either defog or front defrost to clear fog or
frost from your windshield. Use the defog mode to
clear the windows of fog or moisture. Use the front
defrost button to defrost the front windshield.
-(Defog):Use this setting to clear the windows of
fog or moisture. Press the mode button to select
this setting. This setting will deliver air to the �oor and
windshield outlets.
0(Front Defrost):Press the front defrost button to
defrost the windshield. The system will automatically
control the fan speed if you select defrost from AUTO
mode. If the outside temperature is 40°F (4°C) or
warmer, your air conditioning compressor will
automatically run to help dehumidify the air and dry
the windshield.
3-29
Page 199 of 580
Speedometer and Odometer
Your speedometer lets you see your speed in both
miles per hour (mph) and kilometers per hour (km/h).
Your odometer shows how far your vehicle has
been driven, in either miles (used in the United States)
or kilometers (used in Canada).
Engine Hour Meter Display
The Driver Information Center (DIC) can also display
the number of hours the engine has run. To display the
hour meter, turn the ignition off, press and hold the
reset button for at least four seconds. The hour meter
will be displayed for up to 30 seconds, or until the
ignition is turned on. SeeDIC Operation and Displays
on page 3-51for more information.
Trip Odometer
The trip odometer can tell you how far your vehicle has
been driven since you last set the trip odometer to zero.
Press the reset button, located on the instrument panel
cluster next to the trip odometer display, to toggle
between the trip odometer and the regular odometer.
Holding the reset button for approximately one second
while the trip odometer is displayed will reset it.
To display the odometer reading with the ignition off,
press the reset button.
Tachometer
Your tachometer displays the engine speed in revolutions
per minute (rpm). See “Grade Braking” underTow/Haul
Mode on page 2-30for more information.
Notice:If you operate your vehicle with the
tachometer above 6,000 rpm, your vehicle could be
damaged. The repairs would not be covered by
your warranty. Do not operate the engine with the
tachometer above 6,000 rpm.
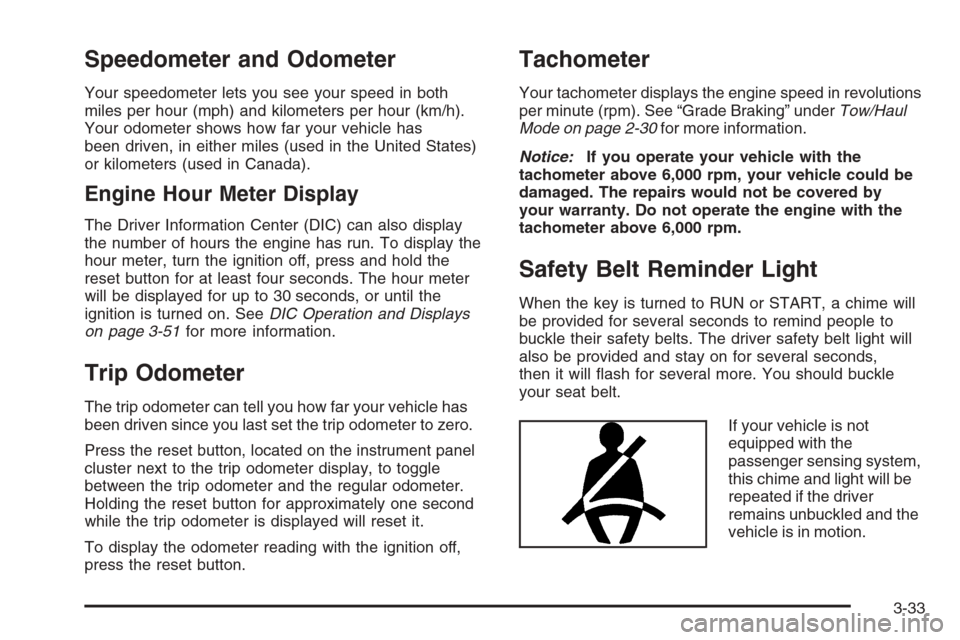
Safety Belt Reminder Light
When the key is turned to RUN or START, a chime will
be provided for several seconds to remind people to
buckle their safety belts. The driver safety belt light will
also be provided and stay on for several seconds,
then it will �ash for several more. You should buckle
your seat belt.
If your vehicle is not
equipped with the
passenger sensing system,
this chime and light will be
repeated if the driver
remains unbuckled and the
vehicle is in motion.
3-33