2005 CHEVROLET EQUINOX towing
[x] Cancel search: towingPage 1 of 364
Seats and Restraint Systems........................... 1-1
Front Seats
............................................... 1-2
Rear Seats
............................................... 1-9
Safety Belts
.............................................1-11
Child Restraints
.......................................1-30
Airbag System
.........................................1-50
Restraint System Check
............................1-60
Features and Controls..................................... 2-1
Keys
........................................................ 2-2
Doors and Locks
....................................... 2-6
Windows
.................................................2-11
Theft-Deterrent Systems
............................2-13
Starting and Operating Your Vehicle
...........2-15
Mirrors
....................................................2-27
OnStar
®System
......................................2-32
Storage Areas
.........................................2-34
Sunroof
..................................................2-41
Instrument Panel............................................. 3-1
Instrument Panel Overview
.......................... 3-4
Climate Controls
......................................3-19
Warning Lights, Gages, and Indicators
........3-23
Audio System(s)
.......................................3-39Driving Your Vehicle....................................... 4-1
Your Driving, the Road, and Your Vehicle
..... 4-2
Towing
...................................................4-34
Service and Appearance Care.......................... 5-1
Service
..................................................... 5-3
Fuel
......................................................... 5-5
Checking Things Under the Hood
...............5-10
All-Wheel Drive
........................................5-41
Bulb Replacement
....................................5-43
Windshield Wiper Blade Replacement
.........5-48
Tires
......................................................5-49
Appearance Care
.....................................5-74
Vehicle Identi�cation
.................................5-83
Electrical System
......................................5-84
Capacities and Speci�cations
.....................5-89
Maintenance Schedule..................................... 6-1
Maintenance Schedule
................................ 6-2
Customer Assistance and Information.............. 7-1
Customer Assistance and Information
........... 7-2
Reporting Safety Defects
...........................7-10
Index................................................................ 1
2005 Chevrolet Equinox Owner ManualM
Page 83 of 364
Passlock®
Your vehicle is equipped with the
Passlock®theft-deterrent system.
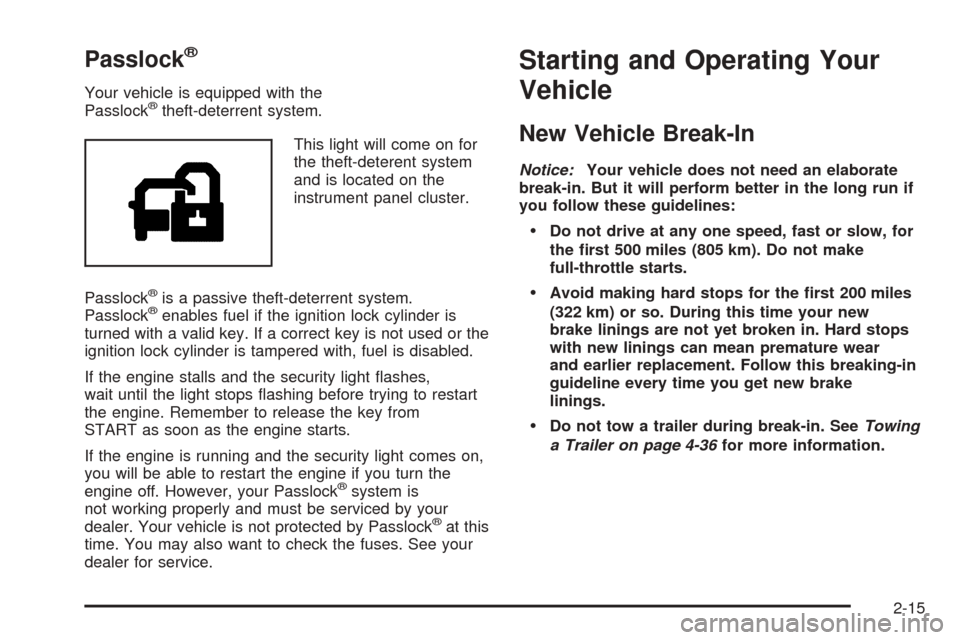
This light will come on for
the theft-deterent system
and is located on the
instrument panel cluster.
Passlock
®is a passive theft-deterrent system.
Passlock®enables fuel if the ignition lock cylinder is
turned with a valid key. If a correct key is not used or the
ignition lock cylinder is tampered with, fuel is disabled.
If the engine stalls and the security light �ashes,
wait until the light stops �ashing before trying to restart
the engine. Remember to release the key from
START as soon as the engine starts.
If the engine is running and the security light comes on,
you will be able to restart the engine if you turn the
engine off. However, your Passlock
®system is
not working properly and must be serviced by your
dealer. Your vehicle is not protected by Passlock
®at this
time. You may also want to check the fuses. See your
dealer for service.
Starting and Operating Your
Vehicle
New Vehicle Break-In
Notice:Your vehicle does not need an elaborate
break-in. But it will perform better in the long run if
you follow these guidelines:
Do not drive at any one speed, fast or slow, for
the �rst 500 miles (805 km). Do not make
full-throttle starts.
Avoid making hard stops for the �rst 200 miles
(322 km) or so. During this time your new
brake linings are not yet broken in. Hard stops
with new linings can mean premature wear
and earlier replacement. Follow this breaking-in
guideline every time you get new brake
linings.
Do not tow a trailer during break-in. SeeTowing
a Trailer on page 4-36for more information.
2-15
Page 87 of 364
Automatic Transaxle Operation
Your vehicle’s automatic transaxle is electronically
controlled with a computer module. The computer is
programmed to control the transaxle clutch pressures.
This means that your vehicle’s automatic transaxle
will optimize shifting on hills and throughout the life of
the vehicle. Your vehicle’s system will control the
amount of unnecessary upshifting while traveling up a
hill. Once you have reached the top of the hill, the
system will resume its normal shift schedule. If traveling
down a steep hill, the computer may shift to a lower
gear, which will help reduce braking.
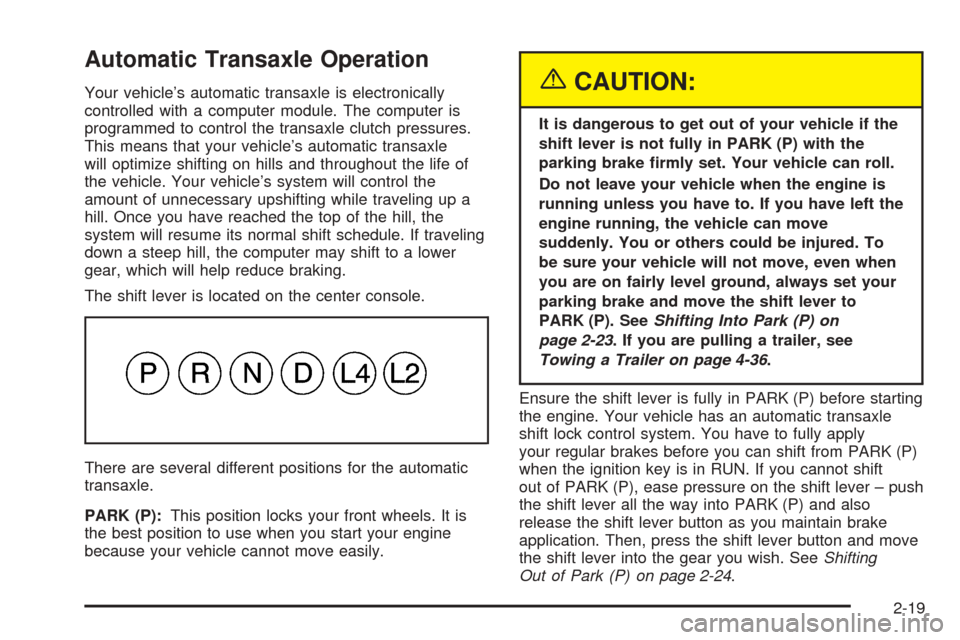
The shift lever is located on the center console.
There are several different positions for the automatic
transaxle.
PARK (P):This position locks your front wheels. It is
the best position to use when you start your engine
because your vehicle cannot move easily.{CAUTION:
It is dangerous to get out of your vehicle if the
shift lever is not fully in PARK (P) with the
parking brake �rmly set. Your vehicle can roll.
Do not leave your vehicle when the engine is
running unless you have to. If you have left the
engine running, the vehicle can move
suddenly. You or others could be injured. To
be sure your vehicle will not move, even when
you are on fairly level ground, always set your
parking brake and move the shift lever to
PARK (P). SeeShifting Into Park (P) on
page 2-23. If you are pulling a trailer, see
Towing a Trailer on page 4-36.
Ensure the shift lever is fully in PARK (P) before starting
the engine. Your vehicle has an automatic transaxle
shift lock control system. You have to fully apply
your regular brakes before you can shift from PARK (P)
when the ignition key is in RUN. If you cannot shift
out of PARK (P), ease pressure on the shift lever – push
the shift lever all the way into PARK (P) and also
release the shift lever button as you maintain brake
application. Then, press the shift lever button and move
the shift lever into the gear you wish. SeeShifting
Out of Park (P) on page 2-24.
2-19
Page 89 of 364
LOW TWO (L2):This position gives you more power
but lower fuel economy. You can use LOW TWO (L2) on
hills. It can help control your speed as you go down
steep mountain roads, but then you would also want to
use your brakes off and on.
Notice:Do not drive in LOW TWO (L2) for more
than 25 miles (40 km), or at speeds over 55 mph
(90 km/h), or you can damage your transaxle.
Use AUTOMATIC OVERDRIVE (D) or LOW FOUR (L4)
as much as possible. Do not shift into LOW
TWO (L2) unless you are going slower than 65 mph
(105 km/h) or you can damage your engine.
Notice:Spinning the tires or holding the vehicle in
one place on a hill using only the accelerator
pedal may damage the transaxle. If you are stuck,
do not spin the tires. When stopping on a hill,
use the brakes to hold the vehicle in place.Transaxle Overheating
If the transaxle �uid temperature rises above 284°F
(140°C) or rises rapidly, the Engine Coolant
Temperature Warning Light will �ash. SeeEngine
Coolant Temperature Warning Light on page 3-31for
more information. When the transaxle overheats it
will go into a protection mode and will default shift into
�fth gear if in the AUTOMATIC OVERDRIVE (D)
position, or second gear if in the LOW TWO (L2)
position. Continue driving the vehicle in either position
depending on the required vehicle speed and load. Once
the �uid temperature lowers to the normal temperature
range, the transaxle will return to the normal shift
patterns. Towing or driving on long hills can cause the
transaxle �uid temperature to be higher than normal.
If the transaxle �uid temperature will not cool, you may
need to pull over and check the transaxle �uid level.
You should also check the engine coolant temperature.
If it is hot, seeEngine Overheating on page 5-24.
2-21
Page 91 of 364
Shifting Into Park (P)
{CAUTION:
It can be dangerous to get out of your vehicle
if the shift lever is not fully in PARK (P) with
the parking brake �rmly set. Your vehicle can
roll. If you have left the engine running, the
vehicle can move suddenly. You or others
could be injured. To be sure your vehicle will
not move, even when you are on fairly level
ground, use the steps that follow. If you are
pulling a trailer, seeTowing a Trailer on
page 4-36.
1. Hold the brake pedal down and set the
parking brake.
2. Move the shift lever into the PARK (P) position by
holding in the button on the shift lever and pushing
it all the way toward the front of the vehicle.
3. Turn the ignition key to LOCK.
4. Remove the key and take it with you. If you can
leave your vehicle with the ignition key in your
hand, your vehicle is in PARK (P).
Leaving Your Vehicle With the Engine
Running
{CAUTION:
It can be dangerous to leave your vehicle with
the engine running. Your vehicle could move
suddenly if the shift lever is not fully in
PARK (P) with the parking brake �rmly set.
And, if you leave the vehicle with the engine
running, it could overheat and even catch �re.
You or others could be injured. Do not leave
your vehicle with the engine running.
If you have to leave your vehicle with the engine
running, be sure your vehicle is in PARK (P) and your
parking brake is �rmly set before you leave it. After you
have moved the shift lever into PARK (P), hold the
regular brake pedal down. Then, see if you can move
the shift lever away from PARK (P) without �rst pushing
the button. If you can, it means that the shift lever
was not fully locked into PARK (P).
2-23
Page 94 of 364
Running the Engine While Parked
It is better not to park with the engine running. But if you
ever have to, here are some things to know.
{CAUTION:
Idling the engine with the climate control
system off could allow dangerous exhaust into
your vehicle. See the earlier caution under
Engine Exhaust on page 2-25.
Also, idling in a closed-in place can let deadly
carbon monoxide (CO) into your vehicle even if
the climate control fan is at the highest setting.
One place this can happen is a garage.
Exhaust — with CO — can come in easily.
NEVER park in a garage with the engine
running.
Another closed-in place can be a blizzard.
SeeWinter Driving on page 4-24.
{CAUTION:
It can be dangerous to get out of your vehicle
if the shift lever is not fully in PARK (P) with
the parking brake �rmly set. Your vehicle can
roll. Do not leave your vehicle when the engine
is running unless you have to. If you have left
the engine running, the vehicle can move
suddenly. You or others could be injured. To
be sure your vehicle will not move, even when
you are on fairly level ground, always set your
parking brake and move the shift lever to
PARK (P).
Follow the proper steps to be sure your vehicle will not
move. SeeShifting Into Park (P) on page 2-23.
If you are parking on a hill and if you are pulling a
trailer, also seeTowing a Trailer on page 4-36.
2-26
Page 138 of 364
Brake System Warning Light
Your vehicle’s hydraulic brake system is divided into
two parts. If one part isn’t working, the other part can still
work and stop you. For good braking, though, you
need both parts working well.
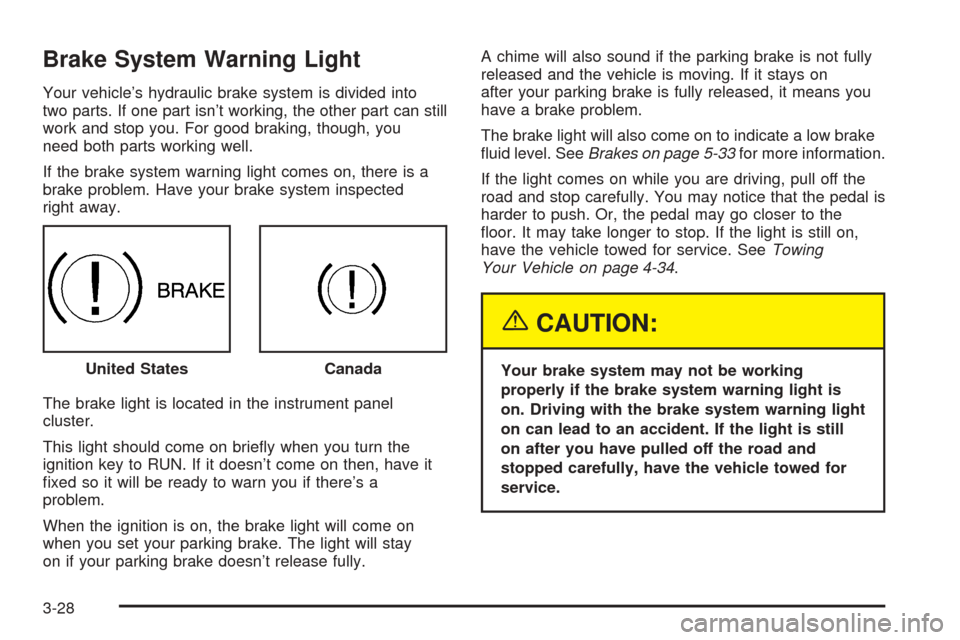
If the brake system warning light comes on, there is a
brake problem. Have your brake system inspected
right away.
The brake light is located in the instrument panel
cluster.
This light should come on brie�y when you turn the
ignition key to RUN. If it doesn’t come on then, have it
�xed so it will be ready to warn you if there’s a
problem.
When the ignition is on, the brake light will come on
when you set your parking brake. The light will stay
on if your parking brake doesn’t release fully.A chime will also sound if the parking brake is not fully
released and the vehicle is moving. If it stays on
after your parking brake is fully released, it means you
have a brake problem.
The brake light will also come on to indicate a low brake
�uid level. SeeBrakes on page 5-33for more information.
If the light comes on while you are driving, pull off the
road and stop carefully. You may notice that the pedal is
harder to push. Or, the pedal may go closer to the
�oor. It may take longer to stop. If the light is still on,
have the vehicle towed for service. SeeTowing
Your Vehicle on page 4-34.
{CAUTION:
Your brake system may not be working
properly if the brake system warning light is
on. Driving with the brake system warning light
on can lead to an accident. If the light is still
on after you have pulled off the road and
stopped carefully, have the vehicle towed for
service. United StatesCanada
3-28
Page 143 of 364
If the Light is Flashing
The following may prevent more serious damage to
your vehicle:
Reducing vehicle speed
Avoiding hard accelerations
Avoiding steep uphill grades
If you are towing a trailer, reduce the amount of
cargo being hauled as soon as it is possible
If the light stops �ashing and remains on steady, see “If
the Light Is On Steady” following.
If the light continues to �ash, when it is safe to do so,
stop the vehicle. Find a safe place to park your vehicle.
Turn the key off, wait at least 10 seconds and restart
the engine. If the light remains on steady, see “If
the Light Is On Steady” following. If the light is still
�ashing, follow the previous steps, and see your dealer
for service as soon as possible.
If the Light Is On Steady
You may be able to correct the emission system
malfunction by considering the following:
Did you recently put fuel into your vehicle?
If so, reinstall the fuel cap, making sure to fully install
the cap. SeeFilling the Tank on page 5-8.The diagnostic system can determine if the fuel cap has
been left off or improperly installed. A loose or missing
fuel cap will allow fuel to evaporate into the atmosphere.
A few driving trips with the cap properly installed
should turn the light off.
Did you just drive through a deep puddle of water?
If so, your electrical system may be wet. The condition
will usually be corrected when the electrical system
dries out. A few driving trips should turn the light off.
Have you recently changed brands of fuel?
If so, be sure to fuel your vehicle with quality fuel. See
Gasoline Octane on page 5-5. Poor fuel quality will
cause your engine not to run as efficiently as designed.
You may notice this as stalling after start-up, stalling
when you put the vehicle into gear, mis�ring, hesitation
on acceleration, or stumbling on acceleration. (These
conditions may go away once the engine is warmed up.)
This will be detected by the system and cause the
light to turn on.
If you experience one or more of these conditions,
change the fuel brand you use. It will require at least
one full tank of the proper fuel to turn the light off.
If none of the above steps have made the light turn off,
your dealer can check the vehicle. Your dealer has
the proper test equipment and diagnostic tools to �x any
mechanical or electrical problems that may have
developed.
3-33