2005 CHEVROLET EQUINOX turn signal
[x] Cancel search: turn signalPage 111 of 364
Instrument Panel Overview...............................3-4
Hazard Warning Flashers................................3-5
Other Warning Devices...................................3-6
Horn.............................................................3-6
Tilt Wheel.....................................................3-6
Turn Signal/Multifunction Lever.........................3-7
Turn and Lane-Change Signals........................3-7
Headlamp High/Low-Beam Changer..................3-8
Windshield Wipers..........................................3-8
Windshield Washer.........................................3-9
Cruise Control..............................................3-10
Headlamps..................................................3-13
Headlamps on Reminder................................3-13
Daytime Running Lamps (DRL).......................3-14
Automatic Headlamp System..........................3-14
Fog Lamps..................................................3-15
Instrument Panel Brightness...........................3-15
Dome Lamp.................................................3-16
Entry Lighting...............................................3-16
Map Lamps.................................................3-17
Cargo Lamp.................................................3-17
Battery Run-Down Protection..........................3-17
Accessory Power Outlet(s).............................3-18
Ashtray(s) and Cigarette Lighter......................3-18Climate Controls............................................3-19
Climate Control System.................................3-19
Outlet Adjustment.........................................3-21
Passenger Compartment Air Filter...................3-21
Warning Lights, Gages, and Indicators............3-23
Instrument Panel Cluster................................3-24
Speedometer and Odometer...........................3-25
Trip Odometer..............................................3-25
Tachometer.................................................3-25
Safety Belt Reminder Light.............................3-26
Airbag Readiness Light..................................3-26
Battery Warning Light....................................3-27
Brake System Warning Light..........................3-28
Anti-Lock Brake System Warning Light.............3-29
Traction Control System (TCS)
Warning Light...........................................3-30
Low Traction Light........................................3-30
Engine Coolant Temperature Warning Light......3-31
Engine Coolant Temperature Gage..................3-31
Malfunction Indicator Lamp.............................3-32
Oil Pressure Light.........................................3-34
Change Engine Oil Light................................3-35
Security Light...............................................3-35
Reduced Engine Power Light.........................3-36
Section 3 Instrument Panel
3-1
Page 115 of 364
The main components of your instrument panel are the
following:
A. Power Mirror Control. SeeOutside Power Mirrors on
page 2-31
B. Turn Signal/Multifunction Lever. SeeTurn
Signal/Multifunction Lever on page 3-7.
C. Instrument Panel Cluster. SeeInstrument Panel
Cluster on page 3-24.
D. Windshield Wiper/Washer Lever. SeeWindshield
Wipers on page 3-8.
E. Traction Control System Button. SeeTraction
Control System (TCS) on page 4-8.
F. Outlets. SeeOutlet Adjustment on page 3-21.
G. Hazard Warning Flashers. SeeHazard Warning
Flashers on page 3-5.
H. Fog Lamps Button. SeeFog Lamps on page 3-15.
I. Audio System. SeeAudio System(s) on page 3-39.
J. Glove Box. SeeGlove Box on page 2-34.
K. Cruise Control System Buttons and Audio Steering
Wheel Controls (If Equipped). SeeCruise Control on
page 3-10andAudio Steering Wheel Controls on
page 3-78.
L. Hood Release. SeeHood Release on page 5-10.
M. Tilt Wheel. SeeTilt Wheel on page 3-6.
N. Horn. SeeHorn on page 3-6.O. Ignition Switch. SeeIgnition Positions on page 2-16.
P. Climate Control System. SeeClimate Control
System on page 3-19.
Q. Shift Lever. SeeShifting Into Park (P) on page 2-23.
Hazard Warning Flashers
Your hazard warning �ashers let you warn others. They
also let police know you have a problem. Your front
and rear turn signal lamps will �ash on and off.
The hazard warning
�asher button is located in
the center of the
instrument panel.
Your hazard warning �ashers work no matter what
position your key is in, and even if the key is not in.
Press the button to make the front and rear turn signal
lamps �ash on and off. Press the button again to
turn the �ashers off.
When the hazard warning �ashers are on, your turn
signals will not work.
3-5
Page 117 of 364
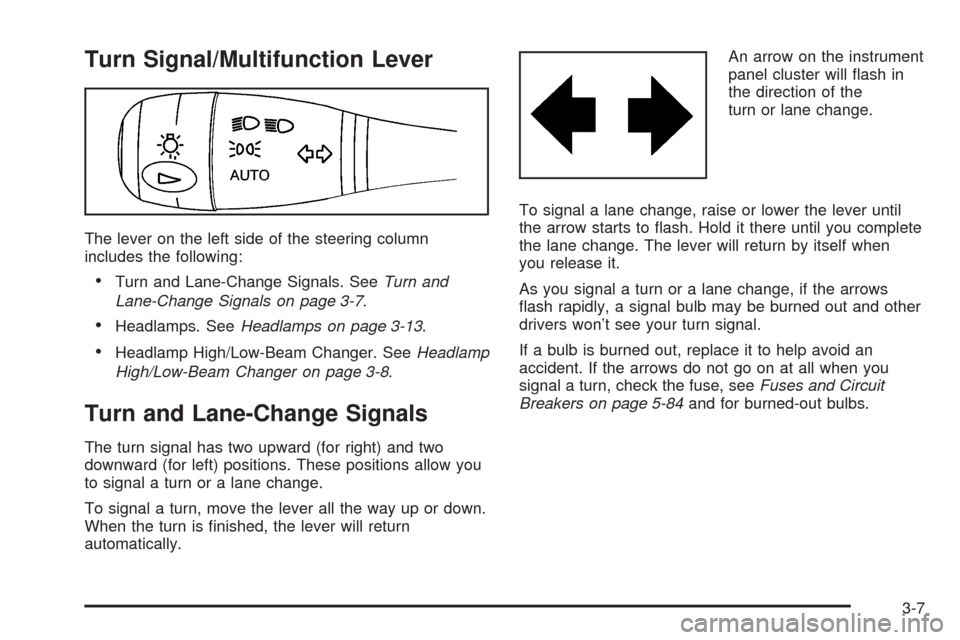
Turn Signal/Multifunction Lever
The lever on the left side of the steering column
includes the following:
Turn and Lane-Change Signals. SeeTurn and
Lane-Change Signals on page 3-7.
Headlamps. SeeHeadlamps on page 3-13.
Headlamp High/Low-Beam Changer. SeeHeadlamp
High/Low-Beam Changer on page 3-8.
Turn and Lane-Change Signals
The turn signal has two upward (for right) and two
downward (for left) positions. These positions allow you
to signal a turn or a lane change.
To signal a turn, move the lever all the way up or down.
When the turn is �nished, the lever will return
automatically.An arrow on the instrument
panel cluster will �ash in
the direction of the
turn or lane change.
To signal a lane change, raise or lower the lever until
the arrow starts to �ash. Hold it there until you complete
the lane change. The lever will return by itself when
you release it.
As you signal a turn or a lane change, if the arrows
�ash rapidly, a signal bulb may be burned out and other
drivers won’t see your turn signal.
If a bulb is burned out, replace it to help avoid an
accident. If the arrows do not go on at all when you
signal a turn, check the fuse, seeFuses and Circuit
Breakers on page 5-84and for burned-out bulbs.
3-7
Page 118 of 364
Headlamp High/Low-Beam Changer
To change the headlamps from low beam to high or
high beam to low, pull the turn signal lever all the way
towards you. Then release it.
When the high beams are
on, this light on the
instrument panel cluster
will also be on.
Windshield Wipers
Be sure to clear ice and snow from the wiper blades
before using them. If the wiper blades are frozen to the
windshield, gently loosen or thaw them. If the blades
do become damaged, install new blades or blade
inserts.
Heavy snow or ice can overload the wiper motor. A
circuit breaker will stop the motor until it cools down.
Clear away snow or ice to prevent an overload.
The lever on the right side of the steering column
operates the windshield wipers. Push up or pull down
on the lever to place it in one of the following positions.
United States
Canada
3-8
Page 123 of 364
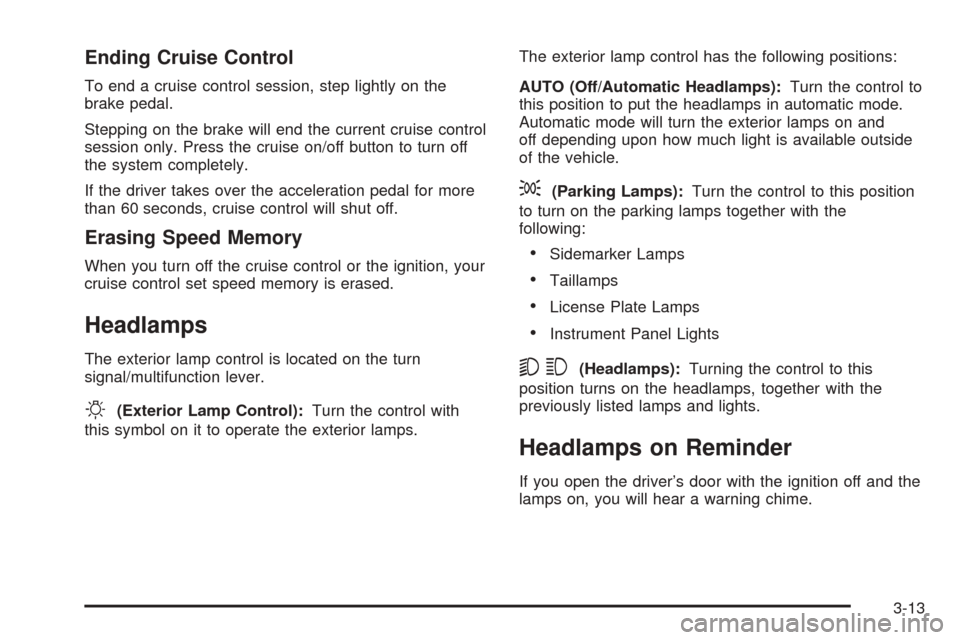
Ending Cruise Control
To end a cruise control session, step lightly on the
brake pedal.
Stepping on the brake will end the current cruise control
session only. Press the cruise on/off button to turn off
the system completely.
If the driver takes over the acceleration pedal for more
than 60 seconds, cruise control will shut off.
Erasing Speed Memory
When you turn off the cruise control or the ignition, your
cruise control set speed memory is erased.
Headlamps
The exterior lamp control is located on the turn
signal/multifunction lever.
O(Exterior Lamp Control):Turn the control with
this symbol on it to operate the exterior lamps.The exterior lamp control has the following positions:
AUTO (Off/Automatic Headlamps):Turn the control to
this position to put the headlamps in automatic mode.
Automatic mode will turn the exterior lamps on and
off depending upon how much light is available outside
of the vehicle.
;(Parking Lamps):Turn the control to this position
to turn on the parking lamps together with the
following:
Sidemarker Lamps
Taillamps
License Plate Lamps
Instrument Panel Lights
53(Headlamps):Turning the control to this
position turns on the headlamps, together with the
previously listed lamps and lights.
Headlamps on Reminder
If you open the driver’s door with the ignition off and the
lamps on, you will hear a warning chime.
3-13
Page 149 of 364
Audio System(s)
Driving without distraction is a necessity for a safer
driving experience. SeeDefensive Driving on page 4-2.
By taking a few moments to read this manual and
get familiar with your vehicle’s audio system, you can
use it with less effort, as well as take advantage of
its features. While your vehicle is parked, program your
favorite radio stations and XM™ channels (if equipped).
Set the tone and balance the way you like them.
Then when driving conditions permit, you can tune to
your favorite stations using the presets and steering
wheel controls (if equipped).
Notice:Before adding any sound equipment to
your vehicle, such as an audio system, CD player,
CB radio, mobile telephone, or two-way radio, make
sure that it can be added by checking with your
dealer. Also, check federal rules covering mobile
radio and telephone units. If sound equipment can
be added, it is very important to do it properly.
Added sound equipment may interfere with
the operation of your vehicle’s engine, radio, or
other systems, and even damage them. Your
vehicle’s systems may interfere with the operation
of sound equipment that has been added.Notice:The chime signals related to seat belts,
parking brake, and other functions of your vehicle
operate through the GM radio/entertainment system.
If that equipment is replaced or additional
equipment is added to your vehicle, the chimes may
not work. Make sure that replacement or additional
equipment is compatible with your vehicle before
installing it.
Figure out which audio system is in your vehicle, �nd
out what your audio system can do, and how to operate
all of its controls.
Your vehicle has a feature called Retained Accessory
Power (RAP). With RAP, the audio system can be
played even after the ignition is turned off. SeeRetained
Accessory Power (RAP) on page 2-16for more
information.
3-39
Page 152 of 364
Then as you drive, automatic volume increases the
volume, as necessary, to overcome noise at any speed.
The volume level should always sound the same to
you as you drive. AUTO VOL NONE will appear on the
display if the radio cannot determine the vehicle
speed or if the engine is not running. To turn automatic
volume off, press this button until AUTO VOL OFF
appears on the display.
DISP (Display):For RDS, press the DISP knob to
change what appears on the display while using RDS.
The display options are station name, RDS station
frequency, PTY, and the name of the program
(if available).
For XM™ (if equipped), press the DISP knob while in
XM™ mode to retrieve four different categories of
information related to the current song or channel: Artist,
Song Title, Category or PTY, Channel Number/
Channel Name.
Finding a Station
BAND:Press this button to switch between FM1, FM2,
AM, or XM1 or XM2 (if equipped). The display will
show the selection.
ADJ (Adjust):Turn this knob to select radio stations.
xSEEKw:Press the down or up arrow to go to the
previous or to the next station and stay there.To scan stations, press and hold either arrow for
two seconds until SCAN appears on the display and
you hear a beep. The radio will go to a station, play for
a few seconds, then go on to the next station. Press
either arrow again to stop scanning. If no station can be
found during scan, NOT FOUND will appear on the
display and the radio will go back to the last tuned
station.
The radio will only seek and scan stations with a strong
signal that are in the selected band.
1–6 (Preset Pushbuttons):Press this button to play
stations that are programmed on the radio preset
pushbuttons.
The radio will only seek preset stations with a strong
signal that are in the selected band.
Setting Preset Stations
Up to 30 stations (six FM1, six FM2, and six AM,
six XM1 and six XM2 (if equipped)), can be programmed
on the six numbered pushbuttons, by performing the
following steps:
1. Turn the radio on.
2. Press BAND to select FM1, FM2, AM, or XM1
or XM2.
3. Tune in the desired station.
4. Press AUTO EQ to select the equalization.
3-42
Page 156 of 364
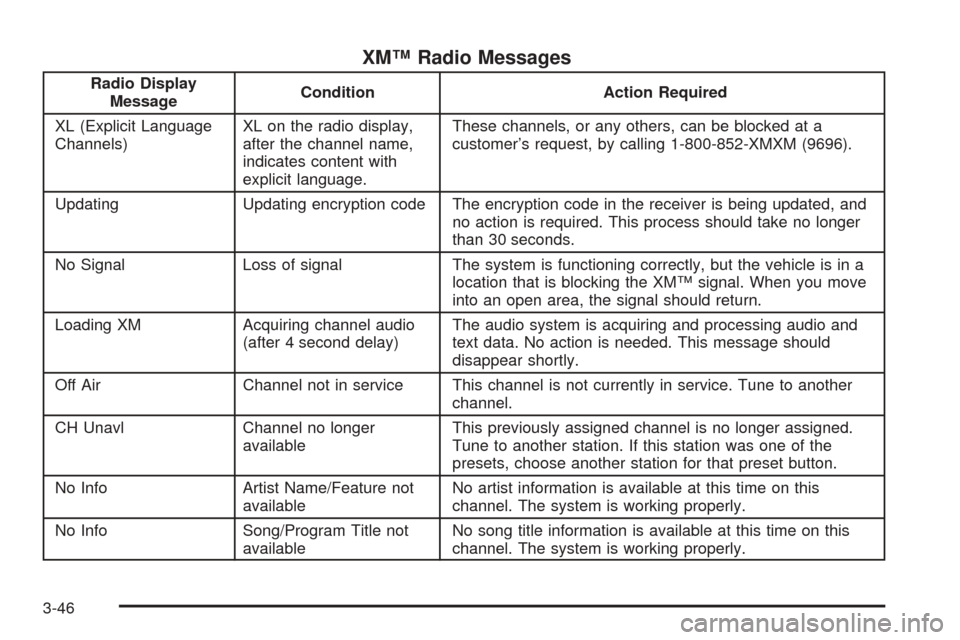
XM™ Radio Messages
Radio Display
MessageCondition Action Required
XL (Explicit Language
Channels)XL on the radio display,
after the channel name,
indicates content with
explicit language.These channels, or any others, can be blocked at a
customer’s request, by calling 1-800-852-XMXM (9696).
Updating Updating encryption code The encryption code in the receiver is being updated, and
no action is required. This process should take no longer
than 30 seconds.
No Signal Loss of signal The system is functioning correctly, but the vehicle is in a
location that is blocking the XM™ signal. When you move
into an open area, the signal should return.
Loading XM Acquiring channel audio
(after 4 second delay)The audio system is acquiring and processing audio and
text data. No action is needed. This message should
disappear shortly.
Off Air Channel not in service This channel is not currently in service. Tune to another
channel.
CH Unavl Channel no longer
availableThis previously assigned channel is no longer assigned.
Tune to another station. If this station was one of the
presets, choose another station for that preset button.
No Info Artist Name/Feature not
availableNo artist information is available at this time on this
channel. The system is working properly.
No Info Song/Program Title not
availableNo song title information is available at this time on this
channel. The system is working properly.
3-46