2005 CHEVROLET EPICA air condition
[x] Cancel search: air conditionPage 64 of 340
Passenger Sensing System
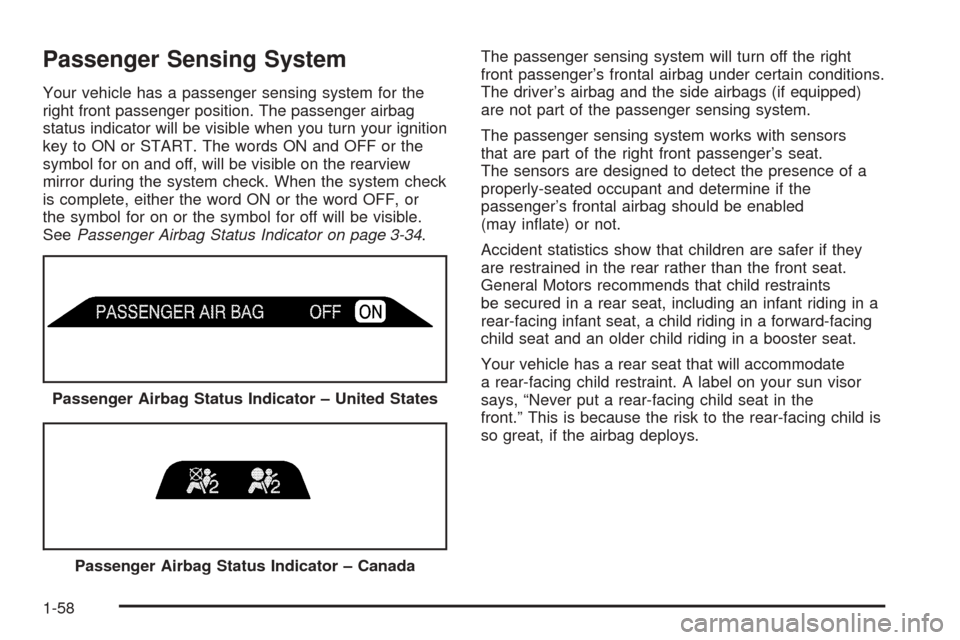
Your vehicle has a passenger sensing system for the
right front passenger position. The passenger airbag
status indicator will be visible when you turn your ignition
key to ON or START. The words ON and OFF or the
symbol for on and off, will be visible on the rearview
mirror during the system check. When the system check
is complete, either the word ON or the word OFF, or
the symbol for on or the symbol for off will be visible.
SeePassenger Airbag Status Indicator on page 3-34.The passenger sensing system will turn off the right
front passenger’s frontal airbag under certain conditions.
The driver’s airbag and the side airbags (if equipped)
are not part of the passenger sensing system.
The passenger sensing system works with sensors
that are part of the right front passenger’s seat.
The sensors are designed to detect the presence of a
properly-seated occupant and determine if the
passenger’s frontal airbag should be enabled
(may inflate) or not.
Accident statistics show that children are safer if they
are restrained in the rear rather than the front seat.
General Motors recommends that child restraints
be secured in a rear seat, including an infant riding in a
rear-facing infant seat, a child riding in a forward-facing
child seat and an older child riding in a booster seat.
Your vehicle has a rear seat that will accommodate
a rear-facing child restraint. A label on your sun visor
says, “Never put a rear-facing child seat in the
front.” This is because the risk to the rear-facing child is
so great, if the airbag deploys. Passenger Airbag Status Indicator – United States
Passenger Airbag Status Indicator – Canada
1-58
Page 123 of 340
M (Minute):To go forward one minute, press the
M button once. To go forward more than one minute,
press and hold the button until the correct minute
is reached.
S (Set):To reset the time to the nearest hour, press the
S button.
For example, if the set button is pressed while the time
is between 8:00 and 8:29, the display is set to 8:00.
If this button is pressed while the time is between 8:30
and 8:59, the display is set to 9:00.
After disconnecting the battery or replacing the fuse,
reset the clock.Climate Controls
Climate Control System
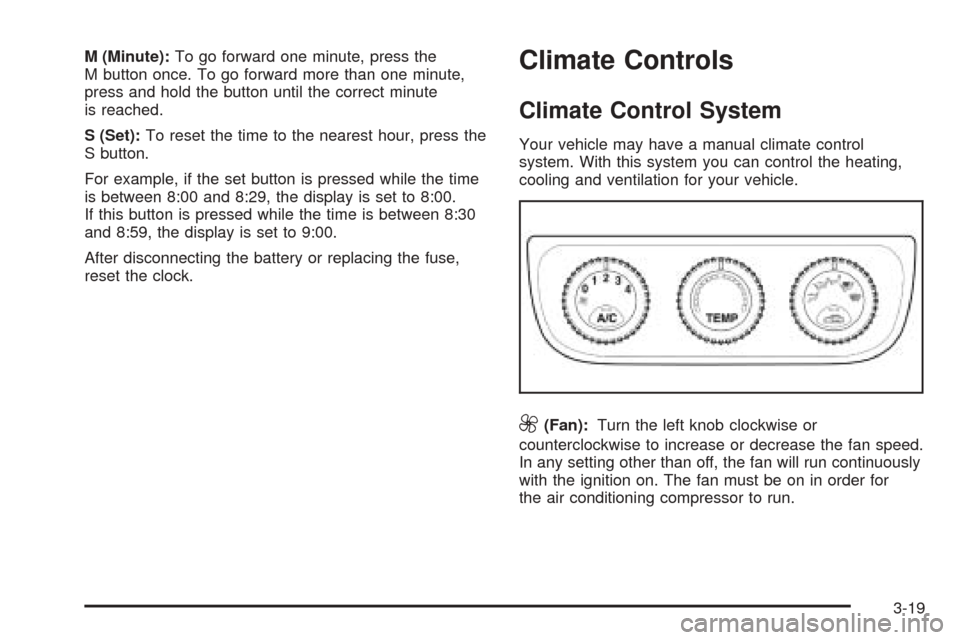
Your vehicle may have a manual climate control
system. With this system you can control the heating,
cooling and ventilation for your vehicle.
9(Fan):Turn the left knob clockwise or
counterclockwise to increase or decrease the fan speed.
In any setting other than off, the fan will run continuously
with the ignition on. The fan must be on in order for
the air conditioning compressor to run.
3-19
Page 124 of 340
0 (Off):To turn the fan off, turn the knob all the way
counterclockwise to the off position.
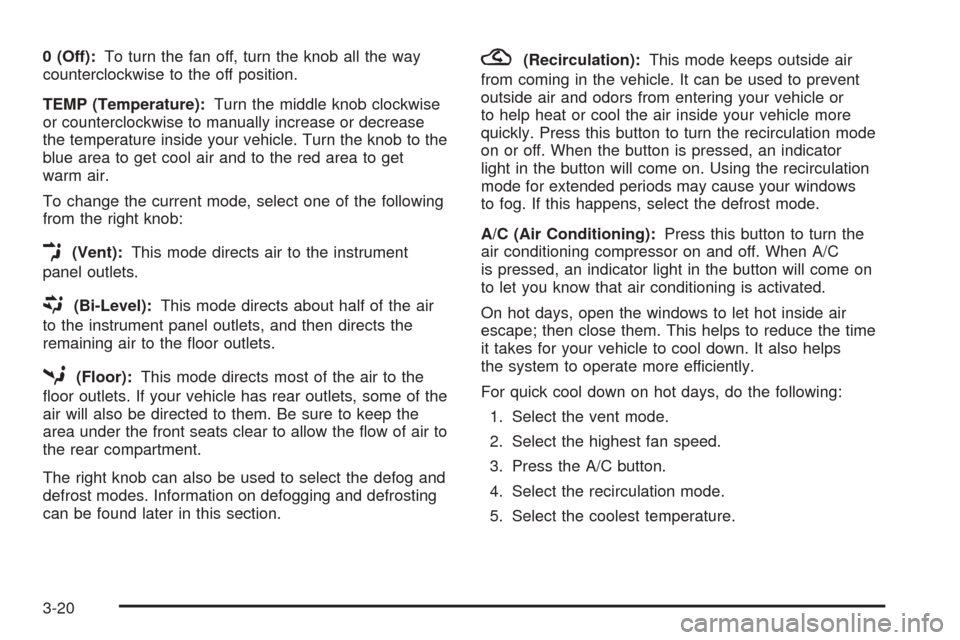
TEMP (Temperature):Turn the middle knob clockwise
or counterclockwise to manually increase or decrease
the temperature inside your vehicle. Turn the knob to the
blue area to get cool air and to the red area to get
warm air.
To change the current mode, select one of the following
from the right knob:
E(Vent):This mode directs air to the instrument
panel outlets.
((Bi-Level):This mode directs about half of the air
to the instrument panel outlets, and then directs the
remaining air to the floor outlets.
5(Floor):This mode directs most of the air to the
floor outlets. If your vehicle has rear outlets, some of the
air will also be directed to them. Be sure to keep the
area under the front seats clear to allow the flow of air to
the rear compartment.
The right knob can also be used to select the defog and
defrost modes. Information on defogging and defrosting
can be found later in this section.
?(Recirculation):This mode keeps outside air
from coming in the vehicle. It can be used to prevent
outside air and odors from entering your vehicle or
to help heat or cool the air inside your vehicle more
quickly. Press this button to turn the recirculation mode
on or off. When the button is pressed, an indicator
light in the button will come on. Using the recirculation
mode for extended periods may cause your windows
to fog. If this happens, select the defrost mode.
A/C (Air Conditioning):Press this button to turn the
air conditioning compressor on and off. When A/C
is pressed, an indicator light in the button will come on
to let you know that air conditioning is activated.
On hot days, open the windows to let hot inside air
escape; then close them. This helps to reduce the time
it takes for your vehicle to cool down. It also helps
the system to operate more efficiently.
For quick cool down on hot days, do the following:
1. Select the vent mode.
2. Select the highest fan speed.
3. Press the A/C button.
4. Select the recirculation mode.
5. Select the coolest temperature.
3-20
Page 125 of 340
Using these settings together for long periods of time
may cause the air inside of your vehicle to become too
dry. To prevent this from happening, after the air in
your vehicle has cooled, turn the recirculation mode off.
The air conditioning system removes moisture from
the air, so you may sometimes notice a small amount of
water dripping underneath your vehicle while idling or
after turning off the engine. This is normal.
Defogging and Defrosting
Fog on the inside of windows is a result of high humidity
or moisture condensing on the cool window glass.
This can be minimized if the climate control system is
used properly. There are two modes to clear fog or frost
from your windshield. Use the defog mode to clear
the windows of fog or moisture and warm the
passengers. Use the defrost mode to remove fog or
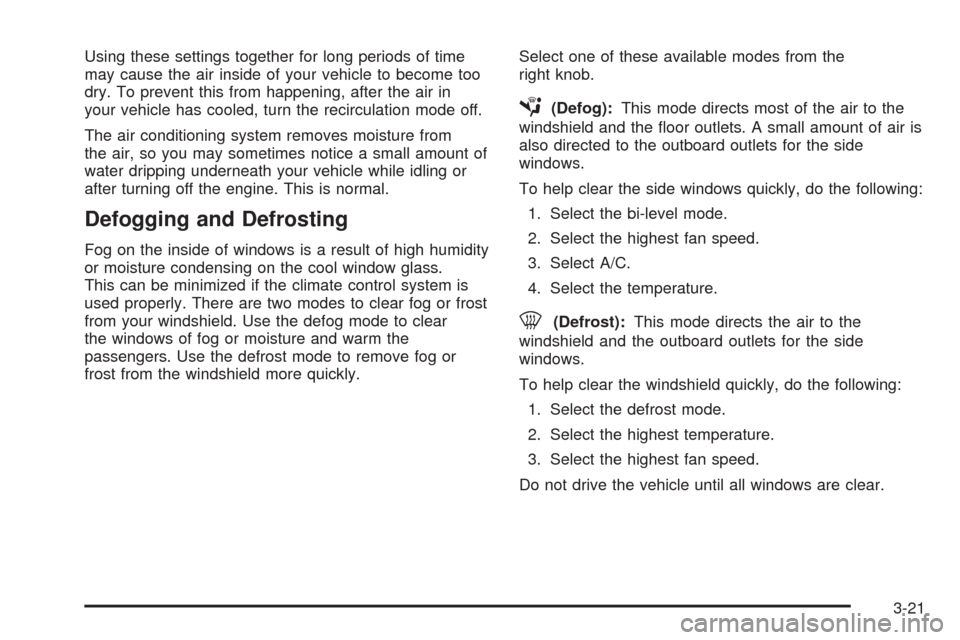
frost from the windshield more quickly.Select one of these available modes from the
right knob.
É(Defog):This mode directs most of the air to the
windshield and the floor outlets. A small amount of air is
also directed to the outboard outlets for the side
windows.
To help clear the side windows quickly, do the following:
1. Select the bi-level mode.
2. Select the highest fan speed.
3. Select A/C.
4. Select the temperature.
0(Defrost):This mode directs the air to the
windshield and the outboard outlets for the side
windows.
To help clear the windshield quickly, do the following:
1. Select the defrost mode.
2. Select the highest temperature.
3. Select the highest fan speed.
Do not drive the vehicle until all windows are clear.
3-21
Page 127 of 340
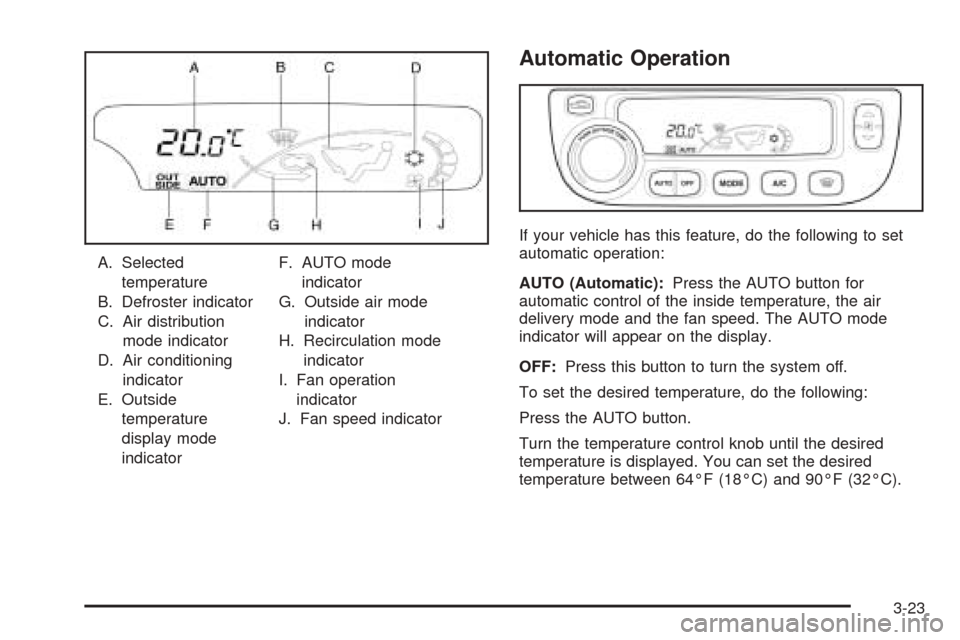
A. Selected
temperature
B. Defroster indicator
C. Air distribution
mode indicator
D. Air conditioning
indicator
E. Outside
temperature
display mode
indicatorF. AUTO mode
indicator
G. Outside air mode
indicator
H. Recirculation mode
indicator
I. Fan operation
indicator
J. Fan speed indicator
Automatic Operation
If your vehicle has this feature, do the following to set
automatic operation:
AUTO (Automatic):Press the AUTO button for
automatic control of the inside temperature, the air
delivery mode and the fan speed. The AUTO mode
indicator will appear on the display.
OFF:Press this button to turn the system off.
To set the desired temperature, do the following:
Press the AUTO button.
Turn the temperature control knob until the desired
temperature is displayed. You can set the desired
temperature between 64°F (18°C) and 90°F (32°C).
3-23
Page 129 of 340
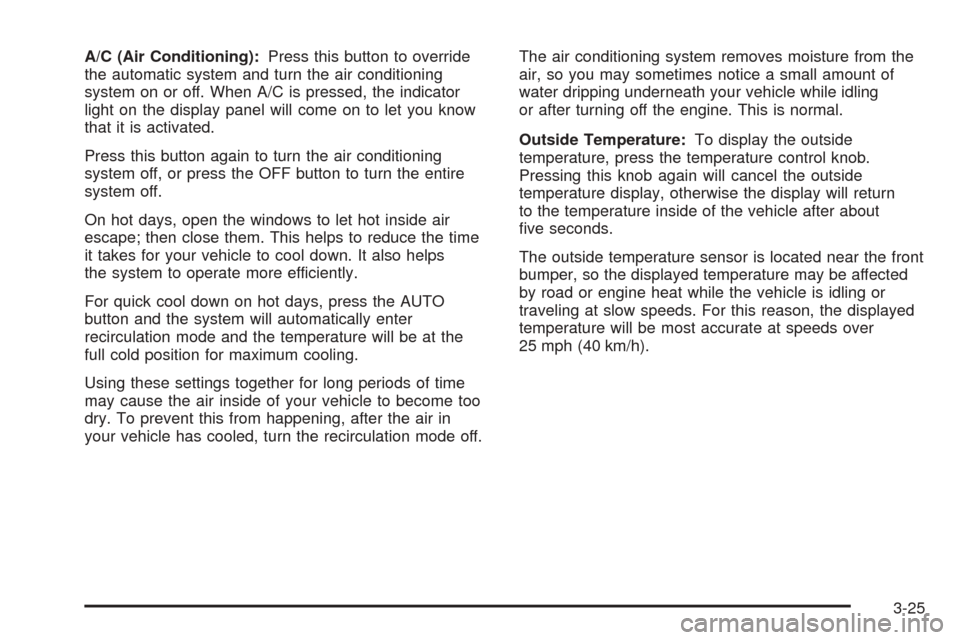
A/C (Air Conditioning):Press this button to override
the automatic system and turn the air conditioning
system on or off. When A/C is pressed, the indicator
light on the display panel will come on to let you know
that it is activated.
Press this button again to turn the air conditioning
system off, or press the OFF button to turn the entire
system off.
On hot days, open the windows to let hot inside air
escape; then close them. This helps to reduce the time
it takes for your vehicle to cool down. It also helps
the system to operate more efficiently.
For quick cool down on hot days, press the AUTO
button and the system will automatically enter
recirculation mode and the temperature will be at the
full cold position for maximum cooling.
Using these settings together for long periods of time
may cause the air inside of your vehicle to become too
dry. To prevent this from happening, after the air in
your vehicle has cooled, turn the recirculation mode off.The air conditioning system removes moisture from the
air, so you may sometimes notice a small amount of
water dripping underneath your vehicle while idling
or after turning off the engine. This is normal.
Outside Temperature:To display the outside
temperature, press the temperature control knob.
Pressing this knob again will cancel the outside
temperature display, otherwise the display will return
to the temperature inside of the vehicle after about
five seconds.
The outside temperature sensor is located near the front
bumper, so the displayed temperature may be affected
by road or engine heat while the vehicle is idling or
traveling at slow speeds. For this reason, the displayed
temperature will be most accurate at speeds over
25 mph (40 km/h).
3-25
Page 139 of 340
If the word OFF or the off symbol is lit on the airbag
status indicator, it means that the passenger sensing
system has turned off the right front passenger’s frontal
airbag. SeePassenger Sensing System on page 1-58
for more on this, including important safety information.
If, after several seconds, all status indicator lights
remain on, or if there are no lights at all, there may be a
problem with the lights or the passenger sensing
system. See your dealer for service.
{CAUTION:
If the off indicator and the airbag readiness
light ever come on together, it means that
something may be wrong with the airbag
system. If this ever happens, have the vehicle
serviced promptly, because an adult-size
person sitting in the right front passenger seat
may not have the protection of the frontal
airbag. SeeAirbag Readiness Light on
page 3-33.
Charging System Light
The charging system light
will come on briefly when
you turn on the ignition,
and the engine is not
running, as a check
to show you it is working.
Then it should go out when the engine is started.
If it stays on, or comes on while you are driving, you
may have a problem with the electrical charging system.
Have it checked by your GM dealer. Driving while this
light is on could drain your battery.
If you must drive a short distance with the light on, be
certain to turn off all your accessories, such as the radio
and air conditioner.
3-35
Page 145 of 340
Malfunction Indicator Lamp
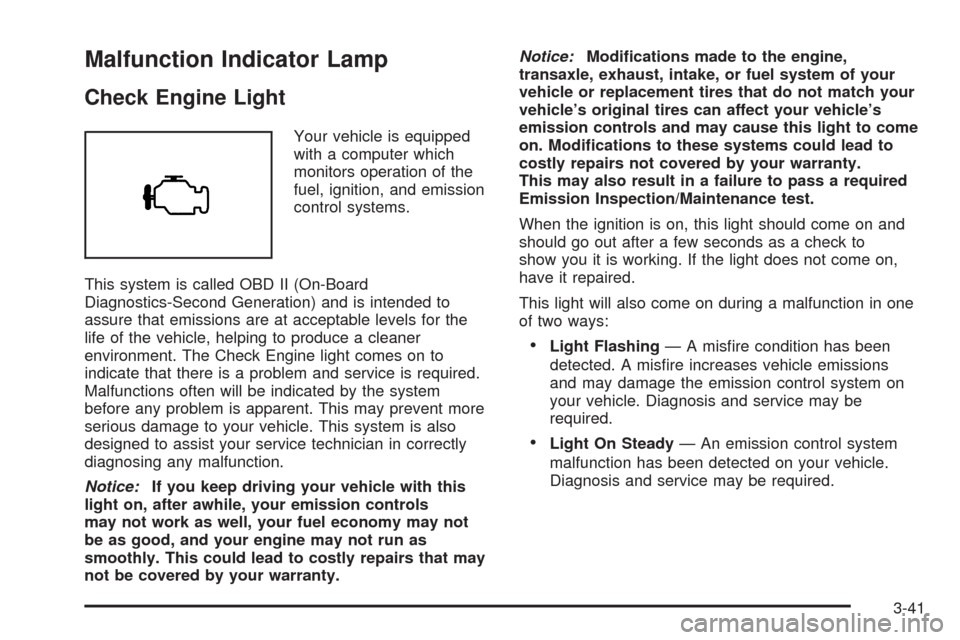
Check Engine Light
Your vehicle is equipped
with a computer which
monitors operation of the
fuel, ignition, and emission
control systems.
This system is called OBD II (On-Board
Diagnostics-Second Generation) and is intended to
assure that emissions are at acceptable levels for the
life of the vehicle, helping to produce a cleaner
environment. The Check Engine light comes on to
indicate that there is a problem and service is required.
Malfunctions often will be indicated by the system
before any problem is apparent. This may prevent more
serious damage to your vehicle. This system is also
designed to assist your service technician in correctly
diagnosing any malfunction.
Notice:If you keep driving your vehicle with this
light on, after awhile, your emission controls
may not work as well, your fuel economy may not
be as good, and your engine may not run as
smoothly. This could lead to costly repairs that may
not be covered by your warranty.Notice:Modi�cations made to the engine,
transaxle, exhaust, intake, or fuel system of your
vehicle or replacement tires that do not match your
vehicle’s original tires can affect your vehicle’s
emission controls and may cause this light to come
on. Modi�cations to these systems could lead to
costly repairs not covered by your warranty.
This may also result in a failure to pass a required
Emission Inspection/Maintenance test.
When the ignition is on, this light should come on and
should go out after a few seconds as a check to
show you it is working. If the light does not come on,
have it repaired.
This light will also come on during a malfunction in one
of two ways:
•Light Flashing— A misfire condition has been
detected. A misfire increases vehicle emissions
and may damage the emission control system on
your vehicle. Diagnosis and service may be
required.
•Light On Steady— An emission control system
malfunction has been detected on your vehicle.
Diagnosis and service may be required.
3-41