2005 CHEVROLET EPICA fuse
[x] Cancel search: fusePage 8 of 340
Front Seats
Manual Seats
{CAUTION:
You can lose control of the vehicle if you try to
adjust a manual driver’s seat while the vehicle
is moving. The sudden movement could startle
and confuse you, or make you push a pedal
when you do not want to. Adjust the driver’s
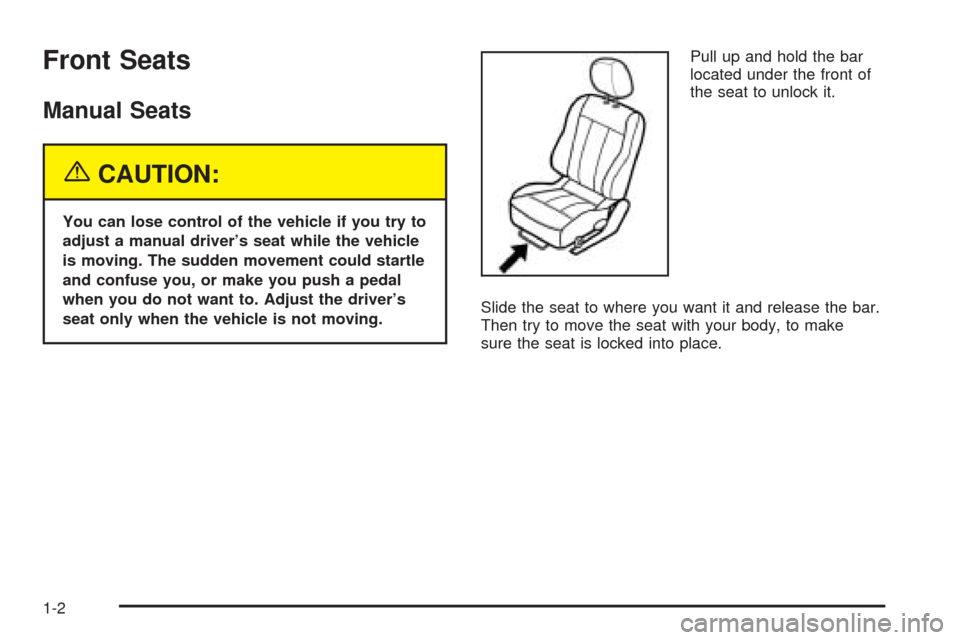
seat only when the vehicle is not moving.Pull up and hold the bar
located under the front of
the seat to unlock it.
Slide the seat to where you want it and release the bar.
Then try to move the seat with your body, to make
sure the seat is locked into place.
1-2
Page 86 of 340
Immobilizer Operation
Your vehicle may have a passive theft-deterrent system.
The immobilizer system prevents your vehicle from
being started by unauthorized persons.
If your vehicle has an immobilizer system, your vehicle
has a special key that works with the theft-deterrent
system. There is a transponder in the key head that is
electronically coded. The correct key will start the
vehicle. An invalid key immobilizes the engine. The
immobilizer system isolates the power supply to
the ignition system, the fuel pump and the fuel injectors.
The engine immobilizer is activated after the ignition
is turned to LOCK and the key is removed from
the ignition. The security light located on the top center
of the instrument panel, near the windshield, will
flash when the immobilizer is active. If the light does not
flash after removing the key, have the system checked
by your dealer.
The immobilizer system works when you turn the key to
START. If the immobilizer system does not recognize the
electronic code, the engine will not start and the security
indicator will continue blinking. If your key is ever
damaged, you may not be able to start your vehicle.When trying to start the vehicle, if the engine does not
start and the security light continues flashing, the
key may have a damaged transponder. Turn the ignition
off and try again.
If the engine still does not start, and the key appears to
be undamaged, try another key. At this time, you
may also want to check the fuse. SeeFuses and Circuit
Breakers on page 5-77. If the engine still does not
start with the other key, your vehicle needs service. If
your vehicle does start, the first key may be faulty. See
your dealer who can service the theft-deterrent
system to have a new key made.
Up to four keys may be programmed for the vehicle.
If you lose or damage your keys, only a GM dealer can
service the theft-deterrent system to have new
keys made.
If you are ever driving and the security light comes on
and stays on, you will be able to restart your engine
if you turn it off. The theft-deterrent system, however, is
not working properly and must be serviced by your
dealer. Your vehicle is not protected by the
theft-deterrent system at this time.
In an emergency, contact Chevrolet Roadside
Assistance. SeeRoadside Assistance Program
on page 7-5.
2-16
Page 111 of 340
Turn and Lane-Change Signals
The turn signal has two upward (for right) and
two downward (for left) positions. These positions
allow you to signal a turn or a lane change.
To signal a turn, move the lever all the way up
or down. When the turn is finished, the lever will
return automatically.
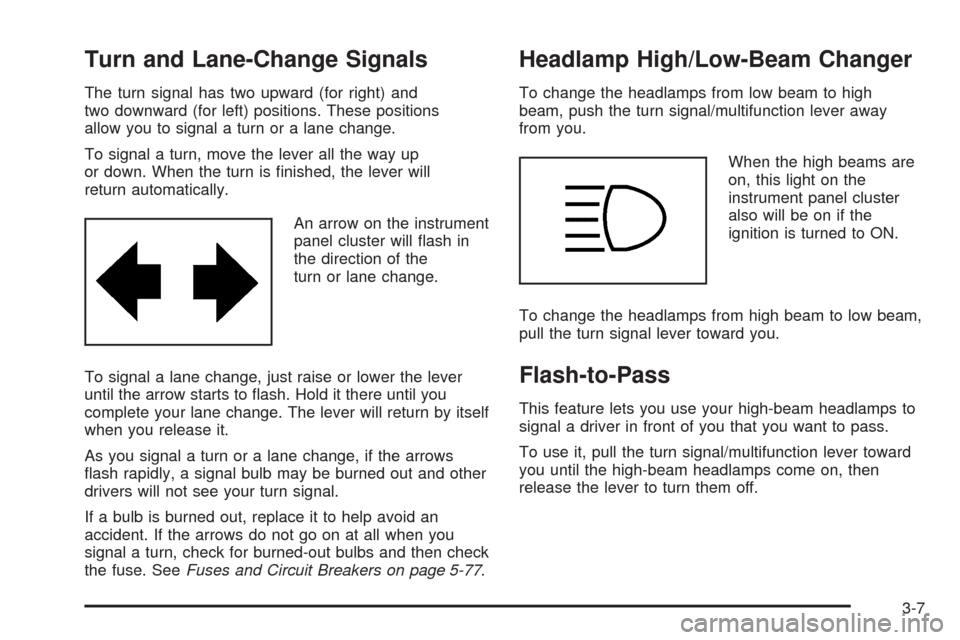
An arrow on the instrument
panel cluster will flash in
the direction of the
turn or lane change.
To signal a lane change, just raise or lower the lever
until the arrow starts to flash. Hold it there until you
complete your lane change. The lever will return by itself
when you release it.
As you signal a turn or a lane change, if the arrows
flash rapidly, a signal bulb may be burned out and other
drivers will not see your turn signal.
If a bulb is burned out, replace it to help avoid an
accident. If the arrows do not go on at all when you
signal a turn, check for burned-out bulbs and then check
the fuse. SeeFuses and Circuit Breakers on page 5-77.
Headlamp High/Low-Beam Changer
To change the headlamps from low beam to high
beam, push the turn signal/multifunction lever away
from you.
When the high beams are
on, this light on the
instrument panel cluster
also will be on if the
ignition is turned to ON.
To change the headlamps from high beam to low beam,
pull the turn signal lever toward you.
Flash-to-Pass
This feature lets you use your high-beam headlamps to
signal a driver in front of you that you want to pass.
To use it, pull the turn signal/multifunction lever toward
you until the high-beam headlamps come on, then
release the lever to turn them off.
3-7
Page 121 of 340
Accessory Power Outlets
Your vehicle has an accessory power outlet. With an
accessory power outlet, you can plug in auxiliary
electrical equipment such as a cellular telephone or
CB radio.
The accessory power outlet is located on the front of
the center console below the front ashtray.
To use the outlet, remove the protective cap. When not
in use, always cover the outlet with the protective
cap. The accessory power outlet is operational when
the ignition is turned to ACC or ON.
Notice:Leaving electrical equipment on for
extended periods will drain the battery. Always turn
off electrical equipment when not in use and do
not plug in equipment that exceeds the maximum
amperage rating.Certain electrical accessories may not be compatible
with the accessory power outlet and could result
in blown vehicle or adapter fuses. If you experience a
problem, see your dealer for additional information
on the accessory power outlet.
Notice:Adding any electrical equipment to your
vehicle may damage it or keep other components
from working as they should. The repairs would not
be covered by your warranty. Check with your
dealer before adding electrical equipment.
When adding electrical equipment, be sure to follow the
proper installation instructions included with the
equipment.
Notice:Improper use of the power outlet can cause
damage not covered by your warranty. Do not
hang any type of accessory or accessory bracket
from the plug because the power outlets are
designed for accessory power plugs only.
3-17
Page 123 of 340
M (Minute):To go forward one minute, press the
M button once. To go forward more than one minute,
press and hold the button until the correct minute
is reached.
S (Set):To reset the time to the nearest hour, press the
S button.
For example, if the set button is pressed while the time
is between 8:00 and 8:29, the display is set to 8:00.
If this button is pressed while the time is between 8:30
and 8:59, the display is set to 9:00.
After disconnecting the battery or replacing the fuse,
reset the clock.Climate Controls
Climate Control System
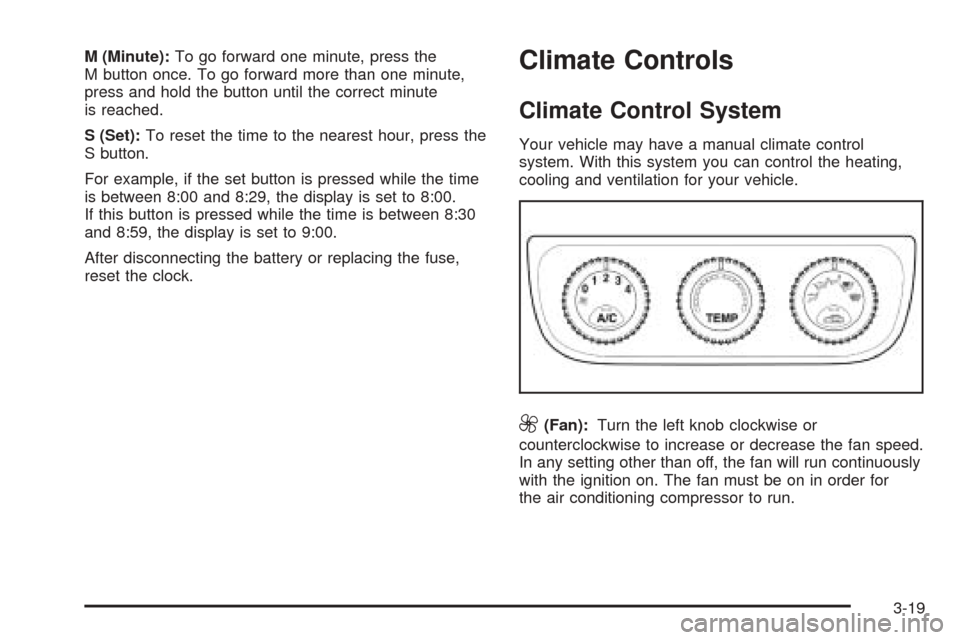
Your vehicle may have a manual climate control
system. With this system you can control the heating,
cooling and ventilation for your vehicle.
9(Fan):Turn the left knob clockwise or
counterclockwise to increase or decrease the fan speed.
In any setting other than off, the fan will run continuously
with the ignition on. The fan must be on in order for
the air conditioning compressor to run.
3-19
Page 148 of 340
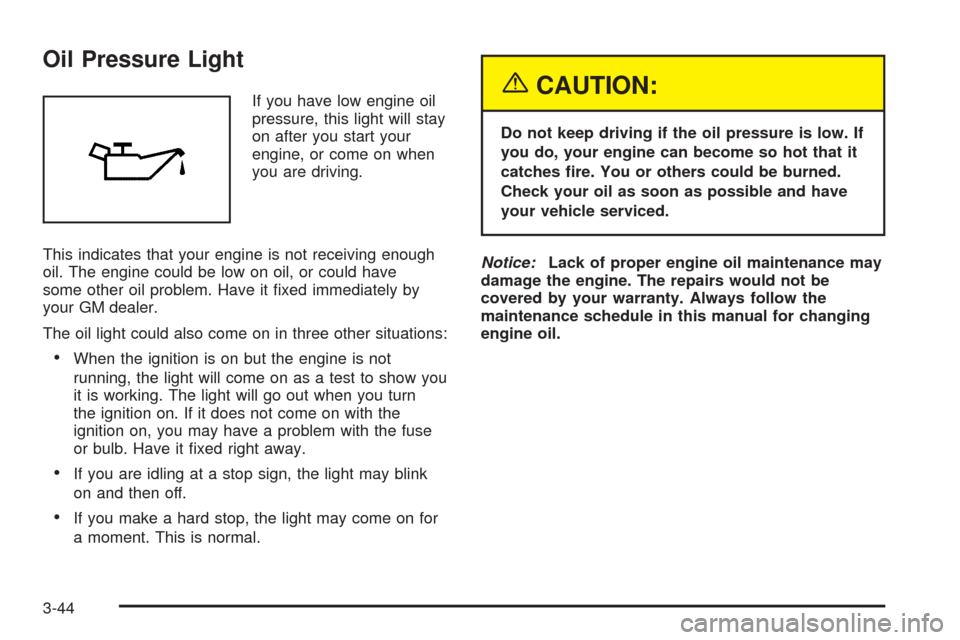
Oil Pressure Light
If you have low engine oil
pressure, this light will stay
on after you start your
engine, or come on when
you are driving.
This indicates that your engine is not receiving enough
oil. The engine could be low on oil, or could have
some other oil problem. Have it fixed immediately by
your GM dealer.
The oil light could also come on in three other situations:
•When the ignition is on but the engine is not
running, the light will come on as a test to show you
it is working. The light will go out when you turn
the ignition on. If it does not come on with the
ignition on, you may have a problem with the fuse
or bulb. Have it fixed right away.
•If you are idling at a stop sign, the light may blink
on and then off.
•If you make a hard stop, the light may come on for
a moment. This is normal.
{CAUTION:
Do not keep driving if the oil pressure is low. If
you do, your engine can become so hot that it
catches �re. You or others could be burned.
Check your oil as soon as possible and have
your vehicle serviced.
Notice:Lack of proper engine oil maintenance may
damage the engine. The repairs would not be
covered by your warranty. Always follow the
maintenance schedule in this manual for changing
engine oil.
3-44
Page 204 of 340
Tires..............................................................5-46
Tire Sidewall Labelling...................................5-47
Tire Terminology and Definitions.....................5-49
Inflation - Tire Pressure.................................5-52
Tire Inspection and Rotation...........................5-54
When It Is Time for New Tires.......................5-55
Buying New Tires.........................................5-56
Uniform Tire Quality Grading..........................5-56
Wheel Alignment and Tire Balance..................5-58
Wheel Replacement......................................5-58
Tire Chains..................................................5-59
If a Tire Goes Flat........................................5-60
Changing a Flat Tire.....................................5-61
Removing the Spare Tire and Tools................5-62
Removing the Flat Tire and Installing the
Spare Tire................................................5-63
Storing a Flat or Spare Tire and Tools............5-67
Compact Spare Tire......................................5-67
Appearance Care............................................5-68
Fabric/Carpet...............................................5-68
Vinyl...........................................................5-70
Leather.......................................................5-70
Instrument Panel..........................................5-70
Interior Plastic Components............................5-70
Glass Surfaces.............................................5-70
Weatherstrips...............................................5-71Washing Your Vehicle...................................5-71
Cleaning Exterior Lamps/Lenses.....................5-71
Finish Care..................................................5-71
Windshield and Wiper Blades.........................5-72
Aluminum Wheels.........................................5-72
Tires...........................................................5-73
Sheet Metal Damage.....................................5-73
Finish Damage.............................................5-73
Underbody Maintenance................................5-73
Chemical Paint Spotting.................................5-74
Vehicle Care/Appearance Materials..................5-74
Vehicle Identi�cation......................................5-75
Vehicle Identification Number (VIN).................5-75
Service Parts Identification Label.....................5-76
Electrical System............................................5-76
Add-On Electrical Equipment..........................5-76
Headlamp Wiring..........................................5-76
Windshield Wiper Fuses................................5-76
Power Windows and Other Power Options.......5-76
Fuses and Circuit Breakers............................5-77
Instrument Panel Fuse Block..........................5-77
Engine Compartment Fuse Block....................5-79
Capacities and Speci�cations..........................5-83
Normal Maintenance Replacement Parts..........5-84
Section 5 Service and Appearance Care
5-2
Page 206 of 340
Doing Your Own Service Work
If you want to do some of your own service work, you
will want to use the proper service manual. It tells
you much more about how to service your vehicle than
this manual can. To order the proper service manual,
seeService Publications Ordering Information on
page 7-11.
Your vehicle has an airbag system. Before attempting to
do your own service work, seeServicing Your
Airbag-Equipped Vehicle on page 1-62.
You should keep a record with all parts receipts and list
the mileage and the date of any service work you
perform. SeePart E: Maintenance Record on page 6-27.{CAUTION:
You can be injured and your vehicle could be
damaged if you try to do service work on a
vehicle without knowing enough about it.
Be sure you have sufficient knowledge,
experience, the proper replacement parts
and tools before you attempt any vehicle
maintenance task.
Be sure to use the proper nuts, bolts and
other fasteners. English and metric
fasteners can be easily confused. If you
use the wrong fasteners, parts can later
break or fall off. You could be hurt.
5-4