2005 CHEVROLET CORVETTE hood release
[x] Cancel search: hood releasePage 265 of 400

Service............................................................5-3
Doing Your Own Service Work.........................5-4
Adding Equipment to the Outside of
Your Vehicle..............................................5-5
Fuel................................................................5-5
Gasoline Octane............................................5-5
Gasoline Speci�cations....................................5-5
California Fuel...............................................5-5
Additives.......................................................5-6
Fuels in Foreign Countries...............................5-6
Filling the Tank..............................................5-7
Filling a Portable Fuel Container.......................5-9
Checking Things Under the Hood....................5-10
Hood Release..............................................5-10
Engine Compartment Overview.......................5-12
Engine Oil...................................................5-13
Engine Oil Life System..................................5-16
Engine Air Cleaner/Filter................................5-18
Automatic Transmission Fluid.........................5-20
Manual Transmission Fluid.............................5-20
Hydraulic Clutch...........................................5-20
Engine Coolant.............................................5-21Coolant Surge Tank Pressure Cap..................5-24
Engine Overheating.......................................5-24
Overheated Engine Protection
Operating Mode........................................5-26
Cooling System............................................5-26
Power Steering Fluid.....................................5-32
Windshield Washer Fluid................................5-33
Brakes........................................................5-34
Battery........................................................5-37
Jump Starting...............................................5-38
Rear Axle.......................................................5-43
Bulb Replacement..........................................5-44
High Intensity Discharge (HID) Lighting............5-44
Halogen Bulbs..............................................5-45
Headlamps, Front Turn Signal, and
Parking Lamps..........................................5-45
Sidemarker Lamps........................................5-47
Taillamps, Turn Signal, and Stoplamps............5-48
Replacement Bulbs.......................................5-48
Windshield Replacement.................................5-48
Windshield Wiper Blade Replacement..............5-49
Section 5 Service and Appearance Care
5-1
Page 274 of 400

Checking Things Under
the Hood
{CAUTION:
An electric fan under the hood can start up
and injure you even when the engine is not
running. Keep hands, clothing and tools away
from any underhood electric fan.
{CAUTION:
Things that burn can get on hot engine parts
and start a �re. These include liquids like fuel,
oil, coolant, brake �uid, windshield washer and
other �uids, and plastic or rubber. You or
others could be burned. Be careful not to drop
or spill things that will burn onto a hot engine.
Hood Release
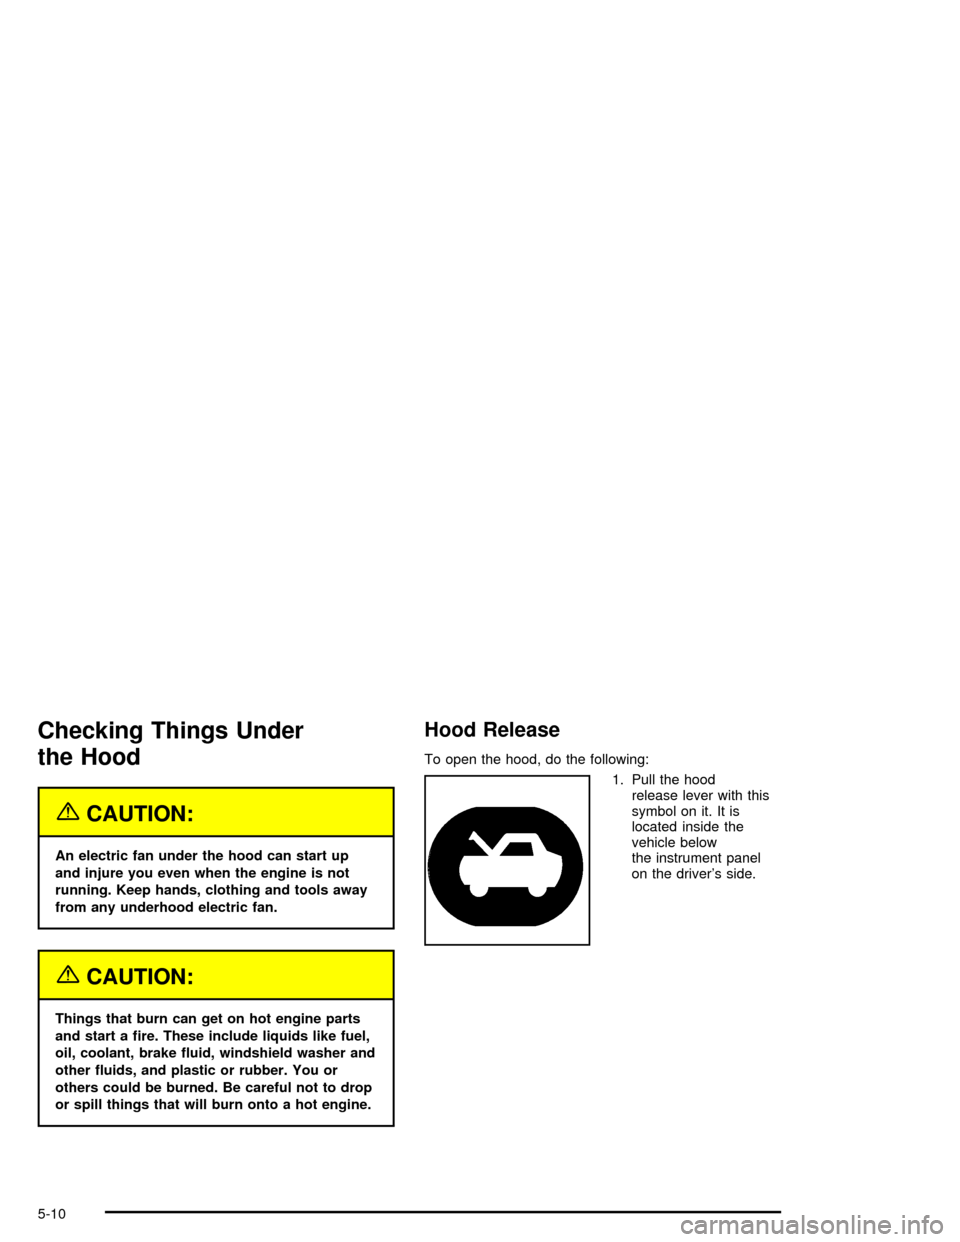
To open the hood, do the following:
1. Pull the hood
release lever with this
symbol on it. It is
located inside the
vehicle below
the instrument panel
on the driver’s side.
5-10
Page 313 of 400

Windshield Wiper Blade
Replacement
Windshield wiper blades should be inspected for wear
and cracking. SeeScheduled Maintenance on page 6-4
for more information.
Replacement blades come in different types and are
removed in different ways. For the proper type and
length, seeNormal Maintenance Replacement Parts on
page 6-14.
It is a good idea to clean or replace the wiper blade
assembly every six months.
Allowing the wiper blade arm to touch the windshield
when no wiper blade is installed could damage the
windshield. Any damage that occurs would not
be covered by your warranty. Do not allow the wiper
blade arm to touch the windshield.
To remove the wiper blade assembly, do the following:
1. Open the hood to gain access to the windshield
wipers.
2. Lift the wiper arm until it locks into a vertical
position.A. Blade Assembly
B. Arm Assembly
C. Locking TabD. Blade Pivot
E. Hook Slot
F. Arm Hook
3. Press down on the blade assembly pivot locking
tab (C). Pull down on the blade assembly (A) to
release it from the wiper arm hook (F).
4. Remove the insert from the blade assembly (A).
The insert has two notches at one end that are
locked by the bottom claws of the blade assembly.
At the notch end, pull the insert from the blade
assembly.
5-49
Page 369 of 400

Usage Fluid/Lubricant
Automatic
TransmissionDEXRON
®-III Automatic
Transmission Fluid. Look for
“Approved for the H-Speci�cation”
on the label.
Key Lock
CylindersMulti-Purpose Lubricant, Superlube
(GM Part No. U.S. 12346241, in
Canada 10953474).
Rear Axle
(Limited-Slip
Differential)SAE 75W-90 Synthetic
Axle Lubricant (GM Part
No. U.S. 12378261, in
Canada 10953455) meeting GM
Speci�cation 9986115. With a
complete drain and re�ll add
4 ounces (118 ml) of Limited-Slip
Axle Lubricant Additive
(GM Part No. U.S. 1052358, in
Canada 992694) where required.
SeeRear Axle on page 5-43.
Usage Fluid/Lubricant
Hood Latch
Assembly,
Secondary
Latch, Pivots,
Spring
Anchor and
Release PawlLubriplate Lubricant Aerosol
(GM Part No. U.S. 12346293, in
Canada 992723) or lubricant
meeting requirements of NLGI #2,
Category LB or GC-LB.
Hood and
Door HingesMulti-Purpose Lubricant, Superlube
(GM Part No. U.S. 12346241, in
Canada 10953474).
Weatherstrip
ConditioningDielectric Silicone Grease
(GM Part No. U.S. 12345579, in
Canada 992887).
6-13
Page 393 of 400

Hood
Checking Things Under................................5-10
Release.....................................................5-10
Horn............................................................... 3-6
How to Use This Manual...................................... ii
How to Wear Safety Belts Properly...................1-12
Hydraulic Clutch.............................................5-20
I
Ignition Positions.............................................2-21
Infants and Young Children, Restraints...............1-24
In�ation -- Tire Pressure..................................5-58
Installing the Roof Panel..................................2-55
Instrument Panel
Overview..................................................... 3-4
Instrument Panel (I/P)
Brightness..................................................3-19
Cluster.......................................................3-33
J
Jump Starting.................................................5-38
K
Keyless Access System..................................... 2-4
Keyless Access System, Operation...................... 2-5
Keys............................................................... 2-3
L
Labelling, Tire Sidewall....................................5-52
Lamps
Battery Run-Down Protection.........................3-20
Courtesy....................................................3-19
Exterior......................................................3-15
Exterior Lighting Battery Saver......................3-19
Fog ...........................................................3-17
Reading.....................................................3-19
Twilight Sentinel
®........................................3-18
LATCH System
Child Restraints...........................................1-31
Securing a Child Restraint Designed for the
LATCH System........................................1-33
Latches, Seatback............................................ 1-6
Lifting Your Vehicle, Tires.................................5-69
Light
Active Handling System................................3-40
Airbag Off..................................................3-36
Airbag Readiness........................................3-35
7