2005 CHEVROLET AVEO ECO mode
[x] Cancel search: ECO modePage 75 of 316

To avoid activating the alarm by accident, do one of the
following:
•Unlock the driver’s or passenger’s front door
using the key.
•Press the unlock button on the remote keyless
entry transmitter.
Unlocking a door any other way will activate the alarm
when a door or the trunk or liftgate is opened.
If you do not want to arm the theft-deterrent system,
lock the vehicle using the key or the manual door locks.
Disarming the System
To disarm the system, do one of the following:
•Unlock the driver’s or passenger’s front door using
the key.
•Press the unlock button on the remote keyless
entry transmitter.
- The LED light on the transmitter will flash once.
- All of the doors will unlock.
- The hazard warning lamps will flash twice.
If the door is not opened or if the engine is not started
within 30 seconds after disarming the system using
the transmitter, all of the doors will automatically lock
and the theft-deterrent mode will rearm.
How the System Alarm is Activated
If a door or the trunk or liftgate is opened without using
the key or the remote keyless entry transmitter, the
horn will sound and the lamps will flash for up to
30 seconds.
How to Turn Off the System Alarm
If the system alarm is active, it can be deactivated using
one of the following methods:
•Press the lock or unlock buttons on the remote
keyless entry transmitter.
•Unlock the driver’s or passenger’s front door
using the key.
Otherwise, the alarm will automatically stop after
30 seconds. The system will then lock the doors and
rearm the theft-deterrent system.
How to Detect a Tamper Condition
If the hazard warning lamps flash once when you press
the lock or unlock buttons on the remote keyless
entry transmitter, the theft-deterrent system alarm was
activated while you were away.
2-15
Page 83 of 316
AUTOMATIC OVERDRIVE (D4):This position is for
normal driving.
Notice:Driving your vehicle if you notice that it is
moving slowly or not shifting gears as you increase
speed may damage the transaxle. Have your
vehicle serviced right away. You can drive
in SECOND (2) when you are driving less than
35 mph (55 km/h) and AUTOMATIC OVERDRIVE (D4)
for higher speeds until then.
SECOND (2):This position gives you more power but
lower fuel economy. You can use SECOND (2) on
hills. It can help control your speed as you go down
steep mountain roads, but then you would also want to
use your brakes off and on.
Notice:Do not drive in SECOND (2) at speeds
over 65 mph (105 km/h), or you can damage
the transaxle. Use AUTOMATIC OVERDRIVE (D4) as
much as possible. Do not shift into SECOND (2)
unless you are going slower than 65 mph (105 km/h)
or you can damage your engine.FIRST (1):This position gives you even more power
but lower fuel economy than SECOND (2). You can use
it on very steep hills, or in deep snow or mud. If the
shift lever is put in FIRST (1), the transaxle will not shift
into first gear until the vehicle is going slowly enough.
Notice:Spinning the tires or holding the vehicle
in one place on a hill using only the accelerator
pedal may damage the transaxle. If you are stuck,
do not spin the tires. When stopping on a hill,
use the brakes to hold the vehicle in place.
If there is a malfunction with the automatic transaxle,
the malfunction indicator lamp (MIL) or the HOLD
indicator light will turn on or flash. SeeMalfunction
Indicator Lamp on page 3-28orHold Mode Light
on page 3-28.
Have your vehicle fixed as soon as possible.
2-23
Page 84 of 316
Hold Mode
If your vehicle’s transaxle has hold mode, you can
select this mode to drive with some characteristics of a
manual transaxle. With hold mode turned on, the
automatic transaxle will stay in a specific gear range.
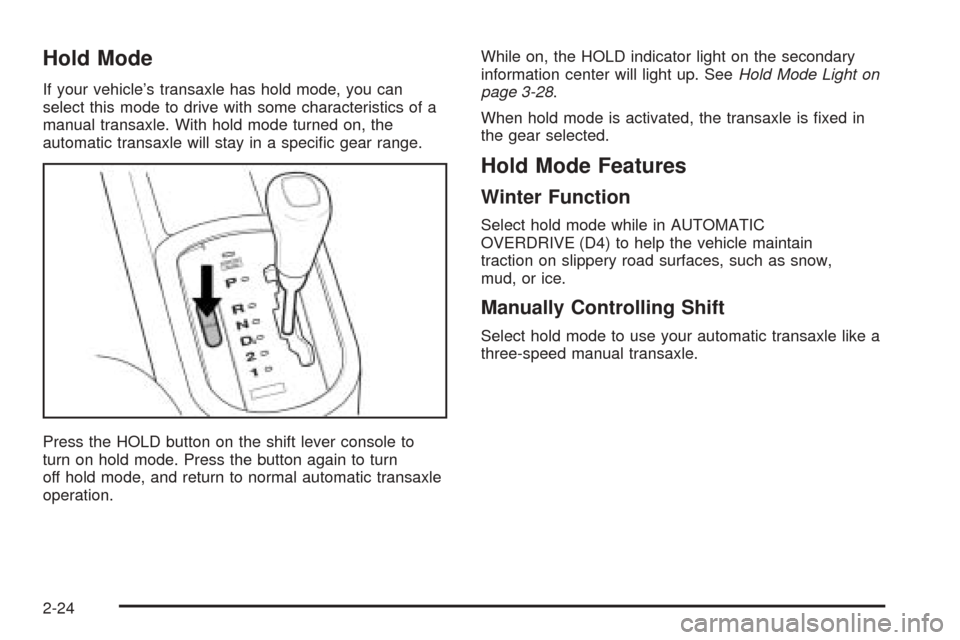
Press the HOLD button on the shift lever console to
turn on hold mode. Press the button again to turn
off hold mode, and return to normal automatic transaxle
operation.While on, the HOLD indicator light on the secondary
information center will light up. SeeHold Mode Light on
page 3-28.
When hold mode is activated, the transaxle is fixed in
the gear selected.
Hold Mode Features
Winter Function
Select hold mode while in AUTOMATIC
OVERDRIVE (D4) to help the vehicle maintain
traction on slippery road surfaces, such as snow,
mud, or ice.
Manually Controlling Shift
Select hold mode to use your automatic transaxle like a
three-speed manual transaxle.
2-24
Page 97 of 316
Instrument Panel Overview...............................3-4
Hazard Warning Flashers................................3-5
Other Warning Devices...................................3-5
Horn.............................................................3-6
Tilt Wheel.....................................................3-6
Turn Signal/Multifunction Lever.........................3-6
Turn and Lane-Change Signals........................3-7
Headlamp High/Low-Beam Changer..................3-7
Flash-to-Pass.................................................3-7
Windshield Wipers..........................................3-8
Windshield Washer.........................................3-9
Exterior Lamps...............................................3-9
Headlamps on Reminder................................3-10
Daytime Running Lamps (DRL).......................3-10
Fog Lamps..................................................3-11
Instrument Panel Brightness...........................3-11
Dome Lamp.................................................3-12
Accessory Power Outlets...............................3-12
Ashtrays and Cigarette Lighter........................3-13
Climate Controls............................................3-14
Climate Control System.................................3-14
Outlet Adjustment.........................................3-17
Passenger Compartment Air Filter...................3-18Warning Lights, Gages, and Indicators............3-19
Instrument Panel Cluster................................3-20
Speedometer and Odometer...........................3-21
Trip Odometer..............................................3-21
Tachometer.................................................3-21
Safety Belt Reminder Tone............................3-21
Brake System Warning Light..........................3-22
Engine Coolant Temperature Gage..................3-23
Highbeam On Light.......................................3-23
Fuel Gage...................................................3-23
Low Fuel Warning Light.................................3-24
Secondary Information Center (SIC).................3-25
Clock..........................................................3-26
Safety Belt Reminder Light.............................3-26
Airbag Readiness Light..................................3-26
Charging System Light..................................3-27
Anti-Lock Brake System Warning Light.............3-28
Hold Mode Light...........................................3-28
Malfunction Indicator Lamp.............................3-28
Oil Pressure Light.........................................3-31
Fog Lamp Light............................................3-32
Daytime Running Lamps (DRL)
Indicator Light...........................................3-32
Door Ajar Light.............................................3-32
Section 3 Instrument Panel
3-1
Page 112 of 316
Using these settings together for long periods of time
may cause the air inside of your vehicle to become too
dry. To prevent this from happening, after the air in
your vehicle has cooled, turn the recirculation mode off.
The air conditioning system removes moisture from
the air, so you may sometimes notice a small amount
of water dripping underneath your vehicle while idling or
after turning off the engine. This is normal.
Defogging and Defrosting
Fog on the inside of windows is a result of high humidity
or moisture condensing on the cool window glass.
This can be minimized if the climate control system
is used properly. There are two modes to clear fog or
frost from your windshield. Use the defog mode to
clear the windows of fog or moisture and warm
the passengers. Use the defrost mode to remove
fog or frost from the windshield more quickly.
For best results, clear all snow and ice from the
windshield before defrosting.
Select one of these available modes from the
right knob.
0(Defog):This mode directs most of the air to the
windshield and the floor outlets. A small amount of air is
also directed to the outboard outlets for the side
windows.
To help clear the side windows quickly, do the following:
1. Select the bi-level mode.
2. Select the highest fan speed.
3. Select A/C.
4. Select the temperature.
1(Defrost):This mode directs the air to the
windshield and the outboard outlets for the side
windows.
To help clear the windshield quickly, do the following:
1. Select the defrost mode.
2. Select the highest temperature.
3. Select the highest fan speed.
Do not drive the vehicle until all windows are clear.
3-16
Page 124 of 316
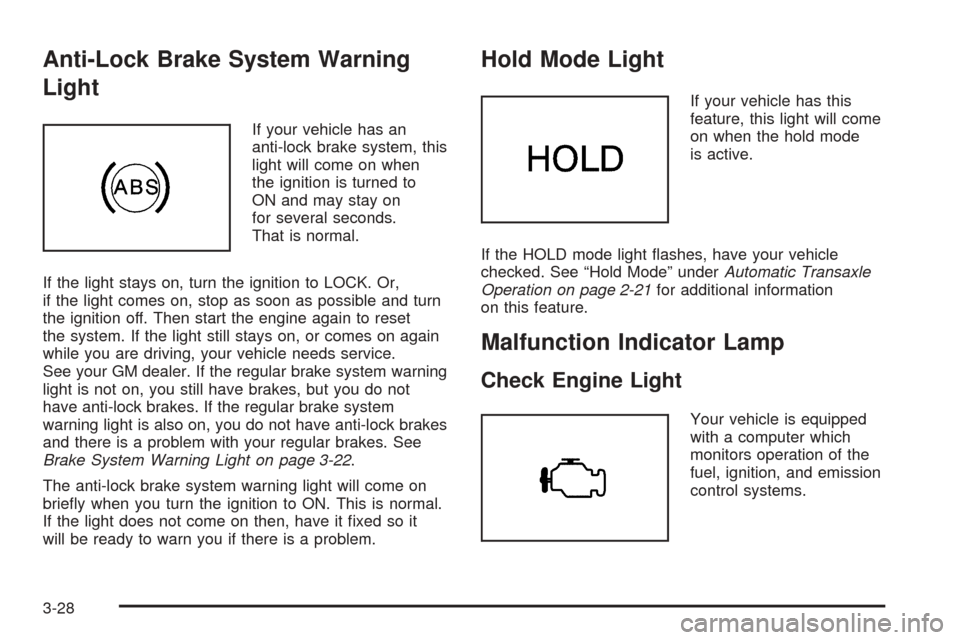
Anti-Lock Brake System Warning
Light
If your vehicle has an
anti-lock brake system, this
light will come on when
the ignition is turned to
ON and may stay on
for several seconds.
That is normal.
If the light stays on, turn the ignition to LOCK. Or,
if the light comes on, stop as soon as possible and turn
the ignition off. Then start the engine again to reset
the system. If the light still stays on, or comes on again
while you are driving, your vehicle needs service.
See your GM dealer. If the regular brake system warning
light is not on, you still have brakes, but you do not
have anti-lock brakes. If the regular brake system
warning light is also on, you do not have anti-lock brakes
and there is a problem with your regular brakes. See
Brake System Warning Light on page 3-22.
The anti-lock brake system warning light will come on
briefly when you turn the ignition to ON. This is normal.
If the light does not come on then, have it fixed so it
will be ready to warn you if there is a problem.
Hold Mode Light
If your vehicle has this
feature, this light will come
on when the hold mode
is active.
If the HOLD mode light flashes, have your vehicle
checked. See “Hold Mode” underAutomatic Transaxle
Operation on page 2-21for additional information
on this feature.
Malfunction Indicator Lamp
Check Engine Light
Your vehicle is equipped
with a computer which
monitors operation of the
fuel, ignition, and emission
control systems.
3-28
Page 230 of 316
Occupant Distribution:Designated seating positions.
Outward Facing Sidewall:The side of an
asymmetrical tire that has a particular side that faces
outward when mounted on a vehicle. The side of the tire
that contains a whitewall, bears white lettering or
bears manufacturer, brand, and/or model name molding
that is higher or deeper than the same moldings on
the other sidewall of the tire.
Passenger (P-Metric) Tire:A tire used on passenger
cars and some light duty trucks and multipurpose
vehicles.
Recommended In�ation Pressure:Vehicle
manufacturer’s recommended tire inflation pressure and
shown on the tire placard. SeeInflation - Tire Pressure
on page 5-53andLoading Your Vehicle on page 4-28.
Radial Ply Tire:A pneumatic tire in which the ply cords
that extend to the beads are laid at 90 degrees to the
centerline of the tread.
Rim:A metal support for a tire and upon which the tire
beads are seated.
Sidewall:The portion of a tire between the tread and
the bead.
Speed Rating:An alphanumeric code assigned to a
tire indicating the maximum speed at which a tire
can operate.Traction:The friction between the tire and the road
surface. The amount of grip provided.
Tread:The portion of a tire that comes into contact
with the road.
Treadwear Indicators:Narrow bands, sometimes
called “wear bars,” that show across the tread of a tire
when only 1/16 inch (1.6 mm) of tread remains. See
When It Is Time for New Tires on page 5-55.
UTQGS (Uniform Tire Quality Grading Standards):
A tire information system that provides consumers
with ratings for a tire’s traction, temperature, and
treadwear. Ratings are determined by tire manufacturers
using government testing procedures. The ratings are
molded into the sidewall of the tire. SeeUniform
Tire Quality Grading on page 5-56.
Vehicle Capacity Weight:The number of designated
seating positions multiplied by 150 lbs (68 kg) plus
the rated cargo load. SeeLoading Your Vehicle
on page 4-28.
Vehicle Maximum Load on the Tire:Load on an
individual tire due to curb weight, accessory weight,
occupant weight, and cargo weight.
Vehicle Placard:A label permanently attached to a
vehicle showing the vehicle’s capacity weight and
the original equipment tire size and recommended
inflation pressure. See “Tire and Loading Information
Label” underLoading Your Vehicle on page 4-28.
5-52
Page 298 of 316
We will provide the following services during
the Bumper-to-Bumper warranty period, at no
expense to you:
•Fuel Delivery:Delivery of enough fuel
($5 maximum) for the customer to get to the
nearest service station.
•Lock-out Service (identi�cation required):
Replacement keys or locksmith service will
be covered at no charge if you are unable to gain
entry into your vehicle. Delivery of the replacement
key will be covered within 10 miles (16 km).
•Emergency Tow:Tow to the nearest dealership
for warranty service or in the event of a
vehicle-disabling accident. Assistance provided
when the vehicle is mired in sand, mud, or snow.
•Flat Tire Change:Installation of a spare tire will be
covered at no charge. The customer is responsible
for the repair or replacement of the tire if not
covered by a warrantable failure.
•Jump Start:No-start occurrences which require a
battery jump start will be covered at no charge.
•Dealer Locator Service
In many instances, mechanical failures are covered
under Chevrolet’s Bumper-to-Bumper warranty.
However, when other services are utilized, our Roadside
Assistance Representatives will explain any payment
obligations you might incur.For prompt and efficient assistance when calling, please
provide the following to the Roadside Assistance
Representative:
•Your name, home address, and home
telephone number.
•Telephone number of your location.
•Location of the vehicle.
•Model, year, color, and license plate number.
•Mileage, Vehicle Identification Number (VIN),
and delivery date of the vehicle.
•Description of the problem.
While we hope you never have the occasion to use our
service, it is added security while traveling for you and
your family. Remember, we are only a phone call away.
Chevrolet Roadside Assistance: 1-800-CHEV-USA
(1-800-243-8872), text telephone (TTY) users, call
1-888-889-2438.
Chevrolet reserves the right to limit services or
reimbursement to an owner or driver when, in
Chevrolet’s judgement, the claims become excessive
in frequency or type of occurrence.
Roadside Assistance is not part of or included in the
coverage provided by the New Vehicle Limited Warranty.
Chevrolet reserves the right to make any changes or
discontinue the Roadside Assistance program at
any time without notification.
7-6