2005 CHEVROLET AVEO parking brake
[x] Cancel search: parking brakePage 91 of 316
Running the Engine While Parked
It is better not to park with the engine running. But if you
ever have to, here are some things to know.
{CAUTION:
Idling the engine with the climate control
system off could allow dangerous exhaust into
your vehicle. See the earlier caution under
Engine Exhaust on page 2-30.
Also, idling in a closed-in place can let deadly
carbon monoxide (CO) into your vehicle even if
the climate control fan is at the highest setting.
One place this can happen is a garage.
Exhaust — with CO — can come in easily.
NEVER park in a garage with the engine
running.
Another closed-in place can be a blizzard.
SeeWinter Driving on page 4-23.
{CAUTION:
It can be dangerous to get out of your vehicle
if the shift lever is not fully in PARK (P) with
the parking brake rmly set. Your vehicle can
roll. Do not leave your vehicle when the engine
is running unless you have to. If you have left
the engine running, the vehicle can move
suddenly. You or others could be injured.
To be sure your vehicle will not move, even
when you are on fairly level ground, always set
your parking brake and move the shift lever
to PARK (P).
Follow the proper steps to be sure your vehicle will not
move. SeeShifting Into Park (P) (Automatic Transaxle)
on page 2-27.
If you are parking on a hill and if you are pulling a
trailer, also seeTowing a Trailer on page 4-35.
2-31
Page 94 of 316
Storage Areas
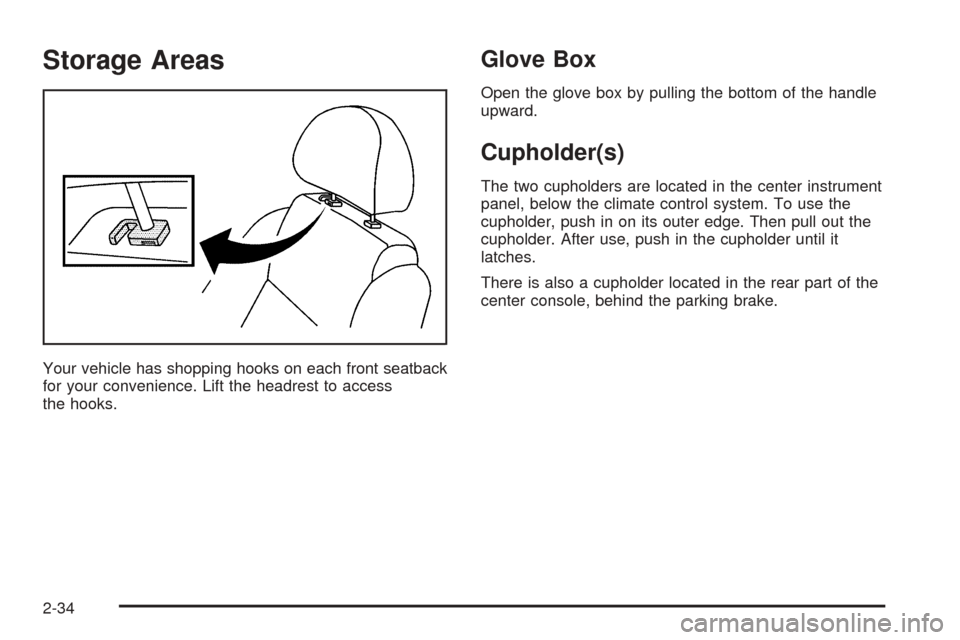
Your vehicle has shopping hooks on each front seatback
for your convenience. Lift the headrest to access
the hooks.
Glove Box
Open the glove box by pulling the bottom of the handle
upward.
Cupholder(s)
The two cupholders are located in the center instrument
panel, below the climate control system. To use the
cupholder, push in on its outer edge. Then pull out the
cupholder. After use, push in the cupholder until it
latches.
There is also a cupholder located in the rear part of the
center console, behind the parking brake.
2-34
Page 106 of 316
;(Parking Lamps):Turn the band to this position to
turn on the parking lamps, together with the previously
listed lamps and lights.
If your parking lamps are on and you remove the
ignition key and open the door, they will automatically
turn off to prevent the battery from being discharged.
OFF:Turn the band to this position to turn all lamps off,
except the Daytime Running Lamps (DRL).
Headlamps on Reminder
If you open the driver’s door with the ignition turned
to LOCK or ACC while leaving the lamps on, you
will hear a warning chime.
Daytime Running Lamps (DRL)
Daytime Running Lamps (DRL) can make it easier for
others to see the front of your vehicle during the
day. DRL can be helpful in many different driving
conditions, but they can be especially helpful in the short
periods after dawn and before sunset. Fully functional
daytime running lamps are required on all vehicles
first sold in Canada.The DRL system will make your low-beam headlamps
come on when the following conditions are met:
•The ignition is on.
•The exterior lamp band is in OFF or in the parking
lamp position.
•The parking brake is released.
An indicator light on the secondary information center
will come on when the DRL system is on. SeeDaytime
Running Lamps (DRL) Indicator Light on page 3-32.
When the DRL system is on, the taillamps, sidemarker
lamps, parking lamps and instrument panel lights
will not be illuminated unless you have turned the
exterior lamps control to the parking lamp or headlamp
position.
The DRL system will turn off when one of the following
conditions are met:
•The ignition is off.
•The parking brake is on.
•The high-beam headlamps are on.
•The low-beam headlamps are on.
•The flash-to-pass feature is used.
As with any vehicle, you should turn on the regular
headlamp system when you need it.
3-10
Page 108 of 316

Dome Lamp
Your vehicle will have one of the following dome lamp
switches.
The switches have three positions.
ON:The light comes on and stays on.
O(Door):The light comes on when a door is opened.
The light turns off when all the doors are closed.
OFF:The light remains off even when a door is opened.
Accessory Power Outlets
With the accessory power outlet, you can plug in
auxiliary electrical equipment such as a cellular
telephone or CB radio.
The accessory power outlet is located next to the
parking brake on the center console.
To use the outlet, remove the protective cap. When not
in use, always cover the outlet with the protective
cap. The accessory power outlet is operational when
the ignition is turned to ACC or ON.
Notice:Leaving electrical equipment on for
extended periods will drain the battery. Always turn
off electrical equipment when not in use and do
not plug in equipment that exceeds the maximum
amperage rating.
Without Sunroof
With Sunroof
3-12
Page 118 of 316
Brake System Warning Light
Your vehicle’s hydraulic brake system is divided into
two parts. If one part is not working, the other part can
still work and stop you. For good braking, though,
you need both parts working well.
If the warning light comes on, there is a brake problem.
Have your brake system inspected right away.
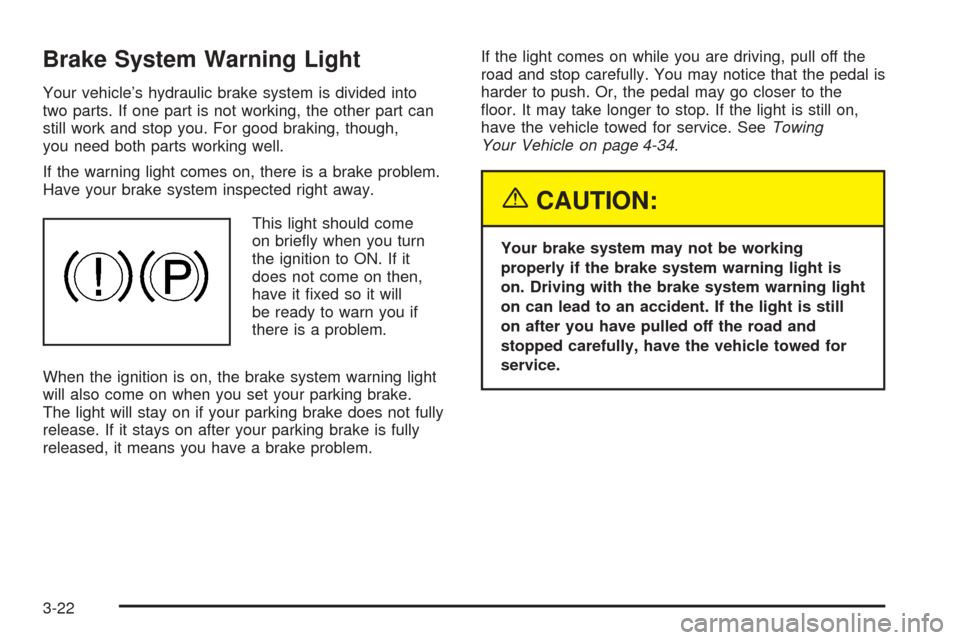
This light should come
on briefly when you turn
the ignition to ON. If it
does not come on then,
have it fixed so it will
be ready to warn you if
there is a problem.
When the ignition is on, the brake system warning light
will also come on when you set your parking brake.
The light will stay on if your parking brake does not fully
release. If it stays on after your parking brake is fully
released, it means you have a brake problem.If the light comes on while you are driving, pull off the
road and stop carefully. You may notice that the pedal is
harder to push. Or, the pedal may go closer to the
floor. It may take longer to stop. If the light is still on,
have the vehicle towed for service. SeeTowing
Your Vehicle on page 4-34.
{CAUTION:
Your brake system may not be working
properly if the brake system warning light is
on. Driving with the brake system warning light
on can lead to an accident. If the light is still
on after you have pulled off the road and
stopped carefully, have the vehicle towed for
service.
3-22
Page 177 of 316
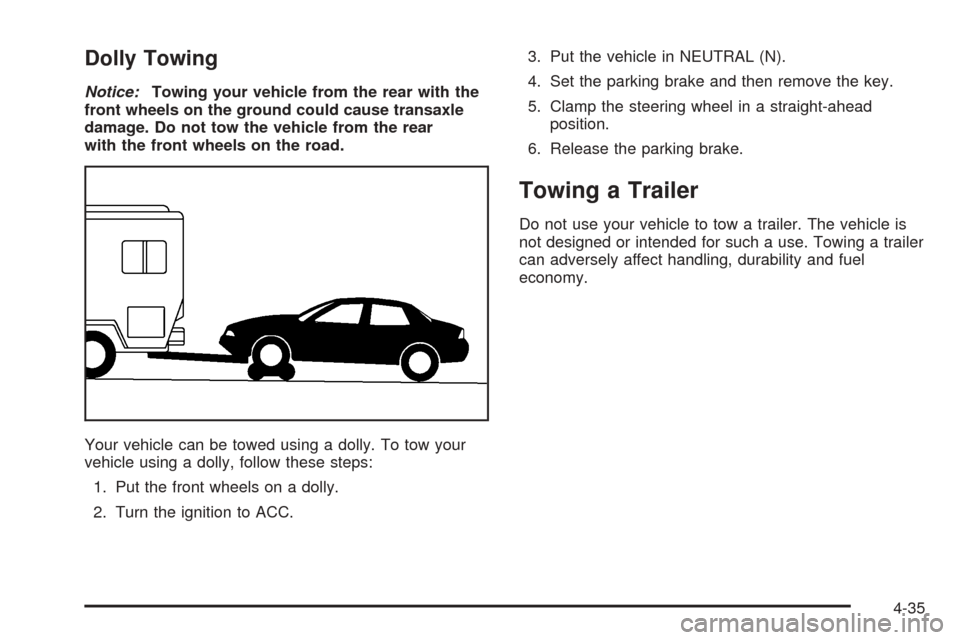
Dolly Towing
Notice:Towing your vehicle from the rear with the
front wheels on the ground could cause transaxle
damage. Do not tow the vehicle from the rear
with the front wheels on the road.
Your vehicle can be towed using a dolly. To tow your
vehicle using a dolly, follow these steps:
1. Put the front wheels on a dolly.
2. Turn the ignition to ACC.3. Put the vehicle in NEUTRAL (N).
4. Set the parking brake and then remove the key.
5. Clamp the steering wheel in a straight-ahead
position.
6. Release the parking brake.
Towing a Trailer
Do not use your vehicle to tow a trailer. The vehicle is
not designed or intended for such a use. Towing a trailer
can adversely affect handling, durability and fuel
economy.
4-35
Page 179 of 316
Service............................................................5-3
Doing Your Own Service Work.........................5-4
Adding Equipment to the Outside
of Your Vehicle...........................................5-4
Fuel................................................................5-5
Gasoline Octane............................................5-5
Gasoline Specifications....................................5-5
California Fuel...............................................5-5
Additives.......................................................5-6
Fuels in Foreign Countries...............................5-6
Filling the Tank..............................................5-7
Filling a Portable Fuel Container.......................5-9
Checking Things Under the Hood....................5-10
Hood Release..............................................5-10
Engine Compartment Overview.......................5-12
Engine Oil...................................................5-13
Engine Air Cleaner/Filter................................5-17
Automatic Transaxle Fluid..............................5-18
Manual Transaxle Fluid..................................5-20
Hydraulic Clutch...........................................5-20
Engine Coolant.............................................5-21
Coolant Surge Tank Pressure Cap..................5-24
Engine Overheating.......................................5-24
Cooling System............................................5-26
Power Steering Fluid.....................................5-30
Windshield Washer Fluid................................5-31Brakes........................................................5-32
Battery........................................................5-35
Jump Starting...............................................5-36
Headlamp Aiming...........................................5-39
Bulb Replacement..........................................5-40
Halogen Bulbs..............................................5-40
Headlamps..................................................5-40
Front Turn Signal and Parking Lamps..............5-42
Turn Signal Lamps (Side)..............................5-42
Fog Lamps..................................................5-43
Sidemarker Lamps (Front)..............................5-44
Sidemarker Lamps (Rear)..............................5-44
Taillamps, Turn Signal, Stoplamps and
Back-up Lamps.........................................5-45
Replacement Bulbs.......................................5-46
Windshield Wiper Blade Replacement..............5-46
Tires..............................................................5-47
Tire Sidewall Labelling...................................5-48
Tire Terminology and Definitions.....................5-50
Inflation - Tire Pressure.................................5-53
Tire Inspection and Rotation...........................5-54
When It Is Time for New Tires.......................5-55
Buying New Tires.........................................5-56
Uniform Tire Quality Grading..........................5-56
Wheel Alignment and Tire Balance..................5-58
Section 5 Service and Appearance Care
5-1
Page 197 of 316
Wait at least 30 minutes before checking the transaxle
fluid level if you have been driving:
•When outside temperatures are above 90°F (32°C).
•At high speed for quite a while.
•In heavy traffic — especially in hot weather.
To get the right reading, the fluid should be at normal
operating temperature, which is 158°F to 176°F
(70°C to 80°C).
Get the vehicle warmed up by driving about
15 miles (24 km) when outside temperatures are
above 50°F (10°C). If it is colder than 50°F (10°C),
you may have to drive longer.
Checking the Fluid Level
Prepare your vehicle as follows:
•Park your vehicle on a level place. Keep the engine
running.
•With the parking brake applied, place the shift lever
in PARK (P).
•With your foot on the brake pedal, move the shift
lever through each gear range, pausing for about
three seconds in each range. Then, position the shift
lever in PARK (P).
•Let the engine run at idle for three to five minutes.Then, without shutting off the engine, follow these steps:
The automatic transaxle dipstick is located toward the
front of the engine compartment, near the power
steering fluid reservoir. SeeEngine Compartment
Overview on page 5-12for more information on location.
1. Pull out the dipstick and wipe it with a clean rag
or paper towel.
2. Push the dipstick back in all the way, wait three
seconds and then pull it back out again.
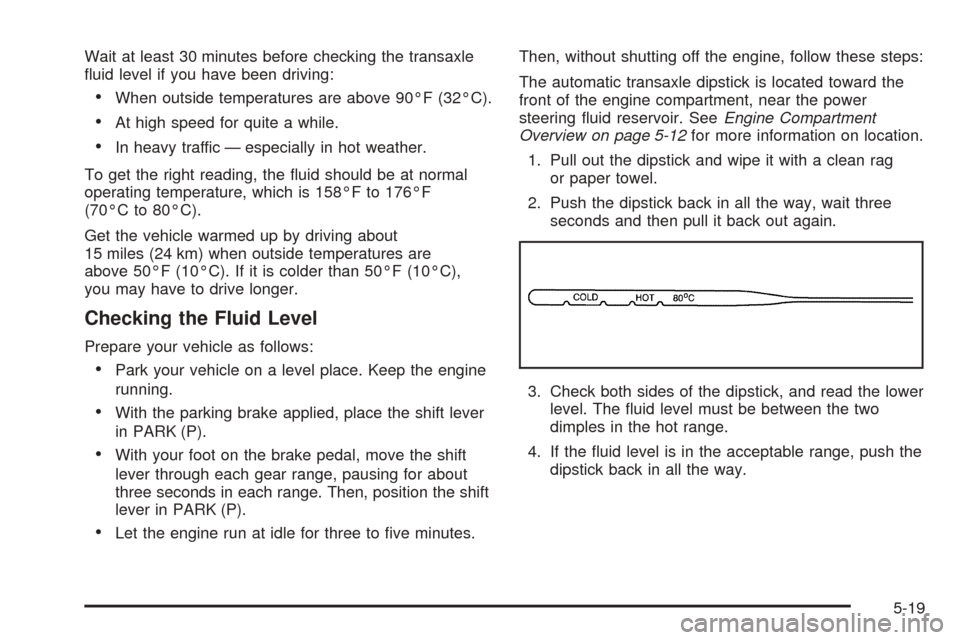
3. Check both sides of the dipstick, and read the lower
level. The fluid level must be between the two
dimples in the hot range.
4. If the fluid level is in the acceptable range, push the
dipstick back in all the way.
5-19