Page 306 of 410

If the overheat warning continues, there is one more
thing you can try. You can add the proper coolant
mixture directly to the radiator, but be sure the system
is cool before you do it.
{CAUTION:
Steam and scalding liquids from a hot cooling
system can blow out and burn you badly. They
are under pressure, and if you turn the radiator
pressure cap — even a little — they can come
out at high speed. Never turn the cap when the
cooling system, including the radiator pressure
cap, is hot. Wait for the cooling system and
radiator pressure cap to cool if you ever have
to turn the pressure cap.
How to Add Coolant to the Radiator
Notice:Your engine has a speci�c radiator
�ll procedure. Failure to follow this procedure could
cause your engine to overheat and be severely
damaged.
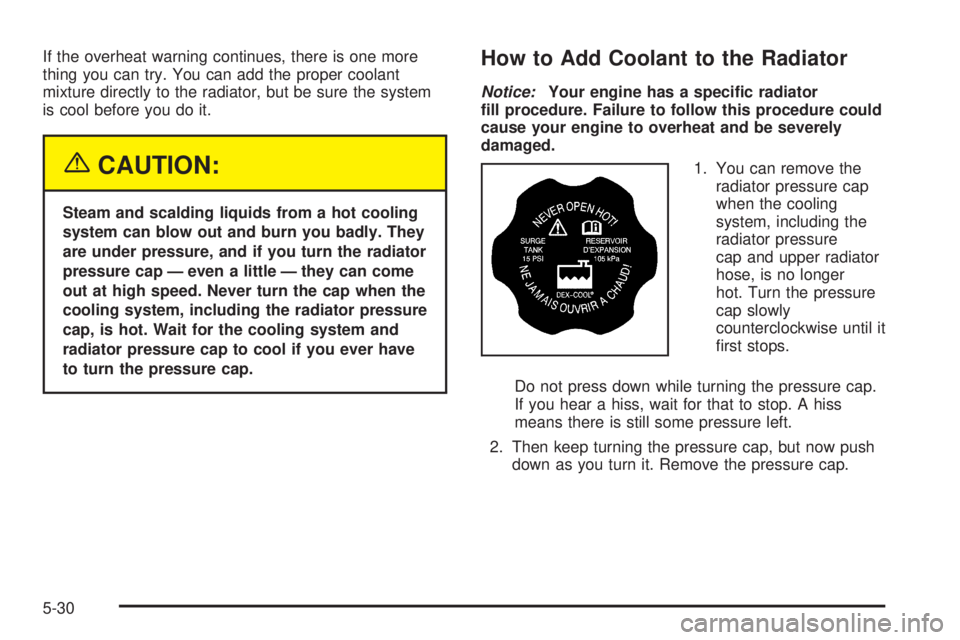
1. You can remove the
radiator pressure cap
when the cooling
system, including the
radiator pressure
cap and upper radiator
hose, is no longer
hot. Turn the pressure
cap slowly
counterclockwise until it
�rst stops.
Do not press down while turning the pressure cap.
If you hear a hiss, wait for that to stop. A hiss
means there is still some pressure left.
2. Then keep turning the pressure cap, but now push
down as you turn it. Remove the pressure cap.
5-30
Page 323 of 410

6. Pull back on the front fascia and then pull the
headlamp assembly out from the vehicle. Moving
the headlamp up and down slightly may help with
its removal.
You may have someone assist you with this step.
7. Remove the access cover from behind the bulb
being replaced.
8. Turn the bulb socket one-quarter of a turn to
remove it from the headlamp assembly.
9. Holding the base of the socket, pull the old bulb
from the socket.
10. Replace with a new bulb.
11. Reverse all the steps to reassemble the headlamp
assembly.
When replacing the plastic retaining clip, push down
on it while pushing rearward on the headlamp,
making sure the headlamp assembly is secure.
High-Beam Headlamp Bulbs
To replace the high-beam headlamp bulb, do the
following:
1. Open the hood. SeeHood Release on page 5-11
for more information.
2. Locate the high-beam headlamp bulb socket.3. Remove the access cover from behind the bulb
being replaced.
4. Turn the bulb socket counterclockwise and pull it
from the headlamp assembly.
5. Holding the base of the socket, pull the old bulb
from the socket.
6. Replace with a new bulb.
7. Reverse Steps 2 through 4 to reinstall.
Front Turn Signal and
Parking Lamps
To replace a front turn signal/parking lamp bulb in the
front fascia, do the following:
1. Locate the front turn signal/parking bulb socket by
reaching behind the front bumper.
2. Turn the bulb socket counterclockwise and pull it
out of the assembly.
3. Holding the base of the socket, pull the old bulb
from the socket.
4. Push the new bulb into the socket.
5. Reverse Steps 1 through 3 to reinstall.
5-47
Page 324 of 410

Fog Lamps
Your vehicle may have fog lamps. To replace a fog
lamp bulb, do the following:
1. Locate the access door in the splash shield. It is
located behind the front fascia. To do this, reach
up under and behind the front fascia.
2. Open the access door.
3. Locate the fog lamp bulb socket.
4. Turn the bulb socket counterclockwise one-quarter
of a turn while pressing the socket in �rmly.
5. Pull the socket rearward until the bulb socket clears
the fog lamp housing.
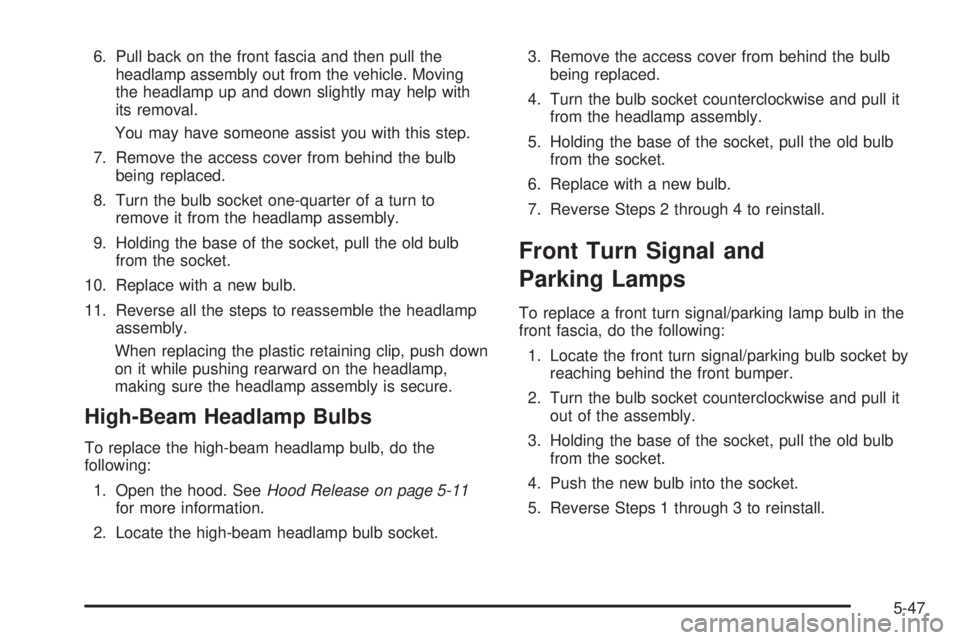
6. Disconnect the wire
connector from the
bulb by lifting the lock
tab and pulling it
away from the
plastic base.7. Remove the bulb assembly and replace it with the
appropriate bulb.
8. Reverse the steps to reinstall the fog lamp
bulb socket.
Taillamps, Turn Signal, Sidemarker,
Stoplamps and Back-up Lamps
To replace a taillamp, turn signal, sidemarker, stoplamp
or back-up lamp bulb, do the following:
1. Open the trunk. SeeTrunk on page 2-13for more
information.
2. Remove the convenience net if the vehicle has one.
5-48
Page 326 of 410
A. Taillamp
B. Back-up
C. TaillampD. Stoplamp/Taillamp/Turn
Signal
E. Sidemarker
7. Turn the bulb socket counterclockwise to remove it.
8. Replace with a new bulb.
9. Turn the bulb socket clockwise to reinstall.
10. Reverse these steps to reinstall the
taillamp assembly.
Replacement Bulbs
Exterior Lamps Bulb Number
Back-Up Lamps 921
Fog Lamp H11
Front Turn Signal and
Parking Lamps3157NAK
Headlamps
High-Beam H9
Low-Beam H11
Front/Rear Sidemarker and
Taillamp194
Stoplamps and Taillamps 3057
For replacement bulbs not listed here, contact
your dealer.
5-50
Page 345 of 410
Removing the Spare Tire and Tools
The equipment you will need is located in the trunk.
1. Open the trunk. SeeTrunk on page 2-13for more
information.
2. Remove the convenience net if the vehicle has one.
3. Lift the handle on the spare tire cover. The handle
may hook on the front edge of the trunk’s
weatherstrip to hold the cover out of the way.4. Turn the wing nut counterclockwise and remove it.
5. Remove the compact spare tire.
5-69
Page 346 of 410
6. Turn the nut holding the jack counterclockwise and
remove it. Then remove the jack and wrench.The tools needed to change a tire include the jack (A),
extension and protection guide (B, and wheel
wrench (C).
5-70
Page 347 of 410

Removing the Flat Tire and
Installing the Spare Tire
If your vehicle has wheel covers with center caps, the
wheel nuts are hidden behind the cap. The center
cap must be removed before you can remove the �at
tire and install the spare tire.
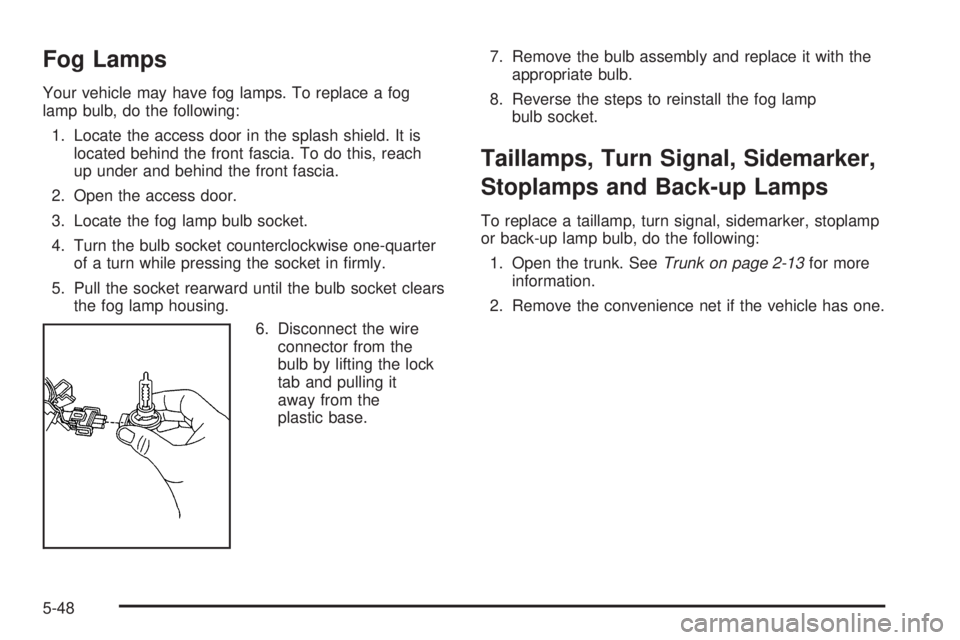
To remove a center cap, use the wrench to pry gently at
the notch on the cap. Do not use a tool that is narrower
than the wrench to pry at this notch. Then pry off
the cap.Use the wheel wrench to loosen the plastic nut caps in
a counterclockwise direction. If needed, �nish
loosening them by hand. The nut caps will not come off.
Then, using the �at end of the wheel wrench, pry
along the edge of the wheel cover until it comes off. Be
careful; the edge may be sharp. Do not try to remove
the cover with your bare hands.
Once you have removed the center cap or wheel cover,
use the following procedure to remove the �at tire
and install the spare tire.
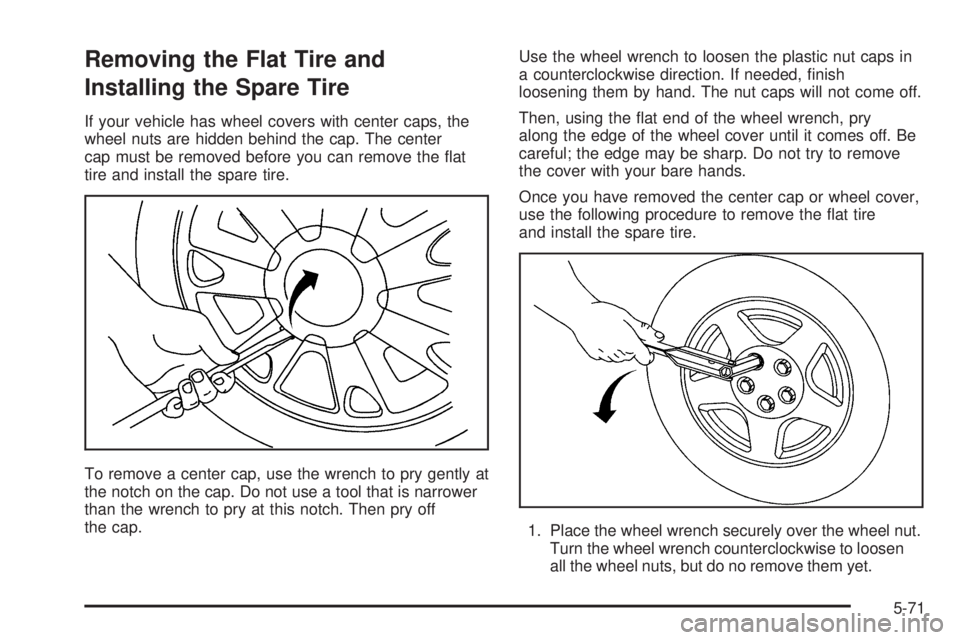
1. Place the wheel wrench securely over the wheel nut.
Turn the wheel wrench counterclockwise to loosen
all the wheel nuts, but do no remove them yet.
5-71
Page 348 of 410

2. Turn the jack handle clockwise to raise the jack
lift head.
3. Find the jacking location using the diagram above
and corresponding hoisting notches located on the
underside of the vehicle’s plastic molding. The
notches in the plastic molding are marked with a
triangle shape to help you �nd them.
The front location is about 6.5 inches (16.5 cm)
from the rear edge of the front wheel well. The rear
location is about 9 inches (22.8 cm) from the
front edge of the rear wheel well.
4. Put the compact spare tire near you.
{CAUTION:
Getting under a vehicle when it is jacked up is
dangerous. If the vehicle slips off the jack you
could be badly injured or killed. Never get under
a vehicle when it is supported only by a jack.
{CAUTION:
Raising your vehicle with the jack improperly
positioned can damage the vehicle and even
make the vehicle fall. To help avoid personal
injury and vehicle damage, be sure to �t the
jack lift head into the proper location before
raising the vehicle.
5-72