2005 BMW Z4 ROADSTER 2.5I instrument cluster
[x] Cancel search: instrument clusterPage 14 of 120

Cockpit
12
Instrument cluster
1Speedometer
2Indicator and warning lamps12
3Tachometer46
with indicator and warning lamps12
4Engine coolant temperature gauge46
5Fuel gauge46
6Button for
>Time47
>Service interval display47
7Display field for selector lever and program
indicator
>Automatic transmission
*38
>Sequential manual gearbox SMG
*40
8Button for
>Trip odometer, reset to zero46
>Setting time47
9Display for
>Trip odometer/Odometer46
>Clock47
>Service interval47
>Computer
*48
Indicator and warning lamps
Technology that monitors itself
Indicator and warning lamps that are identified
by
+ are tested for proper functioning whenever
the ignition key is turned. They each light up
once for different periods of time.
If a malfunction occurs in one of the monitored
systems, the corresponding light does not go
out after the engine has started, or it lights up
again while the vehicle is in motion. You can find
more information about each system on the
specified pages.
Safety belt reminder +30
Airbags
+53
Battery charge current
+94
Page 39 of 120

Reference
At a glance
Controls
Driving tips
Mobility
37
>On the first attempt, engage the starter for
approx. 10 seconds
>Press the accelerator pedal halfway down.
Avoid frequent starting attempts in short
succession or repeated starting attempts
during which the engine does not start. Other-
wise, uncombusted or incompletely combusted
fuel will pose a risk of the catalytic converter
overheating and being damaged.<
Manual transmission
1.Engage the parking brake
2.Gearshift lever in idling position
3.Depress the clutch pedal.
If the clutch pedal is not depressed, the
engine cannot be started
4.Start the engine.
Automatic transmission
1.Depress footbrake
2.Place selector lever in position P or N
3.Start the engine.
Sequential manual gearbox SMG
1.Depress footbrake
2.Move selector lever to neutral position N
3.Start the engine.
If the engine does not start, re-engage the
position last selected, refer to the display
in the instrument cluster, and then engage posi-
tion N again.<
Switching off the engine
Do not remove the ignition key while the
vehicle is still moving. If you did so, the
steering lock would engage when the steering
wheel is turned.
When you leave the vehicle, always remove the
ignition key and engage the steering lock.
Apply the parking brake when parking on steep
gradients, as the vehicle could otherwise start
to roll.<
You can have an acoustic signal set as a
reminder that the ignition key is still in the ignition switch after the driver's door has been
opened.<
Manual transmission
1.Turn the ignition key to position 1 or 0
2.Engage first gear or reverse gear.
Automatic transmission
1.Place the selector lever in position P
2.Turn the ignition key to position 1 or 0.
Sequential manual gearbox SMG
1.Engage a drive position
2.Turn the ignition key to position 1 or 0. An
acoustic signal sounds if the engine is
switched off while position N is engaged.
Parking brake
The parking brake is designed primarily to pre-
vent the vehicle from rolling when parked. It
operates against the rear wheels.
The indicator lamp lights up. As the
vehicle drives off, an acoustic signal
also sounds. The parking brake has
been applied.
Indicator lamp for Canadian models.
To engage
The detent engages automatically and the indi-
cator lamp in the instrument cluster comes on
when the ignition key is in position 2.
Page 41 of 120
Reference
At a glance
Controls
Driving tips
Mobility
39
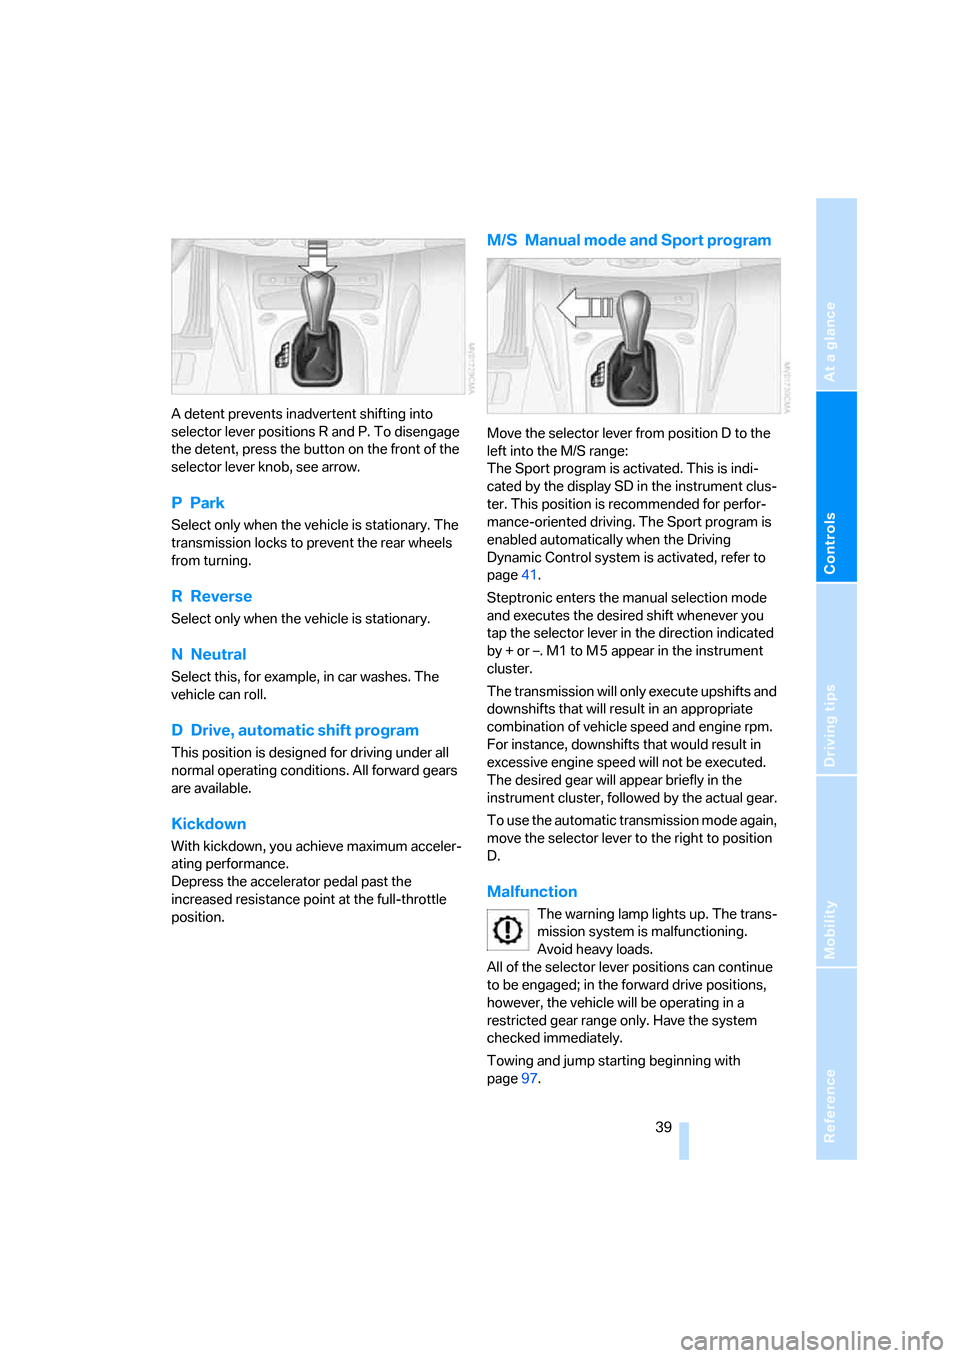
A detent prevents inadvertent shifting into
selector lever positions R and P. To disengage
the detent, press the button on the front of the
selector lever knob, see arrow.
PPark
Select only when the vehicle is stationary. The
transmission locks to prevent the rear wheels
from turning.
R Reverse
Select only when the vehicle is stationary.
NNeutral
Select this, for example, in car washes. The
vehicle can roll.
D Drive, automatic shift program
This position is designed for driving under all
normal operating conditions. All forward gears
are available.
Kickdown
With kickdown, you achieve maximum acceler-
ating performance.
Depress the accelerator pedal past the
increased resistance point at the full-throttle
position.
M/S Manual mode and Sport program
Move the selector lever from position D to the
left into the M/S range:
The Sport program is activated. This is indi-
cated by the display SD in the instrument clus-
ter. This position is recommended for perfor-
mance-oriented driving. The Sport program is
enabled automatically when the Driving
Dynamic Control system is activated, refer to
page41.
Steptronic enters the manual selection mode
and executes the desired shift whenever you
tap the selector lever in the direction indicated
by + or –. M1 to M 5 appear in the instrument
cluster.
The transmission will only execute upshifts and
downshifts that will result in an appropriate
combination of vehicle speed and engine rpm.
For instance, downshifts that would result in
excessive engine speed will not be executed.
The desired gear will appear briefly in the
instrument cluster, followed by the actual gear.
To use the automatic transmission mode again,
move the selector lever to the right to position
D.
Malfunction
The warning lamp lights up. The trans-
mission system is malfunctioning.
Avoid heavy loads.
All of the selector lever positions can continue
to be engaged; in the forward drive positions,
however, the vehicle will be operating in a
restricted gear range only. Have the system
checked immediately.
Towing and jump starting beginning with
page97.
Page 42 of 120
Driving
40
Sequential manual gearbox
SMG*
The concept
The sequential manual gearbox SMG is an
automated manual gearbox with which clutch-
ing and shifting is assumed by an electro-
hydraulic system.
The SMG is operated via two shift paddles on
the steering wheel and the selector lever in the
center console.
It offers the following functions:
>Optionally manual or automatic operation:
sequential mode or drive mode
>Ability to choose between two different
driving programs: standard or Sport, refer to
page41
>Protection against misshifting, and auto-
matic downshifting at minimum engine rpm
even in sequential mode
>Kickdown function in the drive mode
>Acceleration assistant, refer to page42.
The SMG is ready for operation when the igni-
tion key is in position 2.
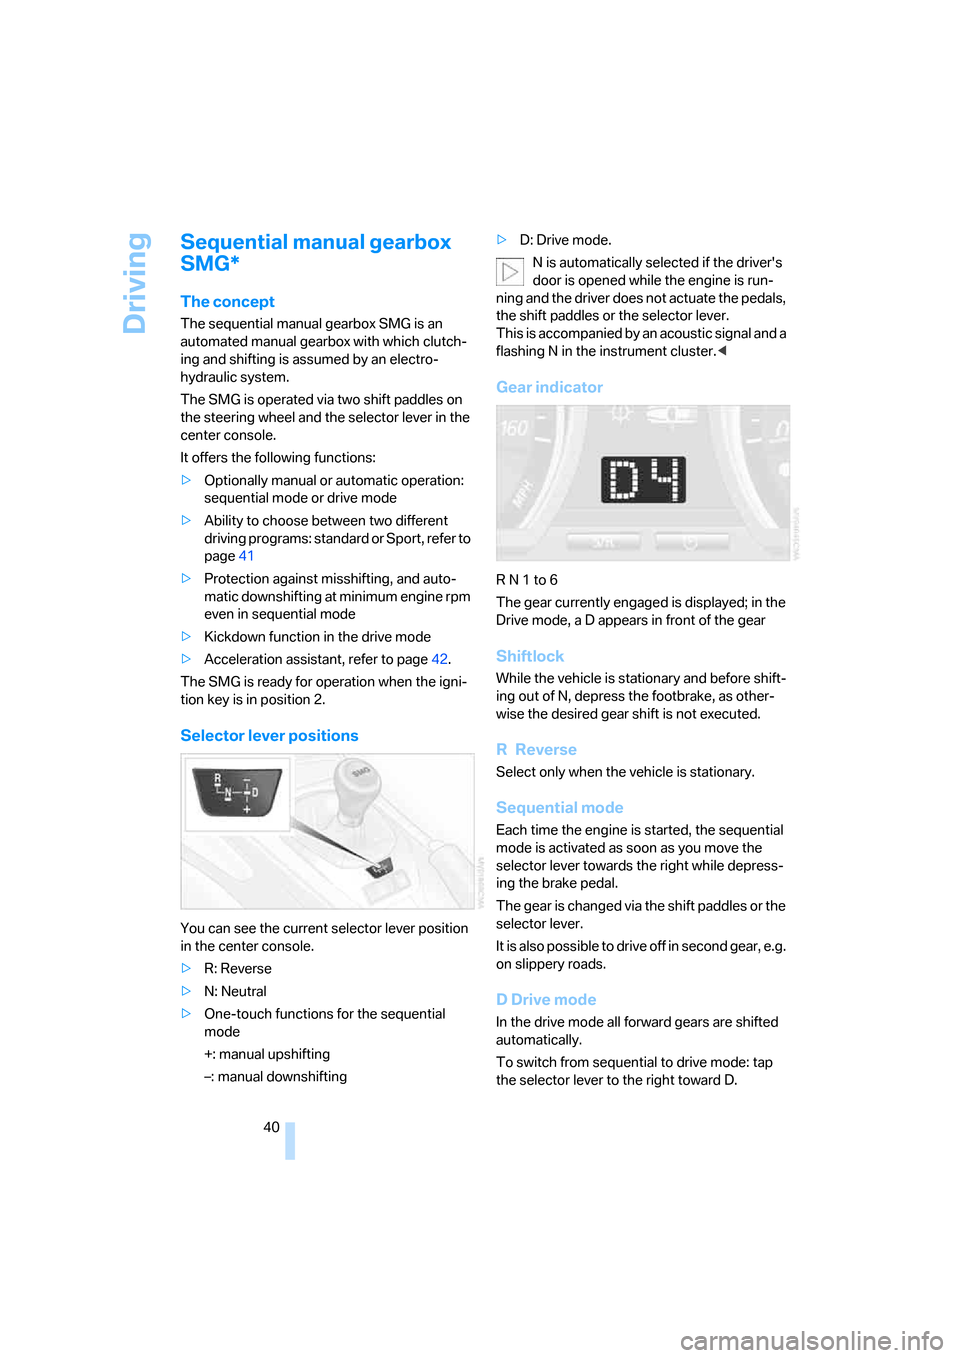
Selector lever positions
You can see the current selector lever position
in the center console.
>R: Reverse
>N: Neutral
>One-touch functions for the sequential
mode
+: manual upshifting
–: manual downshifting>D: Drive mode.
N is automatically selected if the driver's
door is opened while the engine is run-
ning and the driver does not actuate the pedals,
the shift paddles or the selector lever.
This is accompanied by an acoustic signal and a
flashing N in the instrument cluster.<
Gear indicator
R N 1 to 6
The gear currently engaged is displayed; in the
Drive mode, a D appears in front of the gear
Shiftlock
While the vehicle is stationary and before shift-
ing out of N, depress the footbrake, as other-
wise the desired gear shift is not executed.
R Reverse
Select only when the vehicle is stationary.
Sequential mode
Each time the engine is started, the sequential
mode is activated as soon as you move the
selector lever towards the right while depress-
ing the brake pedal.
The gear is changed via the shift paddles or the
selector lever.
It is also possible to drive off in second gear, e.g.
on slippery roads.
D Drive mode
In the drive mode all forward gears are shifted
automatically.
To switch from sequential to drive mode: tap
the selector lever to the right toward D.
Page 49 of 120

Reference
At a glance
Controls
Driving tips
Mobility
47
Between the blue and red zones
Normal operating range. The needle may rise as
far as the edge of the red sector during normal
operation.
Red
When you switch on the ignition, warning
lamp1 comes on briefly to indicate an opera-
tional check.
Comes on while driving:
The engine has overheated. Stop and switch
the engine off immediately and allow it to cool
down.
For checking the coolant level, refer to page87.
Service interval display
Remaining distance to next service
The displays shown in the illustration appear for
a few seconds when the ignition key is in
position 1 or after the engine is started.
The next service due appears with the message
OIL SERVICE or INSPECTION, together with
the distance remaining in miles – in kilometers
in Canada – before the next scheduled service.
The computer bases its calculations of the
remaining distance on the preceding driving
style.
A flashing message and a minus sign in front of
the number mean that the service interval has
already been exceeded by the distance shown
on the display. Please contact your BMW center
for an appointment.
Outside temperature
If the vehicle is not equipped with a computer,
the display in the instrument cluster always
shows the outside temperature.
Clock
If you wish to have a permanent time display,
you can have it appear in the car radio display,
refer to the Owner's Manual for Radio.
You can set the clock and the time display in the
car radio as follows.
To set
Ignition key in position 1 or higher:
Hours
1.Keep button2 pressed for several seconds
until the hours are displayed and the colon
flashes
2.Press button1 repeatedly until the required
hour is set
Minutes
3.Press button2 to switch to the minutes dis-
play
Page 50 of 120
Everything under control
48 4.Press button1 repeatedly until the required
minutes are set
5.Press button2 to confirm the settings.
The set time of day is transferred to the car
radio display or appears in the instrument clus-
ter display.
Display mode
In ignition key position 0:
Press button1.
The time of day is displayed for several sec-
onds.
Computer*
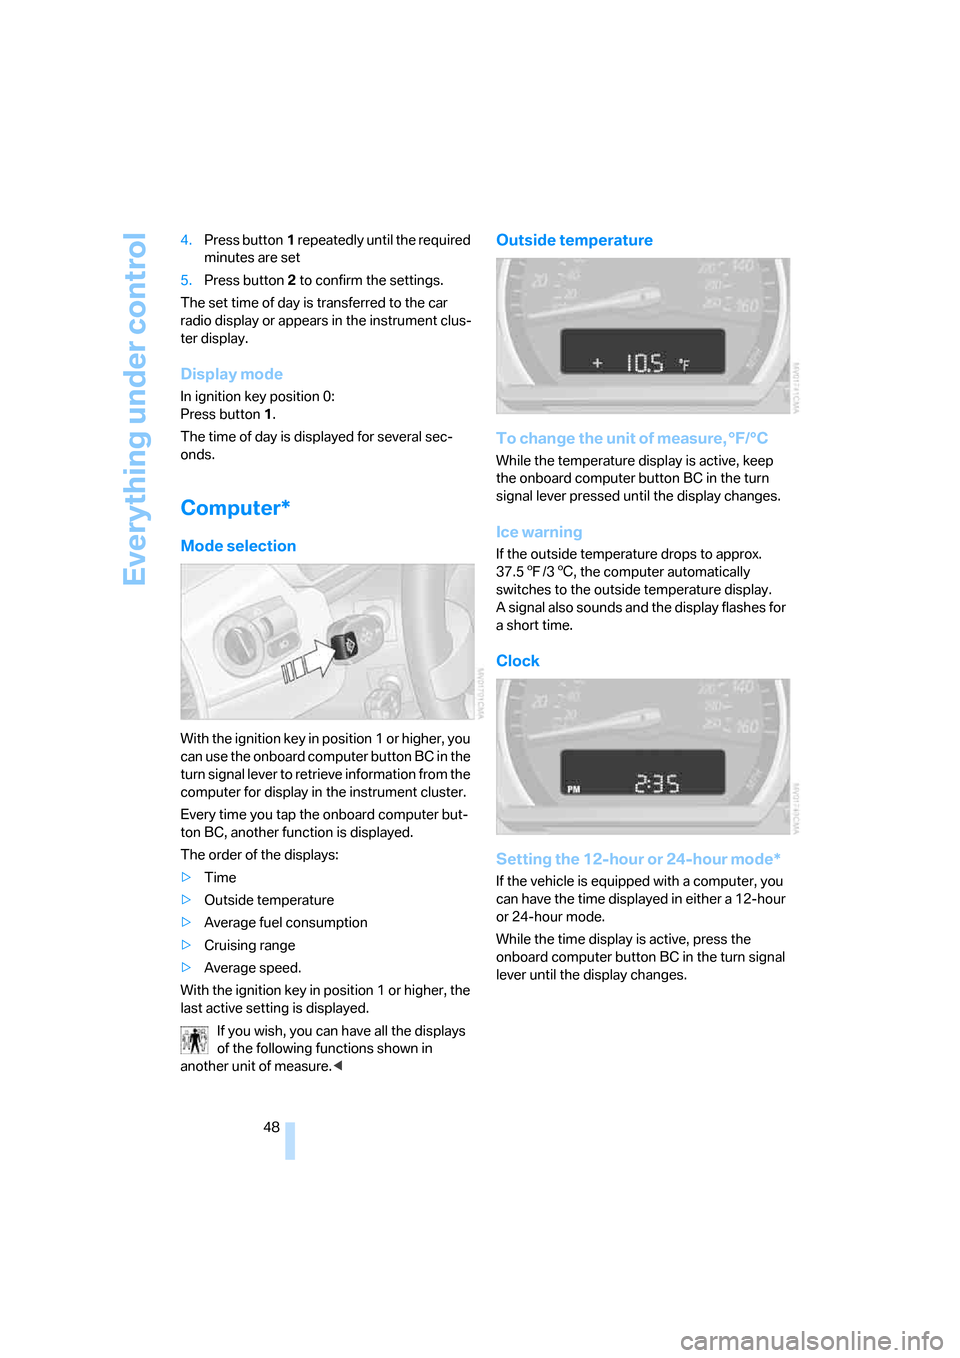
Mode selection
With the ignition key in position 1 or higher, you
can use the onboard computer button BC in the
turn signal lever to retrieve information from the
computer for display in the instrument cluster.
Every time you tap the onboard computer but-
ton BC, another function is displayed.
The order of the displays:
>Time
>Outside temperature
>Average fuel consumption
>Cruising range
>Average speed.
With the ignition key in position 1 or higher, the
last active setting is displayed.
If you wish, you can have all the displays
of the following functions shown in
another unit of measure.<
Outside temperature
To change the unit of measure, °F/°C
While the temperature display is active, keep
the onboard computer button BC in the turn
signal lever pressed until the display changes.
Ice warning
If the outside temperature drops to approx.
37.57/36, the computer automatically
switches to the outside temperature display.
A signal also sounds and the display flashes for
a short time.
Clock
Setting the 12-hour or 24-hour mode*
If the vehicle is equipped with a computer, you
can have the time displayed in either a 12-hour
or 24-hour mode.
While the time display is active, press the
onboard computer button BC in the turn signal
lever until the display changes.
Page 52 of 120
Technology for safety and driving convenience
50
Technology for safety and driving
convenience
Driving stability control
systems
Your BMW is equipped with a series of systems
that help maintain driving stability even in
adverse driving situations.
Antilock Brake System ABS
ABS keeps the wheels from locking during
braking. Steering stability is maintained even
during full brake applications. In this way, active
safety is enhanced.
ABS is operational each time the engine is
started. Braking safely, refer to page69.
Electronic brake-force distribution
The system controls brake-force application at
the rear wheels in order to obtain increased sta-
bility in the vehicle's braking response.
Dynamic Brake Control DBC
When the brake pedal is depressed quickly, this
system automatically supplies maximum brake-
servo boost, thereby helping to keep the vehi-
cle's braking distance as short as possible dur-
ing full brake applications. At the same time, the
benefits of the ABS are also exploited.
As long as you are braking, do not reduce pres-
sure on the brake pedal. When the brake pedal
is released, the DBC is switched off.
Dynamic Stability Control DSC
DSC prevents slip at the drive wheels while
starting off and accelerating the vehicle. DSC
also recognizes unstable vehicle conditions,
such as fishtailing or nose-diving. In these
cases, and subject to physical limits, DSC helps
to keep the vehicle on a steady course by
reducing engine speed and by applying brakes
at individual wheels.The laws of physics cannot be repealed
even with DSC. It will always be the
driver's responsibility to drive in a manner that
matches road conditions. Therefore, do not
limit the additional safety margin by practicing
risky driving.<
Dynamic Traction Control DTC
DTC is a variant of the DSC in which forward
momentum is optimized for special road condi-
tions, e.g. snow-covered roads that have not
yet been cleared. The system ensures maxi-
mum forward momentum, but driving stability is
limited. Therefore, drive carefully in accordance
with conditions.
In the following exceptional circumstances, it
may be effective to activate the DTC for a short
period:
>When driving on snow-covered grades, in
slush or on uncleared, snow-covered roads
>When rocking the vehicle or starting off in
deep snow or on loose surfaces
>When driving with snow chains.
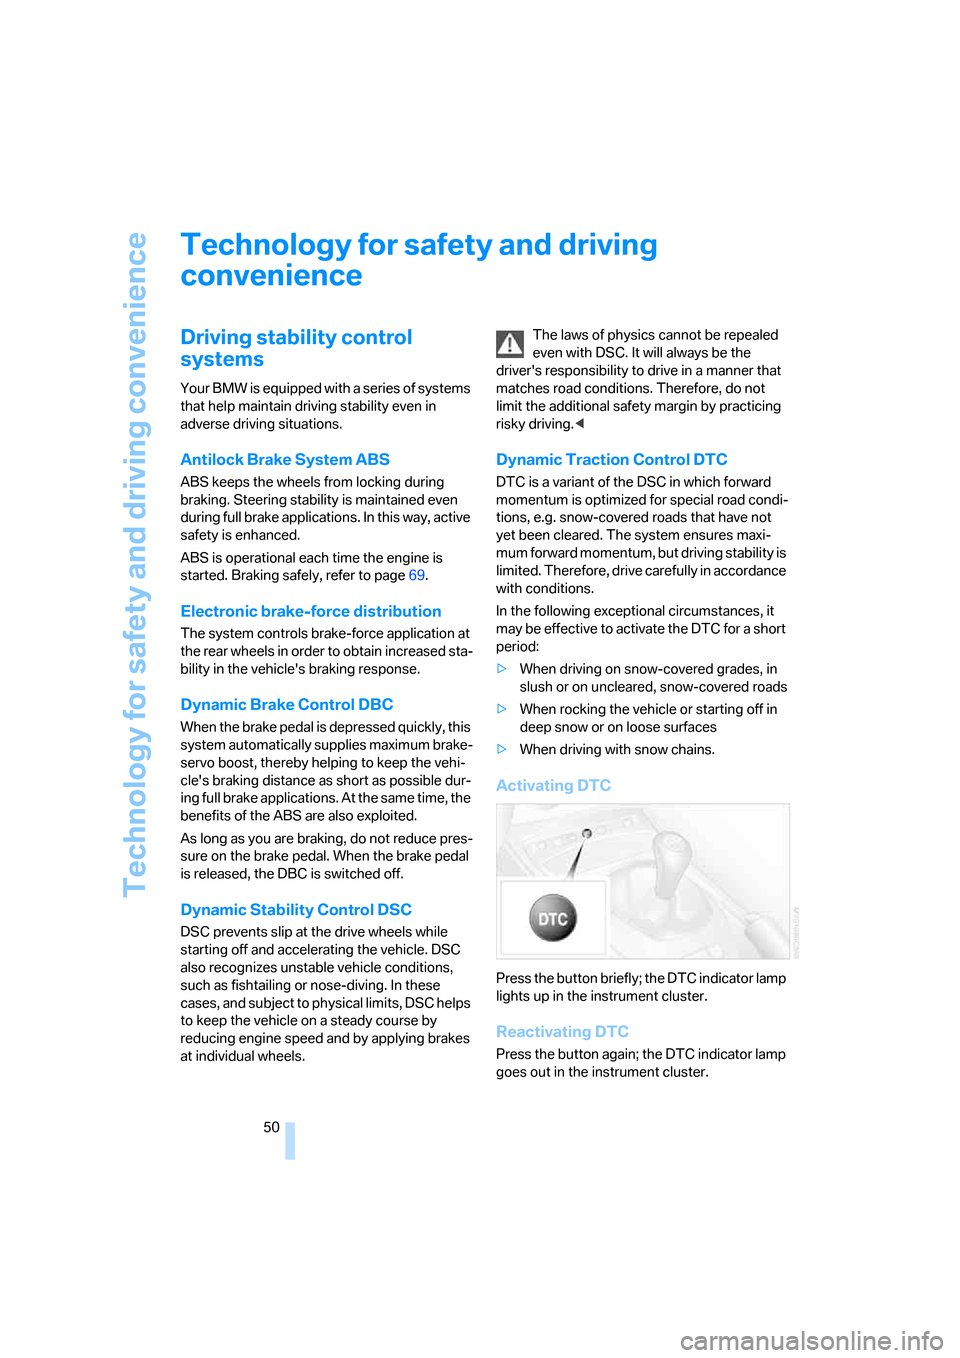
Activating DTC
Press the button briefly; the DTC indicator lamp
lights up in the instrument cluster.
Reactivating DTC
Press the button again; the DTC indicator lamp
goes out in the instrument cluster.
Page 53 of 120
Reference
At a glance
Controls
Driving tips
Mobility
51
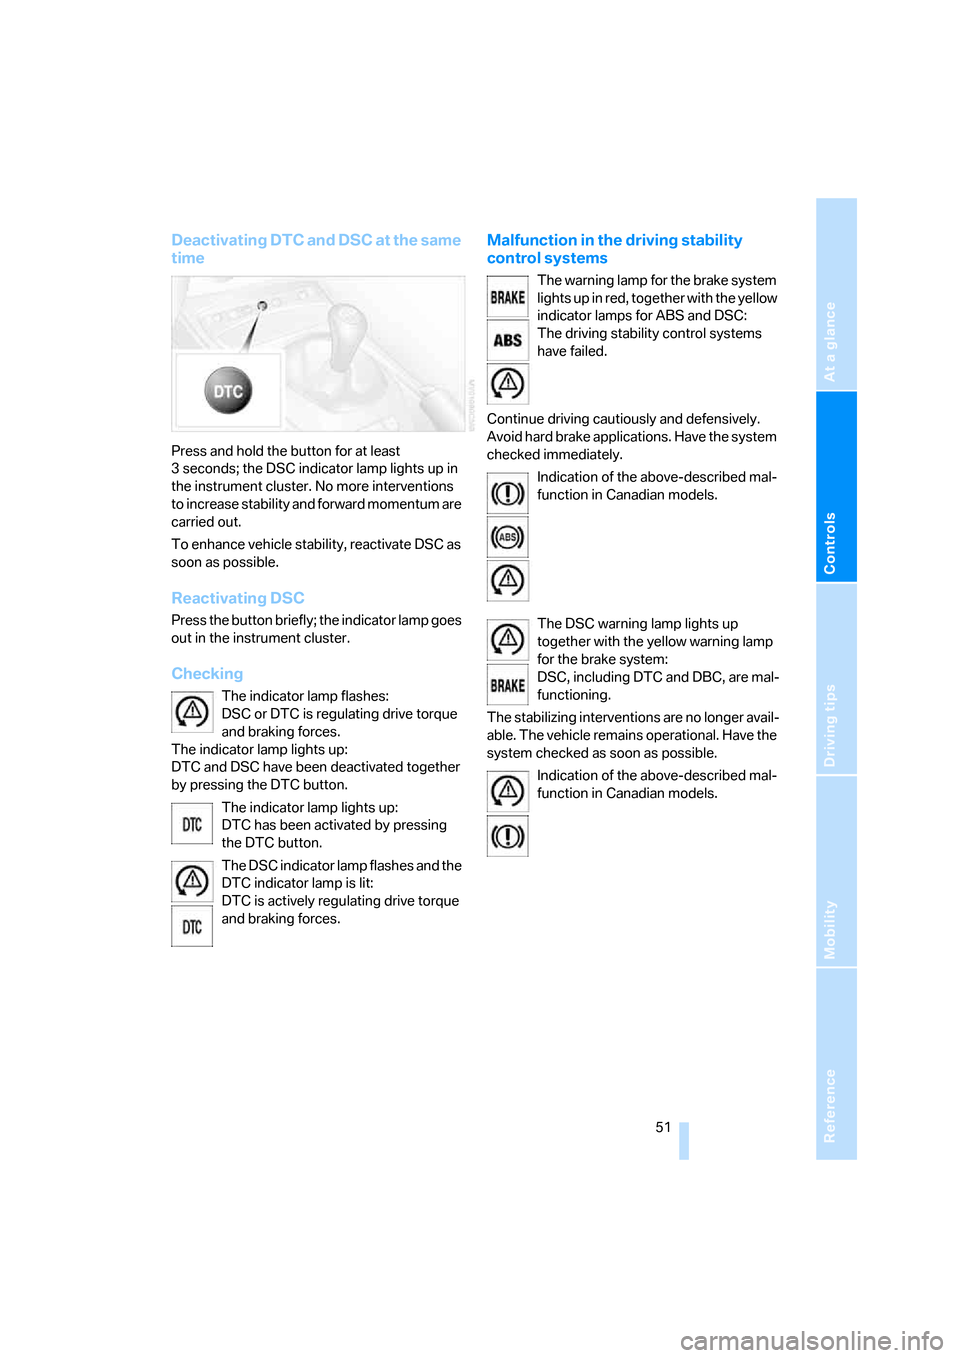
Deactivating DTC and DSC at the same
time
Press and hold the button for at least
3 seconds; the DSC indicator lamp lights up in
the instrument cluster. No more interventions
to increase stability and forward momentum are
carried out.
To enhance vehicle stability, reactivate DSC as
soon as possible.
Reactivating DSC
Press the button briefly; the indicator lamp goes
out in the instrument cluster.
Checking
The indicator lamp flashes:
DSC or DTC is regulating drive torque
and braking forces.
The indicator lamp lights up:
DTC and DSC have been deactivated together
by pressing the DTC button.
The indicator lamp lights up:
DTC has been activated by pressing
the DTC button.
The DSC indicator lamp flashes and the
DTC indicator lamp is lit:
DTC is actively regulating drive torque
and braking forces.
Malfunction in the driving stability
control systems
The warning lamp for the brake system
lights up in red, together with the yellow
indicator lamps for ABS and DSC:
The driving stability control systems
have failed.
Continue driving cautiously and defensively.
Avoid hard brake applications. Have the system
checked immediately.
Indication of the above-described mal-
function in Canadian models.
The DSC warning lamp lights up
together with the yellow warning lamp
for the brake system:
DSC, including DTC and DBC, are mal-
functioning.
The stabilizing interventions are no longer avail-
able. The vehicle remains operational. Have the
system checked as soon as possible.
Indication of the above-described mal-
function in Canadian models.