Page 88 of 165
Case
OA
Release leversEach case has two levers,
one on each side of the lock.
The grey lever marked OPEN
is for opening and closing the
case.
The black lever marked RE-
LEASE is for removing and
attaching the case.Opening casesTurn the lock barrel until it
is at right angles to the for-
ward direction of travel.
Case can be opened.Case secured.
Key can be removed.
Pull the grey release lever
(OPEN) up.
Lock straps
1open.
Pull the grey release lever
(OPEN) up again.
Pull case lid 2out of the re-
tainer.
Case fully opened.
Closing casesPress catches 1of the case
lid into retainers 2.
The catches engage with an
audible click.
686zAccessories
Adjusting case volumeClose the case lid.Close the lock straps.
Page 89 of 165
Turn the lock strap
buckles1of the lock straps
out.
Pull the lock straps up and
out.
This expands the case to
maximum volume. Close the lock straps.
Press the lock straps
against the case body.
The case volume adapts to
the contents.
Removing the caseTurn the case lock until it
is at an angle of 45° to the
forward direction of travel.
Key cannot be removed.
Case locked.
Cases can be removed.
Pull the black release lever
(RELEASE) up.
687zAccessories
Page 90 of 165
Pull the case out of the top
holder.
Lift the case out of the bot-
tom holder.
Installing casesTurn the case lock until it
is at an angle of 45° to the
forward direction of travel.
Key cannot be removed.
Case locked.Hook the case into bottom
holder
2.
Pull the black release lever
(RELEASE) up.
Press the case into top
holder 3.
Push the black release lever
(RELEASE) down.
The case is locked into
place.
Lock the case.
Check that it is correctly en-
gaged.
688zAccessories
Page 99 of 165

the bore 1in the inboard
brake block.
If the brake disc is visible: Have the brake pads re-
placed by a specialist work-
shop, preferably an author-
ised BMW Motorrad dealer.Brake fluidChecking brake-fluid
level, front brakes
A low fluid level in the
brake reservoir can al-
low air to penetrate the brake
system. This significantly re-
duces braking efficiency.
Apply the brakes in good
time.
Make sure the ground is
level and firm and hold the
motorcycle upright.
Move the handlebars to the
straight-ahead position. with OA Centre stand:
Make sure the ground is
level and firm and place
the motorcycle on its centre
stand.
Move the handlebars to the
straight-ahead position.
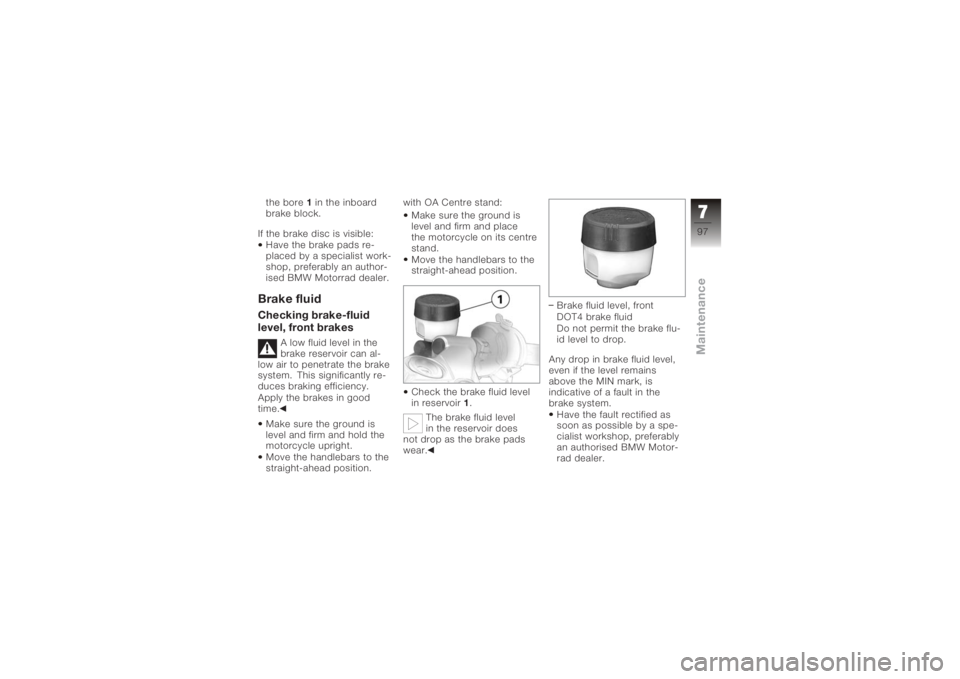
Check the brake fluid level
in reservoir 1.
The brake fluid level
in the reservoir does
not drop as the brake pads
wear. Brake fluid level, front
DOT4 brake fluid
Do not permit the brake flu-
id level to drop.
Any drop in brake fluid level,
even if the level remains
above the MIN mark, is
indicative of a fault in the
brake system. Have the fault rectified as
soon as possible by a spe-
cialist workshop, preferably
an authorised BMW Motor-
rad dealer.
797zMaintenance
Page 113 of 165
Fitting the rear wheel
standUse screws1to set the
rear-wheel stand to the de-
sired height.
Remove retaining disc 2.To
do so, press release but-
ton 3. Push the rear wheel stand
from the left into the rear
axle.
Install the retaining disc
from the right; to do so,
press the unlock button.
Place your left hand on the
left grab handle of the mo-
torcycle
4, and your right
hand on the lever of the rear
wheel stand 5. Lift the motorcycle upright,
simultaneously pressing the
lever down until the stand
supports the motorcycle in
the upright position.
7111zMaintenance
Page 115 of 165
Make sure the ground is
level and firm and place the
motorcycle on its stand.
Switch off the ignition.
Turn cover1counter-
clockwise and remove
it. Disconnect plug
2.
Release spring clip 3at left
and right and swing it up. Remove bulb
4.
Installation of the bulb is the
reverse of the removal pro-
cedure.
Use a clean, dry cloth to
hold the new bulb.
7113zMaintenance
Page 116 of 165
When installing, make sure
that tab5is pointing up.Replacing high-beam
headlight bulb
If it is not standing firmly,
the motorcycle could
topple in the course of the
operations described below.
Always make sure that the
motorcycle is stable and
firmly supported.
Turn the handlebars to
the left to facilitate ac-
cess. Make sure the ground is
level and firm and place the
motorcycle on its stand.
Switch off the ignition.
Turn cover
1counter-
clockwise and remove
it. Disconnect plug
2.
Release spring clip 3at left
and right and swing it up.
7114zMaintenance
Page 118 of 165

Remove the bulb holder4
from the headlight hous-
ing by turning it counter-
clockwise.
Twist the bulb 5to remove
it from the bulb holder.
Installation of the bulb is the
reverse of the removal pro-
cedure.
Use a clean, dry cloth to
hold the new bulb.Replacing the brake light
and rear light bulbs
If it is not standing firmly,
the motorcycle could
topple in the course of the
operations described below.
Always make sure that the
motorcycle is stable and
firmly supported.
Make sure the ground is
level and firm and place the
motorcycle on its stand.
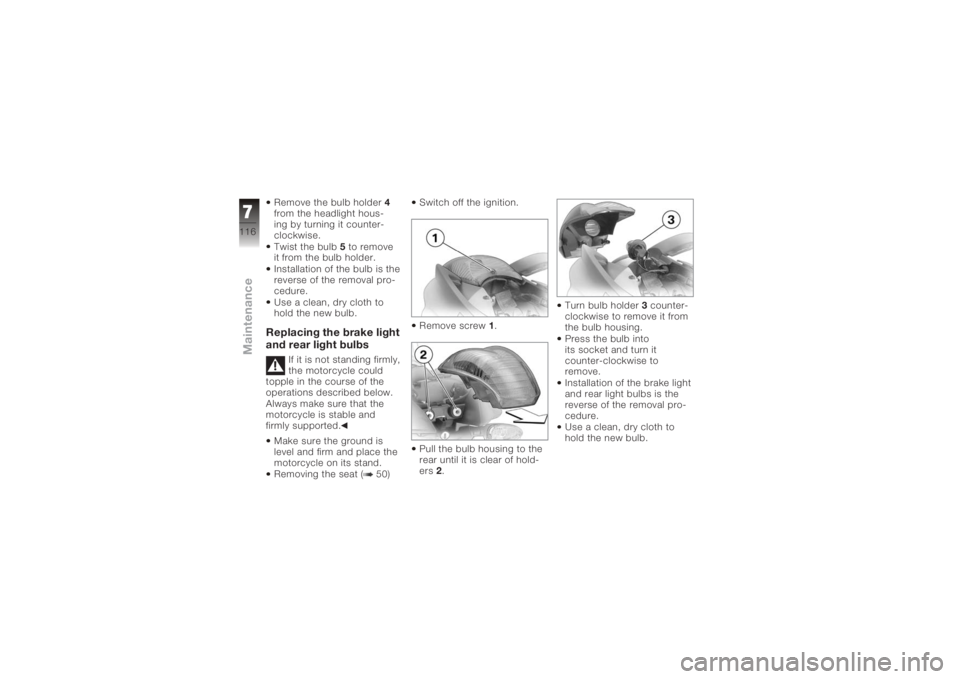
Removing the seat ( 50) Switch off the ignition.
Remove screw
1.
Pull the bulb housing to the
rear until it is clear of hold-
ers 2. Turn bulb holder
3counter-
clockwise to remove it from
the bulb housing.
Press the bulb into
its socket and turn it
counter-clockwise to
remove.
Installation of the brake light
and rear light bulbs is the
reverse of the removal pro-
cedure.
Use a clean, dry cloth to
hold the new bulb.
7116zMaintenance