Page 95 of 165
Engine oilChecking the engine oil
level
The engine can seize if
the oil level is low, and
this can lead to accidents.
Always make sure that the oil
level is correct.
Oil can collect in the
sump if the motorcycle
is out of use for an extended
period of time; this oil has to
be pumped into the oil tank
before the level is read. The
engine oil must be at oper-
ating temperature to do this.
Checking the oil level with the
engine cold or after no more
than a short ride will lead to
misinterpretation; this in turn,
means that the engine will be
operated with the incorrect
quantity of oil.
In order to ensure that the en-
gine oil level is read correctly, check the oil level only after a
lengthy trip.
The oil level varies with
the temperature of the
oil. The higher the temperat-
ure the higher the oil level in
the oil tank. Check the engine
oil level immediately after a
lengthy journey.
Make sure the engine is at
operating temperature and
hold the motorcycle upright.
with OA Centre stand:
Check that the engine is
at operating temperature,
make sure the ground is
level and firm and place
the motorcycle on its centre
stand.
Allow the engine to idle for
one minute.
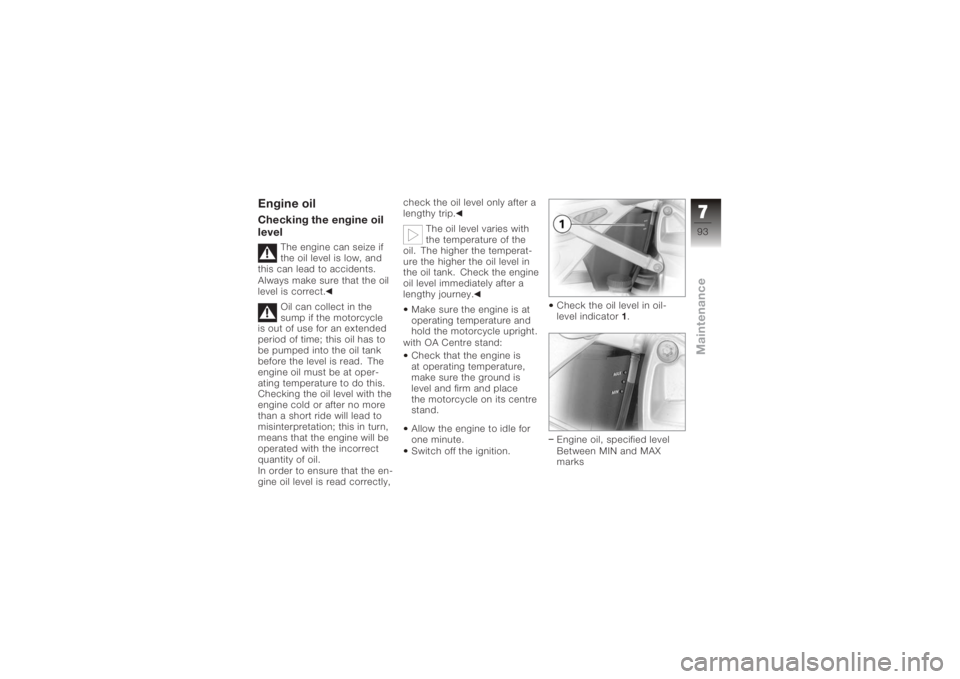
Switch off the ignition. Check the oil level in oil-
level indicator
1.
Engine oil, specified level
Between MIN and MAX
marks
793zMaintenance
Page 96 of 165
If the oil level is below the
MIN mark:Top up the engine oil.
If the oil level is above the
MAX mark: Drain off the engine oil.Topping up the engine oilMake sure the ground is
level and firm and place the
motorcycle on its stand.
Removing the seat ( 50)
Damage to the engine
can result if it is oper-
ated without enough oil, but the same also applies if the oil
level is too high.
Always make sure that the oil
level is correct.
Wipe the area around the
filler neck clean.
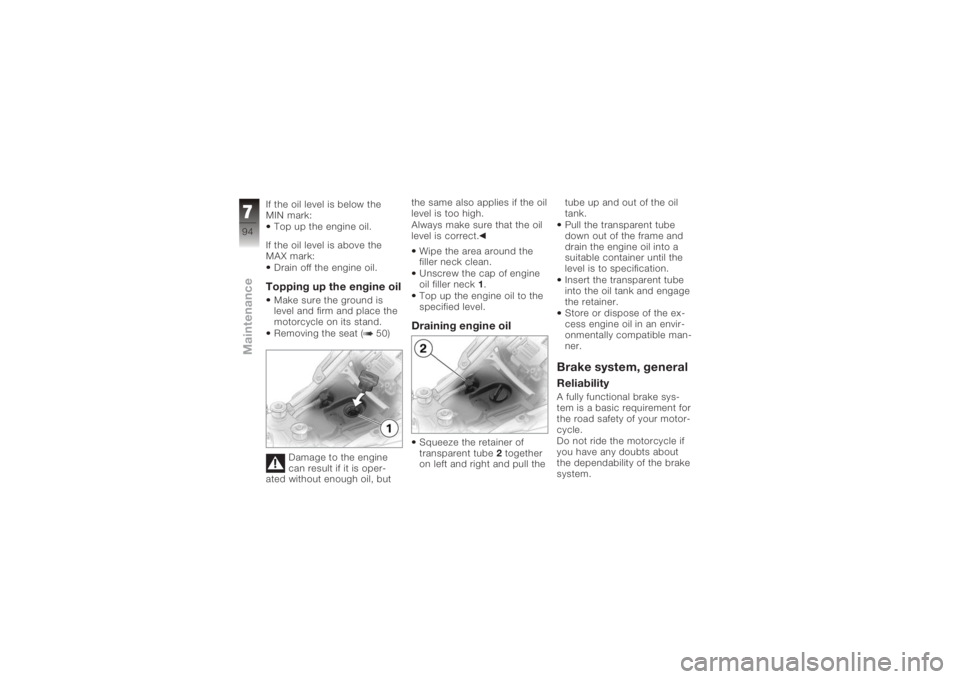
Unscrew the cap of engine
oil filler neck 1.
Top up the engine oil to the
specified level.
Draining engine oilSqueeze the retainer of
transparent tube 2together
on left and right and pull the tube up and out of the oil
tank.
Pull the transparent tube
down out of the frame and
drain the engine oil into a
suitable container until the
level is to specification.
Insert the transparent tube
into the oil tank and engage
the retainer.
Store or dispose of the ex-
cess engine oil in an envir-
onmentally compatible man-
ner.
Brake system, generalReliabilityA fully functional brake sys-
tem is a basic requirement for
the road safety of your motor-
cycle.
Do not ride the motorcycle if
you have any doubts about
the dependability of the brake
system.
794zMaintenance
Page 120 of 165
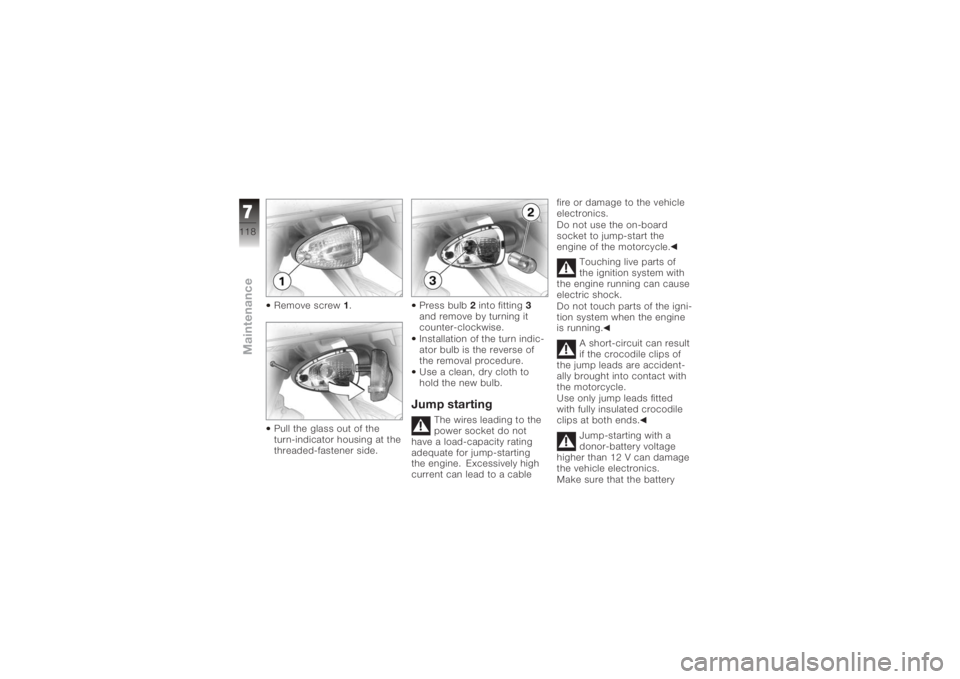
Remove screw1.
Pull the glass out of the
turn-indicator housing at the
threaded-fastener side. Press bulb
2into fitting 3
and remove by turning it
counter-clockwise.
Installation of the turn indic-
ator bulb is the reverse of
the removal procedure.
Use a clean, dry cloth to
hold the new bulb.
Jump starting
The wires leading to the
power socket do not
have a load-capacity rating
adequate for jump-starting
the engine. Excessively high
current can lead to a cable fire or damage to the vehicle
electronics.
Do not use the on-board
socket to jump-start the
engine of the motorcycle.
Touching live parts of
the ignition system with
the engine running can cause
electric shock.
Do not touch parts of the igni-
tion system when the engine
is running.
A short-circuit can result
if the crocodile clips of
the jump leads are accident-
ally brought into contact with
the motorcycle.
Use only jump leads fitted
with fully insulated crocodile
clips at both ends.
Jump-starting with a
donor-battery voltage
higher than 12 V can damage
the vehicle electronics.
Make sure that the battery
7118zMaintenance
Page 121 of 165
of the donor vehicle has a
voltage rating of 12 V.If it is not standing firmly,
the motorcycle could
topple in the course of the
operations described below.
Always make sure that the
motorcycle is stable and
firmly supported.
Make sure the ground is
level and firm and place the
motorcycle on its stand.
When jump-starting the en-
gine, do not disconnect the
battery from the on-board
electrical system.
Remove the screws.
Lift the battery compartment
cover up and forward to re-
move.
Run the engine of the donor
vehicle during jump-starting.
Begin by connecting one
end of the red jump lead
to the positive terminal of the discharged battery and
the other end to the pos-
itive terminal of the donor
battery.
Then connect one end of
the black jump lead to the
negative terminal of the
donor battery, and the other
end to the negative terminal
of the discharged battery.
Start the engine of the
vehicle with the discharged
battery in the usual way; if
the engine does not start,
wait a few minutes before
repeating the attempt
in order to protect the
starter motor and the donor
battery.
Allow both engines to idle
for a few minutes before
disconnecting the jump
leads.
Disconnect the jump lead
from the negative terminals
first, then disconnect thesecond lead from the posit-
ive terminals.
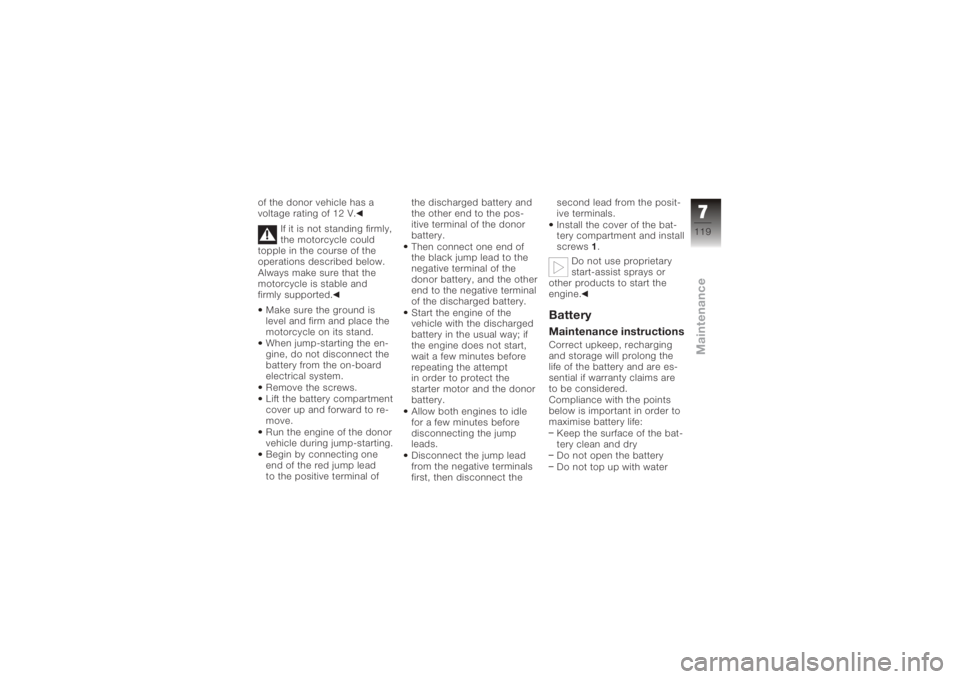
Install the cover of the bat-
tery compartment and install
screws
1.
Do not use proprietary
start-assist sprays or
other products to start the
engine.
BatteryMaintenance instructionsCorrect upkeep, recharging
and storage will prolong the
life of the battery and are es-
sential if warranty claims are
to be considered.
Compliance with the points
below is important in order to
maximise battery life:
Keep the surface of the bat-
tery clean and dry
Do not open the battery
Do not top up with water
7119zMaintenance
Page 125 of 165
Connection in the wrong
sequence increases the
risk of short-circuits.
Always proceed in the correct
sequence.
Never install the battery
without the protective cap.
Connect battery positive
lead 3first.
The connect battery negat-
ive lead 2.
Install the cover of the bat-
tery compartment. Install the battery com-
partment cover, noting
latches
2.
Install screws 1.
Switch on the ignition.
Fully open the throttle once
or twice.
The engine management
system registers the
throttle-valve position.
Setting the clock ( 44)
7123zMaintenance
Page 130 of 165
Paint careWashing the motorcycle
regularly will help counteract
the long-term effects of
substances that damage
the paint, especially if your
motorcycle is ridden in areas
with high air pollution or
natural sources of dirt, for
example tree resin or pollen.
Remove particularly
aggressive substances
immediately, however, as
otherwise the paint can
be affected or become
discoloured. Substances
of this nature include spilt
fuel, oil, grease, brake fluid
and bird droppings. We
recommend BMW vehicle
polish or BMW paint cleaner
for this purpose.
Marks on the paintwork are
particularly easy to see after
the motorcycle has been
washed. Remove stains ofthis kind immediately, using
cleaning-grade benzene or
petroleum spirit on a clean
cloth or ball of cotton wool.
We recommend that specks
of tar be removed with BMW
tar remover. Remember to
wax the parts treated in this
way.
Protective wax coat-
ingFor the protective wax coating
of paint, we recommend that
you use only BMW vehicle
wax or agents that contain
carnauba wax or synthetic
waxes.
It is time to rewax the paint-
work when water "puddles"
on the surface, instead of
forming beads.
Laying up the motor-
cycleClean the motorcycle.
Remove the battery.
Spray the brake and clutch
lever pivots and the main
and side stand pivots with a
suitable lubricant.
Coat bright metal and
chrome-plated parts with
an acid-free grease (e.g.
Vaseline).
Stand the motorcycle in a
dry room in such a way that
there is no load on either
wheel.
Before laying the vehicle
up out of use, have the
engine oil and the oil filter ele-
ment changed by a special-
ist workshop, preferably an
authorised BMW Motorrad
dealer. Combine work for lay-
ing up/restoring to use with a
BMW service or inspection.
8128zCare
Page 133 of 165
Technical data
Troubleshooting chart........ 132
Threaded fasteners . . . ........ 133
Engine ....................... 134
Riding specifications . ........ 136
Clutch ....................... 136
Transmission . . . .............. 136
Final drive . ................... 137
Running gear . . . .............. 137
Brakes ....................... 138
Wheels and tyres ............. 138
Electrics . . ................... 139
Frame ....................... 141
Dimensions .................. 141
Weights . . . ................... 142
9131zTechnical data
Page 134 of 165
Troubleshooting chartEngine does not start at all or is difficult to start.Possible causeRemedyKill switch activated. Kill switch in operating position (run).
Side stand extended and gear engaged. Retract the side stand ( 62).
Gear engaged and clutch not disengaged Select neutral or pull clutch lever( 62).
Clutch pulled when ignition was OFF Switch on the ignition, then pull the clutch
lever.
No fuel in tank. Refuelling ( 76)
Battery not adequately charged. Charging battery when connected ( 120)
9132zTechnical data