2005 BMW 645I CONVERTIBLE navigation system
[x] Cancel search: navigation systemPage 84 of 217
Controls
83Reference
At a glance
Driving tips
Communications
Navigation
Entertainment
Mobility
To control
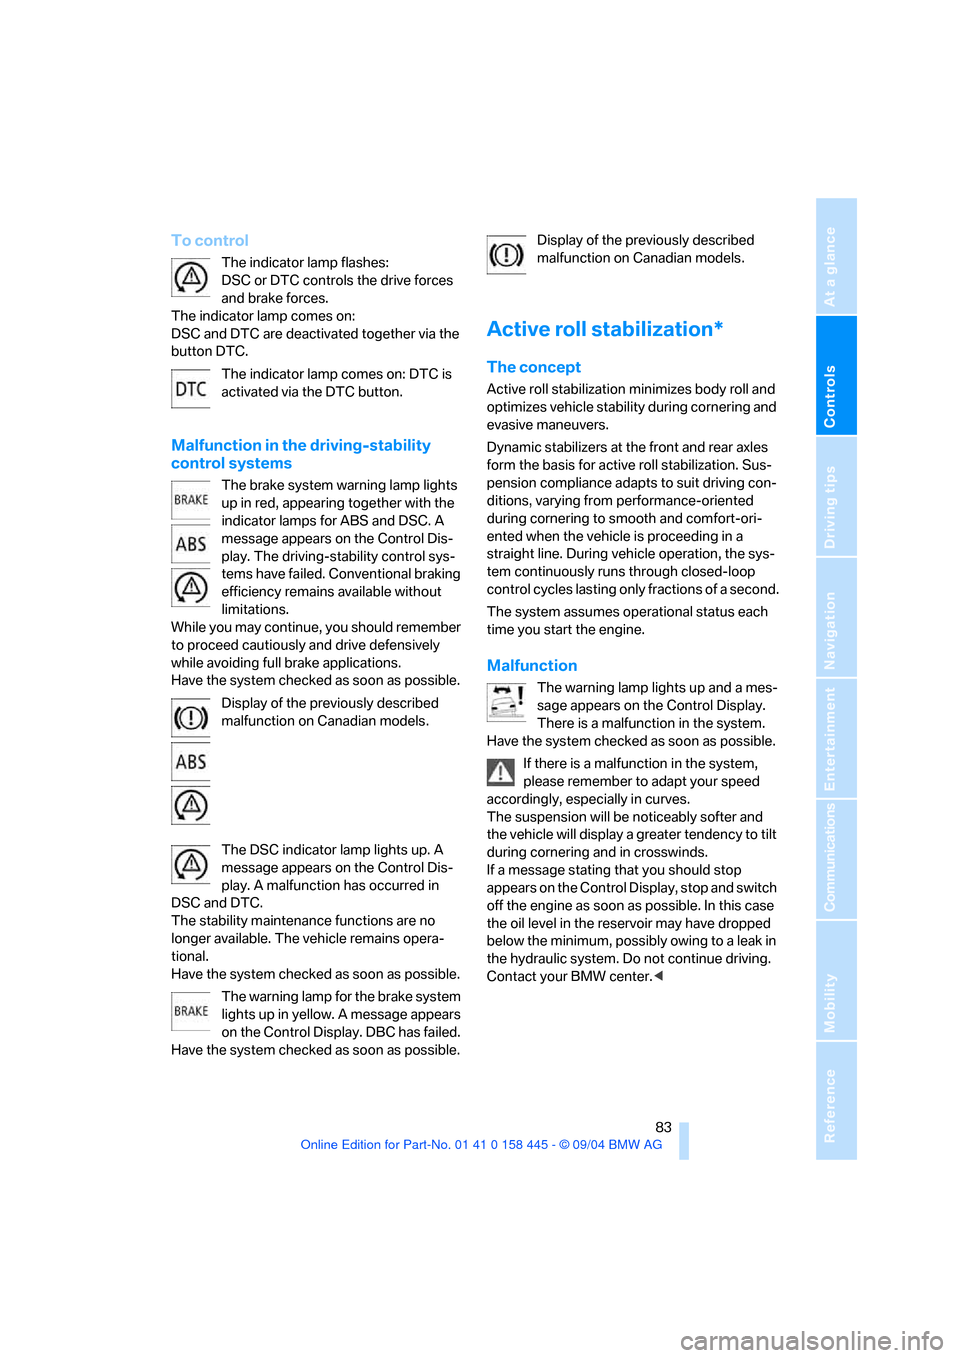
The indicator lamp flashes:
DSC or DTC controls the drive forces
and brake forces.
The indicator lamp comes on:
DSC and DTC are deactivated together via the
button DTC.
The indicator lamp comes on: DTC is
activated via the DTC button.
Malfunction in the driving-stability
control systems
The brake system warning lamp lights
up in red, appearing together with the
indicator lamps for ABS and DSC. A
message appears on the Control Dis-
play. The driving-stability control sys-
tems have failed. Conventional braking
efficiency remains available without
limitations.
While you may continue, you should remember
to proceed cautiously and drive defensively
while avoiding full brake applications.
Have the system checked as soon as possible.
Display of the previously described
malfunction on Canadian models.
The DSC indicator lamp lights up. A
message appears on the Control Dis-
play. A malfunction has occurred in
DSC and DTC.
The stability maintenance functions are no
longer available. The vehicle remains opera-
tional.
Have the system checked as soon as possible.
The warning lamp for the brake system
lights up in yellow. A message appears
on the Control Display. DBC has failed.
Have the system checked as soon as possible.Display of the previously described
malfunction on Canadian models.
Active roll stabilization*
The concept
Active roll stabilization minimizes body roll and
optimizes vehicle stability during cornering and
evasive maneuvers.
Dynamic stabilizers at the front and rear axles
form the basis for active roll stabilization. Sus-
pension compliance adapts to suit driving con-
ditions, varying from performance-oriented
during cornering to smooth and comfort-ori-
ented when the vehicle is proceeding in a
straight line. During vehicle operation, the sys-
tem continuously runs through closed-loop
control cycles lasting only fractions of a second.
The system assumes operational status each
time you start the engine.
Malfunction
The warning lamp lights up and a mes-
sage appears on the Control Display.
There is a malfunction in the system.
Have the system checked as soon as possible.
If there is a malfunction in the system,
please remember to adapt your speed
accordingly, especially in curves.
The suspension will be noticeably softer and
the vehicle will display a greater tendency to tilt
during cornering and in crosswinds.
If a message stating that you should stop
appears on the Control Display, stop and switch
off the engine as soon as possible. In this case
the oil level in the reservoir may have dropped
below the minimum, possibly owing to a leak in
the hydraulic system. Do not continue driving.
Contact your BMW center.<
Page 86 of 217
Controls
85Reference
At a glance
Driving tips
Communications
Navigation
Entertainment
Mobility
Report of a flat tire
The warning lamp lights up in red. A
message appears on the Control Dis-
play. In addition, an acoustic signal
sounds. There is a flat tire or extensive inflation
pressure loss.
1.Cautiously reduce the vehicle speed to
below 50 mph/80 km/h. Avoid sudden brak-
ing and steering maneuvers. Do not exceed
a vehicle speed of 50 mph/80 km/h.
If the vehicle is not, as provided at the
factory, equipped with run-flat tires,
refer to page172, stop driving. Continued
driving after a flat tire can result in serious
accidents.<
2.Check the air pressure in all four tires at the
next opportunity.
If the tire inflation pressure in all four
tires is correct, the Flat Tire Monitor
may not have been initialized. The system
must then be initialized.<
3.In case of a complete loss of the tire inflation
pressure or obvious tire damage, you can
estimate the possible driving distance for
continued driving base on the following ref-
erence values:
>With low load:
1 to 2 persons without luggage:
approx. 155 miles/250 km.
>With medium load:
2 persons, luggage compartment full, or
4 persons without luggage:
approx. 94 miles/150 km.
>With full load:
4 persons, luggage compartment full:
approx. 30 miles/50 km.
Drive reservedly and do not exceed
a speed of 50 mph/80 km/h. In the
event of pressure loss, vehicle handling
changes. This includes reduced tracking
stability in braking, extended braking dis-
tance and altered natural steering charac-
teristics.
If unusual vibrations occur while the vehicle
is being driven, this can indicate final failure
of the damaged tire. Reduce speed and stop as soon as possible. Do not continue
driving. Contact your BMW center.<
Malfunction
The warning lamp lights up in yellow. A
message appears on the Control Dis-
play. The Flat Tire Monitor has a mal-
function or has failed. Have the system checked
as soon as possible.
Active steering*
The concept
The active steering is a system that actively var-
ies the steering angle of the front wheels in rela-
tion to the steering wheel movements.
A t l o w s p e e d , e . g . i n a t o w n o r w h e n p a r k i n g , t h e
steering angle of the wheels is reinforced, i.e.
the steering becomes very direct.
In the higher speed range, on the other hand,
the steering angle is reduced more and more.
This improves the handling capability of your
BMW over the entire speed range.
In critical situations, the system can make tar-
geted corrections to the steering angle pro-
vided by the driver and thus stabilize the vehicle
before the driver intervenes. This stability-pro-
moting intervention is deactivated when DSC is
switched off, refer to page82.
Malfunction
The warning lamp lights up. The active
steering is no longer operational. At low
speed, larger steering wheel move-
ments are required, while the vehicle reacts
more sensitively to steering wheel movements
in the higher road-speed range. Have the sys-
tem checked.
If the warning lamp lights up during the first
engine starting following a power supply inter-
ruption, the system must be activated by being
initialized.
Page 88 of 217
Controls
87Reference
At a glance
Driving tips
Communications
Navigation
Entertainment
Mobility
Do not apply adhesive materials to the
cover panels of the airbags, cover them or
modify them in any other way.
Do not attempt to remove the airbag retention
system from the vehicle. Never modify or
tamper with either the wiring or the individual
components in the airbag system. This cate-
gory includes the upholstery in the center of the
steering wheel, on the instrument panel, the
side trim panels on the doors and on the Coupe,
the roof pillars along with the sides of the head-
liner. Do not attempt to remove or dismantle the
steering wheel.
Do not touch the individual components
directly after the system has been triggered,
because there is a danger of burns.
If you note any indication of system malfunc-
tion, if you wish to have an airbag deactivated,
or if the airbag retention system is triggered in
response to an accident, you should always
entrust all inspection, repair and dismantling
operations to your BMW center. Unprofessional
attempts to service the system could lead to
failure in an emergency or undesired airbag
activation, either of which could result in per-
sonal injury.<
Airbag warning information is also provided on
the sun visors.
Operational readiness of airbag system
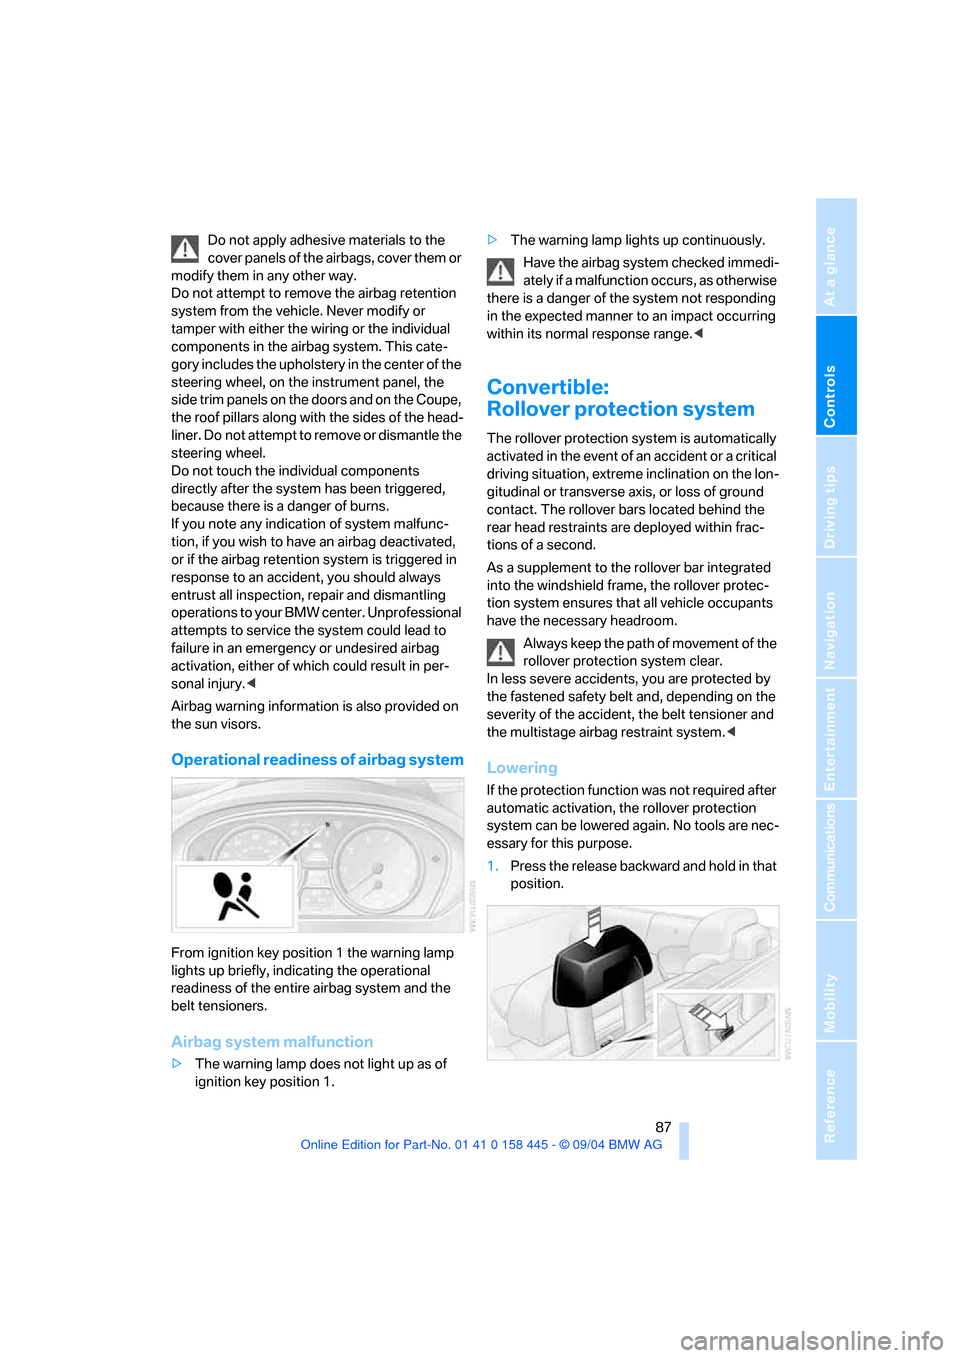
From ignition key position 1 the warning lamp
lights up briefly, indicating the operational
readiness of the entire airbag system and the
belt tensioners.
Airbag system malfunction
>The warning lamp does not light up as of
ignition key position 1.>The warning lamp lights up continuously.
Have the airbag system checked immedi-
ately if a malfunction occurs, as otherwise
there is a danger of the system not responding
in the expected manner to an impact occurring
within its normal response range.<
Convertible:
Rollover protection system
The rollover protection system is automatically
activated in the event of an accident or a critical
driving situation, extreme inclination on the lon-
gitudinal or transverse axis, or loss of ground
contact. The rollover bars located behind the
rear head restraints are deployed within frac-
tions of a second.
As a supplement to the rollover bar integrated
into the windshield frame, the rollover protec-
tion system ensures that all vehicle occupants
have the necessary headroom.
Always keep the path of movement of the
rollover protection system clear.
In less severe accidents, you are protected by
the fastened safety belt and, depending on the
severity of the accident, the belt tensioner and
the multistage airbag restraint system.<
Lowering
If the protection function was not required after
automatic activation, the rollover protection
system can be lowered again. No tools are nec-
essary for this purpose.
1.Press the release backward and hold in that
position.
Page 89 of 217
Technology for comfort, convenience and safety
88 2.Press the rollover protection unit halfway
down from above.
3.Let go of the release.
4.Press the rollover protection unit down until
it snaps into place.
5.Use the same procedure for the second roll-
over protection unit.
Have the rollover protection system checked
after unexpected triggering.
Never move the convertible top when the
rollover protection system is raised.
No changes of any nature may be made to the
individual components of the rollover protec-
tion system and wiring.
Work on the rollover protection system may
only be performed at a BMW center. Unprofes-
sional attempts to service the system can lead
to failure or malfunction.
For a system check and to ensure long-term
functioning, you must comply with the mainte-
nance intervals of the service requirement dis-
play.<
Head-Up Display*
The concept
With the Head-Up Display important informa-
tion is projected into the driver's field of view,
e.g. navigation instructions. This enables you to
take in this information without looking away
from the road.
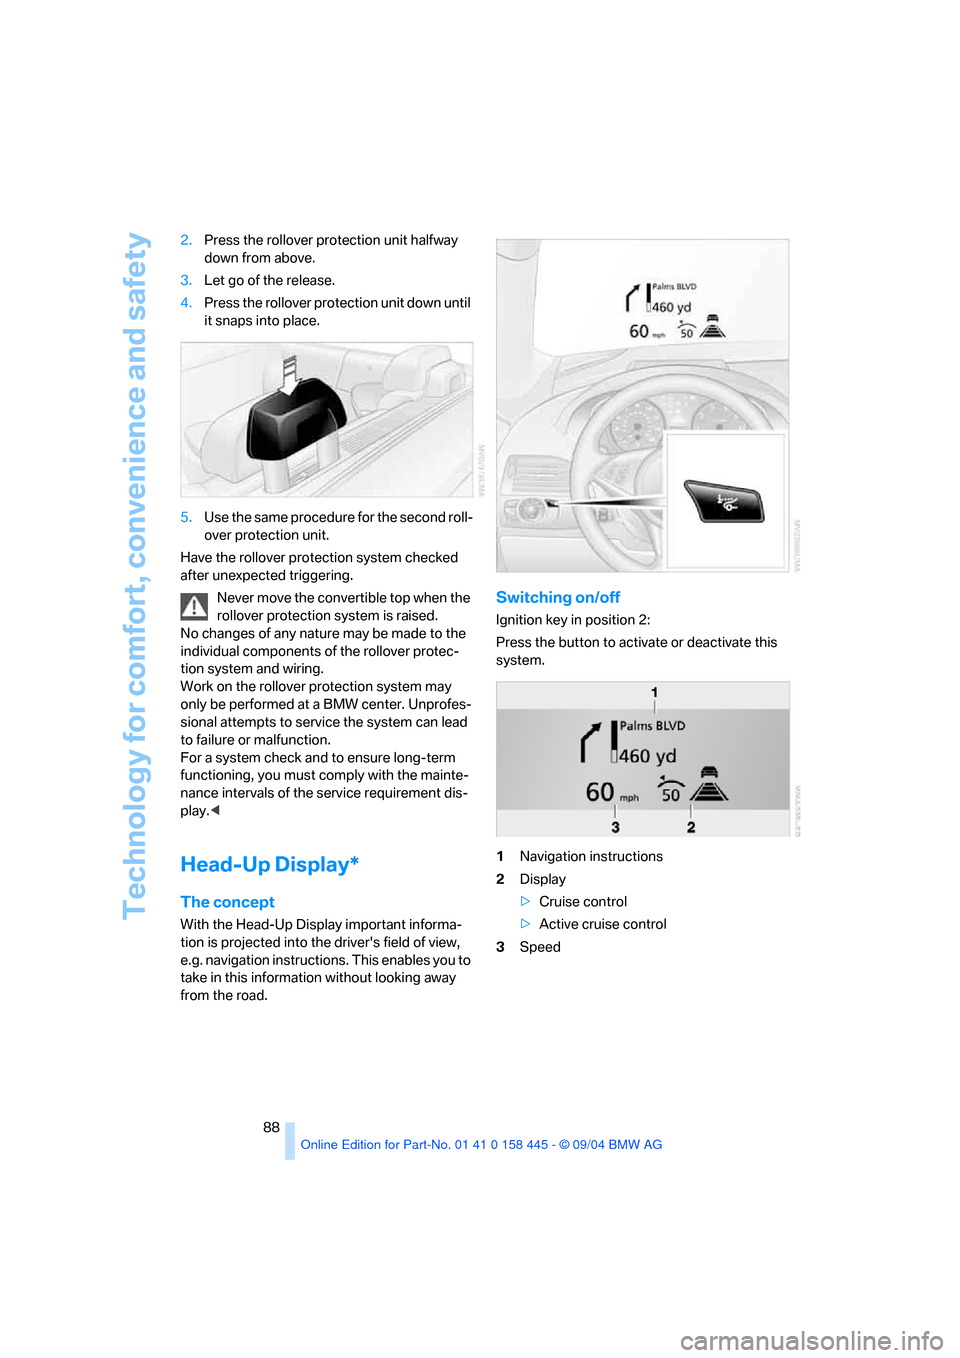
Switching on/off
Ignition key in position 2:
Press the button to activate or deactivate this
system.
1Navigation instructions
2Display
>Cruise control
>Active cruise control
3Speed
Page 90 of 217
Controls
89Reference
At a glance
Driving tips
Communications
Navigation
Entertainment
Mobility
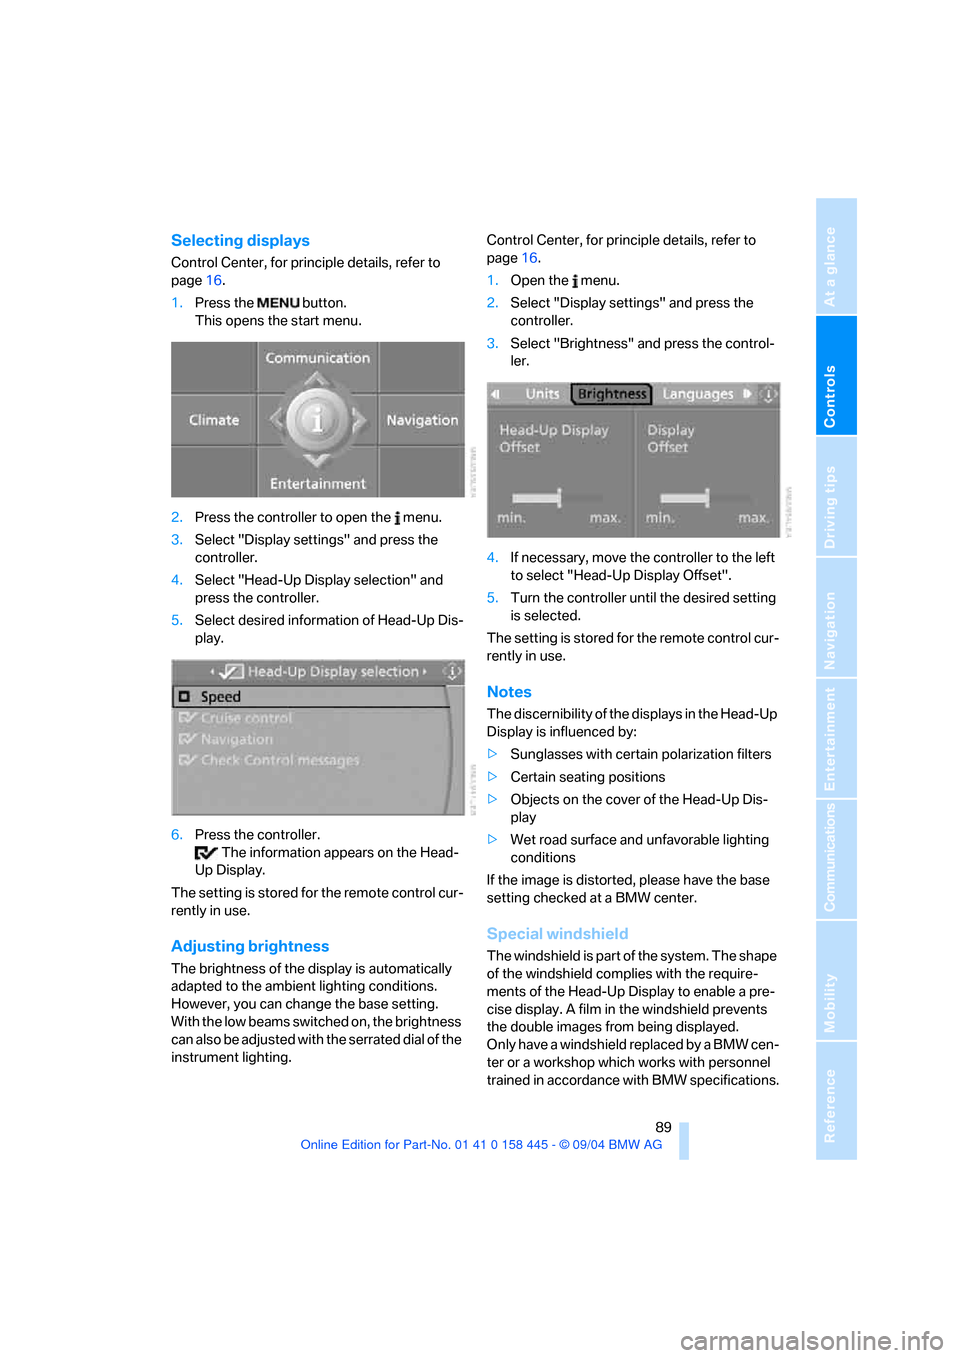
Selecting displays
Control Center, for principle details, refer to
page16.
1.Press the button.
This opens the start menu.
2.Press the controller to open the menu.
3.Select "Display settings" and press the
controller.
4.Select "Head-Up Display selection" and
press the controller.
5.Select desired information of Head-Up Dis-
play.
6.Press the controller.
The information appears on the Head-
Up Display.
The setting is stored for the remote control cur-
rently in use.
Adjusting brightness
The brightness of the display is automatically
adapted to the ambient lighting conditions.
However, you can change the base setting.
With the low beams switched on, the brightness
can also be adjusted with the serrated dial of the
instrument lighting.Control Center, for principle details, refer to
page16.
1.Open the menu.
2.Select "Display settings" and press the
controller.
3.Select "Brightness" and press the control-
ler.
4.If necessary, move the controller to the left
to select "Head-Up Display Offset".
5.Turn the controller until the desired setting
is selected.
The setting is stored for the remote control cur-
rently in use.
Notes
The discernibility of the displays in the Head-Up
Display is influenced by:
>Sunglasses with certain polarization filters
>Certain seating positions
>Objects on the cover of the Head-Up Dis-
play
>Wet road surface and unfavorable lighting
conditions
If the image is distorted, please have the base
setting checked at a BMW center.
Special windshield
The windshield is part of the system. The shape
of the windshield complies with the require-
ments of the Head-Up Display to enable a pre-
cise display. A film in the windshield prevents
the double images from being displayed.
Only have a windshield replaced by a BMW cen-
ter or a workshop which works with personnel
trained in accordance with BMW specifications.
Page 96 of 217

Controls
95Reference
At a glance
Driving tips
Communications
Navigation
Entertainment
Mobility
The current setting for air distribution is dis-
played on the Control Display.
A congenial climate
For almost all conditions, the AUTO program
offers the optimal air distribution and air vol-
ume. Select an interior temperature you find
pleasant.
The following section contains more detailed
information on the available setting options.
AUTO program
The AUTO program handles the
adjustment of air distribution to the
windshield and side windows, in
the direction of the upper body, and in the foot-
well, as well as the adjustment of the air volume.
It also adapts your instructions for the tempera-
ture to outside influences throughout the year.
The cooling is switched on automatically with
the AUTO program. At the same time, a con-
densation sensor controls the program in such
a way that window condensation is prevented
as much as possible.
Temperature adjustment
By rotating, you can set a desired
temperature for the driver's side
and the passenger side.
After you start to drive, this system
ensures that the selected temperature is
achieved as quickly as possible. It then main-
tains this temperature, regardless of the sea-
son.
Defrosting windows and removing
condensation
This program quickly removes ice
and condensation from the wind-
shield and front side windows.
Air volume, manual
You can adjust the air volume by
turning. You can reactivate the
automatic mode for the air volume
with the AUTO button.
Switching cooling function on and off
manually
The cooling function cools and
dehumidifies the incoming air
before reheating it as needed
according to the temperature setting. Depend-
ing on the weather, the windshield may fog over
briefly when the engine is started.
The air conditioner can operate only when the
engine is running. The AUTO program auto-
matically switches on the air conditioner.
Maximum cooling
This program quickly provides
maximum cooling.
The system switches to the recir-
culated-air mode and the air flows
at maximum air volume only from the vent out-
lets for the upper body area. For this reason you
should ensure that these vent outlets are open
before selecting this program.
AUC automatic recirculated-air
control/recirculated air mode
You can respond to unpleasant
odors or pollutants in the immedi-
ate environment by temporarily
suspending the supply of outside air. The sys-
tem then recirculates the air currently within the
vehicle. In AUC mode, a sensor detects pollut-
ants in the outside air and controls the shut-off
automatically.
Press the button repeatedly to run through the
following control sequence:
>LED off: outside air flows into the vehicle
continuously.
>Right LED on, AUC mode: the system
detects pollutants in the outside air and
responds by blocking the supply of outside
air when required.
>Left LED on, recirculated-air mode: the
supply of outside air into the vehicle is shut
off continuously.
If condensation starts to form on the
inside window surfaces during operation
in the recirculated-air mode, you should switch
Page 102 of 217
Controls
101Reference
At a glance
Driving tips
Communications
Navigation
Entertainment
Mobility
You can operate the system when the ignition
key is in position 2.
If the device cannot be used after
repeated programming, check whether
the original hand-held transmitter uses an alter-
nating-code system. To do so, either read the
instructions for the original hand-held transmit-
ter or press the programmed memory button1
of the integrated universal remote control
longer. If the LED 2 on the integrated universal
remote control flashes rapidly for a short time
then lights up for approx. 2 seconds, this indi-
cates that the original hand-held transmitter
uses an alternating-code system. In the case of
an alternating-code system, program the mem-
ory buttons1 as described at Alternating-code
hand-held transmitters.<
Alternating-code hand-held
transmitters
To program the integrated universal remote
control, consult the operating instructions for
the equipment to be set. You will find informa-
tion there on the possibilities for synchroniza-
tion.
When programming hand-held transmitters
that employ an alternating code, please observe
the following supplementary instructions:
P r o g ra m m in g w i ll b e ea s i er w it h t h e a i d o f
a second person.<
1.Park your vehicle within the range of the
remote-controlled equipment.
2.Program the integrated universal remote
control as described above at Fixed-code
hand-held transmitters.
3.Locate the button at the receiver of the
equipment to be set, e.g. on the drive.
4.Press the button on the receiver of the
equipment to be set. After step 4, you have
approx. 30 seconds for step 5.
5.Press the programmed memory button1 of
the integrated universal remote control
three times.
The corresponding memory button1 is now
programmed with the signal of the original
hand-held transmitter.
Clearing memory buttons
Press both outer buttons 1 for approx. 20 sec-
onds, maintaining pressure until the LED 2
starts to flash: All of the memory buttons are
cleared.
The memory of individual memory buttons1
cannot be cleared.
Glove compartment
Opening
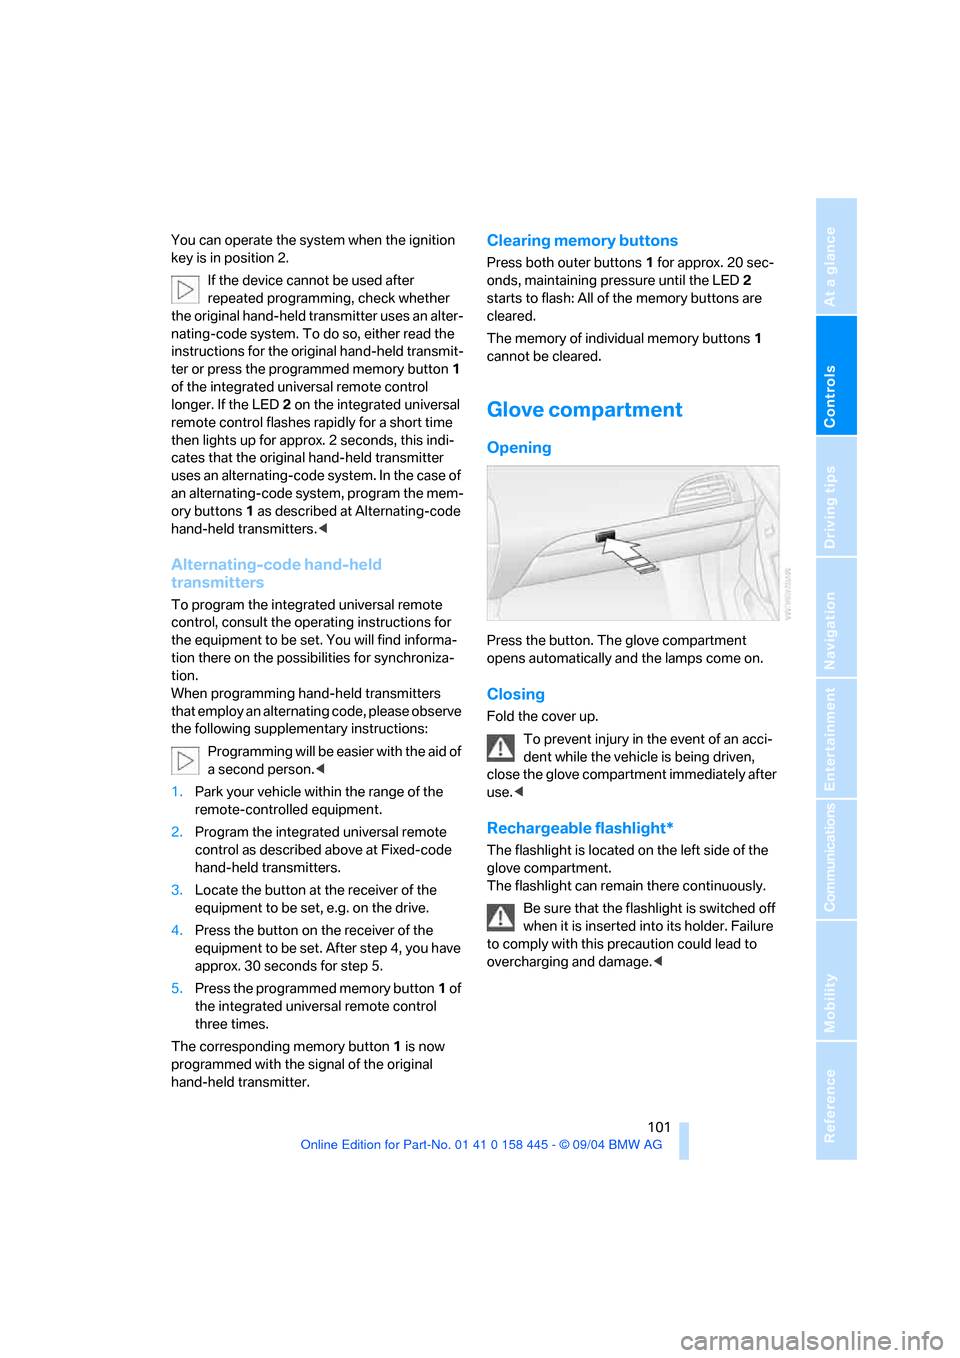
Press the button. The glove compartment
opens automatically and the lamps come on.
Closing
Fold the cover up.
To prevent injury in the event of an acci-
dent while the vehicle is being driven,
close the glove compartment immediately after
use.<
Rechargeable flashlight*
The flashlight is located on the left side of the
glove compartment.
The flashlight can remain there continuously.
Be sure that the flashlight is switched off
when it is inserted into its holder. Failure
to comply with this precaution could lead to
overcharging and damage.<
Page 110 of 217
Driving tips
109Reference
At a glance
Controls
Communications
Navigation
Entertainment
Mobility
Mobile communication devices in
vehicle
BMW advises against using mobile com-
munication devices, e.g. portable phones,
inside the vehicle without a direct connection to
an external antenna. Otherwise, the vehicle
electronics and mobile communication device
can influence one another. In addition, there is
no assurance that the radiation emitted during
transmission will be conveyed out of the vehicle
interior.<
Hydroplaning
When driving on wet or slushy roads,
reduce road speed. If you do not, a wedge
of water can form between tires and road sur-
face. This phenomenon is referred to as hydro-
planing, and is characterized by a partial or
complete loss of contact between the tires and
the road surface, ultimately undermining your
ability to steer and brake the vehicle.<
The risk of hydroplaning increases as the tread
depth of the tires decreases, also refer to Mini-
mum tire tread on page171.
Driving through water
Do not drive through water on the road if it
is deeper than 1 ft/30 cm, and then only at
walking speed at the most. Otherwise, the vehi-
cle's engine, the electrical systems and the
transmission may be damaged.<
Using handbrake on inclines.
On inclines, do not hold the vehicle with
the clutch; use the handbrake. Otherwise
greater clutch wear will result.<
SMG Sequential manual transmission
Start off quickly on slopes. Do not hold
the vehicle on a hill by applying the throt-
tle, but engage the handbrake instead. Other-
wise overheating can occur in the transmission
region.<
Braking safely
Your BMW is equipped with ABS as standard. In
situations that require it, it is best to brake with
full force. Since the vehicle maintains steering
responsiveness, you can still avoid possible
obstacles with a minimum of steering effort.
Pulsation at the brake pedal combines with
sounds from the hydraulic circuits to indicate to
the driver that ABS is in its active mode.
Do not drive with your foot resting on the
brake pedal. Even light but consistent
pedal pressure can lead to high temperatures,
brake wear and possibly even brake failure.<
Driving in wet conditions
When driving on wet roads or in heavy rain,
briefly brake with light pedal pressure at inter-
vals of a few miles. Monitor traffic conditions to
ensure that this maneuver does not endanger
other road users. The heat generated in this
process helps dry the pads and rotors to ensure
that full braking efficiency will then be available
when you need it.
Hills
To prevent overheating and thus reduced
efficiency of the brake system, downshift
to a gear in which only minimal brake applica-
tions are needed when descending long or
steep downhill stretches. Even light but consis-
tent pedal pressure can lead to high tempera-
tures, brake wear and possibly even brake fail-
ure.<
You can further enhance the engine's braking
effect by selecting a lower gear in the automatic
transmission's manual mode, downshifting as
far as first gear on extremely steep stretches,
refer to page58. This strategy helps you avoid
placing excessive loads on the brake system.
Never drive with the clutch pressed
or allow the vehicle to coast with the
transmission in Neutral – or with the engine
switched off – there is no engine braking when
the transmission is in Neutral, and no power
assist for brakes and steering when the engine
is not running.