2005 BMW 545I SEDAN navigation
[x] Cancel search: navigationPage 32 of 221
Controls
31Reference
At a glance
Driving tips
Communication
Navigation
Entertainment
Mobility
LX8766E
LX8CAS
Compliance statement:
This device complies with part 15 of the FCC
Rules. Operation is subject to the following two
conditions:
>this device must not cause harmful interfer-
ence, and
>this device must accept any interference
received, including interference that may
cause undesired operation.
Any unauthorized modifications or
changes to these devices could void the
user's authority to operate this equipment.<
Using door lock
One turn of the key in the driver's door lock
unlocks the driver's door only.
Turning the key a second time unlocks all of the
remaining doors, the luggage compartment lid
and the fuel filler door.
Convenience operation
You also have the option of operating the win-
dows and the glass sunroof from the driver's
door lock.
>Opening:
With the door closed, turn the key to the
unlock position and hold it there.
>Closing:
With the door closed, turn the key to the
lock position and hold it there.
Watch during the closing process to be
sure that no one is injured. Releasing the
key stops the operation.<
Manual operation
If an electrical malfunction occurs, you can
unlock or lock the driver's door with the key in
the end positions of the door lock.
Opening and closing: from
inside
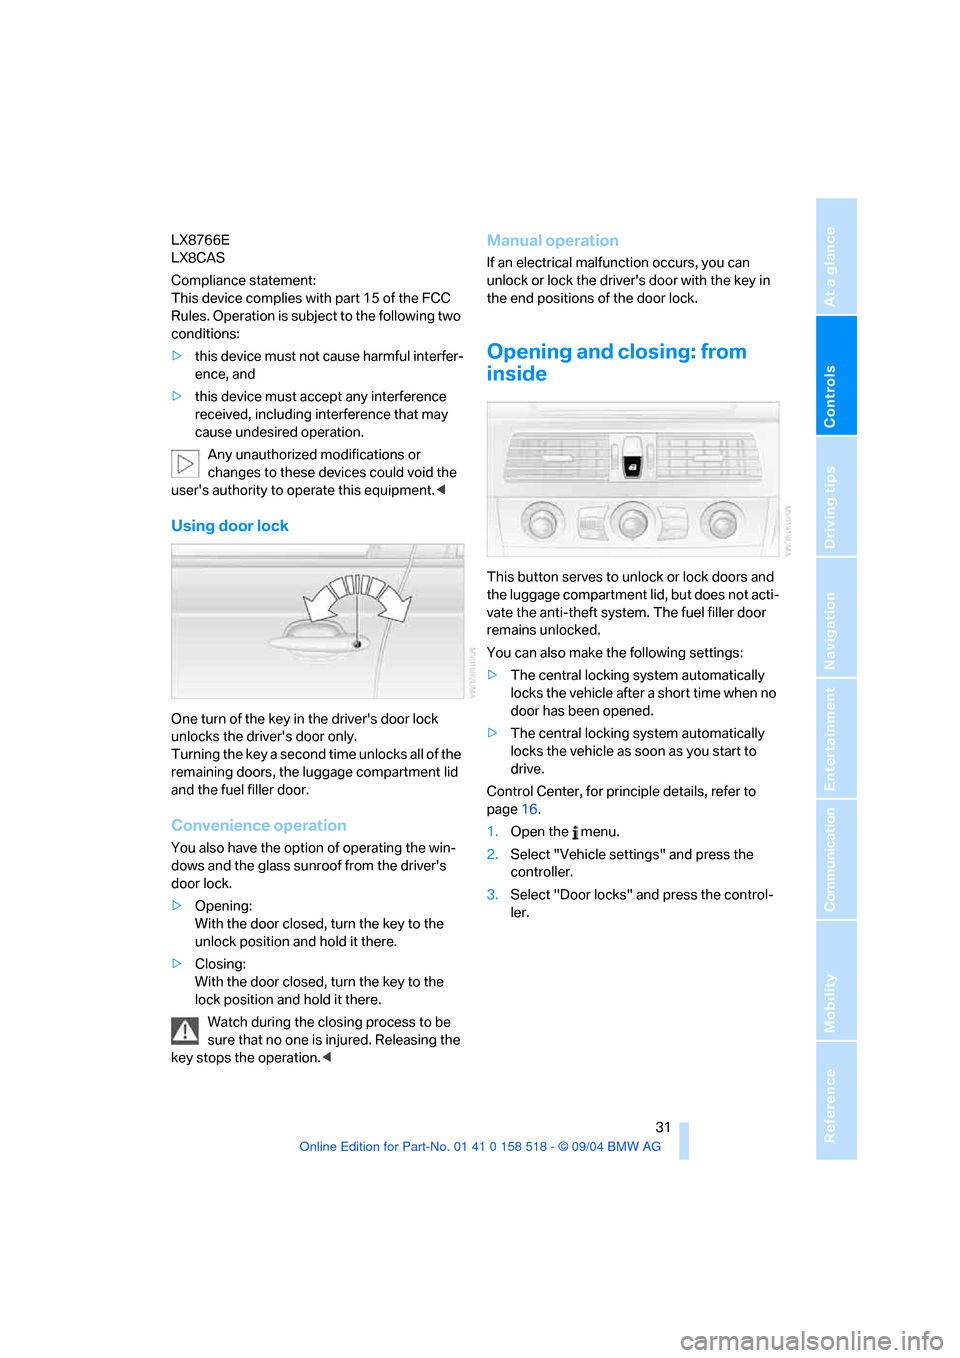
This button serves to unlock or lock doors and
the luggage compartment lid, but does not acti-
vate the anti-theft system. The fuel filler door
remains unlocked.
You can also make the following settings:
>The central locking system automatically
locks the vehicle after a short time when no
door has been opened.
>The central locking system automatically
locks the vehicle as soon as you start to
drive.
Control Center, for principle details, refer to
page16.
1.Open the menu.
2.Select "Vehicle settings" and press the
controller.
3.Select "Door locks" and press the control-
ler.
Page 34 of 221

Controls
33Reference
At a glance
Driving tips
Communication
Navigation
Entertainment
Mobility
Locking separately
Turn the master key with remote control in the
lock of the luggage compartment lid beyond a
resistance point to the right and withdraw it in
the horizontal position.
This locks the luggage compartment lid and
disconnects it from the central locking system.
If you then only hand over the spare key, refer to
page28, no access is possible via the luggage
compartment lid. This is an advantage when
valet parking, for example.
Unlocking again and opening manually
Turn master key toward the left until the resis-
tance point: the luggage compartment lid
opens.
If you use the key to unlock the luggage
compartment lid while the alarm system
is armed, the alarm will be triggered. You should
therefore unlock the vehicle ahead of time.
If the alarm is inadvertently triggered: switch off
the alarm, refer to page34.<
Emergency release
This lever releases the luggage compartment
lid from inside the luggage compartment.
Closing
The handle recesses on the interior trim of the
luggage compartment lid make it easier to pull
down.
Make sure that the closing path of the
luggage compartment lid is clear, as oth-
erwise injuries may result.<
Alarm system
The concept
The vehicle alarm system responds:
>When a door, the hood, or the luggage com-
partment lid is opened
>To movements inside the vehicle: Inner
motion sensor, see below
>To changes in the vehicle's tilt if someone
attempts to steal the wheels or tow the
vehicle
>To interruptions in battery voltage
The system responds to unauthorized vehicle
entry and attempted theft by simultaneously
activating:
>An acoustic alarm, which lasts for a period
of approx. 30 seconds
>The hazard warning flashers for approx. 5
minutes
>The high beams, which flash on and off in
the same rhythm
Arming and disarming alarm system
When you lock or unlock the vehicle, either with
the remote control or at the door lock, the alarm
system is armed or disarmed at the same time.
Page 36 of 221
Controls
35Reference
At a glance
Driving tips
Communication
Navigation
Entertainment
Mobility
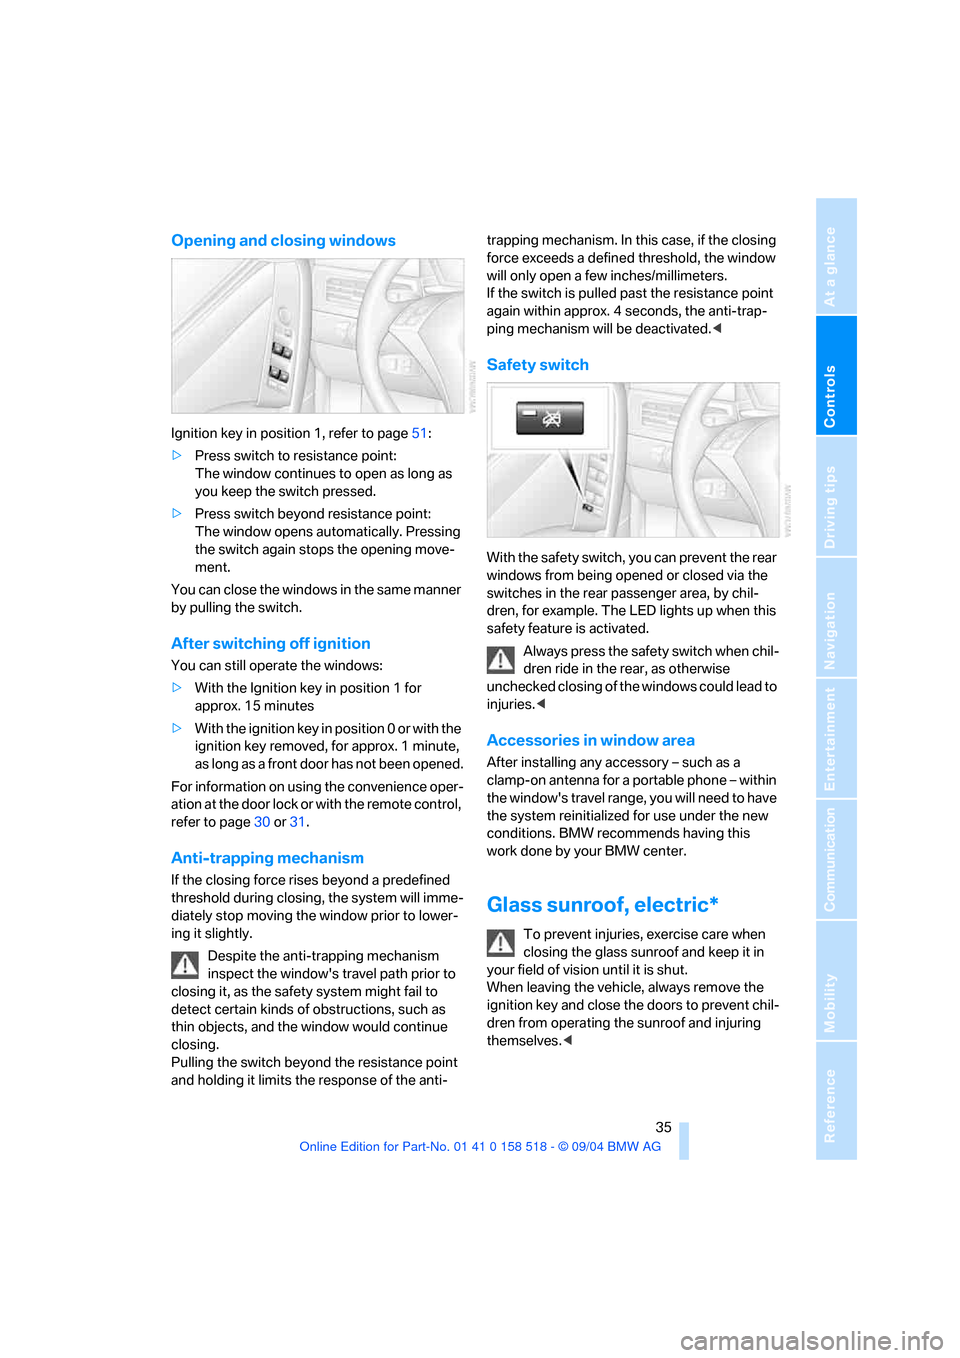
Opening and closing windows
Ignition key in position 1, refer to page51:
>Press switch to resistance point:
The window continues to open as long as
you keep the switch pressed.
>Press switch beyond resistance point:
The window opens automatically. Pressing
the switch again stops the opening move-
ment.
You can close the windows in the same manner
by pulling the switch.
After switching off ignition
You can still operate the windows:
>With the Ignition key in position 1 for
approx. 15 minutes
>With the ignition key in position 0 or with the
ignition key removed, for approx. 1 minute,
as long as a front door has not been opened.
For information on using the convenience oper-
ation at the door lock or with the remote control,
refer to page30 or31.
Anti-trapping mechanism
If the closing force rises beyond a predefined
threshold during closing, the system will imme-
diately stop moving the window prior to lower-
ing it slightly.
Despite the anti-trapping mechanism
inspect the window's travel path prior to
closing it, as the safety system might fail to
detect certain kinds of obstructions, such as
thin objects, and the window would continue
closing.
Pulling the switch beyond the resistance point
and holding it limits the response of the anti-trapping mechanism. In this case, if the closing
force exceeds a defined threshold, the window
will only open a few inches/millimeters.
If the switch is pulled past the resistance point
again within approx. 4 seconds, the anti-trap-
ping mechanism will be deactivated.<
Safety switch
With the safety switch, you can prevent the rear
windows from being opened or closed via the
switches in the rear passenger area, by chil-
dren, for example. The LED lights up when this
safety feature is activated.
Always press the safety switch when chil-
dren ride in the rear, as otherwise
unchecked closing of the windows could lead to
injuries.<
Accessories in window area
After installing any accessory – such as a
clamp-on antenna for a portable phone – within
the window's travel range, you will need to have
the system reinitialized for use under the new
conditions. BMW recommends having this
work done by your BMW center.
Glass sunroof, electric*
To prevent injuries, exercise care when
closing the glass sunroof and keep it in
your field of vision until it is shut.
When leaving the vehicle, always remove the
ignition key and close the doors to prevent chil-
dren from operating the sunroof and injuring
themselves.<
Page 38 of 221
Controls
37Reference
At a glance
Driving tips
Communication
Navigation
Entertainment
Mobility
Manually opening and closing
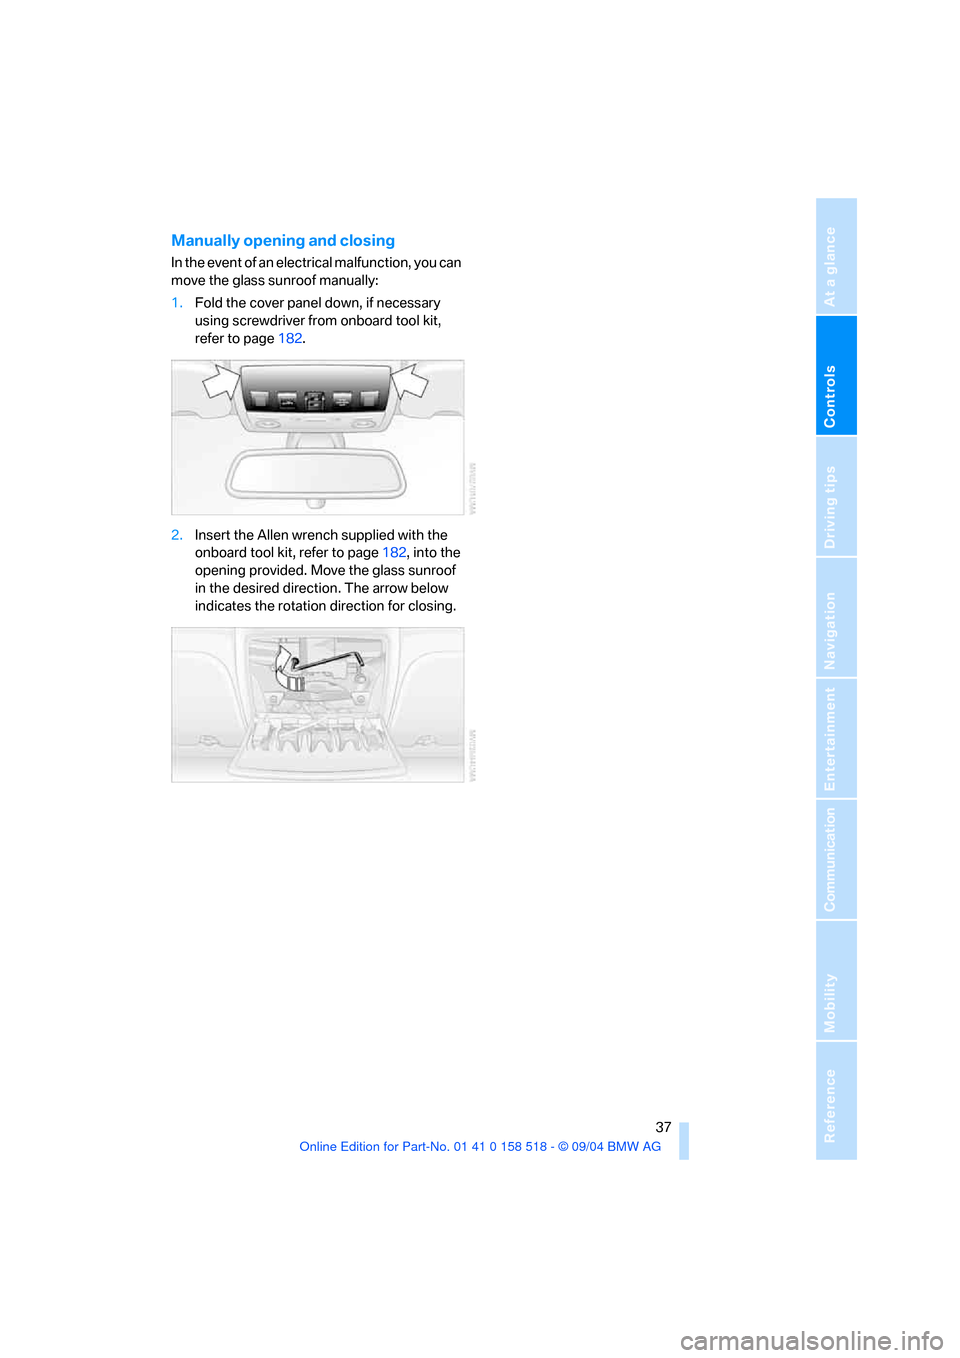
In the event of an electrical malfunction, you can
move the glass sunroof manually:
1.Fold the cover panel down, if necessary
using screwdriver from onboard tool kit,
refer to page182.
2.Insert the Allen wrench supplied with the
onboard tool kit, refer to page182, into the
opening provided. Move the glass sunroof
in the desired direction. The arrow below
indicates the rotation direction for closing.
Page 40 of 221
Controls
39Reference
At a glance
Driving tips
Communication
Navigation
Entertainment
Mobility
Please observe the information on damage to
safety belts provided on page43 and the infor-
mation on the active front head restraints
on
page42.
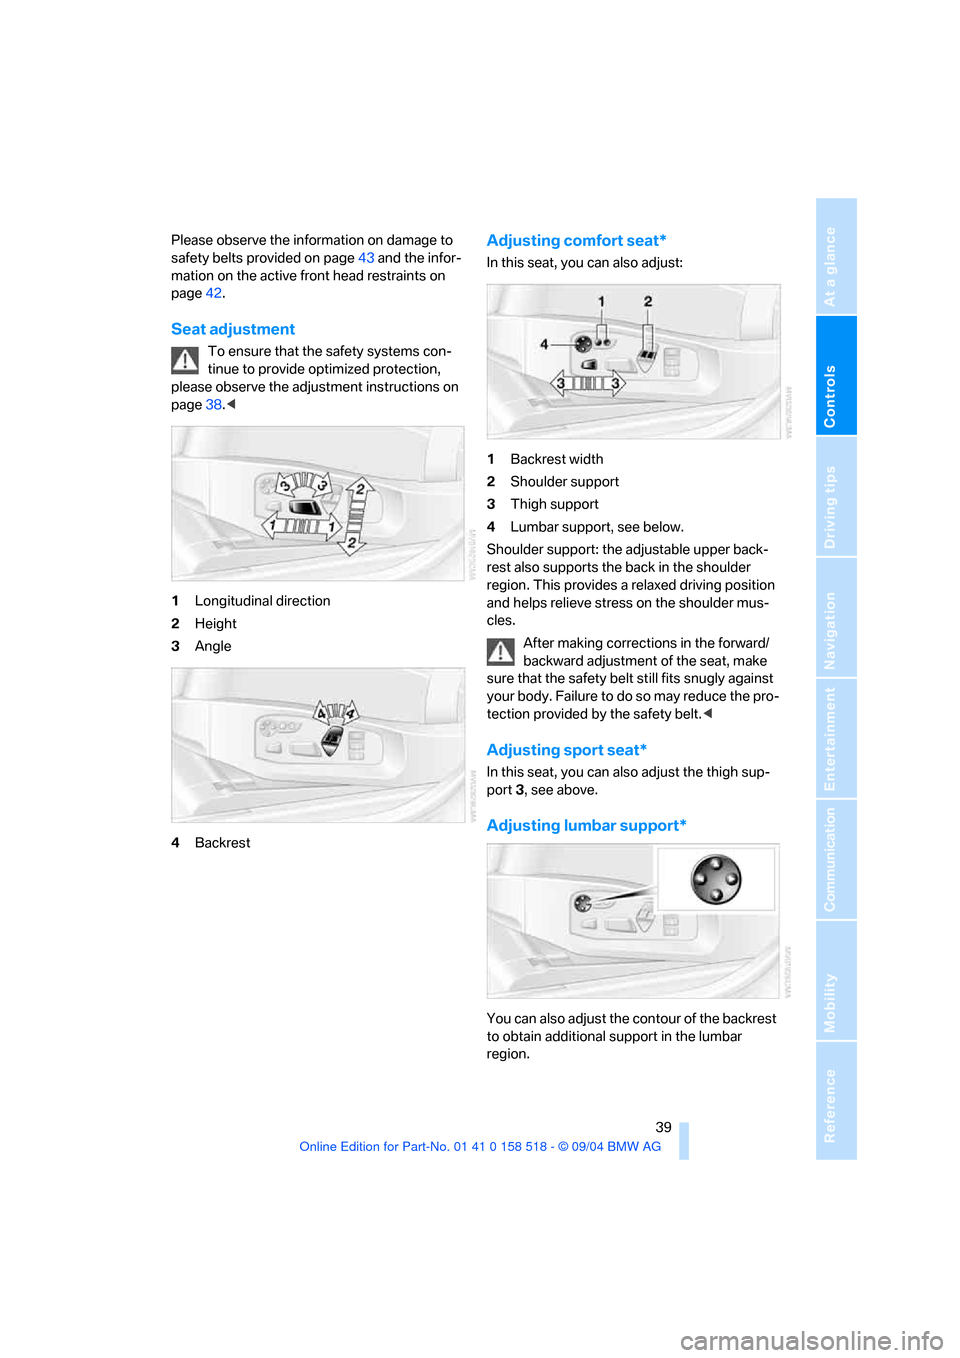
Seat adjustment
To ensure that the safety systems con-
tinue to provide optimized protection,
please observe the adjustment instructions on
page38.<
1Longitudinal direction
2Height
3Angle
4Backrest
Adjusting comfort seat*
In this seat, you can also adjust:
1Backrest width
2Shoulder support
3Thigh support
4Lumbar support, see below.
Shoulder support: the adjustable upper back-
rest also supports the back in the shoulder
region. This provides a relaxed driving position
and helps relieve stress on the shoulder mus-
cles.
After making corrections in the forward/
backward adjustment of the seat, make
sure that the safety belt still fits snugly against
your body. Failure to do so may reduce the pro-
tection provided by the safety belt.<
Adjusting sport seat*
In this seat, you can also adjust the thigh sup-
port 3, see above.
Adjusting lumbar support*
You can also adjust the contour of the backrest
to obtain additional support in the lumbar
region.
Page 42 of 221
Controls
41Reference
At a glance
Driving tips
Communication
Navigation
Entertainment
Mobility
Safety feature
1.Close the driver's door and turn the ignition
key to position 0 or 2.
2.Press the desired memory button1 or2
and maintain pressure until the adjustment
process has been completed.
If the button was pressed inadvertently:
press the button again; the LED goes out.
Position stored in key
The positions of the driver's seat, the external
rearview mirrors, and steering wheel are stored
for the remote key currently in use.
You can choose when the position is requested:
>Request when unlocking vehicle
>Request when opening driver's door
Control Center, for principle details, refer to
page16.
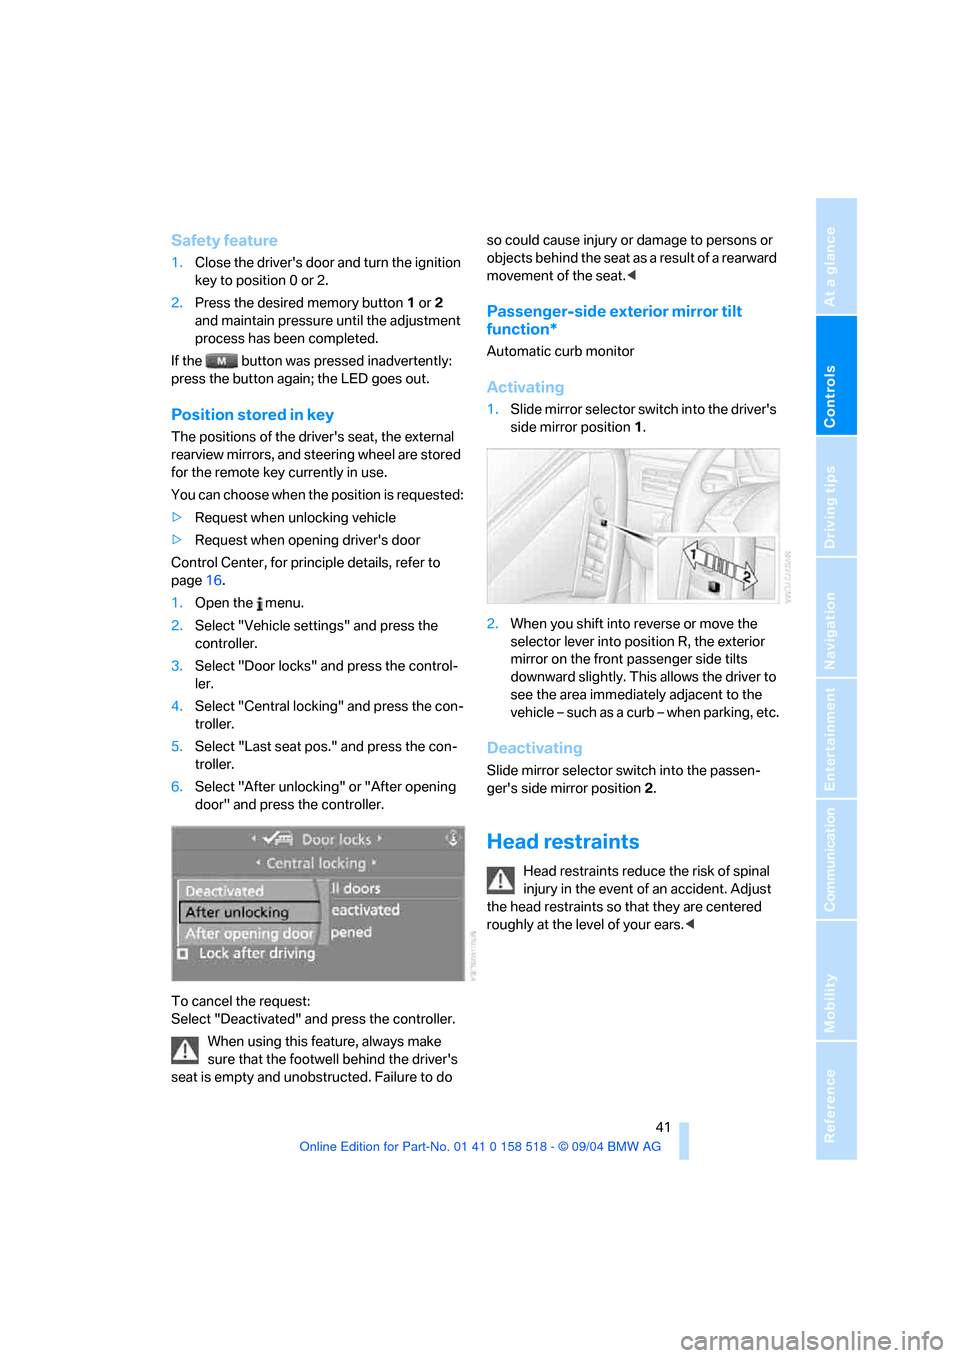
1.Open the menu.
2.Select "Vehicle settings" and press the
controller.
3.Select "Door locks" and press the control-
ler.
4.Select "Central locking" and press the con-
troller.
5.Select "Last seat pos." and press the con-
troller.
6.Select "After unlocking" or "After opening
door" and press the controller.
To cancel the request:
Select "Deactivated" and press the controller.
When using this feature, always make
sure that the footwell behind the driver's
seat is empty and unobstructed. Failure to do so could cause injury or damage to persons or
objects behind the seat as a result of a rearward
movement of the seat.<
Passenger-side exterior mirror tilt
function*
Automatic curb monitor
Activating
1.Slide mirror selector switch into the driver's
side mirror position 1.
2.When you shift into reverse or move the
selector lever into position R, the exterior
mirror on the front passenger side tilts
downward slightly. This allows the driver to
see the area immediately adjacent to the
vehicle – such as a curb – when parking, etc.
Deactivating
Slide mirror selector switch into the passen-
ger's side mirror position 2.
Head restraints
Head restraints reduce the risk of spinal
injury in the event of an accident. Adjust
the head restraints so that they are centered
roughly at the level of your ears.<
Page 44 of 221
Controls
43Reference
At a glance
Driving tips
Communication
Navigation
Entertainment
Mobility
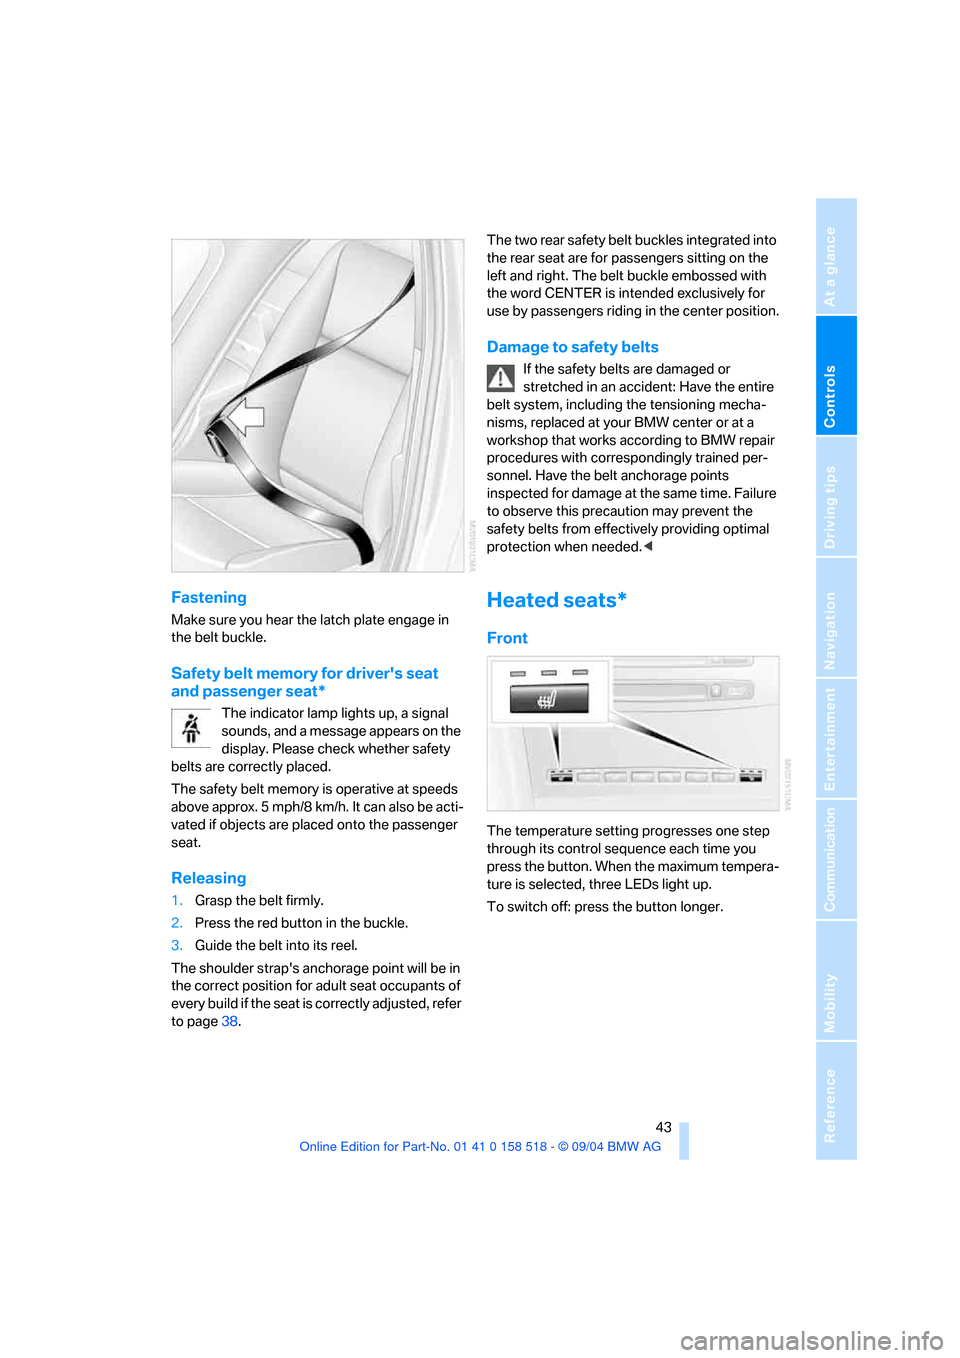
Fastening
Make sure you hear the latch plate engage in
the belt buckle.
Safety belt memory for driver's seat
and passenger seat*
The indicator lamp lights up, a signal
sounds, and a message appears on the
display. Please check whether safety
belts are correctly placed.
The safety belt memory is operative at speeds
above approx. 5 mph/8 km/h. It can also be acti-
vated if objects are placed onto the passenger
seat.
Releasing
1.Grasp the belt firmly.
2.Press the red button in the buckle.
3.Guide the belt into its reel.
The shoulder strap's anchorage point will be in
the correct position for adult seat occupants of
every build if the seat is correctly adjusted, refer
to page38.The two rear safety belt buckles integrated into
the rear seat are for passengers sitting on the
left and right. The belt buckle embossed with
the word CENTER is intended exclusively for
use by passengers riding in the center position.
Damage to safety belts
If the safety belts are damaged or
stretched in an accident: Have the entire
belt system, including the tensioning mecha-
nisms, replaced at your BMW center or at a
workshop that works according to BMW repair
procedures with correspondingly trained per-
sonnel. Have the belt anchorage points
inspected for damage at the same time. Failure
to observe this precaution may prevent the
safety belts from effectively providing optimal
protection when needed.<
Heated seats*
Front
The temperature setting progresses one step
through its control sequence each time you
press the button. When the maximum tempera-
ture is selected, three LEDs light up.
To switch off: press the button longer.
Page 46 of 221

Controls
45Reference
At a glance
Driving tips
Communication
Navigation
Entertainment
Mobility
Mirrors
Exterior mirrors
The mirror on the passenger side fea-
tures a lens with a more convex surface
than the mirror installed on the driver's side.
When estimating the distance between yourself
and other traffic, bear in mind that the objects
reflected in the mirror are closer than they
appear. This means that estimations of the dis-
tance to following traffic should not be regarded
as precise.<
1Adjustments
2Switching to the other mirror or to the auto-
matic parking function, refer to Tilting the
passenger-side mirror, page41
Storing the mirror positions, refer to Seat, mir-
ror and steering wheel memory on page40.
Manual adjustment
You can also adjust the mirrors manually if nec-
essary by pressing against the outer edges of
their mirror glass.
Folding mirrors in and out
To prevent the exterior mirrors on this
vehicle from being damaged, always fold
them in by hand before entering an automatic
car wash.<
Automatic heating
Both exterior mirrors are automatically heated
in ignition key position 2.
Interior rearview mirror
To reduce the dazzle effect of following vehi-
cles at night, turn the knob.
Automatically dimming mirrors, refer to
page107.
Steering wheel
Adjustments
Do not adjust steering wheel while driv-
ing. There is a risk of accident from unex-
pected movement of the steering wheel.<
The steering wheel can be adjusted in four
directions.
Storing steering wheel positions, refer to Seat,
mirror and steering wheel memory on page40.
Easy entry/exit*
To facilitate entry and exit, the steering wheel
temporarily moves into the uppermost position.