2005 BMW 545I SEDAN instrument cluster
[x] Cancel search: instrument clusterPage 62 of 221
Controls
61Reference
At a glance
Driving tips
Communication
Navigation
Entertainment
Mobility
The system requests that you
intervene by braking or with an
evasive maneuver. The display 2
flashes red and a signal sounds.
The active cruise control cannot
automatically restore the distance to the vehicle
driving ahead. You will find more detailed infor-
mation on page. You will find more detailed
information on page64.
Automatic intervention by ABS or
DSC, or you actuate the handbrake
while driving. The display 2 flashes
yellow. The active cruise control
now only intervenes by braking.
Desired speed, store and increase
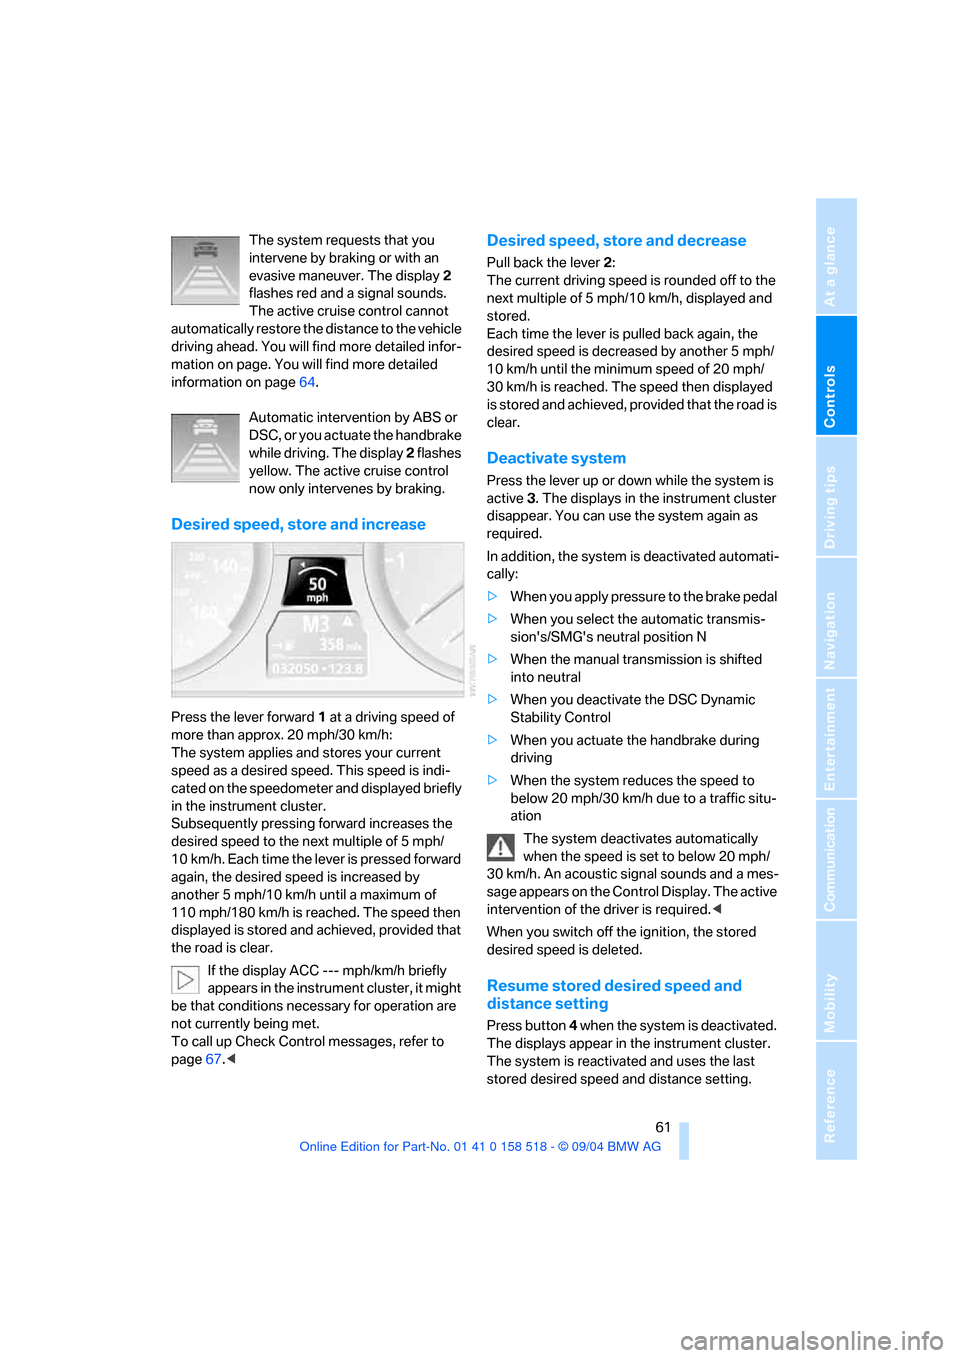
Press the lever forward 1 at a driving speed of
more than approx. 20 mph/30 km/h:
The system applies and stores your current
speed as a desired speed. This speed is indi-
cated on the speedometer and displayed briefly
in the instrument cluster.
Subsequently pressing forward increases the
desired speed to the next multiple of 5 mph/
10 km/h. Each time the lever is pressed forward
again, the desired speed is increased by
another 5 mph/10 km/h until a maximum of
110 mph/180 km/h is reached. The speed then
displayed is stored and achieved, provided that
the road is clear.
If the display ACC --- mph/km/h briefly
appears in the instrument cluster, it might
be that conditions necessary for operation are
not currently being met.
To call up Check Control messages, refer to
page67.<
Desired speed, store and decrease
Pull back the lever 2:
The current driving speed is rounded off to the
next multiple of 5 mph/10 km/h, displayed and
stored.
Each time the lever is pulled back again, the
desired speed is decreased by another 5 mph/
10 km/h until the minimum speed of 20 mph/
30 km/h is reached. The speed then displayed
is stored and achieved, provided that the road is
clear.
Deactivate system
Press the lever up or down while the system is
active 3. The displays in the instrument cluster
disappear. You can use the system again as
required.
In addition, the system is deactivated automati-
cally:
>When you apply pressure to the brake pedal
>When you select the automatic transmis-
sion's/SMG's neutral position N
>When the manual transmission is shifted
into neutral
>When you deactivate the DSC Dynamic
Stability Control
>When you actuate the handbrake during
driving
>When the system reduces the speed to
below 20 mph/30 km/h due to a traffic situ-
ation
The system deactivates automatically
when the speed is set to below 20 mph/
30 km/h. An acoustic signal sounds and a mes-
sage appears on the Control Display. The active
intervention of the driver is required.<
When you switch off the ignition, the stored
desired speed is deleted.
Resume stored desired speed and
distance setting
Press button 4 when the system is deactivated.
The displays appear in the instrument cluster.
The system is reactivated and uses the last
stored desired speed and distance setting.
Page 66 of 221

Controls
65Reference
At a glance
Driving tips
Communication
Navigation
Entertainment
Mobility
Everything under control
Odometer, outside
temperature display, clock
When the ignition is off you can briefly activate
the time, outside temperature and odometer
displays by pressing the knob 3 in the instru-
ment cluster.
1 Outside temperature display, time,
date
The outside temperature and the time are dis-
played as of ignition key position 1.
Date retrieval:
Press CHECK button on turn signal lever, refer
to page69.
Time and date setting, refer to page74.
You can set the measurement unit 7 or 6 on
the Control Display, refer to Measurement units
on page73.
Ice warning
A signal sounds when the outside temperature
falls to approx. +37.57/+36; this is accompa-
nied by a message.
Please bear in mind that the ice warning
does nothing to alter the fact that black
ice may be present on roads at temperatures
higher than +37.57/+36, e. g. on bridges and
shaded roads.<
2 Odometer and trip odometer
Resetting trip odometer: press the knob3 in the
instrument cluster.
Tachometer
The white-striped advance warning field,
arrow1, changes depending on the engine
temperature. The segments disappear in
sequence as the engine warms to its normal
operating temperature. Avoid allowing the
engine speed to rise as far as the orange warn-
ing sector whenever possible.
Engine speeds in the red warning field, arrow2,
must absolutely be avoided. In this range, the
fuel supply is interrupted to protect the engine.
Page 69 of 221
Everything under control
68 An example of a message is given below.
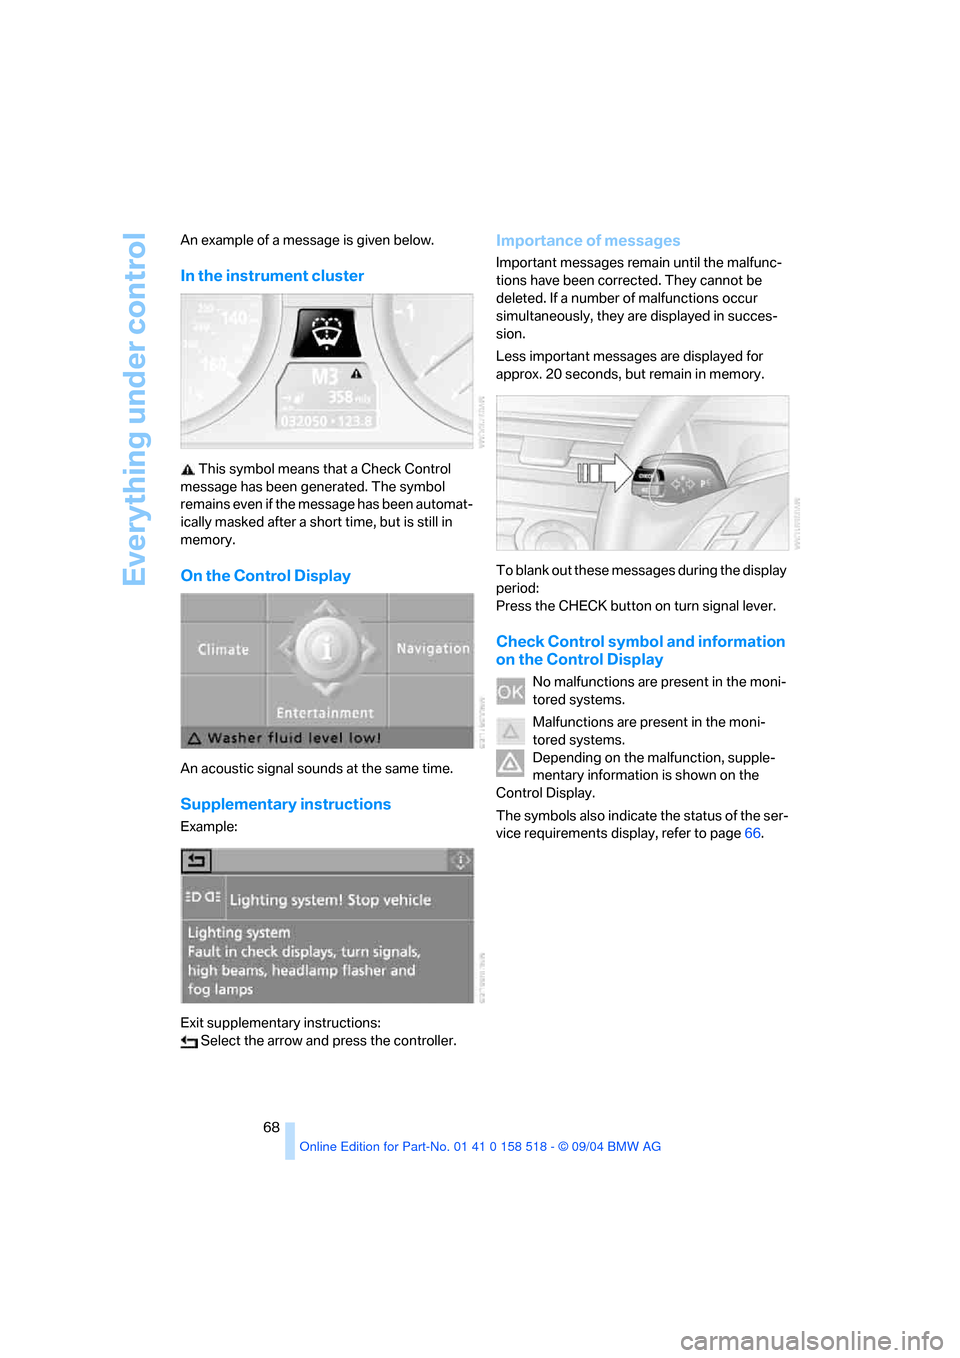
In the instrument cluster
This symbol means that a Check Control
message has been generated. The symbol
remains even if the message has been automat-
ically masked after a short time, but is still in
memory.
On the Control Display
An acoustic signal sounds at the same time.
Supplementary instructions
Example:
Exit supplementary instructions:
Select the arrow and press the controller.
Importance of messages
Important messages remain until the malfunc-
tions have been corrected. They cannot be
deleted. If a number of malfunctions occur
simultaneously, they are displayed in succes-
sion.
Less important messages are displayed for
approx. 20 seconds, but remain in memory.
To blank out these messages during the display
period:
Press the CHECK button on turn signal lever.
Check Control symbol and information
on the Control Display
No malfunctions are present in the moni-
tored systems.
Malfunctions are present in the moni-
tored systems.
Depending on the malfunction, supple-
mentary information is shown on the
Control Display.
The symbols also indicate the status of the ser-
vice requirements display, refer to page66.
Page 70 of 221
Controls
69Reference
At a glance
Driving tips
Communication
Navigation
Entertainment
Mobility
Recalling stored messages
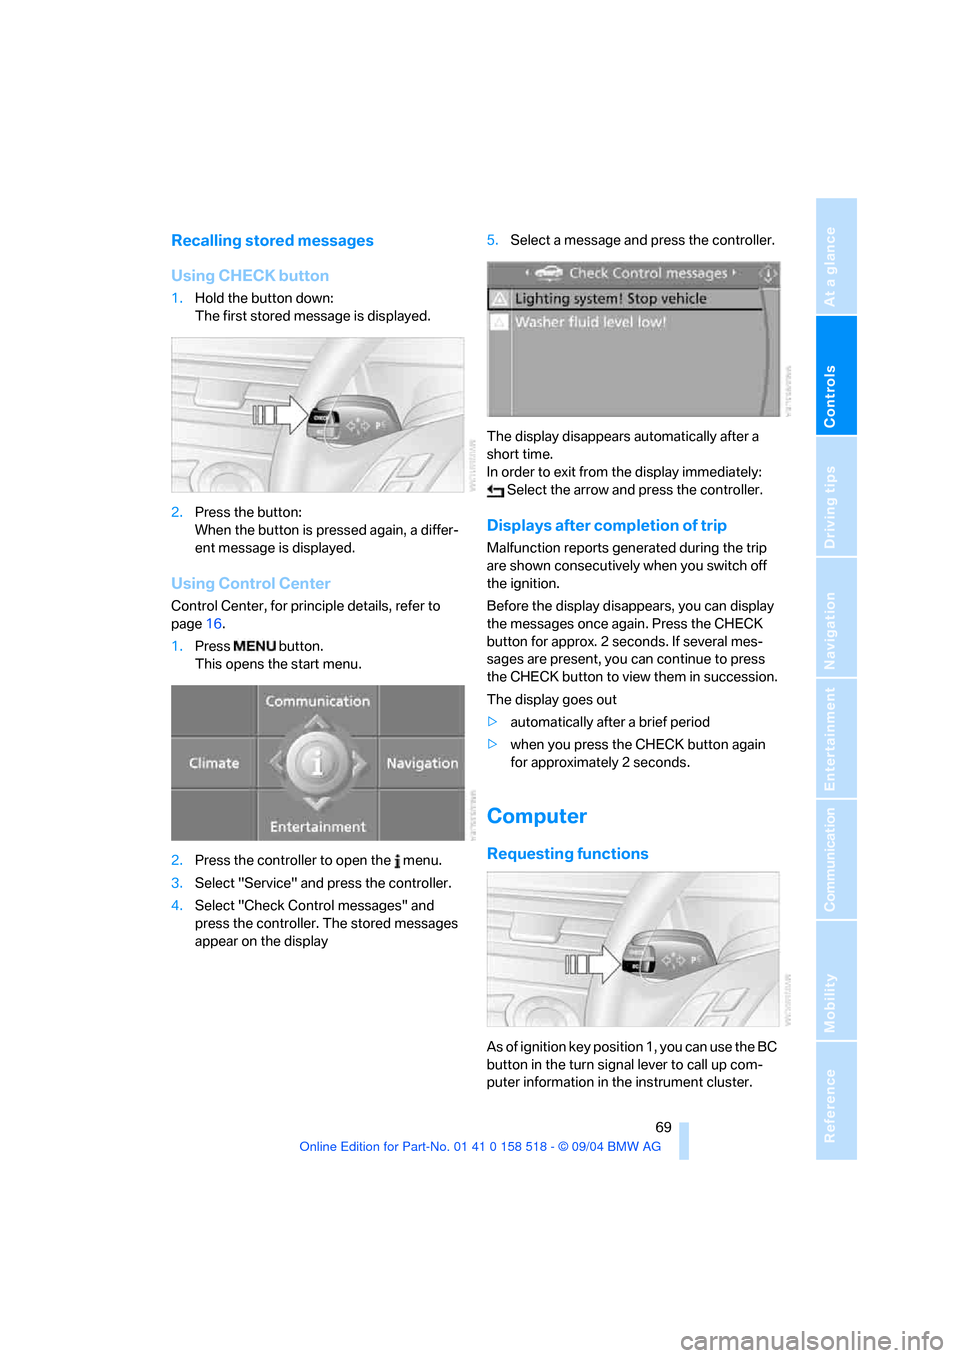
Using CHECK button
1.Hold the button down:
The first stored message is displayed.
2.Press the button:
When the button is pressed again, a differ-
ent message is displayed.
Using Control Center
Control Center, for principle details, refer to
page16.
1.Press button.
This opens the start menu.
2.Press the controller to open the menu.
3.Select "Service" and press the controller.
4.Select "Check Control messages" and
press the controller. The stored messages
appear on the display5.Select a message and press the controller.
The display disappears automatically after a
short time.
In order to exit from the display immediately:
Select the arrow and press the controller.
Displays after completion of trip
Malfunction reports generated during the trip
are shown consecutively when you switch off
the ignition.
Before the display disappears, you can display
the messages once again. Press the CHECK
button for approx. 2 seconds. If several mes-
sages are present, you can continue to press
the CHECK button to view them in succession.
The display goes out
>automatically after a brief period
>when you press the CHECK button again
for approximately 2 seconds.
Computer
Requesting functions
As of ignition key position 1, you can use the BC
button in the turn signal lever to call up com-
puter information in the instrument cluster.
Page 71 of 221
Everything under control
70 Further information appears each time you
press the BC button.
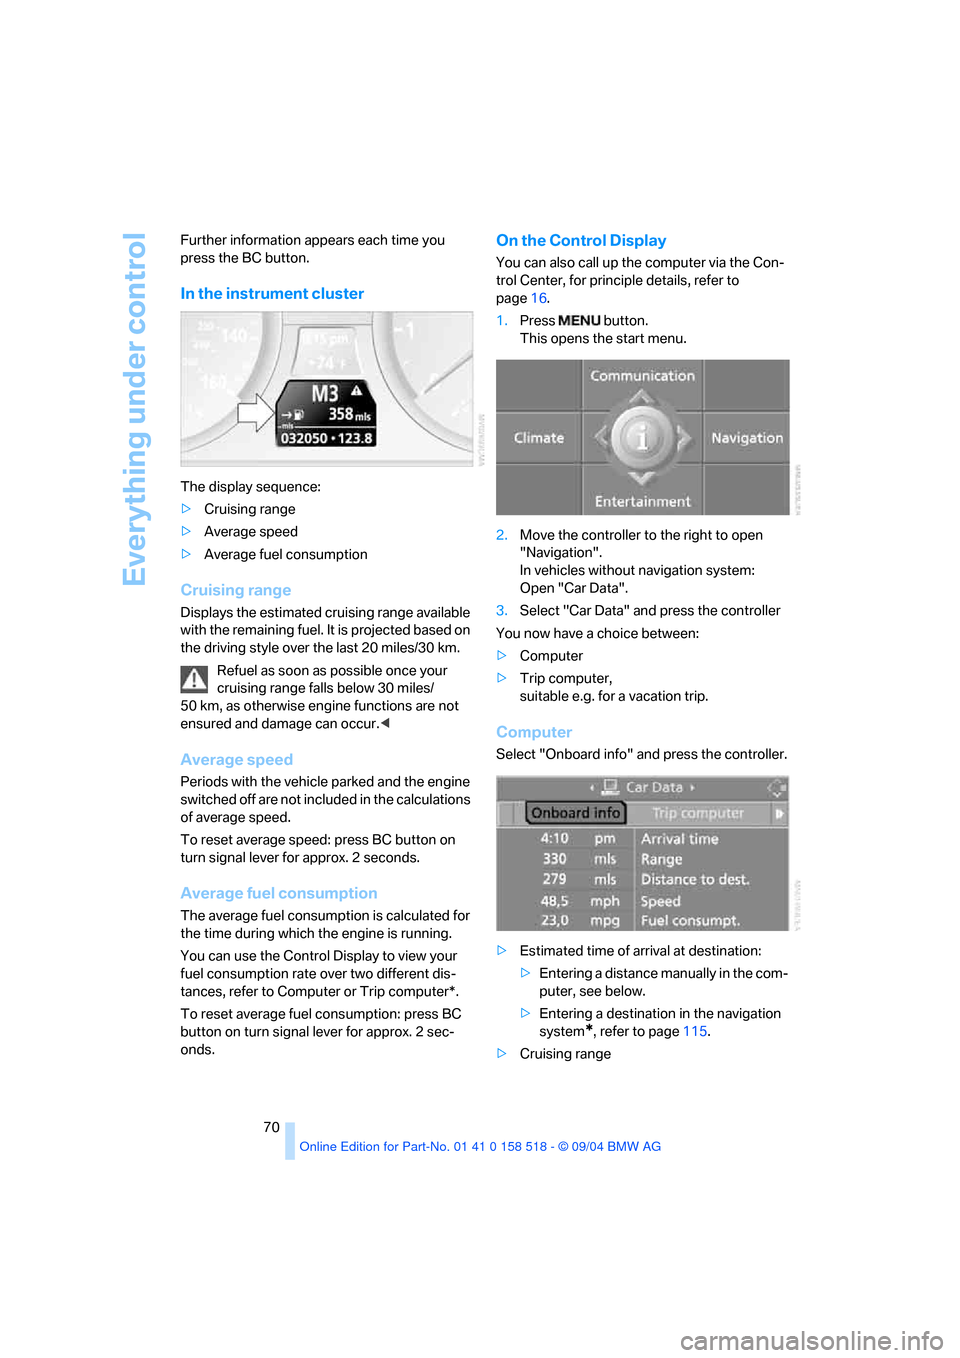
In the instrument cluster
The display sequence:
>Cruising range
>Average speed
>Average fuel consumption
Cruising range
Displays the estimated cruising range available
with the remaining fuel. It is projected based on
the driving style over the last 20 miles/30 km.
Refuel as soon as possible once your
cruising range falls below 30 miles/
50 km, as otherwise engine functions are not
ensured and damage can occur.<
Average speed
Periods with the vehicle parked and the engine
switched off are not included in the calculations
of average speed.
To reset average speed: press BC button on
turn signal lever for approx. 2 seconds.
Average fuel consumption
The average fuel consumption is calculated for
the time during which the engine is running.
You can use the Control Display to view your
fuel consumption rate over two different dis-
tances, refer to Computer or Trip computer*.
To reset average fuel consumption: press BC
button on turn signal lever for approx. 2 sec-
onds.
On the Control Display
You can also call up the computer via the Con-
trol Center, for principle details, refer to
page16.
1.Press button.
This opens the start menu.
2.Move the controller to the right to open
"Navigation".
In vehicles without navigation system:
Open "Car Data".
3.Select "Car Data" and press the controller
You now have a choice between:
>Computer
>Trip computer,
suitable e.g. for a vacation trip.
Computer
Select "Onboard info" and press the controller.
>Estimated time of arrival at destination:
>Entering a distance manually in the com-
puter, see below.
>Entering a destination in the navigation
system
*, refer to page115.
>Cruising range
Page 79 of 221
Technology for comfort, convenience and safety
78
DSC Dynamic Stability Control
The system prevents traction loss in the driving
wheels when starting off and accelerating. DSC
also detects unstable driving conditions such
as a fishtailing rear end or sliding of the front
wheels. In these cases, DSC helps the vehicle
maintain a safe course within physical limits by
reducing engine output and through braking
actions in the individual wheels.
The DSC is operational every time you start the
engine.
The laws of physics cannot be repealed,
even with DSC. An appropriate driving
style always remains the responsibility of the
driver. Therefore, do not reduce the additional
safety margin again by taking risks.<
DTC Dynamic Traction Control
DTC is a version of DSC in which the drive out-
put is optimized for particular road conditions,
e.g. unplowed snow-covered roads. The sys-
tem assures the maximal drive output, but with
reduced driving stability. It is therefore neces-
sary to drive with appropriate caution.
You may find it useful to briefly activate DTC
under the following special circumstances:
>When driving on snowy inclines, in slush, or
on unplowed, snow-covered road surfaces
>When rocking a stuck vehicle free or start-
ing off in deep snow or on loose ground
>When driving with snow chains
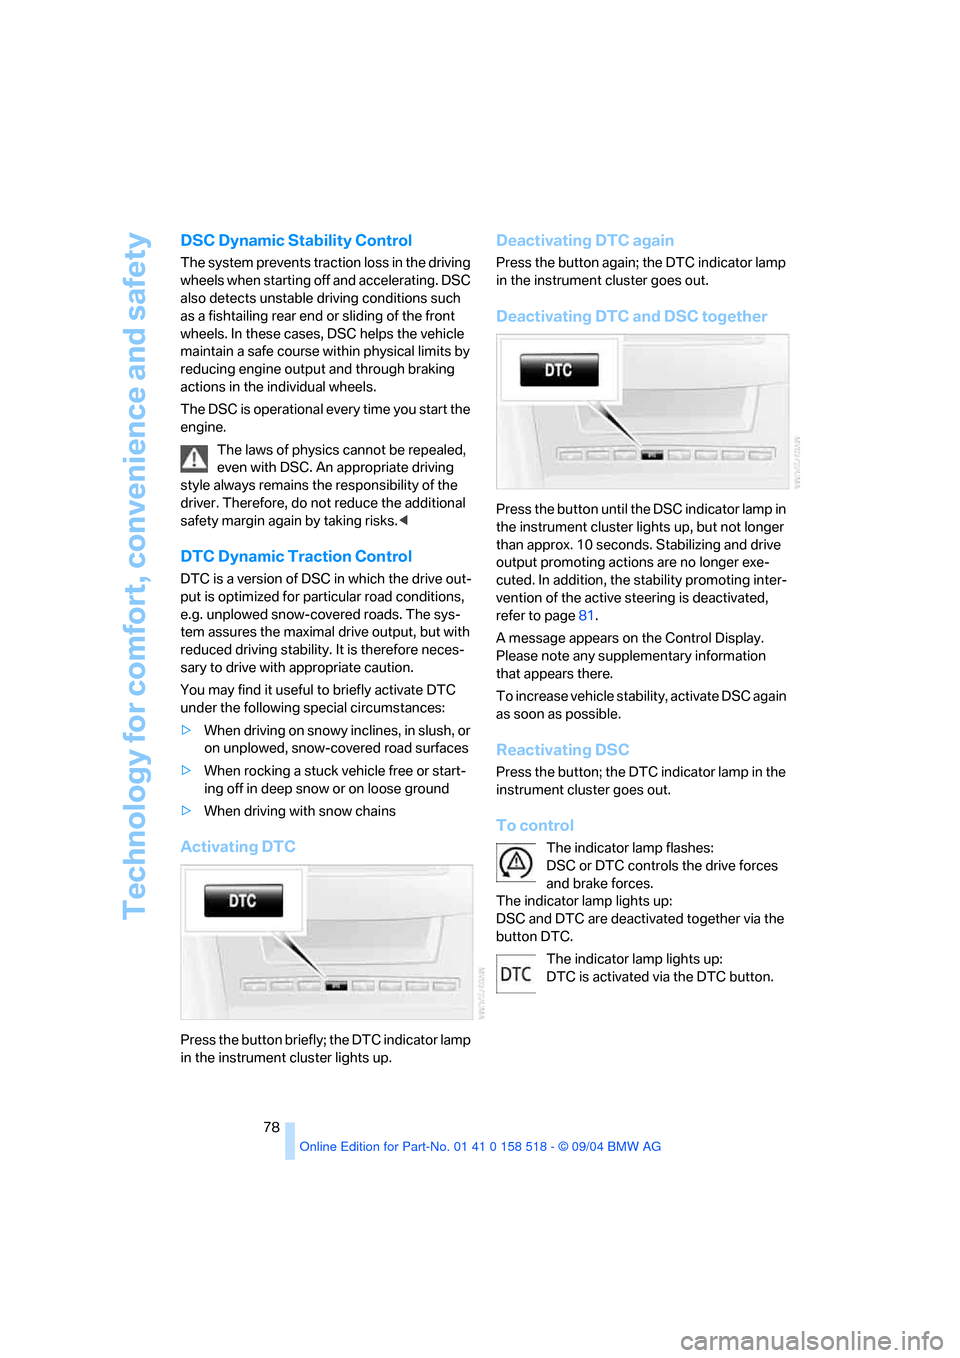
Activating DTC
Press the button briefly; the DTC indicator lamp
in the instrument cluster lights up.
Deactivating DTC again
Press the button again; the DTC indicator lamp
in the instrument cluster goes out.
Deactivating DTC and DSC together
Press the button until the DSC indicator lamp in
the instrument cluster lights up, but not longer
than approx. 10 seconds. Stabilizing and drive
output promoting actions are no longer exe-
cuted. In addition, the stability promoting inter-
vention of the active steering is deactivated,
refer to page81.
A message appears on the Control Display.
Please note any supplementary information
that appears there.
To increase vehicle stability, activate DSC again
as soon as possible.
Reactivating DSC
Press the button; the DTC indicator lamp in the
instrument cluster goes out.
To control
The indicator lamp flashes:
DSC or DTC controls the drive forces
and brake forces.
The indicator lamp lights up:
DSC and DTC are deactivated together via the
button DTC.
The indicator lamp lights up:
DTC is activated via the DTC button.
Page 89 of 221

Lamps
88 The low beams remain switched on inde-
pendent of the ambient lighting condi-
tions when you switch on the fog lamps.
With the daytime driving lamps
* activated, the
low beams are always switched on when the
ignition key is in position 2.<
The automatic headlamp control cannot
serve as a substitute for your personal
judgment in determining when the lamps
should be switched on in response to ambient
lighting conditions. For example, the system
cannot detect fog. To avoid safety risks, you
should always switch on the lamps manually
under these conditions.<
Adaptive Head Light*
The concept
Adaptive Head Light is a variable headlamp
control system that enables better illumination
of the road surface. Depending on the steering
angle and other assumptions, the light from the
headlamp follows the course of the road.
Activating Adaptive Head Light
In the switch position3, the Adaptive Head
Light is active and the automatic headlamp con-
trol
* is switched on.
To avoid blinding oncoming traffic, the Adaptive
Head Light
>is not active when driving in reverse
>is only active toward passenger side when
stationary
Malfunction
The LED next to the symbol for automatic head-
lamp control flashes. Adaptive Head Light is
faulty or has failed. Have the system checked as
soon as possible.
High beams/roadside parking
lamps
1High beams
2Headlamp flasher
3Roadside parking lamps
Roadside parking lamps, left or right*
You also enjoy the option of lighting up just one
side of your vehicle when parking. When using
this function, comply with national regulations:
With the ignition off, press the lever in the
desired direction3, past the resistance point.
The roadside parking lamps drain the bat-
tery. Do not switch them on for long peri-
ods of time, otherwise it may no longer be pos-
sible to start the engine.<
Front fog lamps
The parking lamps or low beams must
be switched on for the fog lamps to
operate. The green indicator lamp in
the instrument cluster lights up whenever the
fog lamps are on.
The fog lamps are switched off whenever the
high beams are switched on.
Page 177 of 221
Under the hood
176
Under the hood
Never attempt to perform any service or
repair operations on your vehicle without
the required, professional technical training. If
you do not know what repair procedures to fol-
low, have work on your vehicle done only by
your BMW center or a workshop that works
according to BMW repair procedures with cor-
respondingly trained personnel. If this work is
not carried out properly, there is a danger of
subsequent damage and related safety haz-
ards.<
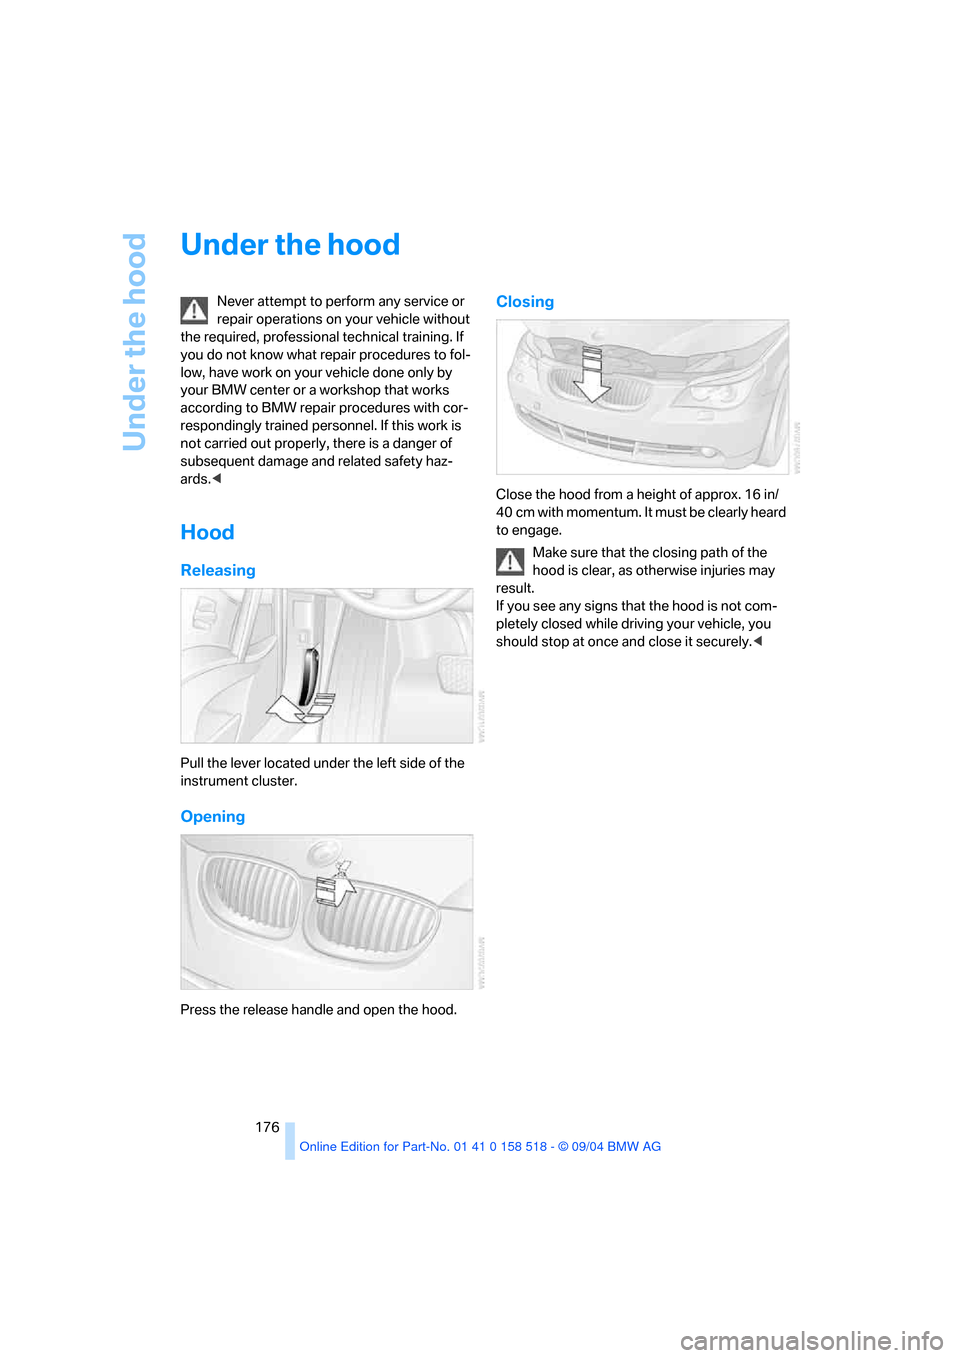
Hood
Releasing
Pull the lever located under the left side of the
instrument cluster.
Opening
Press the release handle and open the hood.
Closing
Close the hood from a height of approx. 16 in/
40 cm with momentum. It must be clearly heard
to engage.
Make sure that the closing path of the
hood is clear, as otherwise injuries may
result.
If you see any signs that the hood is not com-
pletely closed while driving your vehicle, you
should stop at once and close it securely.<