2005 BMW 545I SEDAN high beam
[x] Cancel search: high beamPage 11 of 221

Cockpit
10
Cockpit
Around the steering wheel: controls and displays
1Rear window blind*97
2Rear window safety switch35
3Opening and closing windows34
4Adjusting exterior mirrors455
Turn signals56
High beams, headlamp flasher88
Roadside parking lamps88
Check Control67
Computer69
Page 14 of 221

At a glance
13Reference
Controls
Driving tips
Communication
Navigation
Entertainment
Mobility
Indicator and warning lamps
The concept
Indicator and warning lamps and their combina-
tions are displayed in the display region1 and in
the display2. To better differentiate between
malfunctions, different symbols can be shown
on the display2.
Some lights in the display region1 are tested
for proper function by briefly lighting up during
starting of the engine or when the ignition is
switched on.
Acknowledging active functions
The following indicator lamps in the display
region1 indicate that the associated functions
are activated:
What to do in case of a malfunction
All warning lamps and indicator lamps not yet
listed are also accompanied by text messages
on the Control Display. These may contain
more information as to the cause of a malfunc-
tion and instructions on what to do.
Sometimes, warning lamps are also accompa-
nied by supplemental text messages on the
Control Display that are shown immediately.
Text messages that do not appear immediately
are stored and can be displayed subsequently.
For further information on displaying these
messages later, refer to Check Control on
page 67. Turn signals56
Handbrake engaged52
Handbrake engaged for Canadian
models
Front fog lamps88
DTC Dynamic Traction Control78
High beams/headlamp flasher88
DSC Dynamic Stability Control78
Page 34 of 221

Controls
33Reference
At a glance
Driving tips
Communication
Navigation
Entertainment
Mobility
Locking separately
Turn the master key with remote control in the
lock of the luggage compartment lid beyond a
resistance point to the right and withdraw it in
the horizontal position.
This locks the luggage compartment lid and
disconnects it from the central locking system.
If you then only hand over the spare key, refer to
page28, no access is possible via the luggage
compartment lid. This is an advantage when
valet parking, for example.
Unlocking again and opening manually
Turn master key toward the left until the resis-
tance point: the luggage compartment lid
opens.
If you use the key to unlock the luggage
compartment lid while the alarm system
is armed, the alarm will be triggered. You should
therefore unlock the vehicle ahead of time.
If the alarm is inadvertently triggered: switch off
the alarm, refer to page34.<
Emergency release
This lever releases the luggage compartment
lid from inside the luggage compartment.
Closing
The handle recesses on the interior trim of the
luggage compartment lid make it easier to pull
down.
Make sure that the closing path of the
luggage compartment lid is clear, as oth-
erwise injuries may result.<
Alarm system
The concept
The vehicle alarm system responds:
>When a door, the hood, or the luggage com-
partment lid is opened
>To movements inside the vehicle: Inner
motion sensor, see below
>To changes in the vehicle's tilt if someone
attempts to steal the wheels or tow the
vehicle
>To interruptions in battery voltage
The system responds to unauthorized vehicle
entry and attempted theft by simultaneously
activating:
>An acoustic alarm, which lasts for a period
of approx. 30 seconds
>The hazard warning flashers for approx. 5
minutes
>The high beams, which flash on and off in
the same rhythm
Arming and disarming alarm system
When you lock or unlock the vehicle, either with
the remote control or at the door lock, the alarm
system is armed or disarmed at the same time.
Page 57 of 221

Driving
56
R Reverse
Select only when the vehicle is stationary.
N Neutral
For example, engage in automatic car washes.
The vehicle can roll.
D Drive, automatic position
Position for normal vehicle operation. All for-
ward gears are available.
Under normal operating conditions, fuel con-
sumption is lowest when driving in position D.
Kick-down
The kick-down mode provides maximum accel-
eration: press the accelerator pedal beyond the
full-throttle resistance point.
Manual operation and Sport program
M/S
Move selector lever from position D toward the
left into the M/S shifting slot:
The sport program is activated and DS appears
in the instrument cluster. This position is
recommended for a performance-oriented
driving style.
When the selector lever is pressed forward or
back, the manual mode is activated and the
Steptronic shifts the gear. The instrument clus-
ter shows M1 through M6.
Upshifts and downshifts are executed only
when they will result in a plausible combination
of engine and vehicle speed; thus, for example,
a downshift that would cause the engine to
overrev will not be executed by the system. The
selected gear appears briefly in the instrument
cluster, followed by the current gear.To use the automatic function again, move the
selector lever to the right into position D.
Turn signals/
headlamp flasher
1High beams
2Headlamp flasher
3Turn signals
Using turn signals
Press the lever beyond the resistance point.
To turn off manually, press the lever to the
resistance point.
Atypically rapid flashing of the indicator
lamp indicates that a turn signal bulb
needs to be replaced.
After switching off the ignition, make sure that
the roadside parking lamps are not switched
on.<
Signaling for a short time
Press lever to resistance point and hold for as
long as you wish to signal.
Triple turn signal activation
Press the lever to the resistance point; the turn
signal flashes three times.
You can activate or deactivate this function.
Control Center, for principle details, refer to
page16.
1.Open the menu.
2.Select "Vehicle settings" and press the
controller.
3.Select "Light" and press the controller.
Page 89 of 221

Lamps
88 The low beams remain switched on inde-
pendent of the ambient lighting condi-
tions when you switch on the fog lamps.
With the daytime driving lamps
* activated, the
low beams are always switched on when the
ignition key is in position 2.<
The automatic headlamp control cannot
serve as a substitute for your personal
judgment in determining when the lamps
should be switched on in response to ambient
lighting conditions. For example, the system
cannot detect fog. To avoid safety risks, you
should always switch on the lamps manually
under these conditions.<
Adaptive Head Light*
The concept
Adaptive Head Light is a variable headlamp
control system that enables better illumination
of the road surface. Depending on the steering
angle and other assumptions, the light from the
headlamp follows the course of the road.
Activating Adaptive Head Light
In the switch position3, the Adaptive Head
Light is active and the automatic headlamp con-
trol
* is switched on.
To avoid blinding oncoming traffic, the Adaptive
Head Light
>is not active when driving in reverse
>is only active toward passenger side when
stationary
Malfunction
The LED next to the symbol for automatic head-
lamp control flashes. Adaptive Head Light is
faulty or has failed. Have the system checked as
soon as possible.
High beams/roadside parking
lamps
1High beams
2Headlamp flasher
3Roadside parking lamps
Roadside parking lamps, left or right*
You also enjoy the option of lighting up just one
side of your vehicle when parking. When using
this function, comply with national regulations:
With the ignition off, press the lever in the
desired direction3, past the resistance point.
The roadside parking lamps drain the bat-
tery. Do not switch them on for long peri-
ods of time, otherwise it may no longer be pos-
sible to start the engine.<
Front fog lamps
The parking lamps or low beams must
be switched on for the fog lamps to
operate. The green indicator lamp in
the instrument cluster lights up whenever the
fog lamps are on.
The fog lamps are switched off whenever the
high beams are switched on.
Page 183 of 221

Replacing components
182
Replacing components
Onboard tool kit
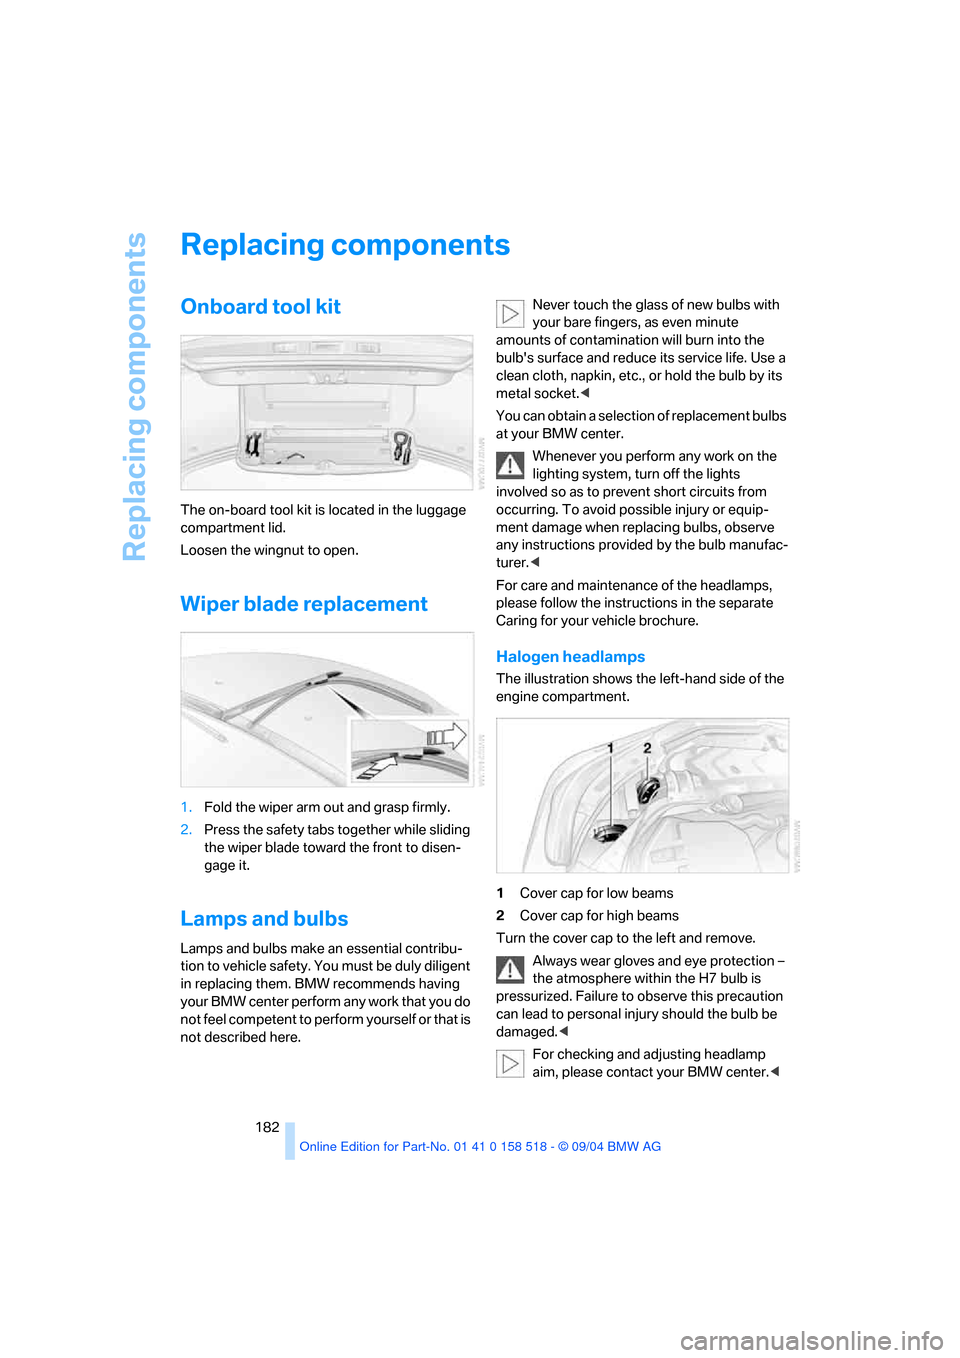
The on-board tool kit is located in the luggage
compartment lid.
Loosen the wingnut to open.
Wiper blade replacement
1.Fold the wiper arm out and grasp firmly.
2.Press the safety tabs together while sliding
the wiper blade toward the front to disen-
gage it.
Lamps and bulbs
Lamps and bulbs make an essential contribu-
tion to vehicle safety. You must be duly diligent
in replacing them. BMW recommends having
your BMW center perform any work that you do
not feel competent to perform yourself or that is
not described here.Never touch the glass of new bulbs with
your bare fingers, as even minute
amounts of contamination will burn into the
bulb's surface and reduce its service life. Use a
clean cloth, napkin, etc., or hold the bulb by its
metal socket.<
You can obtain a selection of replacement bulbs
at your BMW center.
Whenever you perform any work on the
lighting system, turn off the lights
involved so as to prevent short circuits from
occurring. To avoid possible injury or equip-
ment damage when replacing bulbs, observe
any instructions provided by the bulb manufac-
turer.<
For care and maintenance of the headlamps,
please follow the instructions in the separate
Caring for your vehicle brochure.
Halogen headlamps
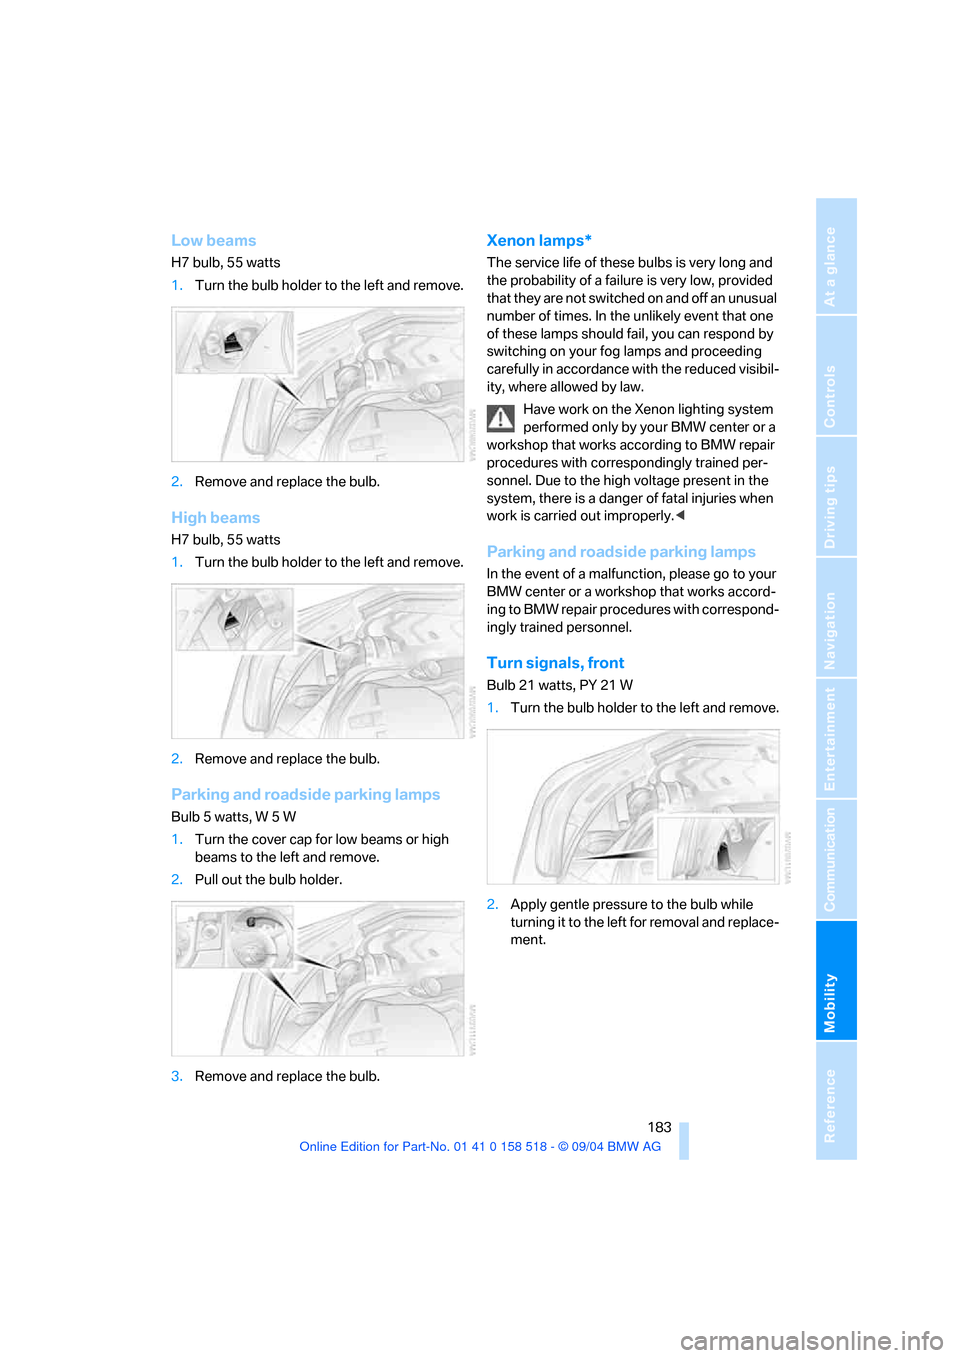
The illustration shows the left-hand side of the
engine compartment.
1Cover cap for low beams
2Cover cap for high beams
Turn the cover cap to the left and remove.
Always wear gloves and eye protection –
the atmosphere within the H7 bulb is
pressurized. Failure to observe this precaution
can lead to personal injury should the bulb be
damaged.<
For checking and adjusting headlamp
aim, please contact your BMW center.<
Page 184 of 221

Mobility
183Reference
At a glance
Controls
Driving tips
Communication
Navigation
Entertainment
Low beams
H7 bulb, 55 watts
1.Turn the bulb holder to the left and remove.
2.Remove and replace the bulb.
High beams
H7 bulb, 55 watts
1.Turn the bulb holder to the left and remove.
2.Remove and replace the bulb.
Parking and roadside parking lamps
Bulb 5 watts, W 5 W
1.Turn the cover cap for low beams or high
beams to the left and remove.
2.Pull out the bulb holder.
3.Remove and replace the bulb.
Xenon lamps*
The service life of these bulbs is very long and
the probability of a failure is very low, provided
that they are not switched on and off an unusual
number of times. In the unlikely event that one
of these lamps should fail, you can respond by
switching on your fog lamps and proceeding
carefully in accordance with the reduced visibil-
ity, where allowed by law.
Have work on the Xenon lighting system
performed only by your BMW center or a
workshop that works according to BMW repair
procedures with correspondingly trained per-
sonnel. Due to the high voltage present in the
system, there is a danger of fatal injuries when
work is carried out improperly.<
Parking and roadside parking lamps
In the event of a malfunction, please go to your
BMW center or a workshop that works accord-
ing to BMW repair procedures with correspond-
ingly trained personnel.
Turn signals, front
Bulb 21 watts, PY 21 W
1.Turn the bulb holder to the left and remove.
2.Apply gentle pressure to the bulb while
turning it to the left for removal and replace-
ment.
Page 209 of 221

Everything from A to Z
208 Fuel consumption display
– computer, average fuel
consumption70
Fuel display, refer to Fuel
gage66
Fuel filler door168
– releasing in the event of
electrical malfunction168
Fuel gage66
Fuses187
G
Garage door opener, refer to
Integrated universal remote
control96
Gasoline, refer to Required
fuel169
Gasoline display, refer to Fuel
gage66
Gear changes
– SMG Sequential manual
transmission54
Gear display
– automatic transmission with
Steptronic55
– SMG Sequential manual
transmission53
Gearshift lever
– automatic transmission with
Steptronic55
– manual transmission53
– SMG Sequential manual
transmission53
General driving notes106
Glass sunroof, electric35
– auto-remote operation from
outside31
– opening and closing
manually37
– remote control30
Glove compartment97
– lighting97
– rechargeable flashlight98
GPS navigation, refer to
Navigation system114Grills, refer to Ventilation93
Grills of the automatic climate
control90
Gross vehicle weight, refer to
Weights198
H
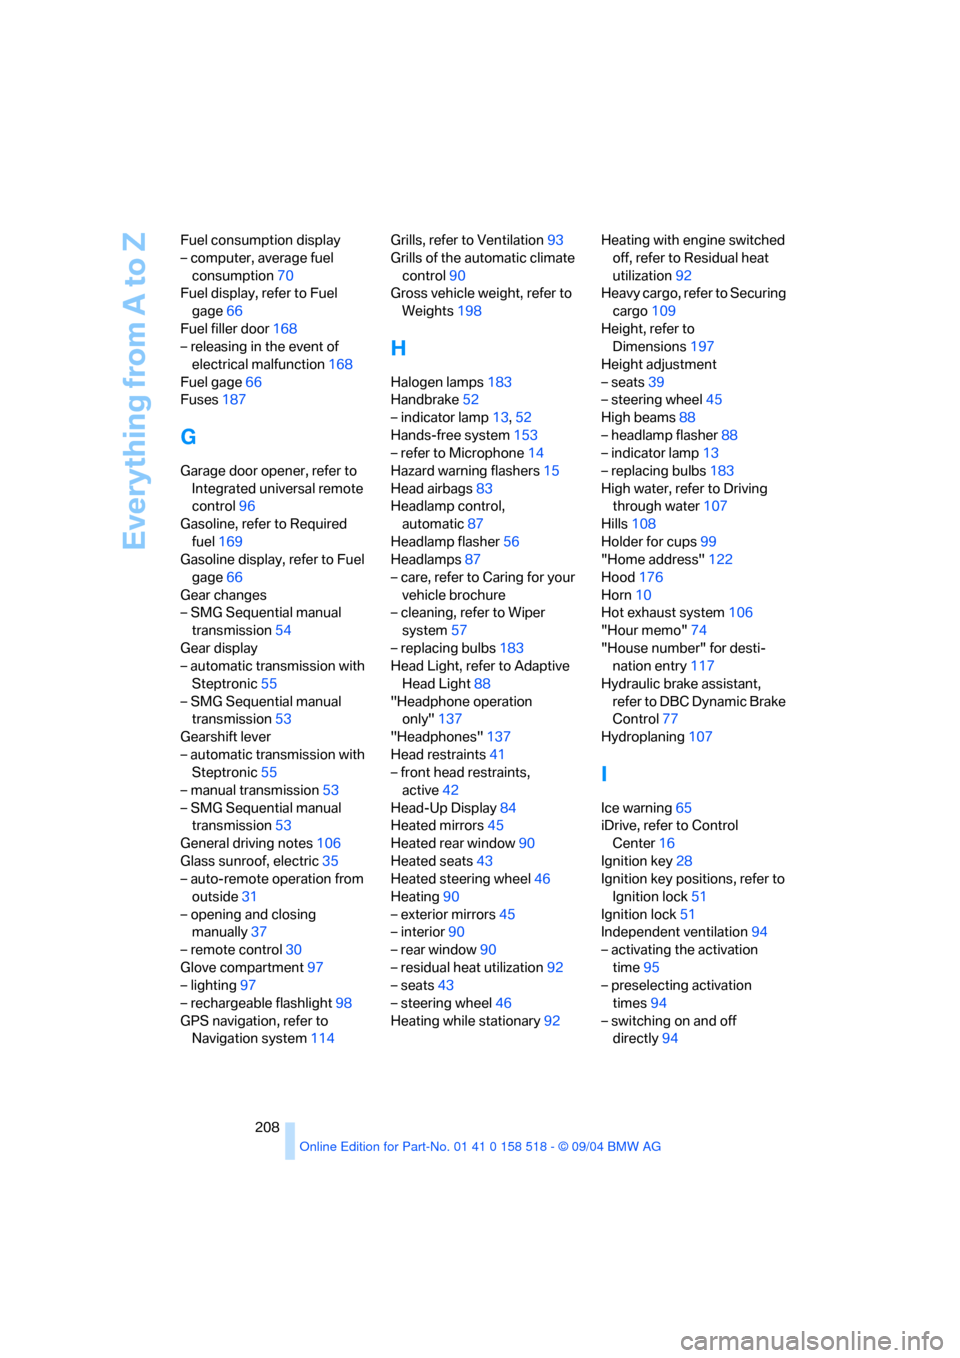
Halogen lamps183
Handbrake52
– indicator lamp13,52
Hands-free system153
– refer to Microphone14
Hazard warning flashers15
Head airbags83
Headlamp control,
automatic87
Headlamp flasher56
Headlamps87
– care, refer to Caring for your
vehicle brochure
– cleaning, refer to Wiper
system57
– replacing bulbs183
Head Light, refer to Adaptive
Head Light88
"Headphone operation
only"137
"Headphones"137
Head restraints41
– front head restraints,
active42
Head-Up Display84
Heated mirrors45
Heated rear window90
Heated seats43
Heated steering wheel46
Heating90
– exterior mirrors45
– interior90
– rear window90
– residual heat utilization92
– seats43
– steering wheel46
Heating while stationary92Heating with engine switched
off, refer to Residual heat
utilization92
Heavy cargo, refer to Securing
cargo109
Height, refer to
Dimensions197
Height adjustment
– seats39
– steering wheel45
High beams88
– headlamp flasher88
– indicator lamp13
– replacing bulbs183
High water, refer to Driving
through water107
Hills108
Holder for cups99
"Home address"122
Hood176
Horn10
Hot exhaust system106
"Hour memo"74
"House number" for desti-
nation entry117
Hydraulic brake assistant,
refer to DBC Dynamic Brake
Control77
Hydroplaning107
I
Ice warning65
iDrive, refer to Control
Center16
Ignition key28
Ignition key positions, refer to
Ignition lock51
Ignition lock51
Independent ventilation94
– activating the activation
time95
– preselecting activation
times94
– switching on and off
directly94