2005 BMW 525I turn signal
[x] Cancel search: turn signalPage 69 of 221
Everything under control
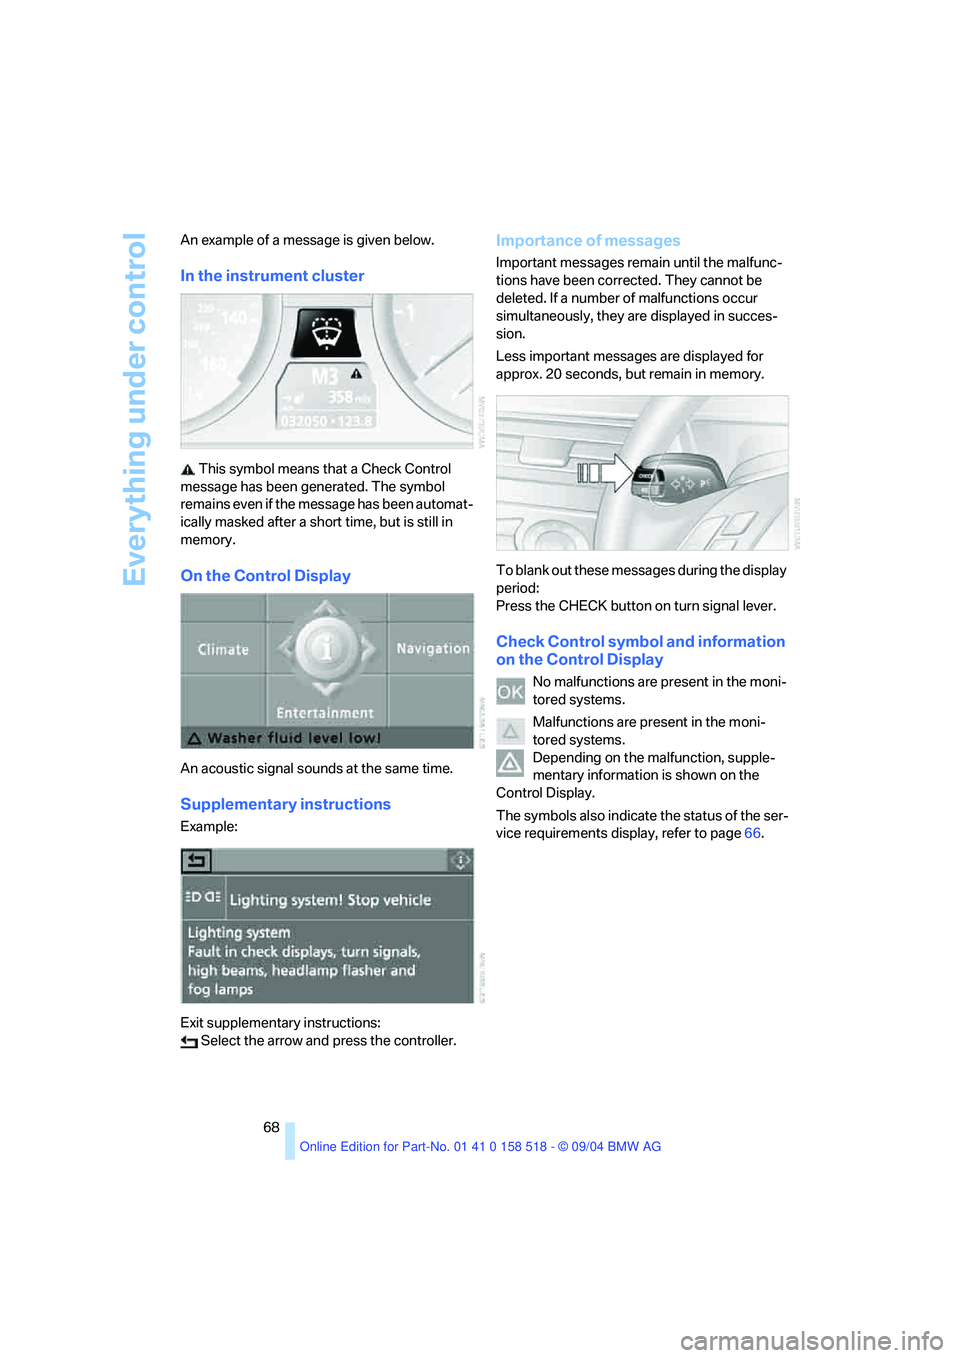
68 An example of a message is given below.
In the instrument cluster
This symbol means that a Check Control
message has been generated. The symbol
remains even if the message has been automat-
ically masked after a short time, but is still in
memory.
On the Control Display
An acoustic signal sounds at the same time.
Supplementary instructions
Example:
Exit supplementary instructions:
Select the arrow and press the controller.
Importance of messages
Important messages remain until the malfunc-
tions have been corrected. They cannot be
deleted. If a number of malfunctions occur
simultaneously, they are displayed in succes-
sion.
Less important messages are displayed for
approx. 20 seconds, but remain in memory.
To blank out these messages during the display
period:
Press the CHECK button on turn signal lever.
Check Control symbol and information
on the Control Display
No malfunctions are present in the moni-
tored systems.
Malfunctions are present in the moni-
tored systems.
Depending on the malfunction, supple-
mentary information is shown on the
Control Display.
The symbols also indicate the status of the ser-
vice requirements display, refer to page66.
Page 70 of 221
Controls
69Reference
At a glance
Driving tips
Communication
Navigation
Entertainment
Mobility
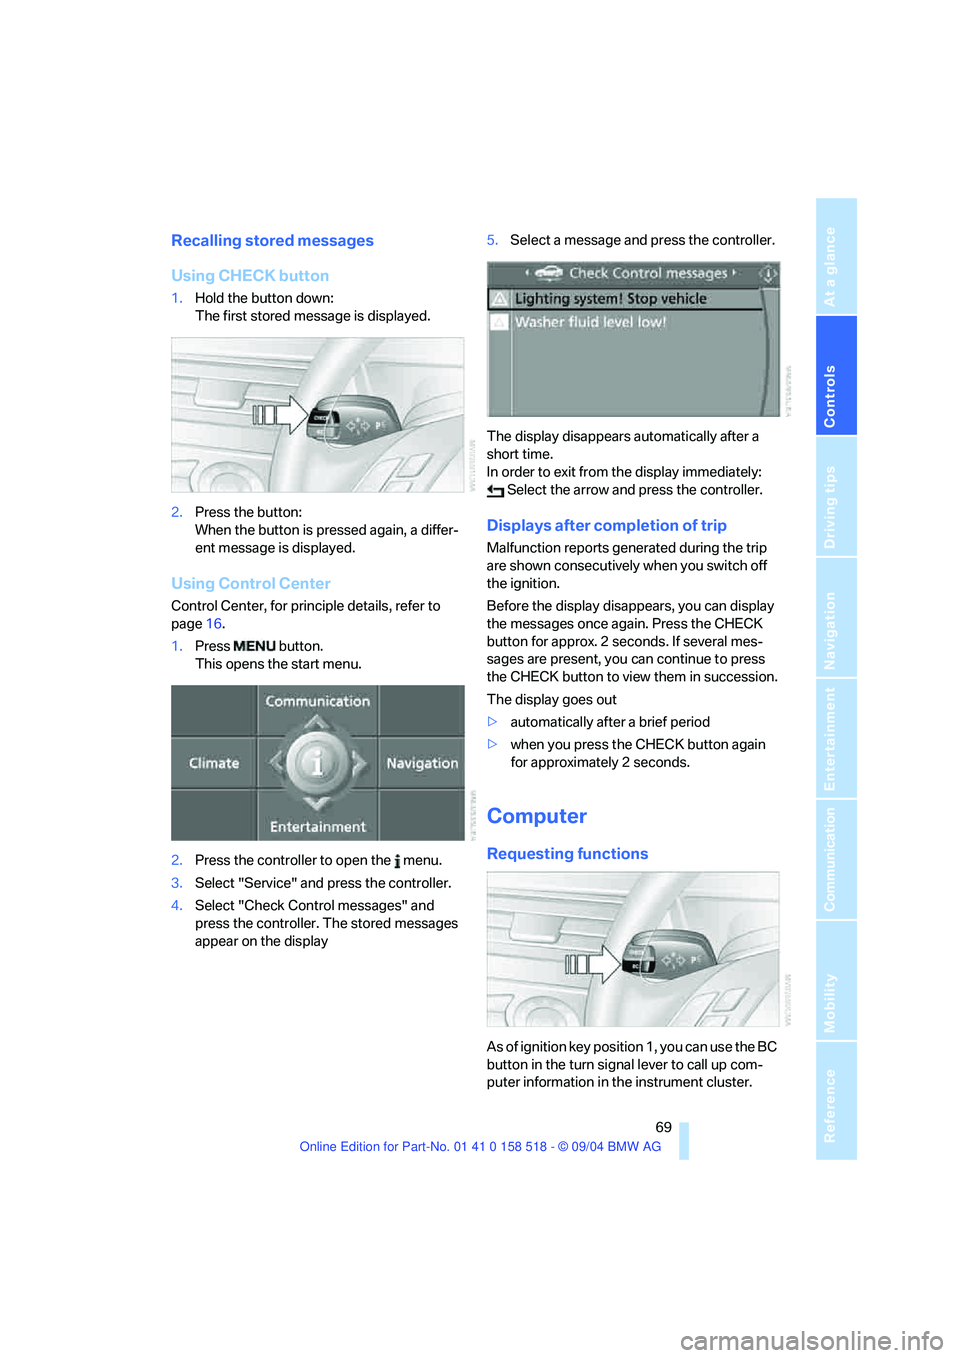
Recalling stored messages
Using CHECK button
1.Hold the button down:
The first stored message is displayed.
2.Press the button:
When the button is pressed again, a differ-
ent message is displayed.
Using Control Center
Control Center, for principle details, refer to
page16.
1.Press button.
This opens the start menu.
2.Press the controller to open the menu.
3.Select "Service" and press the controller.
4.Select "Check Control messages" and
press the controller. The stored messages
appear on the display5.Select a message and press the controller.
The display disappears automatically after a
short time.
In order to exit from the display immediately:
Select the arrow and press the controller.
Displays after completion of trip
Malfunction reports generated during the trip
are shown consecutively when you switch off
the ignition.
Before the display disappears, you can display
the messages once again. Press the CHECK
button for approx. 2 seconds. If several mes-
sages are present, you can continue to press
the CHECK button to view them in succession.
The display goes out
>automatically after a brief period
>when you press the CHECK button again
for approximately 2 seconds.
Computer
Requesting functions
As of ignition key position 1, you can use the BC
button in the turn signal lever to call up com-
puter information in the instrument cluster.
Page 71 of 221
Everything under control
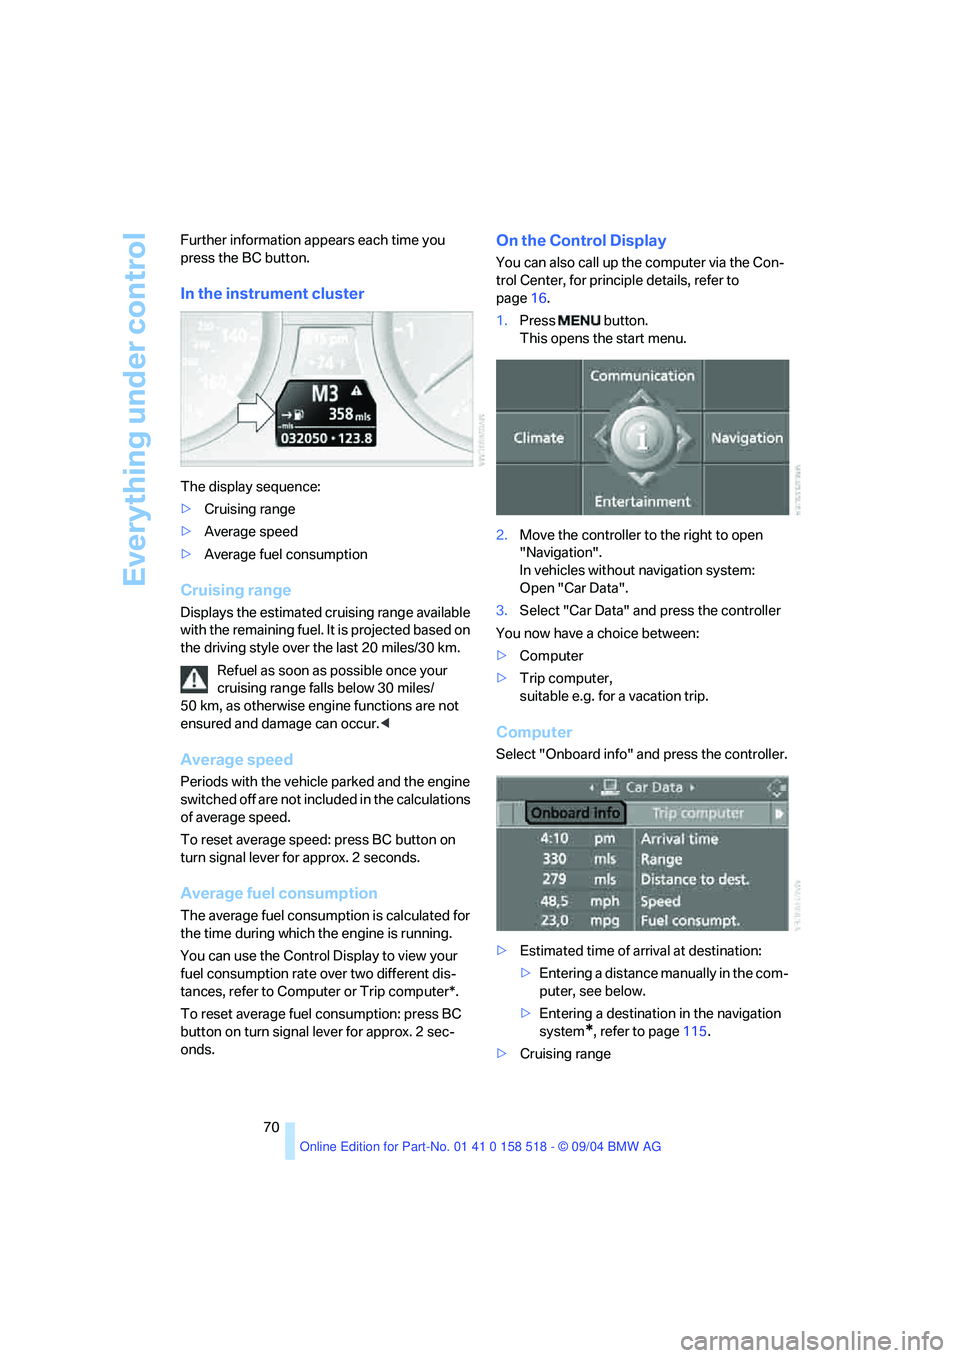
70 Further information appears each time you
press the BC button.
In the instrument cluster
The display sequence:
>Cruising range
>Average speed
>Average fuel consumption
Cruising range
Displays the estimated cruising range available
with the remaining fuel. It is projected based on
the driving style over the last 20 miles/30 km.
Refuel as soon as possible once your
cruising range falls below 30 miles/
50 km, as otherwise engine functions are not
ensured and damage can occur.<
Average speed
Periods with the vehicle parked and the engine
switched off are not included in the calculations
of average speed.
To reset average speed: press BC button on
turn signal lever for approx. 2 seconds.
Average fuel consumption
The average fuel consumption is calculated for
the time during which the engine is running.
You can use the Control Display to view your
fuel consumption rate over two different dis-
tances, refer to Computer or Trip computer*.
To reset average fuel consumption: press BC
button on turn signal lever for approx. 2 sec-
onds.
On the Control Display
You can also call up the computer via the Con-
trol Center, for principle details, refer to
page16.
1.Press button.
This opens the start menu.
2.Move the controller to the right to open
"Navigation".
In vehicles without navigation system:
Open "Car Data".
3.Select "Car Data" and press the controller
You now have a choice between:
>Computer
>Trip computer,
suitable e.g. for a vacation trip.
Computer
Select "Onboard info" and press the controller.
>Estimated time of arrival at destination:
>Entering a distance manually in the com-
puter, see below.
>Entering a destination in the navigation
system
*, refer to page115.
>Cruising range
Page 75 of 221
Everything under control
74
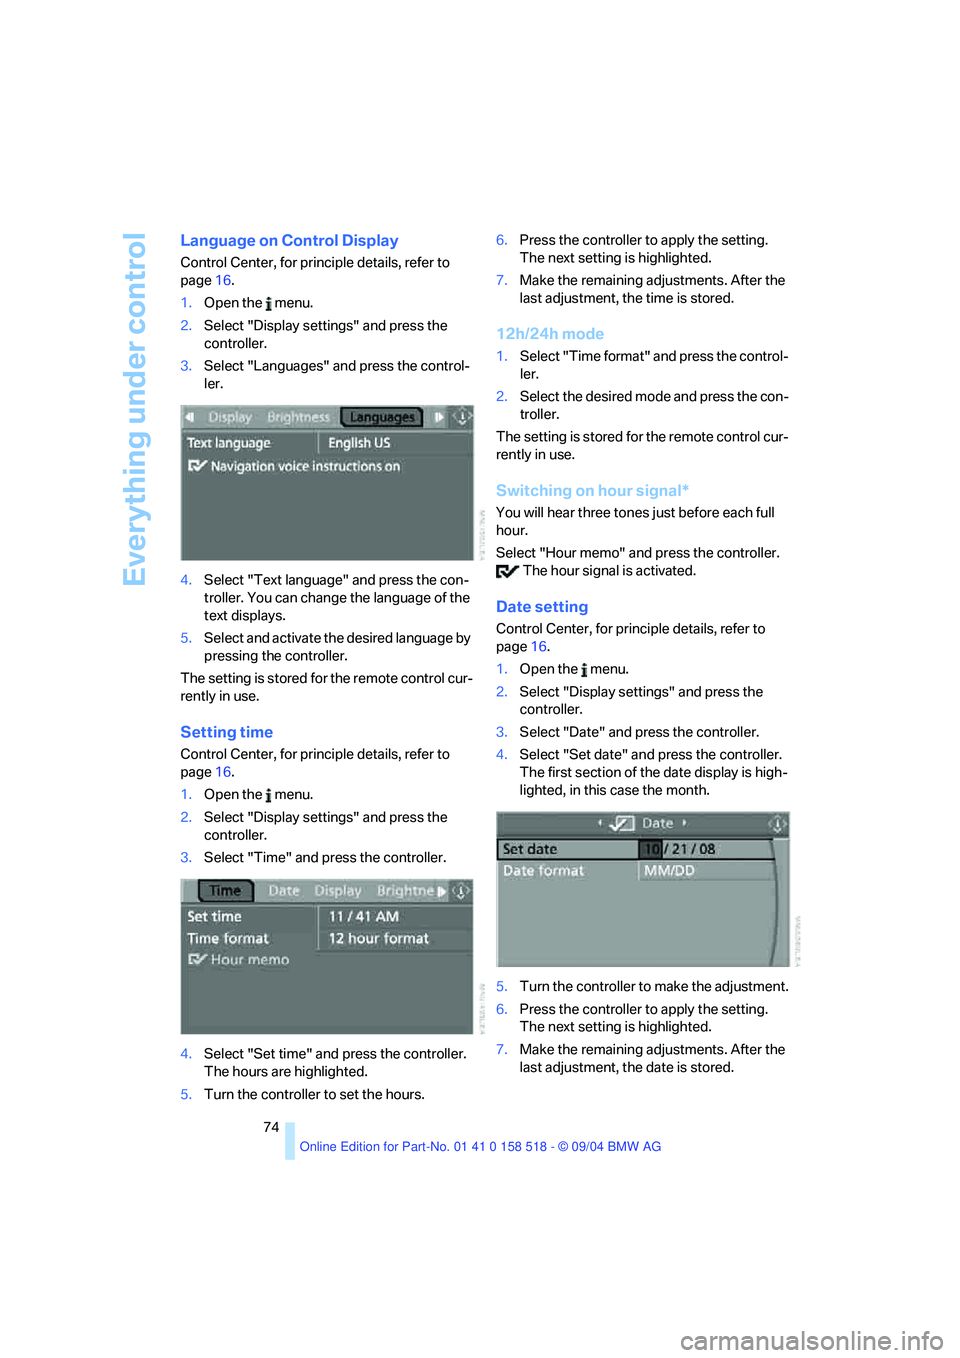
Language on Control Display
Control Center, for principle details, refer to
page16.
1.Open the menu.
2.Select "Display settings" and press the
controller.
3.Select "Languages" and press the control-
ler.
4.Select "Text language" and press the con-
troller. You can change the language of the
text displays.
5.Select and activate the desired language by
pressing the controller.
The setting is stored for the remote control cur-
rently in use.
Setting time
Control Center, for principle details, refer to
page16.
1.Open the menu.
2.Select "Display settings" and press the
controller.
3.Select "Time" and press the controller.
4.Select "Set time" and press the controller.
The hours are highlighted.
5.Turn the controller to set the hours.6.Press the controller to apply the setting.
The next setting is highlighted.
7.Make the remaining adjustments. After the
last adjustment, the time is stored.
12h/24h mode
1.Select "Time format" and press the control-
ler.
2.Select the desired mode and press the con-
troller.
The setting is stored for the remote control cur-
rently in use.
Switching on hour signal*
You will hear three tones just before each full
hour.
Select "Hour memo" and press the controller.
The hour signal is activated.
Date setting
Control Center, for principle details, refer to
page16.
1.Open the menu.
2.Select "Display settings" and press the
controller.
3.Select "Date" and press the controller.
4.Select "Set date" and press the controller.
The first section of the date display is high-
lighted, in this case the month.
5.Turn the controller to make the adjustment.
6.Press the controller to apply the setting.
The next setting is highlighted.
7.Make the remaining adjustments. After the
last adjustment, the date is stored.
Page 88 of 221
Controls
87Reference
At a glance
Driving tips
Communication
Navigation
Entertainment
Mobility
Lamps
Parking lamps/low beams
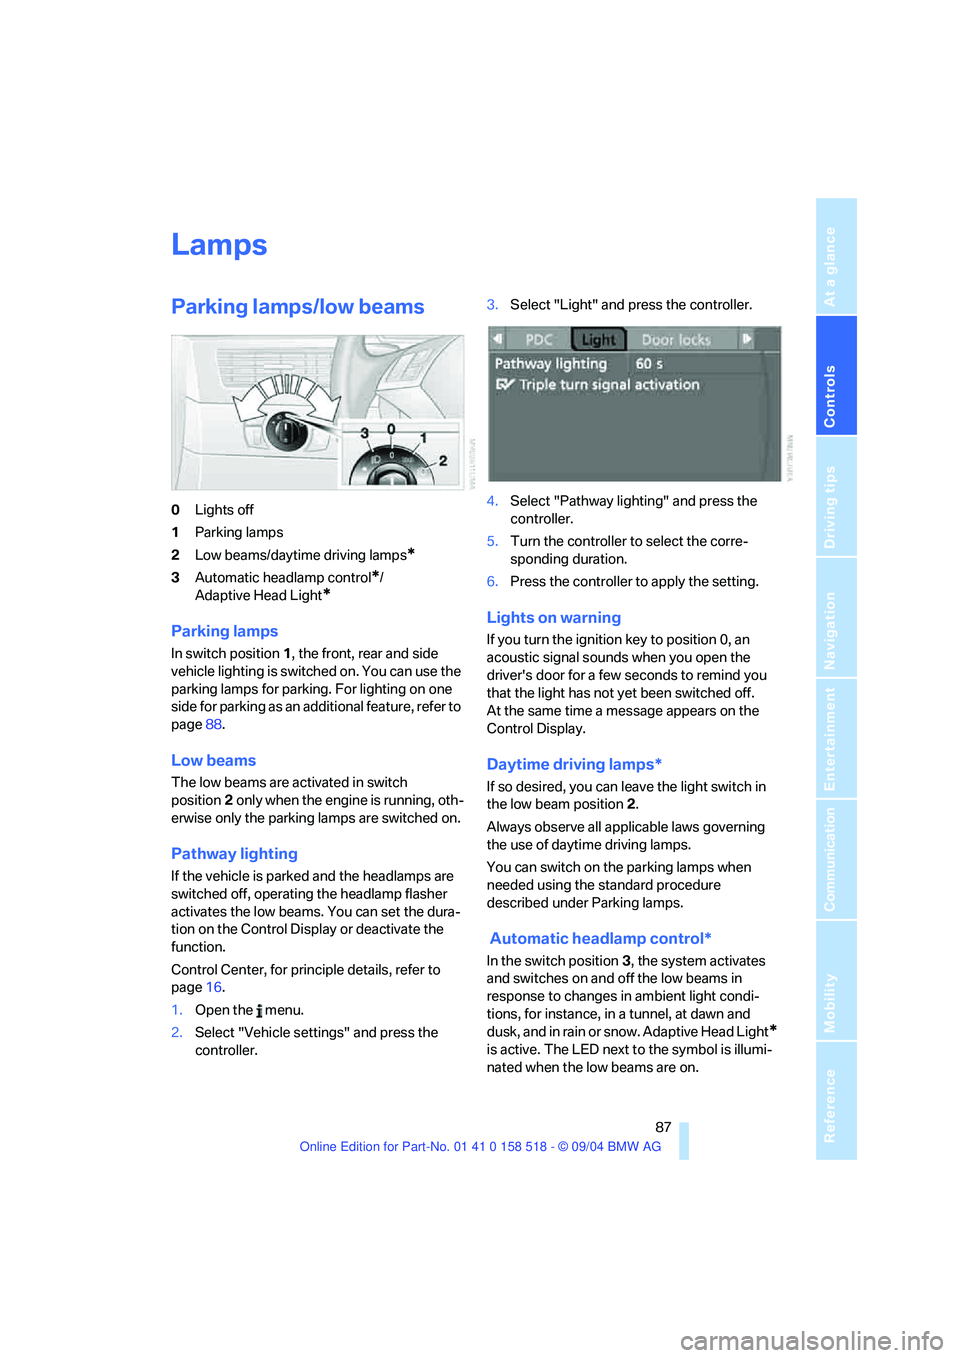
0Lights off
1Parking lamps
2Low beams/daytime driving lamps
*
3Automatic headlamp control*/
Adaptive Head Light
*
Parking lamps
In switch position1, the front, rear and side
vehicle lighting is switched on. You can use the
parking lamps for parking. For lighting on one
side for parking as an additional feature, refer to
page88.
Low beams
The low beams are activated in switch
position2 only when the engine is running, oth-
erwise only the parking lamps are switched on.
Pathway lighting
If the vehicle is parked and the headlamps are
switched off, operating the headlamp flasher
activates the low beams. You can set the dura-
tion on the Control Display or deactivate the
function.
Control Center, for principle details, refer to
page16.
1.Open the menu.
2.Select "Vehicle settings" and press the
controller.3.Select "Light" and press the controller.
4.Select "Pathway lighting" and press the
controller.
5.Turn the controller to select the corre-
sponding duration.
6.Press the controller to apply the setting.
Lights on warning
If you turn the ignition key to position 0, an
acoustic signal sounds when you open the
driver's door for a few seconds to remind you
that the light has not yet been switched off.
At the same time a message appears on the
Control Display.
Daytime driving lamps*
If so desired, you can leave the light switch in
the low beam position2.
Always observe all applicable laws governing
the use of daytime driving lamps.
You can switch on the parking lamps when
needed using the standard procedure
described under Parking lamps.
Automatic headlamp control*
In the switch position3, the system activates
and switches on and off the low beams in
response to changes in ambient light condi-
tions, for instance, in a tunnel, at dawn and
d u s k , a n d in r a i n o r s n o w . A d a p t iv e H e a d L ig h t
*
is active. The LED next to the symbol is illumi-
nated when the low beams are on.
Page 129 of 221

What to do if …
128
What to do if …
What to do if …
>a navigation DVD is inserted, but an instruc-
tion to insert the DVD appears on the Con-
trol Display?
The navigation DVD may not be the correct
DVD for the navigation system. This infor-
mation is indicated on the DVD label.
>you request the current position of your
vehicle, but do not receive a precise dis-
play?
The system is unable to receive enough
GPS signals at your current position owing
to obstructions, your current position is not
yet available on your navigation DVD, or the
system is in the process of calculating your
current position. As a rule, reception is
guaranteed when you are in the open.
>the destination guidance does not accept a
destination?
The data of the destination is not stored on
the navigation DVD that is loaded. Select a
destination that is as close as possible to
the original.
>the destination guidance does not accept
an address without the street name?
On the navigation DVD, no downtown area
can be determined for the city or town
entered. Enter any street, or a destination
such as the railway station in the selected
town, and then start the destination guid-
ance.>you want to enter a destination for the des-
tination guidance, but it is not possible to
select the letters for your desired entry?
The data of the destination is not stored on
the navigation DVD that is loaded. In this
case, the system will not offer you any let-
ters to choose from. Select a destination
that is as close as possible to the original.
>the system stops furnishing directions on
which way to turn as you approach intersec-
tions?
You are driving in an area that has not yet
been completely recorded on the naviga-
tion DVD. Instead of an arrow indicating a
turn, you will see an arrow which indicates
the general direction of your planned route.
Or you have left the recommended route
and the system requires a few seconds to
calculate a new recommended route.
>the navigation system does not react to
entries?
If the battery was disconnected, it takes
about 10 minutes before the system is once
again operational.
Page 139 of 221
Radio
138
Radio
Your radio provides reception the FM and AM
wavebands.
Listening to the radio
Press the button if the sound output is switched
off.
Control Center, for principle details, refer to
page16.
1.Press button.
This opens the start menu.
2.Move the controller back to open "Enter-
tainment".
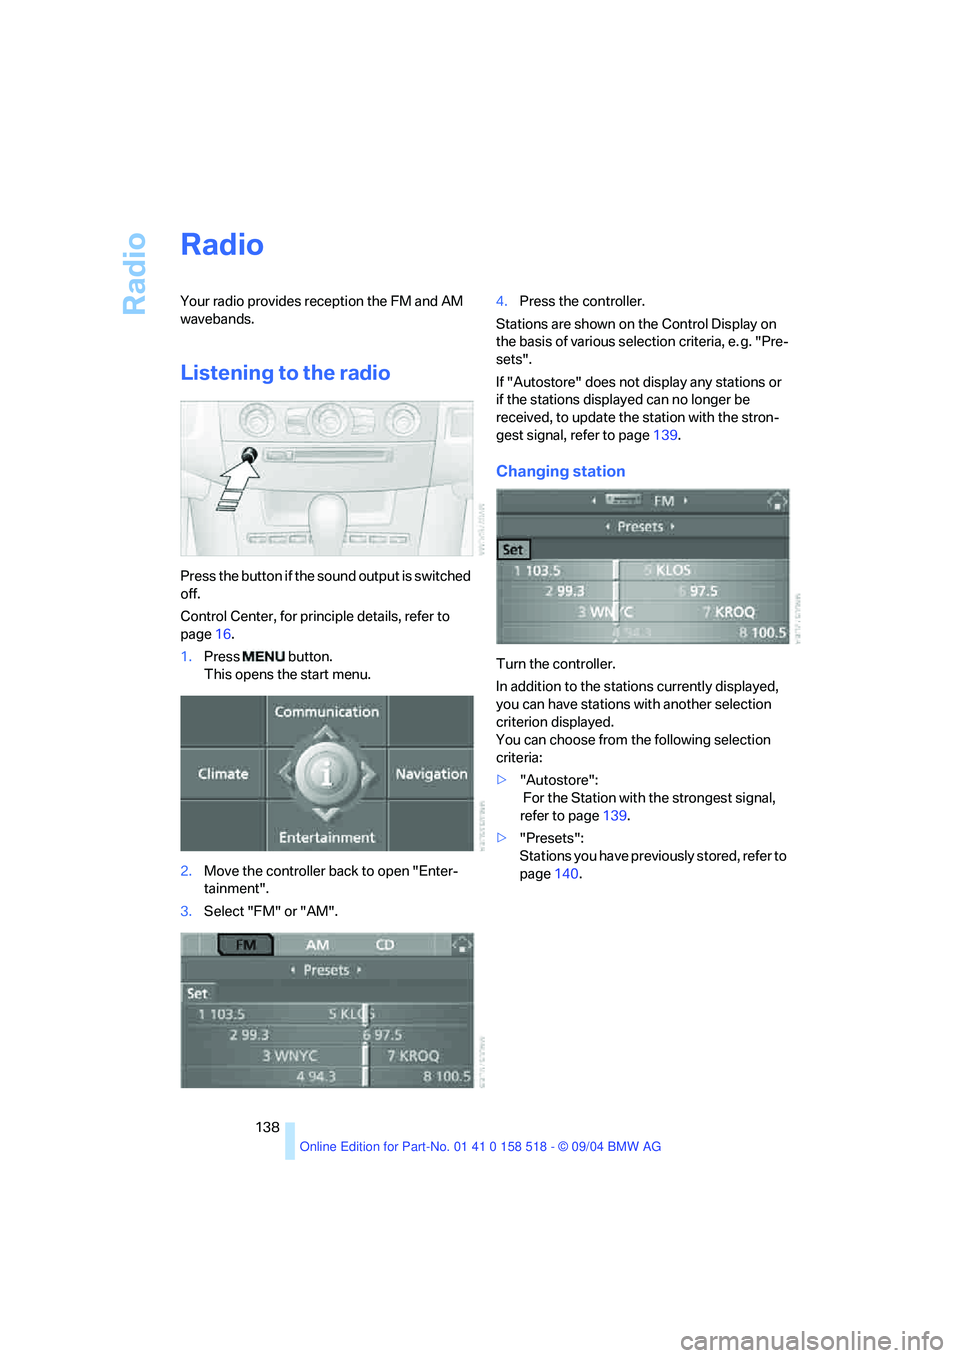
3.Select "FM" or "AM".4.Press the controller.
Stations are shown on the Control Display on
the basis of various selection criteria, e. g. "Pre-
sets".
If "Autostore" does not display any stations or
if the stations displayed can no longer be
received, to update the station with the stron-
gest signal, refer to page139.
Changing station
Turn the controller.
In addition to the stations currently displayed,
you can have stations with another selection
criterion displayed.
You can choose from the following selection
criteria:
>"Autostore":
For the Station with the strongest signal,
refer to page139.
>"Presets":
Stations you have previously stored, refer to
page140.
Page 145 of 221
Radio
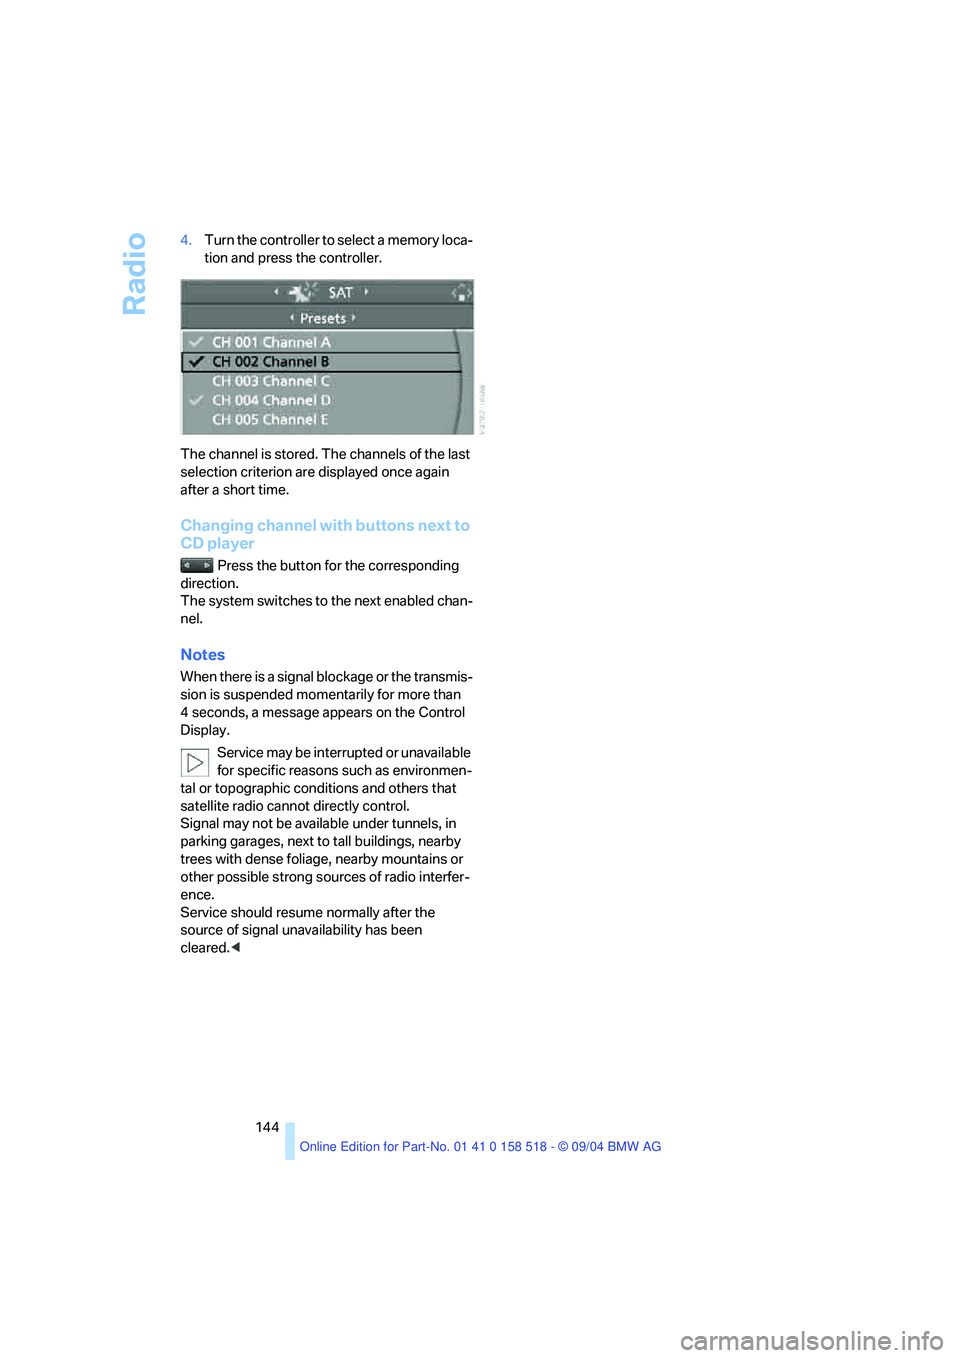
144 4.Turn the controller to select a memory loca-
tion and press the controller.
The channel is stored. The channels of the last
selection criterion are displayed once again
after a short time.
Changing channel with buttons next to
CD player
Press the button for the corresponding
direction.
The system switches to the next enabled chan-
nel.
Notes
When there is a signal blockage or the transmis-
sion is suspended momentarily for more than
4 seconds, a message appears on the Control
Display.
Service may be interrupted or unavailable
for specific reasons such as environmen-
tal or topographic conditions and others that
satellite radio cannot directly control.
Signal may not be available under tunnels, in
parking garages, next to tall buildings, nearby
trees with dense foliage, nearby mountains or
other possible strong sources of radio interfer-
ence.
Service should resume normally after the
source of signal unavailability has been
cleared.<