Page 282 of 416
 8-29 1. Engine oil filler cap
1. Bouchon de remplissage d’huile de moteur
1. Tapa del filtro de aceite de motor
1. Maximum level mark 2. Minimum level mark
1. Repère de niveau maximum 2. Repère de")
8-29 1. Engine oil filler cap
1. Bouchon de remplissage d’huile de moteur
1. Tapa del filtro de aceite de motor
1. Maximum level mark 2. Minimum level mark
1. Repère de niveau maximum 2. Repère de niveau minimum
1. Marca de nivel máximo 2. Marca de nivel mínimo
EBU10991
Engine oil and oil filter cartridge
The engine oil level should be checked before
each ride. In addition, the oil must be changed and
the oil filter cartridge replaced at the intervals
specified in the periodic maintenance and lubrica-
tion chart.
To check the engine oil level
1. Remove panel F. (See page 8-27 for panel
removal and installation procedures.)
2. Place the ATV on a level surface.
3. Start the engine, warm it up for several min-
utes, and then turn it off.
4. Wait a few minutes until the oil settles.
5. Remove the engine oil filler cap and wipe off
the dipstick with a clean rag.
6. Insert the dipstick in the oil filler hole (without
screwing it in), and then remove it again to
check the oil level.NOTE:_ The engine oil should be between the minimum
and maximum level marks. _
U5VH61.book Page 29 Friday, May 2, 2003 2:19 PM
Page 284 of 416
8-31 1. Engine oil drain bolt
1. Boulon de vidange de l’huile de moteur
1. Perno de drenaje del aceite de motor
7. If the engine oil is at or below the minimum
level mark, add sufficient oil of the recom-
mended type to raise it to the correct level.
8. Insert the dipstick into the oil filler hole, and
then tighten the oil filler cap.
9. Install the panel.
To change the engine oil (with or without oil fil-
ter cartridge replacement)
1. Remove panel F. (See page 8-27 for panel
removal and installation procedures.)
2. Start the engine, warm it up for several min-
utes, and then turn it off.
3. Place an oil pan under the engine to collect
the used oil, and then remove the engine oil
filler cap.
4. Remove the engine oil drain bolt to drain the
oil from the crankcase.
U5VH61.book Page 31 Friday, May 2, 2003 2:19 PM
Page 288 of 416
8-35 1.
O-ring
1. Joint torique
1. Junta tórica
1. Torque wrench
1. Clé dynamométrique
1. Llave
7. Apply a light coat of engine oil to the O-ring of
the new oil filter cartridge.NOTE:_ Make sure the O-ring is seated properly. _8. Install the new oil filter cartridge with an oil fil-
ter wrench, and then tighten it to the specified
torque with a torque wrench.
9. Install panel E.
10. Install the engine oil drain bolt, and then tight-
en it to the specified torque. Tightening torque:
Oil filter cartridge:
17 Nm (1.7 m·kgf)
Tightening torque:
Engine oil drain bolt:
23 Nm (2.3 m·kgf)
U5VH61.book Page 35 Friday, May 2, 2003 2:19 PM
Page 290 of 416
8-37
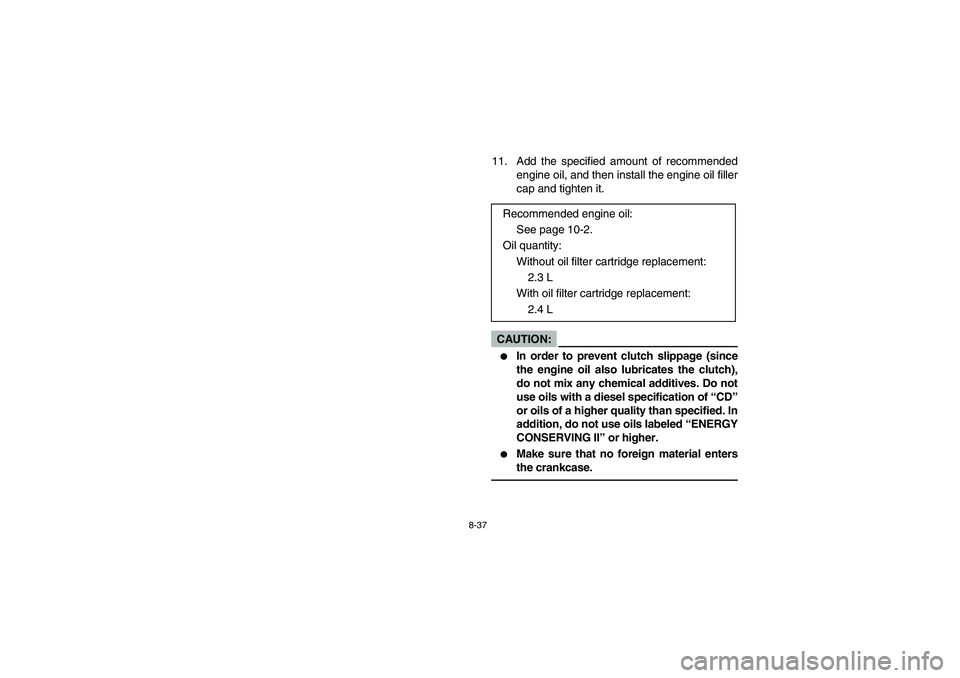
11. Add the specified amount of recommended
engine oil, and then install the engine oil filler
cap and tighten it.CAUTION:_ �
In order to prevent clutch slippage (since
the engine oil also lubricates the clutch),
do not mix any chemical additives. Do not
use oils with a diesel specification of “CD”
or oils of a higher quality than specified. In
addition, do not use oils labeled “ENERGY
CONSERVING II” or higher.
�
Make sure that no foreign material enters
the crankcase.
_
Recommended engine oil:
See page 10-2.
Oil quantity:
Without oil filter cartridge replacement:
2.3 L
With oil filter cartridge replacement:
2.4 L
U5VH61.book Page 37 Friday, May 2, 2003 2:19 PM
Page 292 of 416
 8-39
‘1. Final gear oil
2. Final gear oil filler bolt
3. Proper oil level
1. Huile de transmission finale
2. Boulon de remplissage d’huile du carter de transmission finale
3. Niveau correct
1. Ace")
8-39
‘1. Final gear oil
2. Final gear oil filler bolt
3. Proper oil level
1. Huile de transmission finale
2. Boulon de remplissage d’huile du carter de transmission finale
3. Niveau correct
1. Aceite de la transmisión final
2. Perno del orificio de llenado de aceite de la transmisión final
3. Nivel de aceite adecuado
12. Start the engine and warm it up for several
minutes. While warming up, check for oil
leakage. If oil leakage is found, turn the en-
gine off immediately and check for the cause.
13. Turn the engine off, and then check the oil
level and correct it if necessary.
14. Install panel F.
EBU01145
Final gear oil
Final gear oil measurement
1. Place the machine on a level surface.
2. Remove the oil filler bolt, and then check the
oil level in the final gear case.NOTE:_ The oil level should be at the brim of the filler hole. _3. If the oil is below the brim of the filler hole,
add sufficient oil of the recommended type to
raise it to the correct level.CAUTION:_ Be sure no foreign material enters the final
gear case. _4. Install the oil filler bolt.
U5VH61.book Page 39 Friday, May 2, 2003 2:19 PM
Page 320 of 416
8-67
5. Squeeze the excess solvent out of the air fil-
ter element and let it dry.CAUTION:_ Do not twist the air filter element when squeez-
ing it. _6. Inspect the air filter element and replace it if
damaged.
7. Apply foam air filter oil to the air filter element.
If foam air filter oil is not available, engine oil
may be used.NOTE:_ The air filter element should be wet but not drip-
ping. _8. Pull the air filter element over its frame.
9. Install the air filter element assembly.
10. Install the air filter case cover.
11. Install the seat.
U5VH61.book Page 67 Friday, May 2, 2003 2:19 PM
Page 352 of 416
8-99
EBU00570
Cable inspection and lubrication
WARNING
Inspect cables frequently and replace if dam-
aged. Corrosion can result when the outer cov-
ering of control cables becomes damaged.
Cables can also become frayed or kinked. Op-
eration of controls could be restricted, which
could cause an accident or injury.Lubricate the inner cables and the cable ends. If
the cables do not operate smoothly, ask a Yamaha
dealer to replace them.
Recommended lubricant:
Engine oil
U5VH61.book Page 99 Friday, May 2, 2003 2:19 PM
Page 390 of 416
9-7
EBU00427
B. STORAGE
Long term storage (60 days or more) of your ma-
chine will require some preventive procedures to
guard against deterioration. After thoroughly
cleaning the machine, prepare for storage as fol-
lows:
1. Fill the fuel tank with fresh fuel and add fuel
stabilizer (if available).NOTE:Use of fuel stabilizer eliminates the need to drain
the fuel system. Consult a Yamaha dealer if the
fuel system is to be drained instead.2. Remove the spark plug, pour about one ta-
blespoon of SAE 10W30 or 20W40 motor oil
in the spark plug hole and reinstall the spark
plug. Ground the spark plug wire and turn the
engine over several times to coat the cylinder
wall with oil.
3. Lubricate all control cables.
4. Block up the frame to raise all wheels off the
ground.
U5VH61.book Page 7 Friday, May 2, 2003 2:19 PM
 8-31 1. Engine oil drain bolt
1. Boulon de vidange de l’huile de moteur
1. Perno de drenaje del aceite de motor
7. If the engine oil is at or below the minimum
level mark, add sufficient oil of the")
 8-35 1.
O-ring
1. Joint torique
1. Junta tórica
1. Torque wrench
1. Clé dynamométrique
1. Llave
7. Apply a light coat of engine oil to the O-ring of
the new oil filter cartridge.NOTE:_ Make sure t")
 8-67
5. Squeeze the excess solvent out of the air fil-
ter element and let it dry.CAUTION:_ Do not twist the air filter element when squeez-
ing it. _6. Inspect the air filter element and replace it i")
 8-99
EBU00570
Cable inspection and lubrication
WARNING
Inspect cables frequently and replace if dam-
aged. Corrosion can result when the outer cov-
ering of control cables becomes damaged.
Cables can")
 9-7
EBU00427
B. STORAGE
Long term storage (60 days or more) of your ma-
chine will require some preventive procedures to
guard against deterioration. After thoroughly
cleaning the machine, prepare for")