Page 169 of 491
3-32
Instruments and controls
or down slightly and hold it during the lane change.
The turn signal indicator lights will flash in the direction
of the turn or lane change. The lever will return auto-
matically to the neutral position when you release it.Illumination brightness control
When the headlight switch is in the “ ” or “ ”
position, you can adjust brightness of the instrument
panel illumination for better visibility.
To brighten, turn the control dial upward.
To darken, turn the control dial downward.
HS3028BA
Page 170 of 491

3-33
Instruments and controls
– CONTINUED –
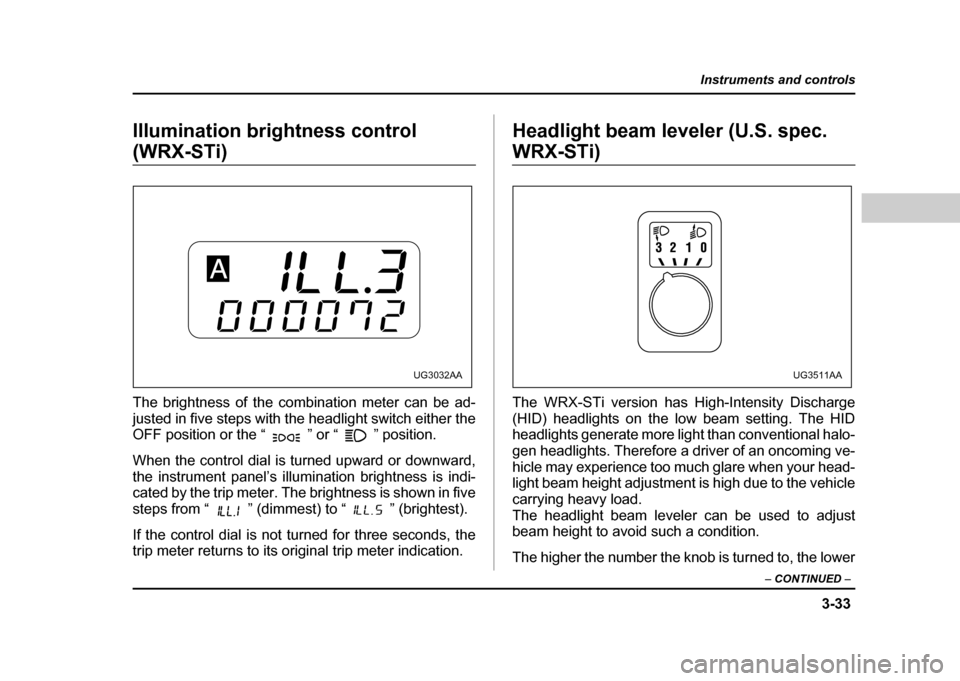
Illumination brightness control
(WRX-STi)
The brightness of the combination meter can be ad-
justed in five steps with the headlight switch either the
OFF position or the “ ” or “ ” position.
When the control dial is turned upward or downward,
the instrument panel’s illumination brightness is indi-
cated by the trip meter. The brightness is shown in five
steps from “ ” (dimmest) to “ ” (brightest).
If the control dial is not turned for three seconds, the
trip meter returns to its original trip meter indication. Headlight beam leveler (U.S. spec. WRX-STi)
The WRX-STi version has High-Intensity Discharge
(HID) headlights on the low beam setting. The HID
headlights generate more light than conventional halo-
gen headlights. Therefore a driver of an oncoming ve-
hicle may experience too much glare when your head-
light beam height adjustment is high due to the vehicle
carrying heavy load.
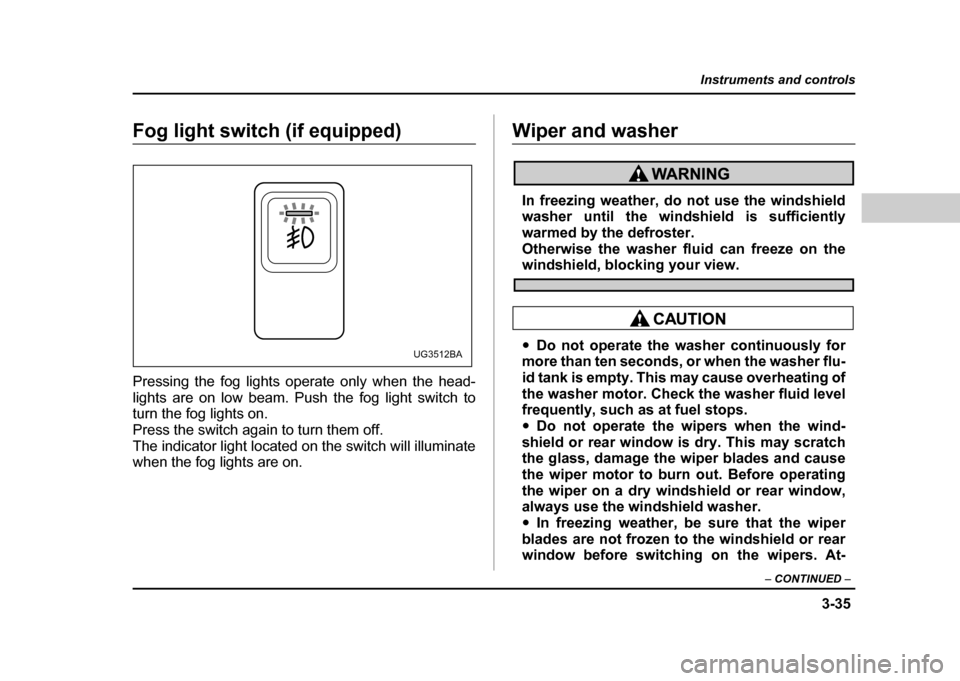
The headlight beam leveler can be used to adjust
beam height to avoid such a condition.
The higher the number the knob is turned to, the lower
UG3032AAUG3511AA
Page 171 of 491
3-34
Instruments and controls
the beam becomes.Parking light switch
The parking light switch operates regardless of the ig-
nition switch position.
By pushing the front end of this switch, following lights
will come on.
– Parking lights
– Tail lights
– License plate lights
To turn off, push the rear end of the parking lightswitch.
Avoid leaving these lights on for a long time because
that will run down the battery.
P
HS3029BA
Page 172 of 491

3-35
Instruments and controls
– CONTINUED –
Fog light switch (if equipped)
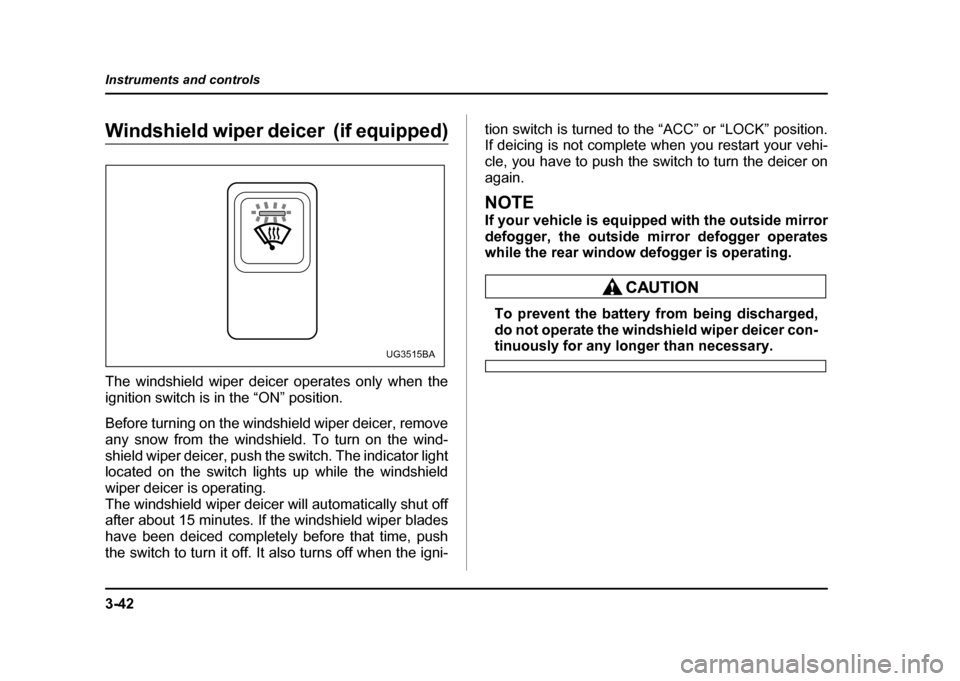
Pressing the fog lights operate only when the head-
lights are on low beam. Push the fog light switch to
turn the fog lights on.
Press the switch again to turn them off.
The indicator light located on the switch will illuminate
when the fog lights are on.Wiper and washer
In freezing weather, do not use the windshield
washer until the windshield is sufficiently
warmed by the defroster.
Otherwise the washer fluid can freeze on the
windshield, blocking your view.
"Do not operate the washer continuously for
more than ten seconds, or when the washer flu-
id tank is empty. This may cause overheating of
the washer motor. Check the washer fluid level
frequently, such as at fuel stops. " Do not operate the wipers when the wind-
shield or rear window is dry. This may scratch
the glass, damage the wiper blades and cause
the wiper motor to burn out. Before operating
the wiper on a dry windshield or rear window,
always use the windshield washer. " In freezing weather, be sure that the wiper
blades are not frozen to the windshield or rear
window before switching on the wipers. At-UG3512BA
Page 178 of 491
3-41
Instruments and controls
– CONTINUED –
Semi-automatic climate control system
To turn on the defogger, push the switch. To turn it off,
push the switch again.
The indicator light located on the switch lights up while
the rear window defogger is operating.
NOTE
If your vehicle is equipped with the outside mirror
defogger, the outside mirror defogger operates
while the rear window defogger is operating.
" Do not use sharp instruments or window cleaner containing abrasives to clean the inner
surface of the rear window. They may damage
the conductors printed on the window."
To prevent the battery from being dis-
charged, do not operate the defogger continu-
ously for any longer than necessary.
UG3035BA
Page 179 of 491

3-42
Instruments and controls
Windshield wiper deicer (if equipped)
The windshield wiper deicer operates only when the
ignition switch is in the “ON” position.
Before turning on the windshield wiper deicer, remove
any snow from the windshield. To turn on the wind-
shield wiper deicer, push the switch. The indicator light
located on the switch lights up while the windshield
wiper deicer is operating.
The windshield wiper deicer will automatically shut off
after about 15 minutes. If the windshield wiper blades
have been deiced completely before that time, push
the switch to turn it off. It also turns off when the igni-
tion switch is turned to the “ACC” or “LOCK” position.
If deicing is not complete when you restart your vehi-
cle, you have to push the switch to turn the deicer on
again.
NOTE
If your vehicle is equipped with the outside mirror
defogger, the outside mirror defogger operates
while the rear window defogger is operating.
To prevent the battery from being discharged,
do not operate the windshield wiper deicer con-
tinuously for any longer than necessary.UG3515BA
Page 180 of 491
3-43
Instruments and controls
– CONTINUED –
Intercooler water spray switch (WRX-
STi)
Pressing this switch causes water to be sprayed into
the intercooler. It can be used to help maintain ade-
quate intercooler performance when the ambient tem-perature is high.
Water is sprayed for approximately two seconds every
time the switch is pressed and then released.
NOTE "The intercooler water spray warning light comes
on when the water level in the tank has dropped to
the lower limit. If the warning light illuminates, re-
fill the tank with water. The tank is located on the
right-hand side of the trunk. For the tank refilling
method, refer to the “Intercooler water spray” sec-
tion in Chapter 11." In cold weather (when you do not use the inter-
cooler water spray), keep the tank half-empty or
below in case the water freezes. A larger amount
of water could break the tank if it froze.
I/C
WATER SPRAY
UG3509BA
UGB079BA
Page 181 of 491
3-44
Instruments and controls
Do not press the switch when the warning light
is illuminated. If the switch is kept pressed
when the tank is short of water, the water pump
motor could overheat.
Mirrors
Always check that the inside and outside mirrors are
properly adjusted before you start driving. !
Inside mirror
1) Tab
The inside mirror has a day and night position. Pull the
tab at the bottom of the mirror toward you for the night
position. Push it away for the day position. The night
position reduces glare from headlights.
1HS3036BB