Page 427 of 491
11 - 4 2
Maintenance and service
!
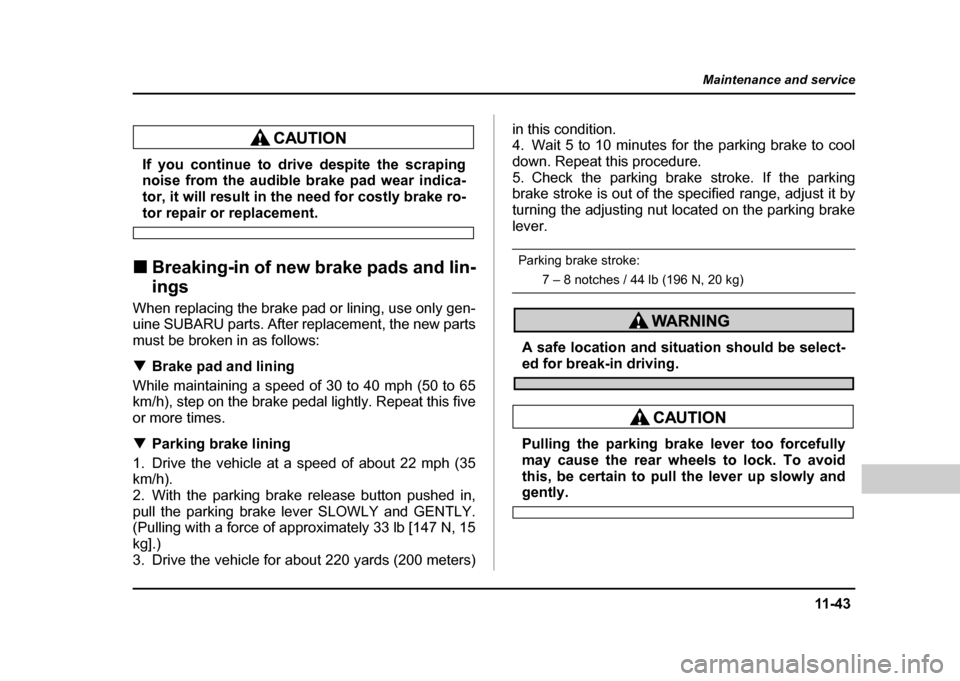
Checking the clutch pedal free play
1) 0.16 – 0.51 in (4.0 –13.0 mm)
Lightly press the clutch pedal down with your finger
until you feel resistance, and check the free play.
If the free play is not within proper specification, con-
tact your SUBARU dealer.Replacement of brake pad and lining
The front disc brakes and the right rear disc brake
have an audible wear indicators on the brake pads. If
the brake pads wear close to their service limit, the
wear indicator makes a very audible scraping noise
when the brake pedal is applied.
If you hear this scraping noise each time you apply the
brake pedal, have the brake pads serviced by your
SUBARU dealer as soon as possible.
1
HSB049BBHS7012BA
Page 428 of 491

11 -4 3
Maintenance and service
– CONTINUED –
If you continue to drive despite the scraping
noise from the audible brake pad wear indica-
tor, it will result in the need for costly brake ro-
tor repair or replacement.
! Breaking-in of new brake pads and lin- ings
When replacing the brake pad or lining, use only gen-
uine SUBARU parts. After replacement, the new parts
must be broken in as follows: ! Brake pad and lining
While maintaining a speed of 30 to 40 mph (50 to 65
km/h), step on the brake pedal lightly. Repeat this five
or more times. ! Parking brake lining
1. Drive the vehicle at a speed of about 22 mph (35 km/h).
2. With the parking brake release button pushed in,
pull the parking brake lever SLOWLY and GENTLY.
(Pulling with a force of approximately 33 lb [147 N, 15 kg].)
3. Drive the vehicle for about 220 yards (200 meters) in this condition.
4. Wait 5 to 10 minutes for the parking brake to cool
down. Repeat this procedure.
5. Check the parking brake stroke. If the parking
brake stroke is out of the specified range, adjust it by
turning the adjusting nut located on the parking brake
lever.
Parking brake stroke:
7 – 8 notches / 44 lb (196 N, 20 kg)
A safe location and situation should be select-ed for break-in driving.
Pulling the parking brake lever too forcefully
may cause the rear wheels to lock. To avoid
this, be certain to pull the lever up slowly and
gently.
Page 433 of 491

11 - 4 8
Maintenance and service
"
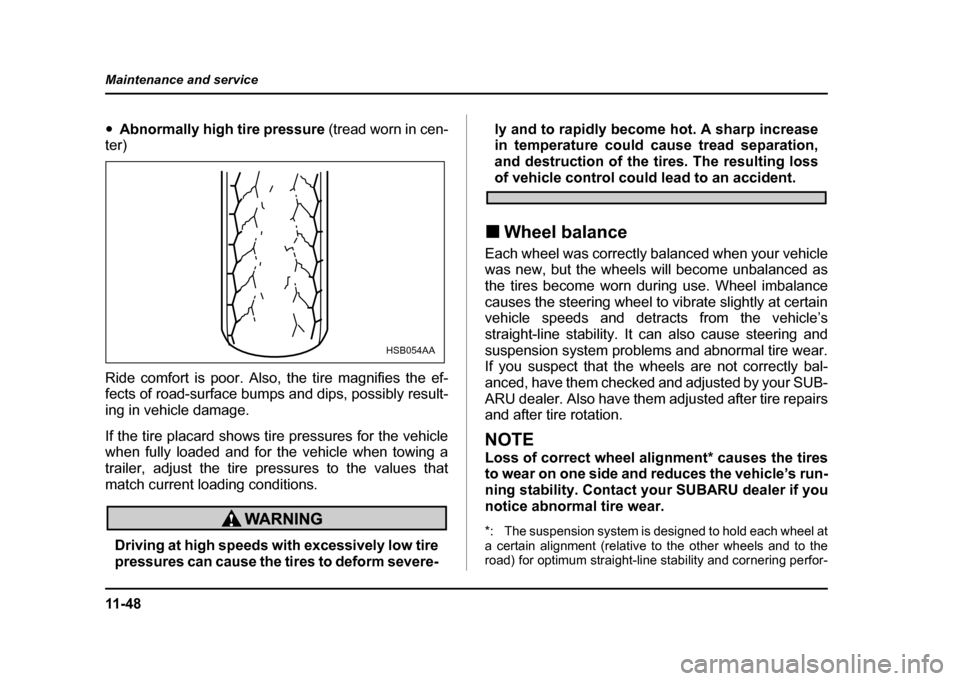
Abnormally high tire pressure (tread worn in cen-
ter)
Ride comfort is poor. Also, the tire magnifies the ef-
fects of road-surface bumps and dips, possibly result-
ing in vehicle damage.
If the tire placard shows tire pressures for the vehicle
when fully loaded and for the vehicle when towing a
trailer, adjust the tire pressures to the values that
match current loading conditions.
Driving at high speeds with excessively low tire
pressures can cause the tires to deform severe- ly and to rapidly become hot. A sharp increase
in temperature could cause tread separation,
and destruction of the tires. The resulting loss
of vehicle control could lead to an accident.
! Wheel balance
Each wheel was correctly balanced when your vehicle
was new, but the wheels will become unbalanced as
the tires become worn during use. Wheel imbalance
causes the steering wheel to vibrate slightly at certain
vehicle speeds and detracts from the vehicle’s
straight-line stability. It can also cause steering and
suspension system problems and abnormal tire wear.
If you suspect that the wheels are not correctly bal-
anced, have them checked and adjusted by your SUB-
ARU dealer. Also have them adjusted after tire repairs
and after tire rotation.
NOTE
Loss of correct wheel alignment* causes the tires
to wear on one side and reduces the vehicle’s run-
ning stability. Contact your SUBARU dealer if you
notice abnormal tire wear.
*: The suspension system is designed to hold each wheel at
a certain alignment (relative to the other wheels and to the
road) for optimum straight-line stability and cornering perfor-
HSB054AA
Page 438 of 491

11 -5 3
Maintenance and service
– CONTINUED –
Aluminum wheels (If equipped)
Aluminum wheels can be scratched and damaged
easily. Handle them carefully to maintain their appear-
ance, performance, and safety. "When any of the wheels is removed and replaced
for tire rotation or to change a flat, always check the
tightness of the wheel nuts after driving approximately
600 miles (1,000 km). If any nut is loose, tighten it to
the specified torque. " Never apply oil to the threaded parts, wheel nuts, or
tapered surface of the wheel. " Never let the wheel rub against sharp protrusions or
curbs." Be sure to fit tire chains on uniformly and completely
around the tire, otherwise the chains may scratch the
wheel. " When wheel nuts, balance weights, or the center
cap is replaced, be sure to replace them with genuine
SUBARU parts designed for aluminum wheels.Intercooler water spray
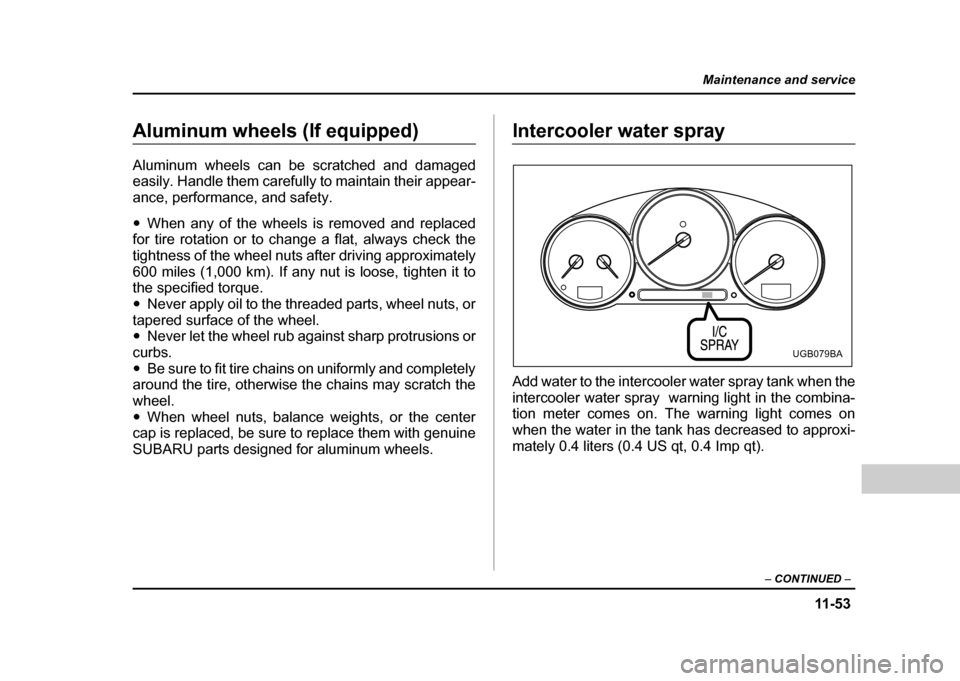
Add water to the intercooler water spray tank when the
intercooler water spray warning light in the combina-
tion meter comes on. The warning light comes on
when the water in the tank has decreased to approxi-
mately 0.4 liters (0.4 US qt, 0.4 Imp qt).
UGB079BA
Page 443 of 491

11 - 5 8
Maintenance and service
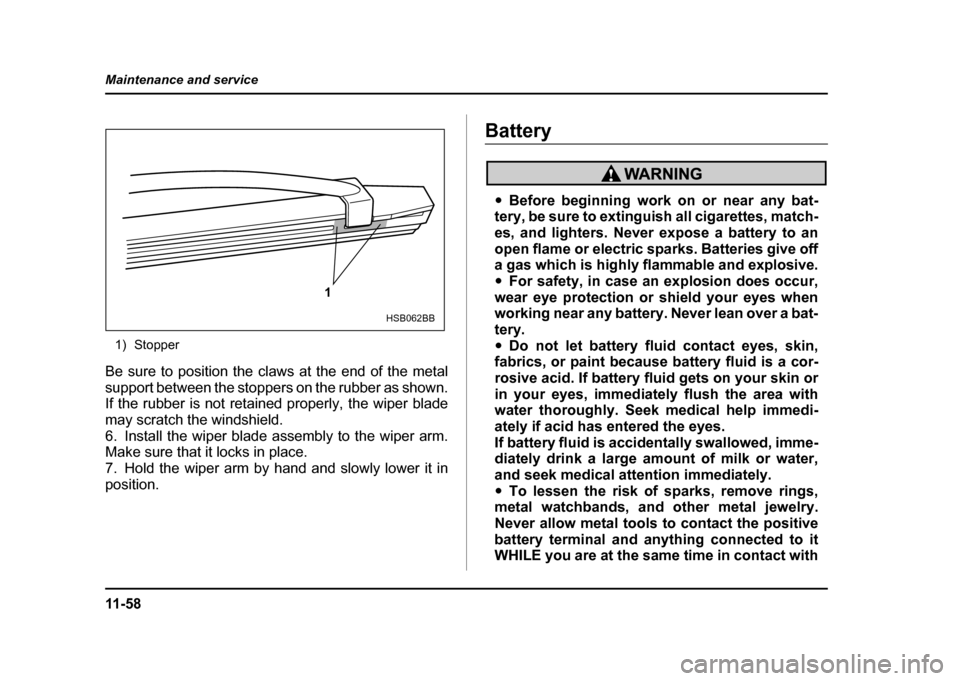
1) Stopper
Be sure to position the claws at the end of the metal
support between the stoppers on the rubber as shown.
If the rubber is not retained properly, the wiper blade
may scratch the windshield.
6. Install the wiper blade assembly to the wiper arm.
Make sure that it locks in place.
7. Hold the wiper arm by hand and slowly lower it in
position.
Battery
" Before beginning work on or near any bat-
tery, be sure to extinguish all cigarettes, match-
es, and lighters. Never expose a battery to an
open flame or electric sparks. Batteries give off
a gas which is highly flammable and explosive. " For safety, in case an explosion does occur,
wear eye protection or shield your eyes when
working near any battery. Never lean over a bat- tery." Do not let battery fluid contact eyes, skin,
fabrics, or paint because battery fluid is a cor-
rosive acid. If battery fluid gets on your skin or
in your eyes, immediately flush the area with
water thoroughly. Seek medical help immedi-
ately if acid has entered the eyes.
If battery fluid is accidentally swallowed, imme-
diately drink a large amount of milk or water,
and seek medical attention immediately." To lessen the risk of sparks, remove rings,
metal watchbands, and other metal jewelry.
Never allow metal tools to contact the positive
battery terminal and anything connected to it
WHILE you are at the same time in contact with
1
HSB062BB
Page 447 of 491
11 - 6 2
Maintenance and service
A) Good
B) Blown
If any lights, accessories or other electrical controls do
not operate, inspect the corresponding fuse. If a fuse
has blown, replace it.
1. Turn the ignition switch to the “LOCK” position and
turn off all electrical accessories.
2. Remove the cover.
3. Determine which fuse may be blown. The back side
of each fuse box cover and the “Fuses and circuits”
section in chapter 12 in this manual show the circuit for
each fuse. 1) Fuse puller
4. Pull out the fuse with the fuse puller.
5. Inspect the fuse. If it has blown, replace it with a
spare fuse of the same rating.
6. If the same fuse blows again, this indicates that its
system has a problem. Contact your SUBARU dealer for repairs.
AB
HSB067BB
1
HSB068BB
Page 448 of 491
11 -6 3
Maintenance and service
– CONTINUED –
Main fuse
Main fuse box
The main fuses are designed to melt during an over-
load to prevent damage to the wiring harness and
electrical equipment. Check the main fuses if any elec-
trical component fails to operate (except the starter
motor) and other fuses are good. A melted main fuse
must be replaced. Use only replacements with the
same specified rating as the melted main fuse. If a
main fuse blows after it is replaced, have the electrical
system checked by your nearest SUBARU dealer.Installation of accessories
Always consult your SUBARU dealer before installing
fog lights or any other electrical equipment in your ve-
hicle. Such accessories may cause the electronic sys-
tem to malfunction if they are incorrectly installed or if
they are not suited for the vehicle.
HSB065BA
Page 450 of 491
11 -6 5
Maintenance and service
– CONTINUED –
Wattage Bulb No.
1) Front turn signal 12V–21W —
2) Spot light 12V–8W —
3) Room light 12V–8W —
4) Parking light 12V–5W 168
5) Low beam head light U.S. spec. WRX-STi 12V-35W D2R Except U.S. spec. WRX-STi 12V-55W H1
6) Front fog light 12V–55W H3
7) High beam head light 12V–60W 9005 (HB3)
8) Trunk room light 12V–16W W16W
9) High mount stop light Sedan
(in compartment) 12V–18W 921
(in rear spoiler) 12V–1.2W —
Wagon 12V–13W 912
10) Backup light 12V–21W 7440
11) Rear turn signal 12V–21W (Amber)—
12) Brake light 12V–21W 7440
13) Tail light 12V–21/5W 7443
14) Brake/tail light 12V–21/5W 7443
15) License plate light 12V–5W 168 16) Cargo area light 12V–13W —
Wattage Bulb No.