2004 PONTIAC GRAND PRIX Page 5
[x] Cancel search: Page 5Page 121 of 432

Courtesy Lamps
When a door is opened, the courtesy lamps will
automatically come on. You can also turn these lamps
on by manually turning the interior lamps control all
the way to the right.
Entry Lighting
The entry lighting feature lights the interior of the vehicle
before you enter. The interior lamps will come on for
40 seconds when you unlock the doors using the remote
keyless entry transmitter and the ignition is in LOCK
or OFF. After 40 seconds have elapsed, the interior
lamps will slowly fade out. The lamps will fade out before
40 seconds have elapsed if you do the following:
·Lock all doors using the remote keyless entry
transmitter.
·Lock the doors using the power door lock switch.
When any door is opened, entry lighting is canceled.
The interior lamps will stay on while any door is opened
and slowly fade out when all doors are closed. The
interior lamps may stay on for up to 25 seconds after all
doors have been closed if they have not been locked.
Delayed Entry Lighting
The delayed lighting feature will continue to light the
interior of the vehicle for 25 seconds after all the
doors have been closed. Delayed lighting will not
occur while the ignition is in RUN or ACCESSORY.
After 25 seconds have elapsed, the interior lamps will
slowly fade out. The lamps will fade out before the
25 seconds have elapsed if you do any of the following:
·Turn the ignition to RUN or ACCESSORY.
·Lock the doors using the remote keyless entry
transmitter.
·Lock the doors using the power door lock switch.
To turn the delayed lighting feature off or on, see
personal programming under
DIC Controls and Displays
on page 3-45.
3-17
Page 122 of 432

Delayed Exit Lighting
For exiting the vehicle at night, the vehicle is equipped
with the delayed exit lighting feature. The interior
lamps will light for up to 25 seconds when you remove
the key from the ignition. After 25 seconds have
elapsed, the interior lamps will slowly fade out.
The lamps will fade out before the 25 seconds have
elapsed if you do any of the following:
·Turn the ignition to RUN or ACCESSORY.
·Lock the doors using the remote keyless entry
transmitter.
·Lock the doors using the power door lock switch.
When any door is opened, delayed exit lighting is
canceled. The interior lamps will stay on while any door
is opened and will slowly fade out when all the doors
are closed. The interior lamps may stay on for up
to 25 seconds after all the doors have been closed if
they have not been locked.
To turn the delayed exit lighting feature off or on, see
personal programming under
DIC Controls and Displays
on page 3-45.
Overhead Console Reading Lamps
Your vehicle may have reading lamps on the overhead
console. These lamps will turn on when you open
the doors. When the doors are closed, press the side
of each lamp to turn them on and off.
Front Reading Lamps
If the vehicle has the optional sunroof, you will have
reading lamps in front of the sunroof switch located on
the headliner. These lamps will come on when you
open the doors. The lamps can be turned on and off
manually by pressing the side of each reading lamp
when the doors are closed.
Rear Assist Handle Reading Lamps
Your vehicle may have reading lamps on each rear
assist handle. Press the side of the reading lamp
to turn it on or off.
3-18
Page 123 of 432

Battery Run-Down Protection
Your vehicle has a feature to help prevent you from
draining the battery in case you accidentally leave the
interior, trunk or underhood lamps on. If you leave any of
these lamps on while the ignition is in LOCK or OFF,
they will automatically turn off after 10 minutes. The
lamps won't come back on again until you do one of the
following:
·Turn the ignition to RUN or ACCESSORY.
·Turn the interior lamps control completely to the
right, then back slightly to the left.
·Open (or close and reopen) a door that is closed.
If the vehicle has less than 15 miles (25 km) on
the odometer, the battery saver will turn off the lamps
after only three minutes.
Head-Up Display (HUD)
{CAUTION:
If the HUD image is too bright or too high in
your ®eld of view, it may take you more time
to see things you need to see when it's dark
outside. Be sure to keep the HUD image dim
and placed low in your ®eld of view.
If your vehicle is equipped with the Head-Up Display
(HUD), you can see the speedometer reading (in English
or metric units), transaxle positions, compass direction,
outside air temperature, and a brief display of the
current radio station or CD track, displayed ªthroughº
the windshield.
English or metric units selection is done through the
trip computer in the Driver Information Center (DIC).
See
DIC Controls and Displays on page 3-45for more
information.
3-19
Page 124 of 432

The HUD information can be displayed in three
languages, English, French and Spanish.
Language selection is done through the trip computer in
the Driver Information Center (DIC). See
DIC Controls
and Displays on page 3-45.
When you sit up in your seat, the HUD image will
appear straight ahead on the windshield, near the front
bumper.
When the ignition key is turned to run, the HUD will
display the phrase, WIDETRACK GP, for a short time,
until the HUD is warmed up.The following indicator lights come on the instrument
panel when activated and will also appear on the HUD:
·Turn Signal Indicators
·High-Beam Indicator Symbol
The HUD will temporarily display CHECK TRIP
COMPUTER when there are messages on the DIC
trip computer.
The HUD will also temporarily display the following
messages when these systems, if equipped, are active:
·TRACTION CONTROL ACTIVE
·STABILITY CONTROL ACTIVE
The HUD will temporarily display the TRACTION
CONTROL OFF message when the traction control
system is turned off.
The HUD will temporarily display the CRUISE SET
message when cruise control is activated or cruise
speed is increased.
Notice:Although the HUD image appears to be
near the front of the vehicle, do not use it as
a parking aid. The HUD was not designed for that
purpose. If you try to use it as such, you may
misjudge the distance and damage your vehicle.
3-20
Page 125 of 432

When the HUD is on, the speedometer reading will be
displayed continually. The current radio station or
CD track number will only be displayed for three
seconds after the radio or CD track status changes.
This will happen whenever one of the radio controls
is pressed.
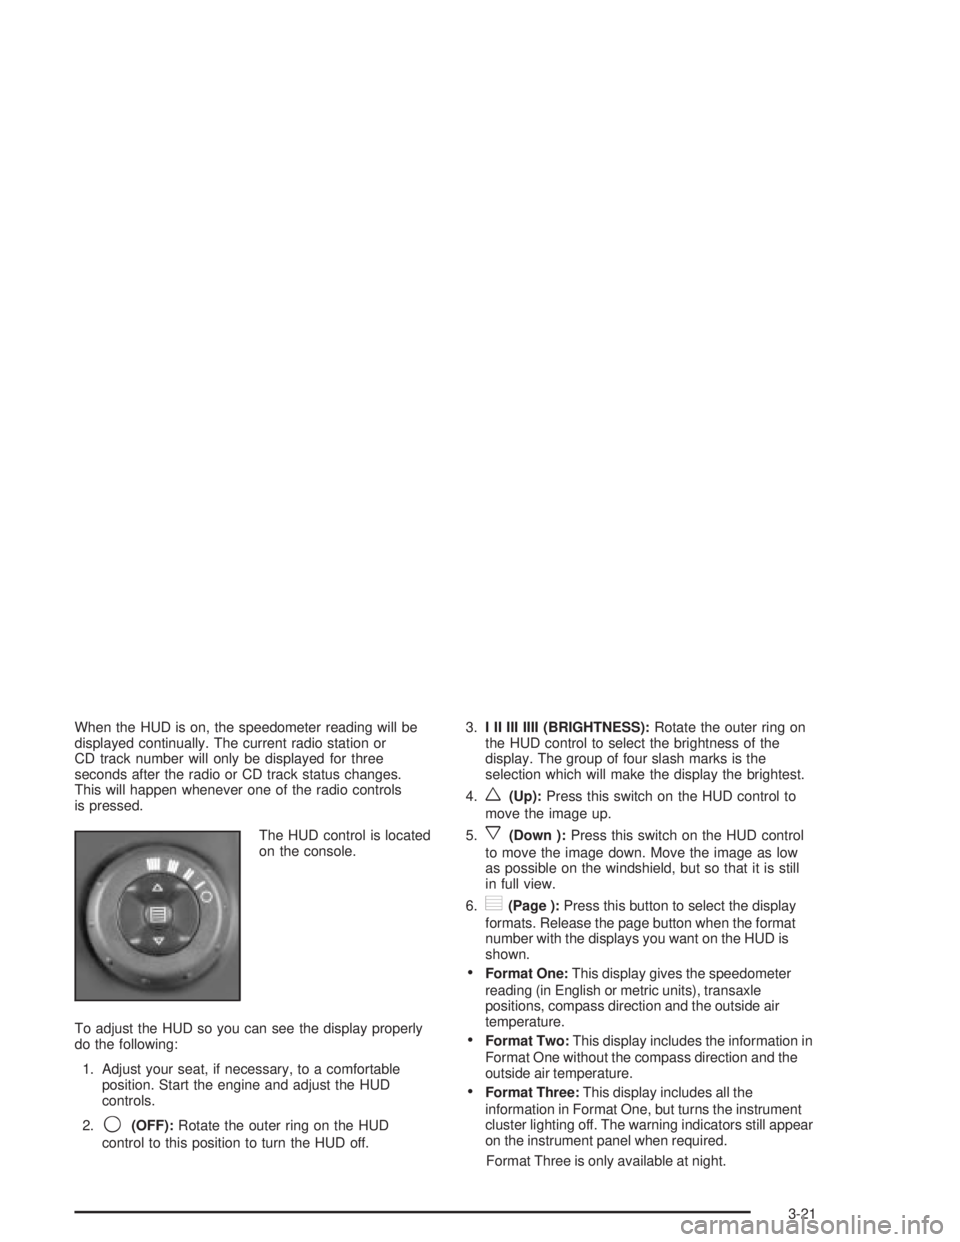
The HUD control is located
on the console.
To adjust the HUD so you can see the display properly
do the following:
1. Adjust your seat, if necessary, to a comfortable
position. Start the engine and adjust the HUD
controls.
2.
9(OFF):Rotate the outer ring on the HUD
control to this position to turn the HUD off.3.I II III IIII (BRIGHTNESS):Rotate the outer ring on
the HUD control to select the brightness of the
display. The group of four slash marks is the
selection which will make the display the brightest.
4.
w(Up):Press this switch on the HUD control to
move the image up.
5.
x(Down ):Press this switch on the HUD control
to move the image down. Move the image as low
as possible on the windshield, but so that it is still
in full view.
6.
?(Page ):Press this button to select the display
formats. Release the page button when the format
number with the displays you want on the HUD is
shown.
·Format One:This display gives the speedometer
reading (in English or metric units), transaxle
positions, compass direction and the outside air
temperature.
·Format Two:This display includes the information in
Format One without the compass direction and the
outside air temperature.
·Format Three:This display includes all the
information in Format One, but turns the instrument
cluster lighting off. The warning indicators still appear
on the instrument panel when required.
Format Three is only available at night.
3-21
Page 126 of 432

The HUD will ªrememberº the last display format
selected. When the vehicle is started if the last format
displayed was Format One or Format Three, then
Format One will be displayed.
If the last format was Format Two, then Format Two
will be displayed.
The HUD will automatically dim and brighten to
compensate for outside lighting.
The HUD display can temporarily light up depending on
the angle and position of the sunlight on the display.
This is normal and will change when the angle of
the sunlight on the HUD display changes.
Polarized sunglasses could also make the HUD image
harder to see.
Care of the HUD
Clean the inside of the windshield as needed to remove
any dirt or ®lm that reduces the sharpness or clarity
of the HUD image.
To clean the HUD, spray household glass cleaner on a
soft, clean cloth. Wipe the HUD lens gently, then dry
it. Do not spray cleaner directly on the lens because the
cleaner could leak into the unit.
If You Can't See the HUD Image When
the Ignition Is On
·Is anything covering the HUD unit?
·Is the HUD dimmer setting bright enough?
·Is the HUD image adjusted to the proper height?
·Are you wearing polarized sunglasses?
·Still no HUD image? Check the fuse in the
instrument panel fuse block. See
Fuses and Circuit
Breakers on page 5-99.
If the HUD Image Is Not Clear
·Is the HUD image too bright?
·Are the windshield and HUD lens clean?
The windshield is part of the HUD system. If you ever
need a new windshield, be sure to get one designed for
HUD. If you don't, the HUD image may look blurred
and out of focus.
3-22
Page 133 of 432

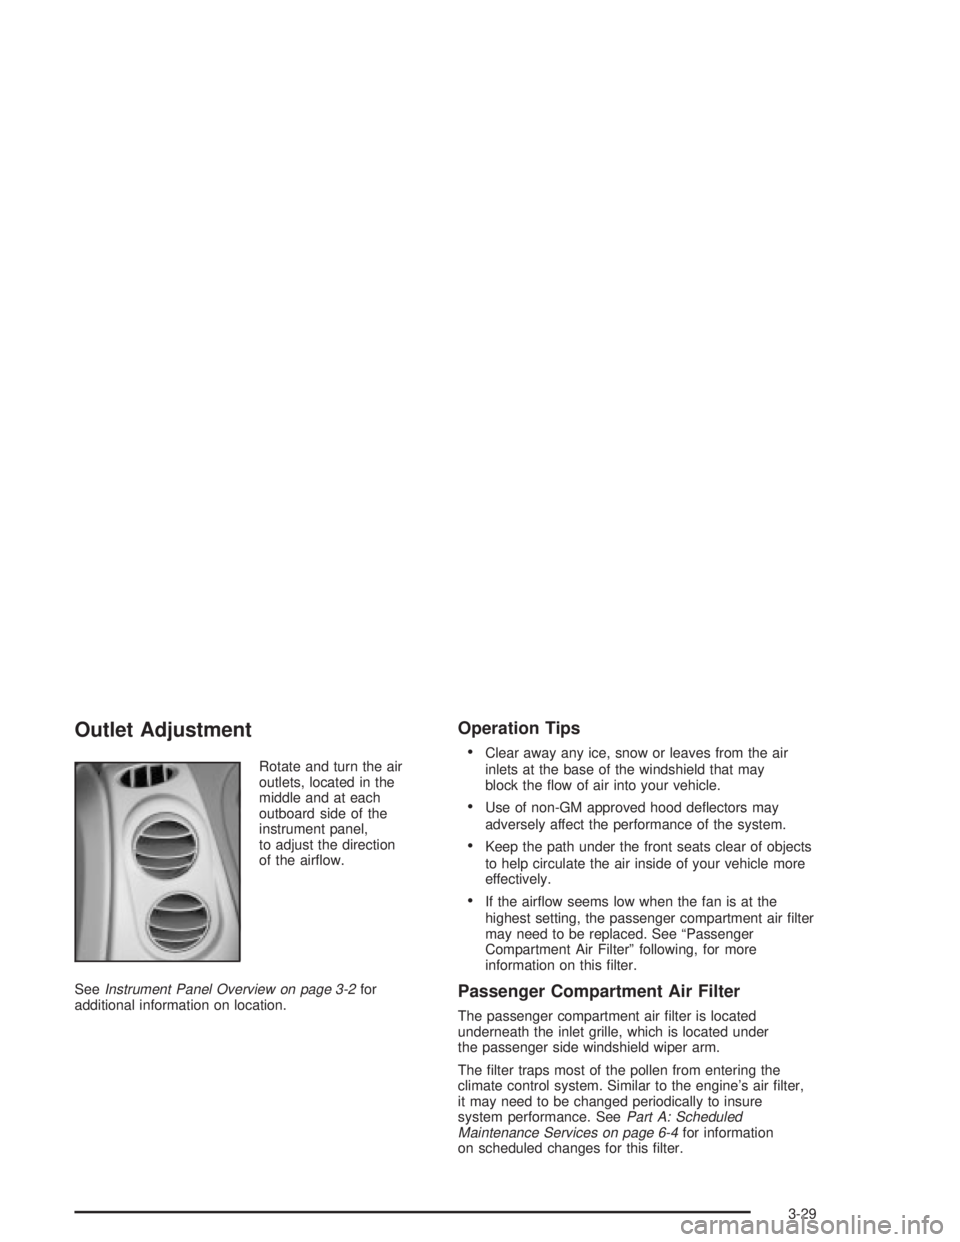
Outlet Adjustment
Rotate and turn the air
outlets, located in the
middle and at each
outboard side of the
instrument panel,
to adjust the direction
of the air¯ow.
See
Instrument Panel Overview on page 3-2for
additional information on location.
Operation Tips
·
Clear away any ice, snow or leaves from the air
inlets at the base of the windshield that may
block the ¯ow of air into your vehicle.
·Use of non-GM approved hood de¯ectors may
adversely affect the performance of the system.
·Keep the path under the front seats clear of objects
to help circulate the air inside of your vehicle more
effectively.
·If the air¯ow seems low when the fan is at the
highest setting, the passenger compartment air ®lter
may need to be replaced. See ªPassenger
Compartment Air Filterº following, for more
information on this ®lter.
Passenger Compartment Air Filter
The passenger compartment air ®lter is located
underneath the inlet grille, which is located under
the passenger side windshield wiper arm.
The ®lter traps most of the pollen from entering the
climate control system. Similar to the engine's air ®lter,
it may need to be changed periodically to insure
system performance. See
Part A: Scheduled
Maintenance Services on page 6-4for information
on scheduled changes for this ®lter.
3-29
Page 135 of 432

Warning Lights, Gages and
Indicators
This part describes the warning lights and gages that
may be on your vehicle. The pictures will help you
locate them.
Warning lights and gages can signal that something is
wrong before it becomes serious enough to cause
an expensive repair or replacement. Paying attention to
your warning lights and gages could also save you
or others from injury.
Warning lights come on when there may be or is a
problem with one of your vehicle's functions. As you
will see in the details on the next few pages, some
warning lights come on brie¯y when you start the engine
just to let you know they're working. If you are familiar
with this section, you should not be alarmed when
this happens.Gages can indicate when there may be or is a problem
with one of your vehicle's functions. Often gages
and warning lights work together to let you know when
there's a problem with your vehicle.
When one of the warning lights comes on and stays on
when you are driving, or when one of the gages
shows there may be a problem, check the section that
tells you what to do about it. Follow this manual's
advice. Waiting to do repairs can be costly ± and even
dangerous. So please get to know your warning
lights and gages. They're a big help.
Your vehicle also has a Driver Information Center (DIC)
that works along with the warning lights and gages.
See
Driver Information Center (DIC) on page 3-45for
more information.
3-31