2004 PONTIAC GRAND PRIX light
[x] Cancel search: lightPage 289 of 432
Be careful not to spill fuel. Don't top off or over®ll your
tank, and wait a few seconds after you have ®nished
pumping before you remove the nozzle. Clean fuel from
painted surfaces as soon as possible. See
Cleaning
the Outside of Your Vehicle on page 5-93.
When you put the fuel cap back on, turn it to the right
(clockwise) until you hear three ªclicks.º Make sure
you fully install the cap. The diagnostic system
can determine if the fuel cap has been left off or
improperly installed. This would allow fuel to evaporate
into the atmosphere. See
Malfunction Indicator Lamp
on page 3-40.
{CAUTION:
If a ®re starts while you're refueling, don't
remove the nozzle. Shut off the ¯ow of fuel by
shutting off the pump or by notifying the
station attendant. Leave the area immediately.
Notice:If you need a new fuel cap, be sure to get the
right type. Your dealer can get one for you. If you get
the wrong type, it may not ®t properly. This may
cause your malfunction indicator lamp to light and
may damage your fuel tank and emissions system.
See ªMalfunction Indicator Lampº in the Index.
5-9
Page 300 of 432

When to Change Engine Oil
(GM Oil Life System)
Your vehicle has a computer system that lets you know
when to change the engine oil and ®lter. This is based on
engine revolutions and engine temperature, and not on
mileage. Based on driving conditions, the mileage at
which an oil change will be indicated can vary
considerably. For the oil life system to work properly, you
must reset the system every time the oil is changed.
When the system has calculated that oil life has been
diminished, it will indicate that an oil change is
necessary. A CHANGE OIL SOON light will come on.
Change your oil as soon as possible within the next two
times you stop for fuel. It is possible that, if you are
driving under the best conditions, the oil life system may
not indicate that an oil change is necessary for over a
year. However, your engine oil and ®lter must be
changed at least once a year and at this time the system
must be reset. Your dealer has GM-trained service
people who will perform this work using genuine GM
parts and reset the system. It is also important to check
your oil regularly and keep it at the proper level.
If the system is ever reset accidentally, you must change
your oil at 3,000 miles (5 000 km) since your last oil
change. Remember to reset the oil life system whenever
the oil is changed.
How to Reset the GM Oil Life System
The GM Oil Life System calculates when to change
your engine oil and ®lter based on vehicle use.
Anytime your oil is changed, reset the system so it can
calculate when the next oil change is required. If a
situation occurs where you change your oil prior to a
CHANGE OIL SOON message appearing on the DIC,
reset the system.
To reset the GM Oil Life System, after the oil has been
changed, use the following procedure:
1. Press the options button on the DIC until ENGINE
OIL MONITOR appears on the DIC screen.
2. Press the set/reset button to reset the system.
The next screen indicates that the engine oil monitor
system has been reset.
If the vehicle is equipped with the trip computer DIC,
when the gage button is pressed and the OIL LIFE
REMAINING mode appears, it should read 100 percent
OIL LIFE REMAINING.
5-20
Page 302 of 432
How to Check and Add Oil
Park the vehicle on a level surface. Check oil only when
the engine is cold. Allow the engine to cool two to
three hours after running.
{CAUTION:
If you remove the supercharger oil ®ll plug
while the engine is hot, pressure may cause
hot oil to blow out of the oil ®ll hole. You may
be burned. Do not remove the plug until the
engine cools.
1. Clean the area around the oil ®ll plug before
removing it.
2. Remove the oil ®ll plug.
3. The oil level is correct when it just reaches the
bottom of the threads of the inspection hole.
4. Replace the oil plug with the O-ring in place.
Tighten to 88 lb-in (10Y).
Engine Air Cleaner/Filter
The engine air cleaner/®lter is located in the engine
compartment on the driver's side of the vehicle.
See
Engine Compartment Overview on page 5-12for
more information on location.
When to Inspect the Engine Air
Cleaner/Filter
Inspect the air cleaner/®lter every 15,000 miles
(25,000 km) and replace every 30,000 miles (50,000 km).
If you are driving in dusty/dirty conditions, inspect the
®lter at each engine oil change.
How to Inspect the Engine Air
Cleaner/Filter
To inspect the air cleaner/®lter, remove the ®lter from
the vehicle and lightly shake the ®lter to release
loose dust and dirt. If the ®lter remains ªcakedº with dirt,
a new ®lter is required.
5-22
Page 307 of 432
A 50/50 mixture of clean, drinkable water and
DEX-COOLžengine coolant will:
·Give freezing protection down to-34ÉF (-37ÉC).
·Give boiling protection up to 265ÉF (129ÉC).
·Protect against rust and corrosion.
·Help keep the proper engine temperature.
·Let the warning lights and gages work as they
should.
Notice:When adding coolant, it is important that
you use only DEX-COOLž(silicate-free) coolant.
If coolant other than DEX-COOLžis added to
the system, premature engine, heater core or
radiator corrosion may result. In addition, the engine
coolant will require change sooner ± at 30,000 miles
(50,000 km) or 24 months, whichever occurs ®rst.
Damage caused by the use of coolant other
than DEX-COOL
žis not covered by your new vehicle
warranty.
What to Use
Use a mixture of one-half clean, drinkable water and
one-half DEX-COOLžengine coolant which won't
damage aluminum parts. If you use this coolant mixture,
you don't need to add anything else.
{CAUTION:
Adding only plain water to your cooling system
can be dangerous. Plain water, or some other
liquid such as alcohol, can boil before the
proper coolant mixture will. Your vehicle's
coolant warning system is set for the proper
coolant mixture. With plain water or the wrong
mixture, your engine could get too hot but you
wouldn't get the overheat warning. Your engine
could catch ®re and you or others could be
burned. Use a 50/50 mixture of clean, drinkable
water and DEX-COOL
žcoolant.
Notice:If you use an improper coolant mixture,
your engine could overheat and be badly damaged.
The repair cost wouldn't be covered by your
warranty. Too much water in the mixture can freeze
and crack the engine, radiator, heater core and
other parts.
If you have to add coolant more than four times a year,
have your dealer check your cooling system.
Notice:If you use the proper coolant, you don't
have to add extra inhibitors or additives which claim
to improve the system. These can be harmful.
5-27
Page 309 of 432
{CAUTION:
Turning the radiator pressure cap when the
engine and radiator are hot can allow steam
and scalding liquids to blow out and burn you
badly. With the coolant recovery tank, you will
almost never have to add coolant at the
radiator. Never turn the radiator pressure
cap -- even a little -- when the engine and
radiator are hot.
{CAUTION:
You can be burned if you spill coolant on hot
engine parts. Coolant contains ethylene glycol,
and it will burn if the engine parts are hot
enough. Don't spill coolant on a hot engine.
Occasionally check the coolant level in the radiator.
For information on how to add coolant to the radiator,
see
Cooling System on page 5-32.
Radiator Pressure Cap
Notice:Your radiator cap is a pressure-type cap
and must be tightly installed to prevent coolant loss
and possible engine damage from overheating.
Be sure the arrows on the cap line up with the
over¯ow tube on the radiator ®ller neck.
The radiator pressure cap is located in the front of the
engine compartment on the passenger's side, near
the diagonal cross brace. See
Engine Compartment
Overview on page 5-12for more information on location.
Engine Overheating
You will ®nd a coolant temperature gage and a warning
light concerning an overheated engine condition on
the instrument panel cluster. See
Engine Coolant
Temperature Gage on page 3-39andEngine Coolant
Temperature Warning Light on page 3-39.
5-29
Page 326 of 432
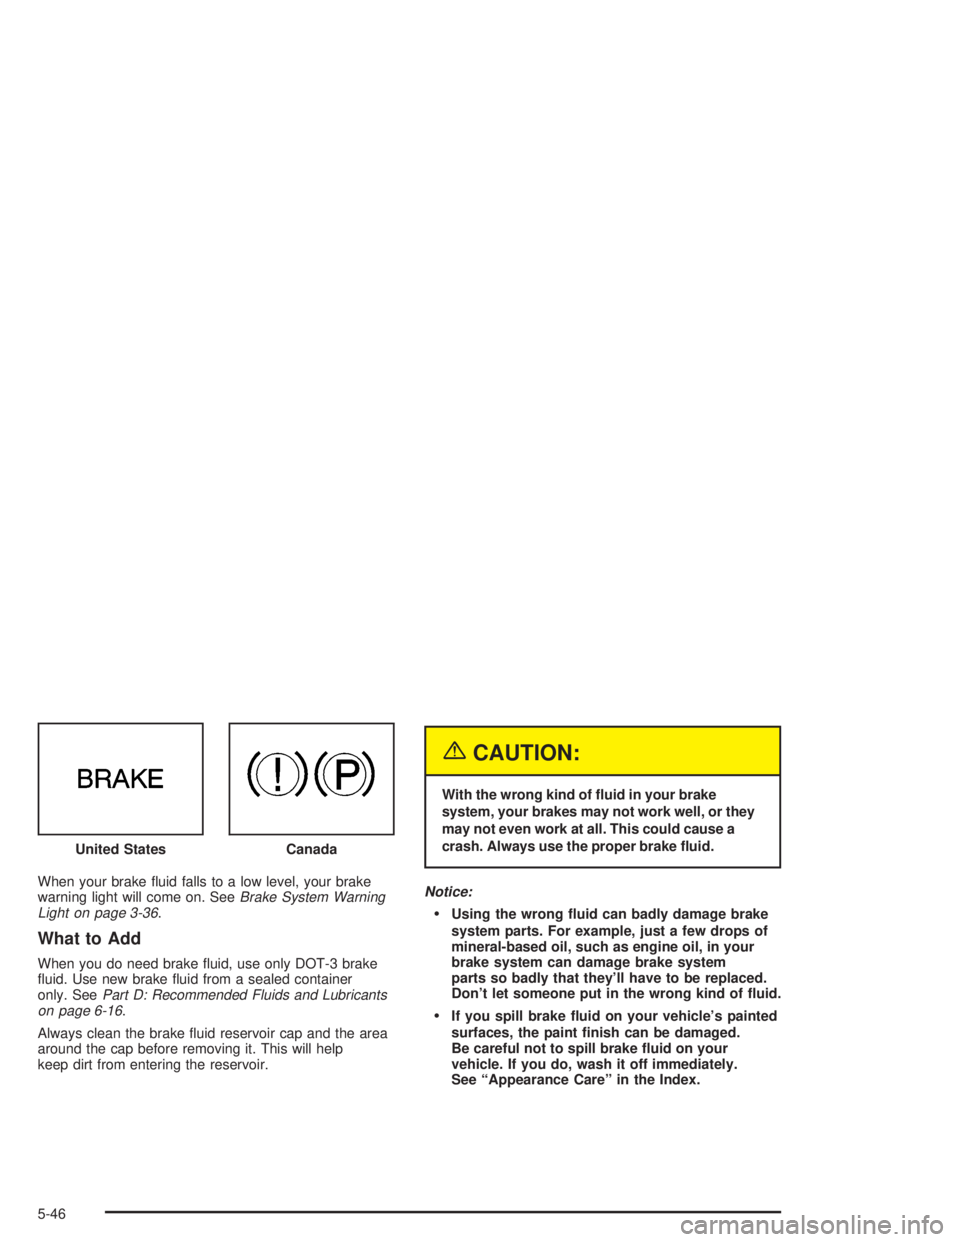
When your brake ¯uid falls to a low level, your brake
warning light will come on. SeeBrake System Warning
Light on page 3-36.
What to Add
When you do need brake ¯uid, use only DOT-3 brake
¯uid. Use new brake ¯uid from a sealed container
only. See
Part D: Recommended Fluids and Lubricants
on page 6-16.
Always clean the brake ¯uid reservoir cap and the area
around the cap before removing it. This will help
keep dirt from entering the reservoir.
{CAUTION:
With the wrong kind of ¯uid in your brake
system, your brakes may not work well, or they
may not even work at all. This could cause a
crash. Always use the proper brake ¯uid.
Notice:
·Using the wrong ¯uid can badly damage brake
system parts. For example, just a few drops of
mineral-based oil, such as engine oil, in your
brake system can damage brake system
parts so badly that they'll have to be replaced.
Don't let someone put in the wrong kind of ¯uid.
·If you spill brake ¯uid on your vehicle's painted
surfaces, the paint ®nish can be damaged.
Be careful not to spill brake ¯uid on your
vehicle. If you do, wash it off immediately.
See ªAppearance Careº in the Index. United States
Canada
5-46
Page 327 of 432

Brake Wear
Your vehicle has four-wheel disc brakes.
Disc brake pads have built-in wear indicators that make a
high-pitched warning sound when the brake pads are
worn and new pads are needed. The sound may come
and go or be heard all the time your vehicle is moving
(except when you are pushing on the brake pedal ®rmly).
{CAUTION:
The brake wear warning sound means that
soon your brakes won't work well. That could
lead to an accident. When you hear the brake
wear warning sound, have your vehicle
serviced.
Notice:Continuing to drive with worn-out brake
pads could result in costly brake repair.Some driving conditions or climates may cause a brake
squeal when the brakes are ®rst applied or lightly
applied. This does not mean something is wrong with
your brakes.
Properly torqued wheel nuts are necessary to help
prevent brake pulsation. When tires are rotated, inspect
brake pads for wear and evenly tighten wheel nuts in
the proper sequence to GM torque speci®cations.
Brake linings should always be replaced as complete
axle sets.
See
Brake System Inspection on page 6-15.
Brake Pedal Travel
See your dealer if the brake pedal does not return to
normal height, or if there is a rapid increase in
pedal travel. This could be a sign of brake trouble.
Brake Adjustment
Every time you apply the brakes, with or without the
vehicle moving, your brakes adjust for wear.
5-47
Page 330 of 432
Notice:If you leave your radio on, it could be badly
damaged. The repairs wouldn't be covered by
your warranty.
3. Turn off the ignition on both vehicles. Unplug
unnecessary accessories plugged into the cigarette
lighter or in the accessory power outlet. Turn off
the radio and all lamps that aren't needed. This will
avoid sparks and help save both batteries. And it
could save your radio!
4. Open the hoods and locate the batteries. Find the
positive (+) and negative (-) terminal locations on
each vehicle. You will not need to access your
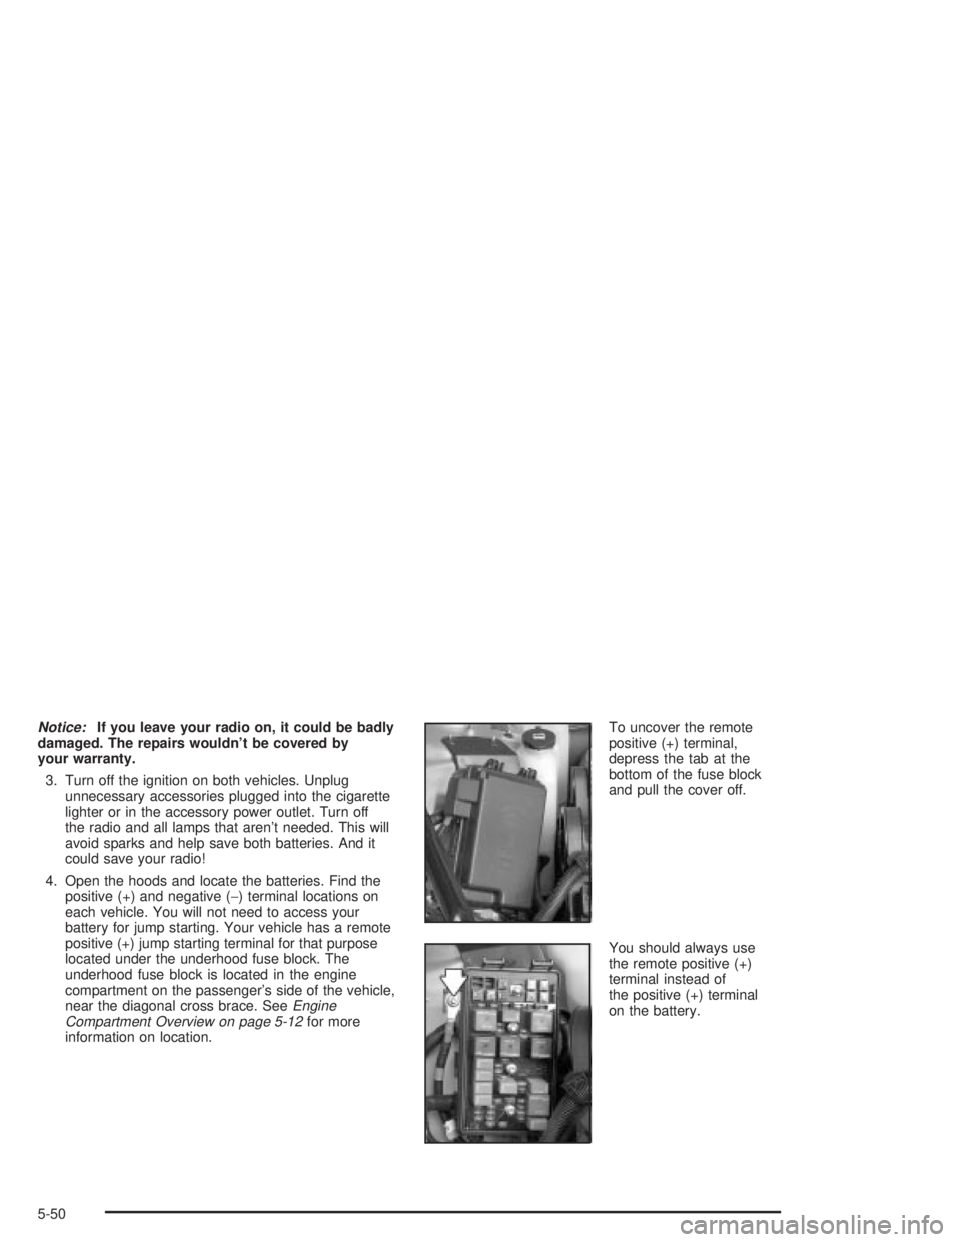
battery for jump starting. Your vehicle has a remote
positive (+) jump starting terminal for that purpose
located under the underhood fuse block. The
underhood fuse block is located in the engine
compartment on the passenger's side of the vehicle,
near the diagonal cross brace. See
Engine
Compartment Overview on page 5-12for more
information on location.To uncover the remote
positive (+) terminal,
depress the tab at the
bottom of the fuse block
and pull the cover off.
You should always use
the remote positive (+)
terminal instead of
the positive (+) terminal
on the battery.
5-50