2004 PONTIAC BONNEVILLE maintenance schedule
[x] Cancel search: maintenance schedulePage 1 of 446
Seats and Restraint Systems........................... 1-1
Front Seats
............................................... 1-2
Safety Belts
.............................................. 1-8
Child Restraints
.......................................1-29
Air Bag Systems
......................................1-51
Restraint System Check
............................1-60
Features and Controls..................................... 2-1
Keys
........................................................ 2-3
Doors and Locks
......................................2-10
Windows
.................................................2-19
Theft-Deterrent Systems
............................2-21
Starting and Operating Your Vehicle
...........2-25
Mirrors
....................................................2-39
OnStar
®System
......................................2-42
HomeLink®Transmitter
.............................2-44
Storage Areas
.........................................2-48
Sunroof
..................................................2-49
Vehicle Personalization
.............................2-50
Instrument Panel............................................. 3-1
Instrument Panel Overview
.......................... 3-4
Climate Controls
......................................3-27
Warning Lights, Gages, and Indicators
........3-36
Systems Monitor
......................................3-57
Driver Information Center (DIC)
..................3-58Secondary Information Center (SIC)
............3-70
Audio System(s)
.......................................3-73
Driving Your Vehicle....................................... 4-1
Your Driving, the Road, and Your Vehicle
..... 4-2
Towing
...................................................4-31
Service and Appearance Care.......................... 5-1
Service
..................................................... 5-3
Fuel
......................................................... 5-5
Checking Things Under the Hood
...............5-12
Bulb Replacement
....................................5-52
Windshield Wiper Blade Replacement
.........5-57
Tires
......................................................5-58
Appearance Care
.....................................5-91
Vehicle Identi�cation
.................................5-99
Electrical System
....................................5-100
Capacities and Speci�cations
...................5-109
Normal Maintenance Replacement Parts
......5-110
Maintenance Schedule..................................... 6-1
Maintenance Schedule
................................ 6-2
Customer Assistance and Information.............. 7-1
Customer Assistance and Information
........... 7-2
Reporting Safety Defects
...........................7-11
Index................................................................ 1
2004 Pontiac Bonneville Owner ManualM
Page 172 of 446
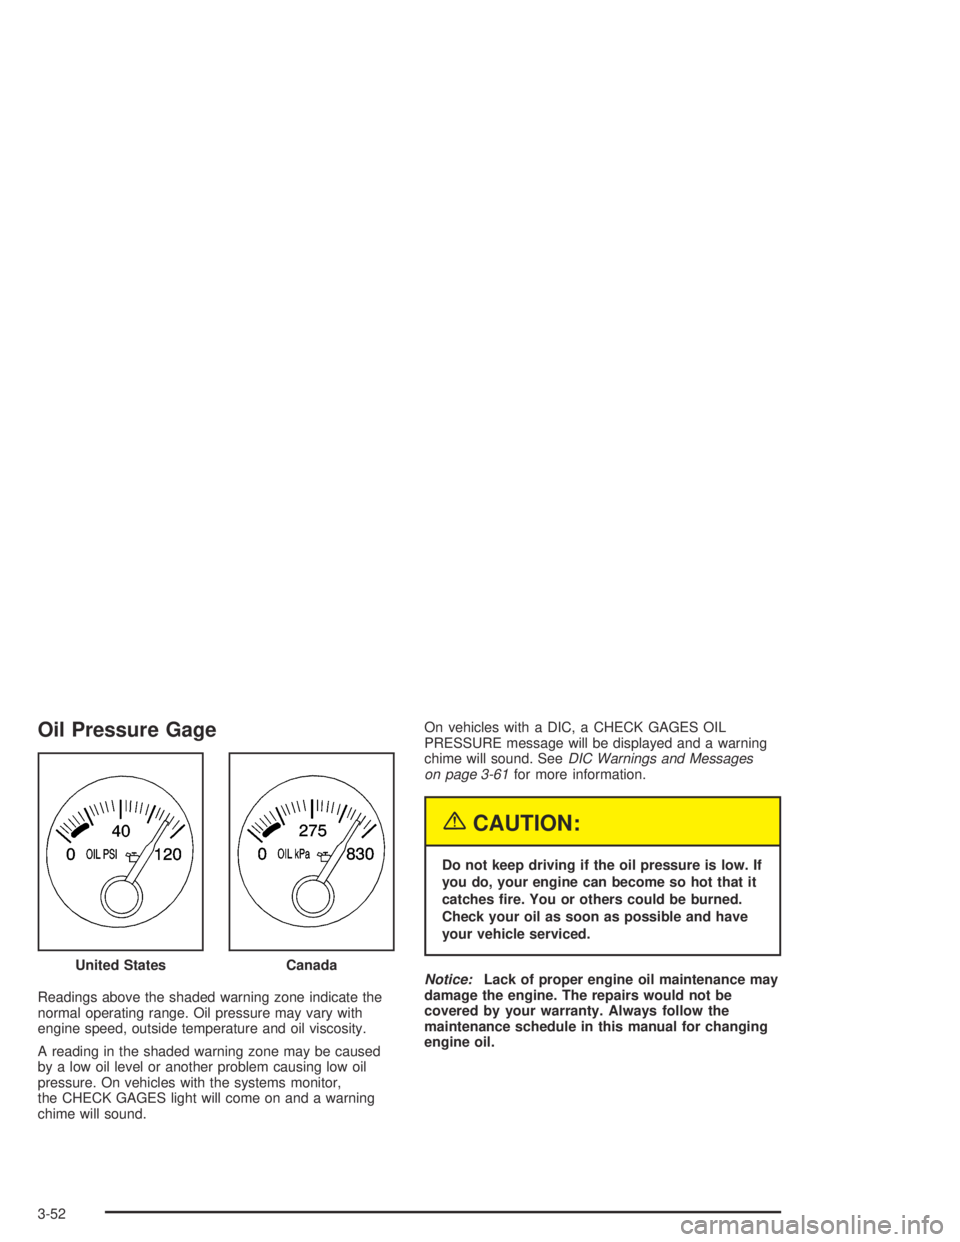
Oil Pressure Gage
Readings above the shaded warning zone indicate the
normal operating range. Oil pressure may vary with
engine speed, outside temperature and oil viscosity.
A reading in the shaded warning zone may be caused
by a low oil level or another problem causing low oil
pressure. On vehicles with the systems monitor,
the CHECK GAGES light will come on and a warning
chime will sound.On vehicles with a DIC, a CHECK GAGES OIL
PRESSURE message will be displayed and a warning
chime will sound. SeeDIC Warnings and Messages
on page 3-61for more information.
{CAUTION:
Do not keep driving if the oil pressure is low. If
you do, your engine can become so hot that it
catches �re. You or others could be burned.
Check your oil as soon as possible and have
your vehicle serviced.
Notice:Lack of proper engine oil maintenance may
damage the engine. The repairs would not be
covered by your warranty. Always follow the
maintenance schedule in this manual for changing
engine oil. United States
Canada
3-52
Page 180 of 446
Vehicle Data
Average Fuel Economy:Press the SELECT button
until the display shows AVG FUEL ECONOMY. Average
fuel economy is viewed as a long term approximation
of your overall driving conditions. To learn the average
fuel economy from a new starting point, press the
RESET button for �ve seconds while the average fuel
economy is displayed on the DIC.
Instantaneous Fuel Economy:Press the SELECT
button until the display shows INST FUEL ECONOMY.
Instantaneous fuel economy varies with your driving
conditions, such as acceleration, braking and the grade
of the road being traveled. The RESET button does
not function in this mode.
Fuel Range:Press the SELECT button until the display
shows FUEL RANGE. The fuel range will calculate
the remaining distance you can drive without refueling.
This calculation is based on the average fuel economy
for the last 25 miles (40.25 km) driven, and the fuel
remaining in the fuel tank. If the fuel range drops below
40 miles (64.4 km), the display will show FUEL
RANGE LOW. The RESET button does not function in
this mode.Fuel Used:Press the SELECT button until the display
shows FUEL USED. The value indicates how much
fuel has been used since the last reset. Do not confuse
fuel used with the amount of fuel in your tank. To
learn how much fuel will be used from a speci�c starting
point, press the RESET button for �ve seconds while
the fuel used is displayed on the DIC.
GM Oil Life System:Press the SELECT button until
OIL LIFE appears in the display. The OIL LIFE NORMAL
display will show an estimate of the oil’s remaining
useful life. When the oil life index is less than 10%, an
ENGINE OIL CHANGE SOON message will be
displayed and the oil life display will show OIL LIFE
CHANGE. When the ENGINE OIL CHANGE SOON
message is displayed, it means that service is required
for your vehicle. SeePart A: Scheduled Maintenance
Services on page 6-4andEngine Oil on page 5-16
for more information.
When you have the oil changed according to the
maintenance schedule, you will have to reset the Oil
Life System. To reset the Oil Life System, see “When to
Change Engine Oil” underEngine Oil on page 5-16.
3-60
Page 275 of 446
But if you ever have to park your rig on a hill, here is
how to do it:
1. Apply your regular brakes, but do not shift into
PARK (P) yet.
2. Have someone place chocks under the trailer
wheels.
3. When the wheel chocks are in place, release the
regular brakes until the chocks absorb the load.
4. Reapply the regular brakes. Then apply your
parking brake, and then shift to PARK (P).
5. Release the regular brakes.
When You Are Ready to Leave After
Parking on a Hill
1. Apply your regular brakes and hold the pedal down
while you:
Start your engine.
Shift into a gear.
Release the parking brake.
2. Let up on the brake pedal.
3. Drive slowly until the trailer is clear of the chocks.
4. Stop and have someone pick up and store the
chocks.
Maintenance When Trailer Towing
Your vehicle will need service more often when you are
pulling a trailer. See the Maintenance Schedule for more
on this. Things that are especially important in trailer
operation are automatic transaxle �uid (do not over�ll),
engine oil, drive belt, cooling system and brake system.
Each of these is covered in this manual, and the Index
will help you �nd them quickly. If you are trailering, it is a
good idea to review this information before you start
your trip.
Check periodically to see that all hitch nuts and bolts
are tight.
Engine Cooling When Trailer Towing
Your cooling system may temporarily overheat during
severe operating conditions. SeeEngine Overheating on
page 5-29.
4-45
Page 295 of 446
Notice:Use only engine oil identi�ed as meeting
GM Standard GM6094M and showing the American
Petroleum Institute Certi�ed For Gasoline Engines
starburst symbol. Failure to use the recommended
oil can result in engine damage not covered by
your warranty.
GM Goodwrench
®oil meets all the requirements for
your vehicle.
If you are in an area of extreme cold, where the
temperature falls below−20°F (−29°C) it is
recommended that you use either an SAE 5W-30
synthetic oil or an SAE 0W-30 oil. Both will provide
easier cold starting and better protection for your engine
at extremely low temperatures.
Engine Oil Additives
Do not add anything to your oil. The recommended oils
with the starburst symbol that meet GM Standard
GM6094M are all you will need for good performance
and engine protection.
When to Change Engine Oil (Vehicles
Without the GM Oil Life System)
If any one of these is true for you, use the short trip/city
maintenance schedule:
Most trips are less than 5 miles (8 km). This is
particularly important when outside temperatures
are below freezing.
Most trips include extensive idling (such as frequent
driving in stop-and-go traffic).
You frequently tow a trailer or use a carrier on top
of your vehicle.
The vehicle is used for delivery service, police, taxi
or other commercial application.
Driving under these conditions causes engine oil to
break down sooner. If any one of these is true for your
vehicle, then you need to change your oil and �lter
every 3,000 miles (5 000 km) or 3 months — whichever
occurs �rst.
If none of them is true, use the long trip/highway
maintenance schedule. Change the oil and �lter every
7,500 miles (12 500 km) or 12 months — whichever
occurs �rst. Driving a vehicle with a fully warmed engine
under highway conditions will cause engine oil to
break down slower.
5-19
Page 299 of 446
Automatic Transaxle Fluid
When to Check and Change
A good time to check your automatic transaxle �uid
level is when the engine oil is changed.
Change both the �uid and �lter every 50,000 miles
(83 000 km) if the vehicle is mainly driven under one or
more of these conditions:
In heavy city traffic where the outside temperature
regularly reaches 90°F (32°C) or higher.
In hilly or mountainous terrain.
When doing frequent trailer towing.
Uses such as found in taxi, police or delivery
service.
If you do not use your vehicle under any of these
conditions, change the �uid and �lter at 100,000 miles
(166 000 km).
SeePart A: Scheduled Maintenance Services on
page 6-4.
How to Check
Because this operation can be a little difficult, you may
choose to have this done at the dealership service
department.
If you do it yourself, be sure to follow all the instructions
here, or you could get a false reading on the dipstick.
Notice:Too much or too little �uid can damage the
transaxle. Too much can mean that some of the �uid
could come out and fall on hot engine or exhaust
system parts, starting a �re. Too little �uid could
cause the transaxle to overheat. Be sure to get an
accurate reading if you check the transaxle �uid.
Wait at least 30 minutes before checking the transaxle
�uid level if you have been driving:
When outside temperatures are above 90°F (32°C).
At high speed for quite a while.
In heavy traffic — especially in hot weather.
While pulling a trailer.
5-23
Page 301 of 446
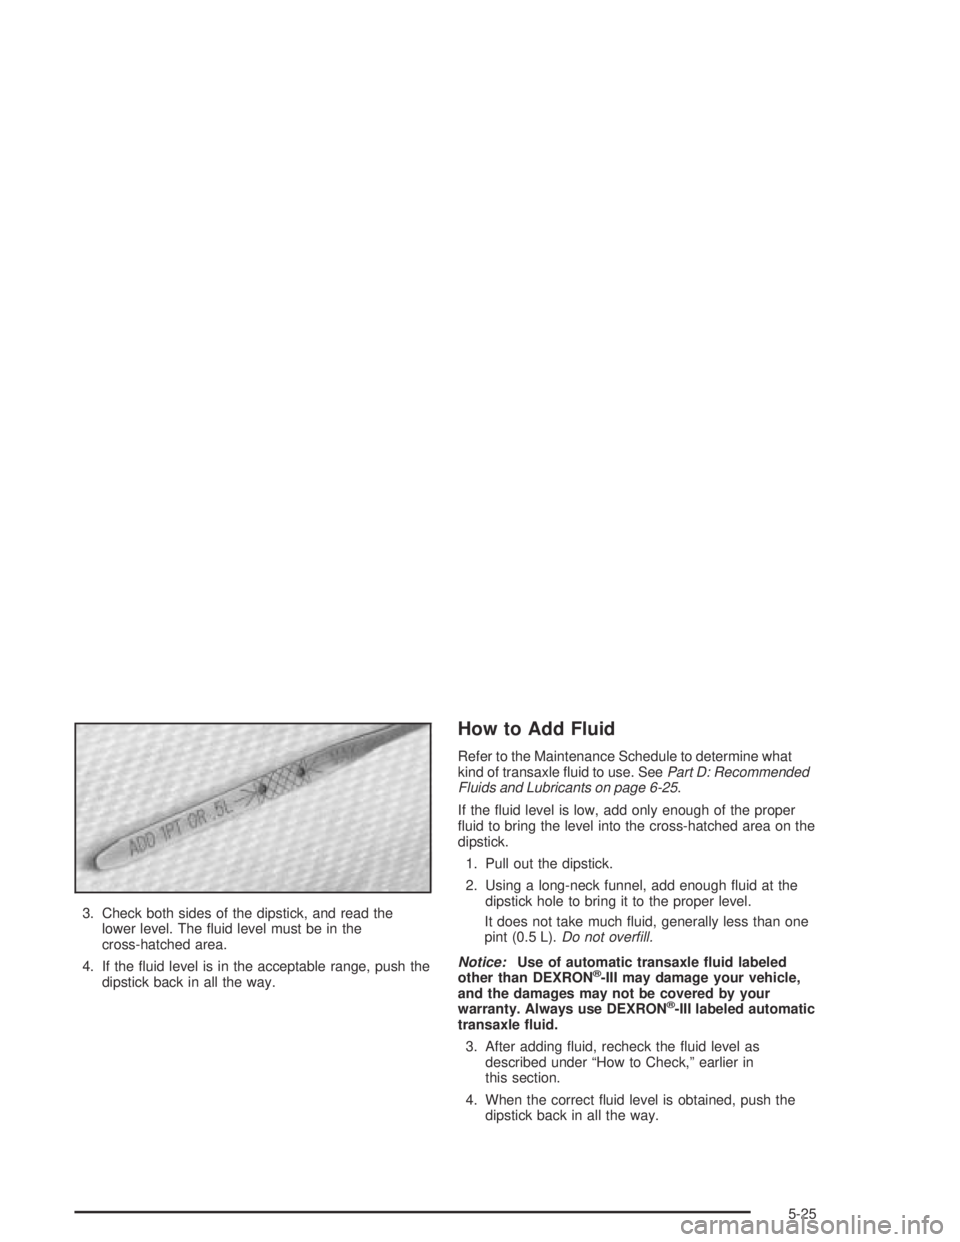
3. Check both sides of the dipstick, and read the
lower level. The �uid level must be in the
cross-hatched area.
4. If the �uid level is in the acceptable range, push the
dipstick back in all the way.
How to Add Fluid
Refer to the Maintenance Schedule to determine what
kind of transaxle �uid to use. SeePart D: Recommended
Fluids and Lubricants on page 6-25.
If the �uid level is low, add only enough of the proper
�uid to bring the level into the cross-hatched area on the
dipstick.
1. Pull out the dipstick.
2. Using a long-neck funnel, add enough �uid at the
dipstick hole to bring it to the proper level.
It does not take much �uid, generally less than one
pint (0.5 L).Do not over�ll.
Notice:Use of automatic transaxle �uid labeled
other than DEXRON
®-III may damage your vehicle,
and the damages may not be covered by your
warranty. Always use DEXRON
®-III labeled automatic
transaxle �uid.
3. After adding �uid, recheck the �uid level as
described under “How to Check,” earlier in
this section.
4. When the correct �uid level is obtained, push the
dipstick back in all the way.
5-25
Page 346 of 446
To reset (calibrate) the system with a systems monitor:
1. Turn the ignition switch to ON.
2. Press and hold the TIRE PRESS RESET button for
about �ve seconds.
3. The TIRE PRESS light on the systems monitor
should begin to �ash. If the TIRE PRESS light
does not begin to �ash after about �ve seconds, see
your dealer for service.
4. Release the TIRE PRESS RESET button and the
system should reset. The TIRE PRESS light will
go out.
The system completes the calibration process during
driving. Calibration time can take 45 to 90 minutes,
depending on your driving habits. After the system has
been calibrated, the system will alert the driver that
a tire is low, up to a maximum speed of 65 mph
(105 km/h).Tire Inspection and Rotation
Tires should be rotated every 5,000 to 8,000 miles
(8 000 to 13 000 km).
Any time you notice unusual wear rotate your tires as
soon as possible and check wheel alignment. Also
check for damaged tires or wheels. SeeWhen It Is Time
for New Tires on page 5-72andWheel Replacement
on page 5-75for more information.
The purpose of regular rotation is to achieve more
uniform wear for all tires on the vehicle. The �rst rotation
is the most important. SeePart A: Scheduled
Maintenance Services on page 6-4, for scheduled
rotation intervals.
5-70