2004 PONTIAC BONNEVILLE key battery
[x] Cancel search: key batteryPage 66 of 446
Servicing Your Air Bag-Equipped
Vehicle
Air bags affect how your vehicle should be serviced.
There are parts of the air bag systems in several places
around your vehicle. Your dealer and the service manual
have information about servicing your vehicle and the air
bag systems. To purchase a service manual, seeService
Publications Ordering Information on page 7-12.
{CAUTION:
For up to 10 seconds after the ignition key is
turned off and the battery is disconnected, an
air bag can still in�ate during improper
service. You can be injured if you are close to
an air bag when it in�ates. Avoid yellow
connectors. They are probably part of the air
bag system. Be sure to follow proper service
procedures, and make sure the person
performing work for you is quali�ed to do so.
The air bag systems do not need regular maintenance.
Restraint System Check
Checking Your Restraint Systems
Now and then, make sure the safety belt reminder light
and all your belts, buckles, latch plates, retractors
and anchorages are working properly. Look for any other
loose or damaged safety belt system parts. If you see
anything that might keep a safety belt system from doing
its job, have it repaired.
Torn or frayed safety belts may not protect you in a
crash. They can rip apart under impact forces. If a belt
is torn or frayed, get a new one right away.
Also look for any opened or broken air bag covers, and
have them repaired or replaced. (The air bag system
does not need regular maintenance.)
1-60
Page 73 of 446
Remote Keyless Entry System
If equipped, the keyless entry system operates on a
radio frequency subject to Federal Communications
Commission (FCC) Rules and with Industry Canada.
This device complies with Part 15 of the FCC Rules.
Operation is subject to the following two conditions:
1. This device may not cause interference, and
2. This device must accept any interference received,
including interference that may cause undesired
operation of the device.
This device complies with RSS-210 of Industry Canada.
Operation is subject to the following two conditions:
1. This device may not cause interference, and
2. This device must accept any interference received,
including interference that may cause undesired
operation of the device.
Changes or modi�cations to this system by other than
an authorized service facility could void authorization to
use this equipment.At times you may notice a decrease in range. This is
normal for any remote keyless entry system. If the
transmitter does not work or if you have to stand closer
to your vehicle for the transmitter to work, try this:
Check the distance. You may be too far from your
vehicle. You may need to stand closer during
rainy or snowy weather.
Check the location. Other vehicles or objects may
be blocking the signal. Take a few steps to the
left or right, hold the transmitter higher, and
try again.
Check to determine if battery replacement is
necessary. See “Battery Replacement” under
Remote Keyless Entry System Operation on
page 2-6.
If you are still having trouble, see your dealer or a
quali�ed technician for service.
2-5
Page 77 of 446
Battery Replacement
Under normal use, the battery in your remote keyless
entry transmitter should last about four years.
You can tell the battery is weak if the transmitter will not
work at the normal range in any location. If you have
to get close to your vehicle before the transmitter works,
it is probably time to change the battery.
Notice:When replacing the battery, use care not to
touch any of the circuitry. Static from your body
transferred to these surfaces may damage the
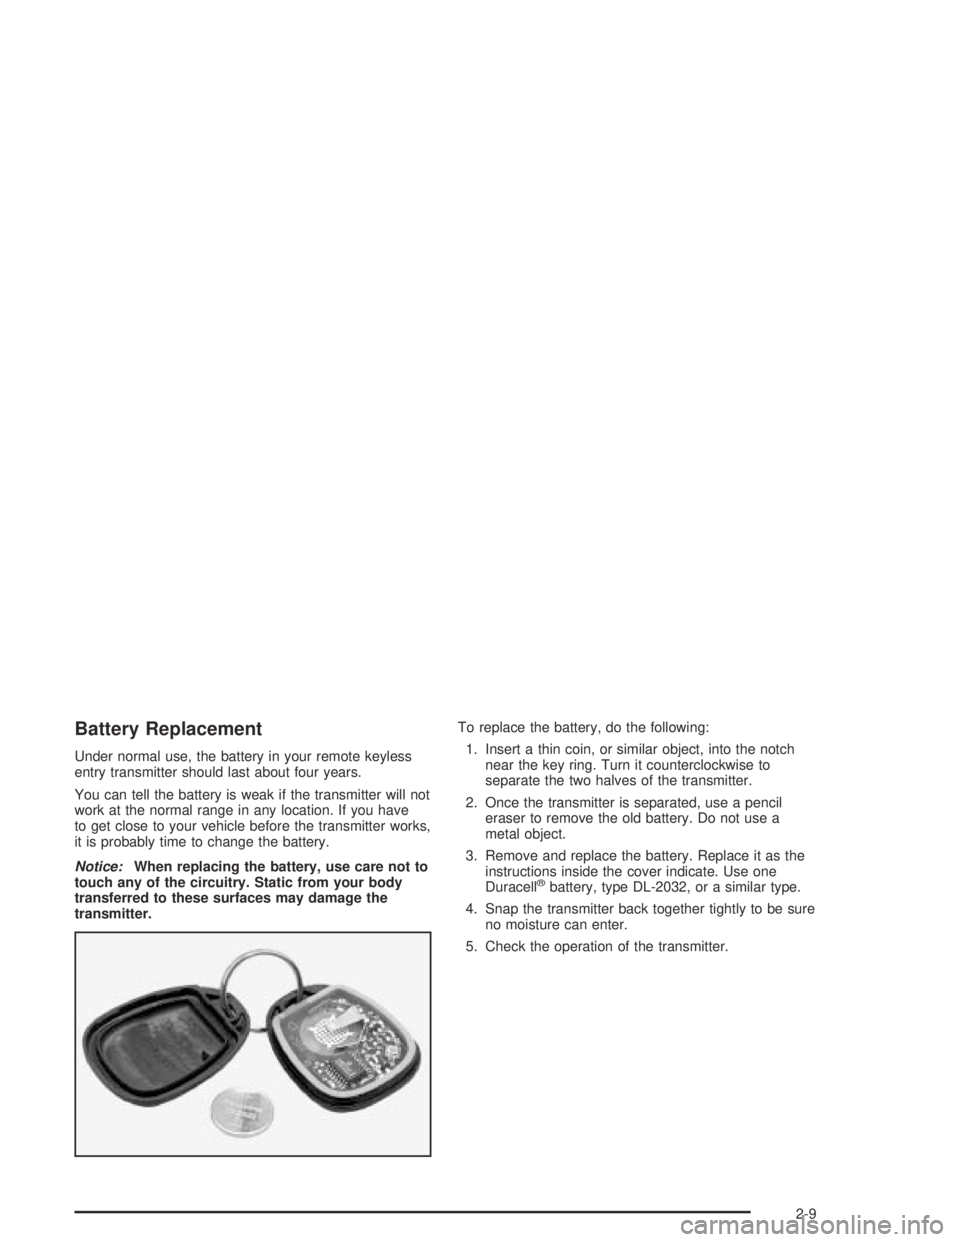
transmitter.To replace the battery, do the following:
1. Insert a thin coin, or similar object, into the notch
near the key ring. Turn it counterclockwise to
separate the two halves of the transmitter.
2. Once the transmitter is separated, use a pencil
eraser to remove the old battery. Do not use a
metal object.
3. Remove and replace the battery. Replace it as the
instructions inside the cover indicate. Use one
Duracell
®battery, type DL-2032, or a similar type.
4. Snap the transmitter back together tightly to be sure
no moisture can enter.
5. Check the operation of the transmitter.
2-9
Page 89 of 446
Sun Visors
To block out glare, you can swing down the visors. You
can also remove them from the center mount and
swing them to the side.
Visor Vanity Mirror
Open the cover to expose the vanity mirror.
If your vehicle has the optional lighted vanity mirrors,
the lamps come on when you open the cover.
Theft-Deterrent Systems
Vehicle theft is big business, especially in some cities.
Although your vehicle has a number of theft-deterrent
features, we know that nothing we put on it can make it
impossible to steal.
Universal Theft-Deterrent
If your vehicle has this feature, it has a theft-deterrent
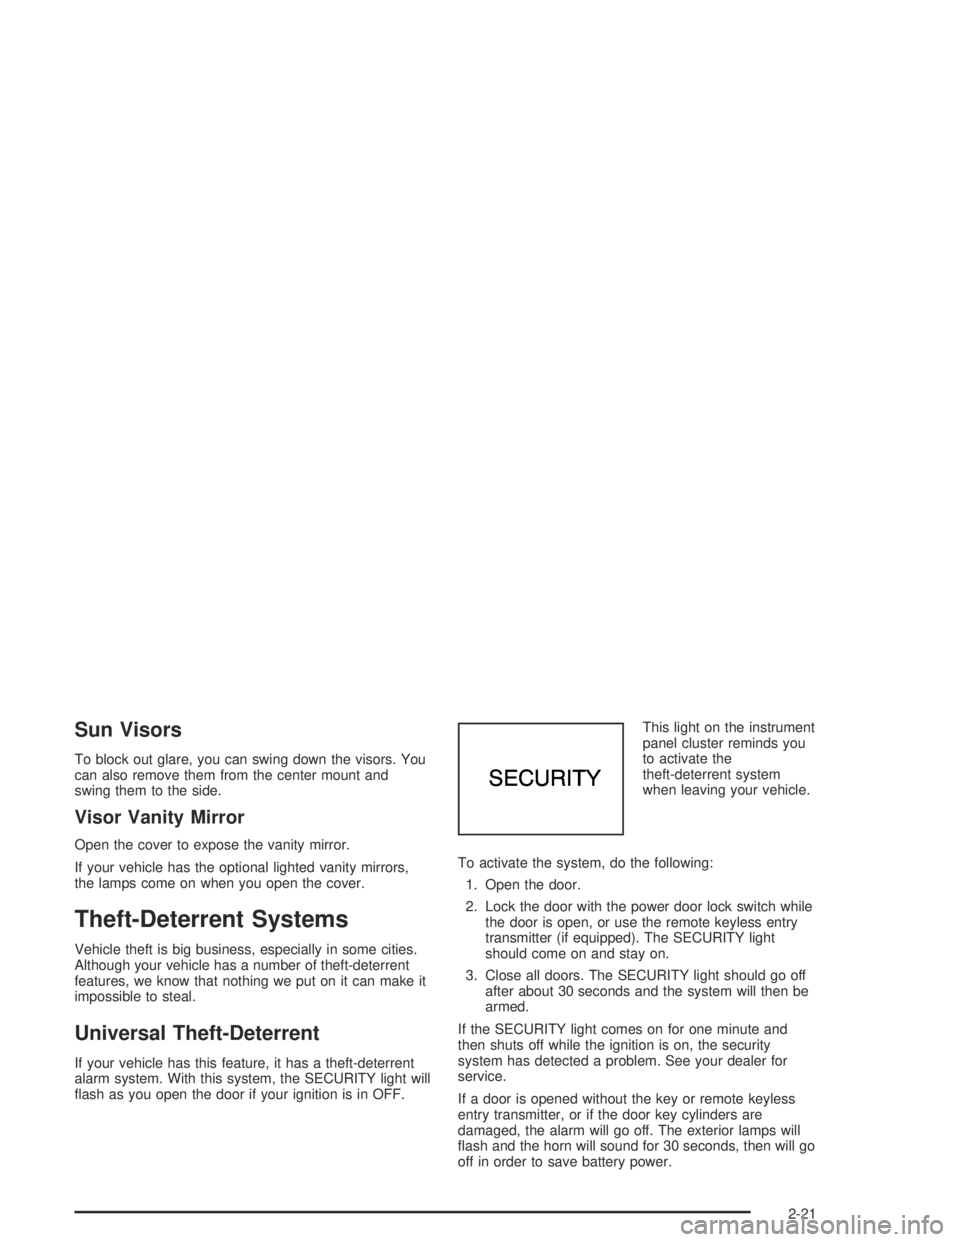
alarm system. With this system, the SECURITY light will
�ash as you open the door if your ignition is in OFF.This light on the instrument
panel cluster reminds you
to activate the
theft-deterrent system
when leaving your vehicle.
To activate the system, do the following:
1. Open the door.
2. Lock the door with the power door lock switch while
the door is open, or use the remote keyless entry
transmitter (if equipped). The SECURITY light
should come on and stay on.
3. Close all doors. The SECURITY light should go off
after about 30 seconds and the system will then be
armed.
If the SECURITY light comes on for one minute and
then shuts off while the ignition is on, the security
system has detected a problem. See your dealer for
service.
If a door is opened without the key or remote keyless
entry transmitter, or if the door key cylinders are
damaged, the alarm will go off. The exterior lamps will
�ash and the horn will sound for 30 seconds, then will go
off in order to save battery power.
2-21
Page 95 of 446
Retained Accessory Power (RAP)
After you turn the ignition off and remove the key, you
will still have power to such accessories as the
radio, sunroof (if equipped) and power windows for up
to 10 minutes. Power is turned off if you open a door.
Always leave your key in OFF. If you leave your key in
any position other than OFF, your battery will discharge
prematurely.
Starting Your Engine
Move your shift lever to PARK (P) or NEUTRAL (N).
Your engine will not start in any other position — that is
a safety feature. To restart when you are already
moving, use NEUTRAL (N) only.
Notice:Shifting into PARK (P) with the vehicle
moving could damage the transaxle. Shift into
PARK (P) only when your vehicle is stopped.
1. With your foot off the accelerator pedal, turn your
ignition key to START. When the engine starts, let
go of the key. The idle speed will go down as
your engine gets warm.Notice:Holding your key in START for longer than
15 seconds at a time will cause your battery to
be drained much sooner. And the excessive heat
can damage your starter motor. Wait about
15 seconds between each try to help avoid draining
your battery or damaging your starter.
2. If it does not start within 10 seconds, hold your key
in START for about 10 seconds at a time until your
engine starts. Wait about 15 seconds between
each try.
3. If your engine still will not start, or starts but then
stops, it could be �ooded with too much gasoline.
Try pushing your accelerator pedal all the way to the
�oor and holding it there as you hold the key in
START for about three seconds. If the vehicle starts
brie�y but then stops again, do the same thing.
This time keep the pedal down for �ve or six
seconds to clear the extra gasoline from the engine.
After waiting about 15 seconds, repeat the normal
starting procedure.
Notice:Your engine is designed to work with the
electronics in your vehicle. If you add electrical
parts or accessories, you could change the way the
engine operates. Before adding electrical equipment,
check with your dealer. If you do not, your engine
might not perform properly.
2-27
Page 137 of 446
Twilight Sentinel®
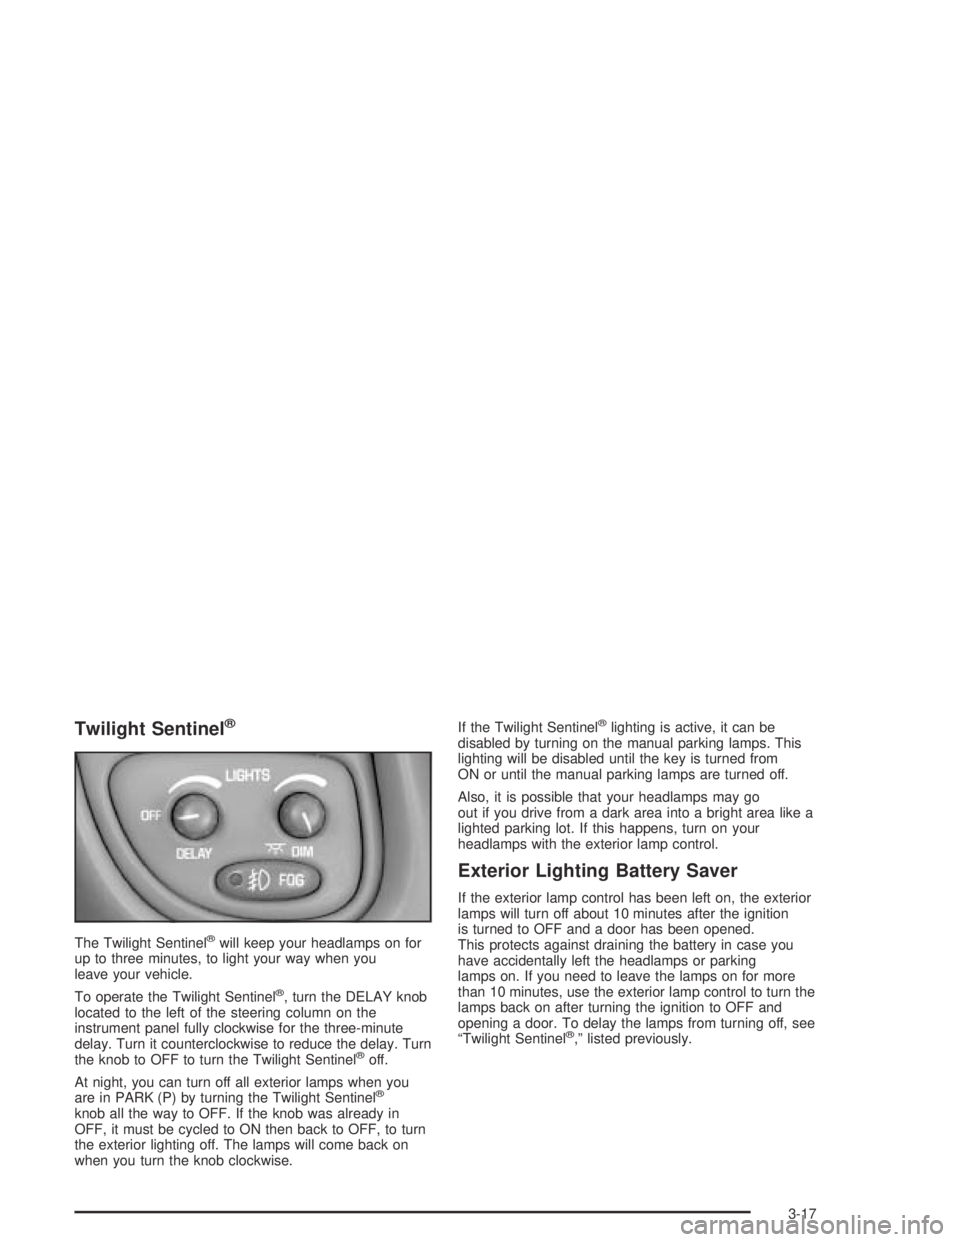
The Twilight Sentinel®will keep your headlamps on for
up to three minutes, to light your way when you
leave your vehicle.
To operate the Twilight Sentinel
®, turn the DELAY knob
located to the left of the steering column on the
instrument panel fully clockwise for the three-minute
delay. Turn it counterclockwise to reduce the delay. Turn
the knob to OFF to turn the Twilight Sentinel
®off.
At night, you can turn off all exterior lamps when you
are in PARK (P) by turning the Twilight Sentinel
®
knob all the way to OFF. If the knob was already in
OFF, it must be cycled to ON then back to OFF, to turn
the exterior lighting off. The lamps will come back on
when you turn the knob clockwise.If the Twilight Sentinel
®lighting is active, it can be
disabled by turning on the manual parking lamps. This
lighting will be disabled until the key is turned from
ON or until the manual parking lamps are turned off.
Also, it is possible that your headlamps may go
out if you drive from a dark area into a bright area like a
lighted parking lot. If this happens, turn on your
headlamps with the exterior lamp control.
Exterior Lighting Battery Saver
If the exterior lamp control has been left on, the exterior
lamps will turn off about 10 minutes after the ignition
is turned to OFF and a door has been opened.
This protects against draining the battery in case you
have accidentally left the headlamps or parking
lamps on. If you need to leave the lamps on for more
than 10 minutes, use the exterior lamp control to turn the
lamps back on after turning the ignition to OFF and
opening a door. To delay the lamps from turning off, see
“Twilight Sentinel
®,” listed previously.
3-17
Page 138 of 446
Interior Lamps
Instrument Panel Brightness
When it is dark outside, you can brighten or dim your
instrument panel cluster lights using the DIM knob,
located to the left of the steering wheel on the instrument
panel.
Turn the knob clockwise to brighten the instrument
panel cluster lights and displays. Turn the knob
clockwise all the way to turn on the interior courtesy
lamps. Turn the knob counterclockwise to dim the
instrument panel cluster lights and displays and to turn
off the courtesy lamps.
Courtesy Lamps
If it is dark enough outside, when any door is opened,
several lamps will come on. They make it easier for you
to enter and leave the vehicle. Turn the dimmer knob all
the way clockwise to turn the interior courtesy lamps on.
Entry Lighting
If it is dark enough outside and you press the unlock
button on the remote keyless entry transmitter (if
equipped), the interior courtesy lamps will come on and
stay on for about 25 seconds. The lamps will turn off
immediately by pressing the lock button on the remote
keyless entry transmitter, by turning the ignition key
to ON or by activating the power door locks.
If a door is left ajar, your interior lamps will turn off after
10 minutes to save your battery.
Delayed Entry Lighting
When you open the door to enter your vehicle, the
interior lamps will come on if it is dark enough outside.
When you close the door with the ignition off, the
interior lamps will stay on for 25 seconds or until the
ignition is turned on. Locking the doors with the power
door lock switch, or with the lock button on the
remote keyless entry transmitter (if equipped), will
override the delayed entry lighting and the lamps will
turn off immediately.
3-18
Page 145 of 446
Accessory Power Outlets
With the accessory power outlet you can plug in
auxiliary electrical equipment such as a cellular
telephone or CB radio.
If your vehicle has a front console, the accessory power
outlet (12-volt ) is located at the rear of the front
console. If your vehicle has a �oor console, the outlet is
located at the rear of the �oor console.
To use the outlet, remove the protective cap which
covers it. When not using it, always cover the outlet with
the protective cap.
The accessory power outlet will only operate when the
ignition key is in ON and for 10 minutes after turning
the ignition OFF. If you would like the accessory power
outlet to operate regardless of ignition position, and
for extended periods of time, see “Engine Compartment
Fuse Block” underFuses and Circuit Breakers on
page 5-101or see your dealer for more information.
Notice:Leaving electrical equipment on for
extended periods will drain the battery. Always turn
off electrical equipment when not in use and do
not plug in equipment that exceeds the maximum
amperage rating.Certain electrical accessories may not be compatible
with the accessory power outlet and could result
in blown vehicle or adapter fuses. If you experience a
problem, see your dealer for additional information
on accessory power outlets.
Notice:Adding any electrical equipment to your
vehicle may damage it or keep other components
from working as they should. The repairs would not
be covered by your warranty. Check with your
dealer before adding electrical equipment.
When adding electrical equipment, be sure to follow the
proper installation instructions included with the
equipment.
Notice:Improper use of the power outlet can cause
damage not covered by your warranty. Do not
hang any type of accessory or accessory bracket
from the plug because the power outlets are
designed for accessory power plugs only.
3-25