2004 NISSAN XTERRA warning
[x] Cancel search: warningPage 60 of 296

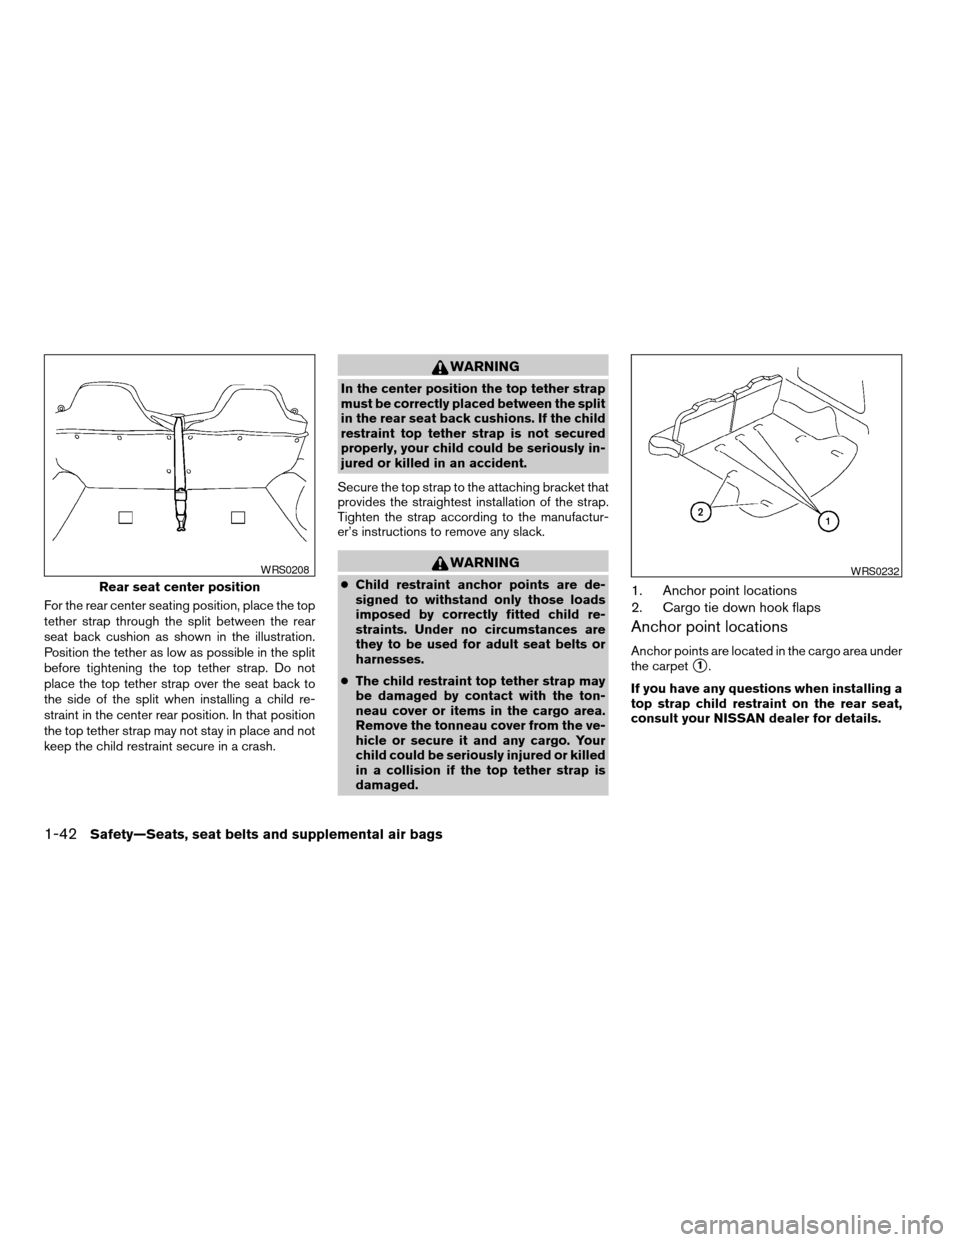
For the rear center seating position, place the top
tether strap through the split between the rear
seat back cushion as shown in the illustration.
Position the tether as low as possible in the split
before tightening the top tether strap. Do not
place the top tether strap over the seat back to
the side of the split when installing a child re-
straint in the center rear position. In that position
the top tether strap may not stay in place and not
keep the child restraint secure in a crash.
WARNING
In the center position the top tether strap
must be correctly placed between the split
in the rear seat back cushions. If the child
restraint top tether strap is not secured
properly, your child could be seriously in-
jured or killed in an accident.
Secure the top strap to the attaching bracket that
provides the straightest installation of the strap.
Tighten the strap according to the manufactur-
er’s instructions to remove any slack.
WARNING
cChild restraint anchor points are de-
signed to withstand only those loads
imposed by correctly fitted child re-
straints. Under no circumstances are
they to be used for adult seat belts or
harnesses.
cThe child restraint top tether strap may
be damaged by contact with the ton-
neau cover or items in the cargo area.
Remove the tonneau cover from the ve-
hicle or secure it and any cargo. Your
child could be seriously injured or killed
in a collision if the top tether strap is
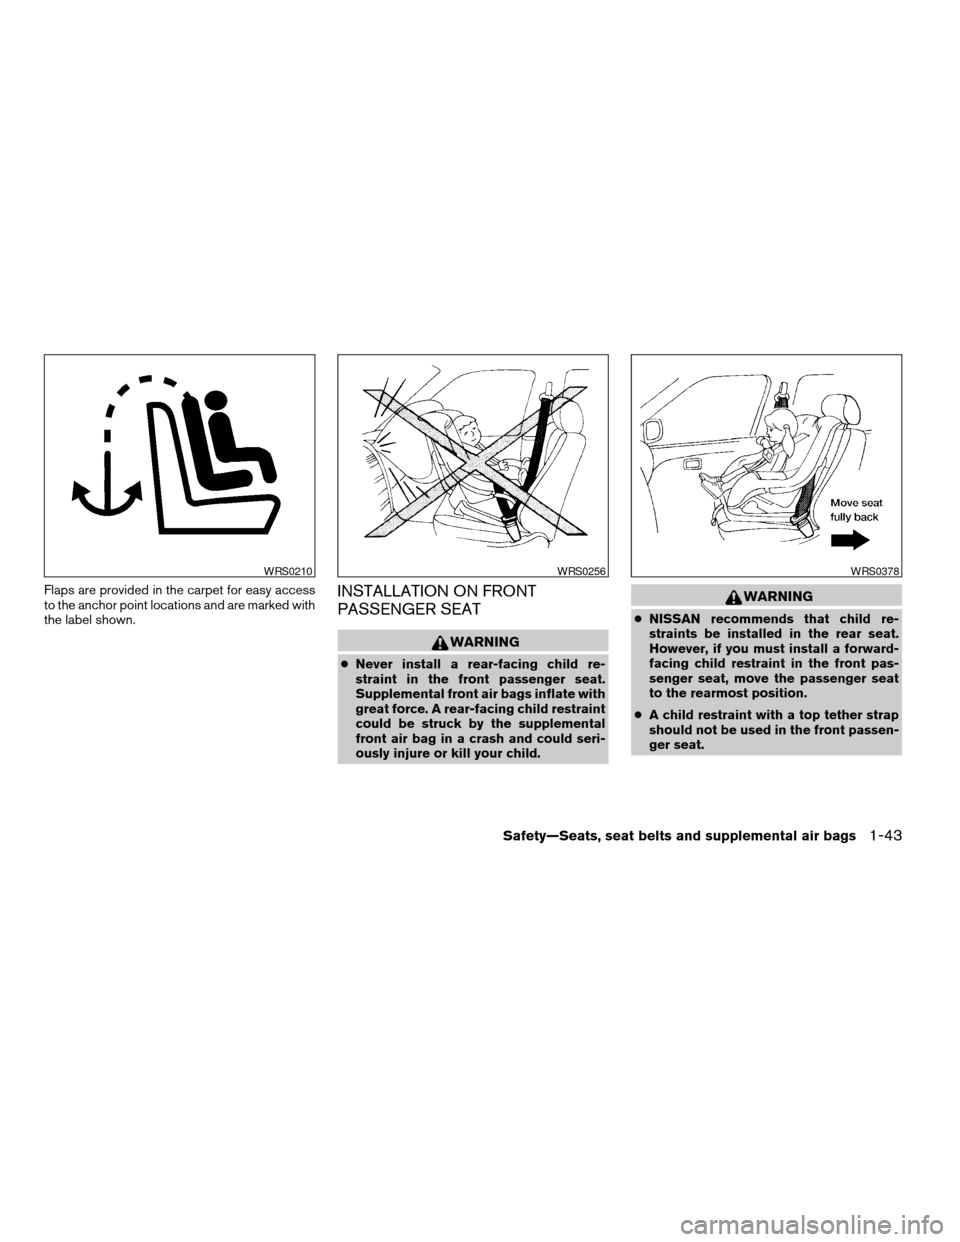
damaged.1. Anchor point locations
2. Cargo tie down hook flaps
Anchor point locations
Anchor points are located in the cargo area under
the carpet
s1.
If you have any questions when installing a
top strap child restraint on the rear seat,
consult your NISSAN dealer for details.
Rear seat center position
WRS0208WRS0232
1-42Safety—Seats, seat belts and supplemental air bags
ZREVIEW COPY:Ð2004 Xterra(xtr)
Owners Manual(owners)ÐUSA English(nna)
10/23/03Ðdebbie
X
Page 61 of 296

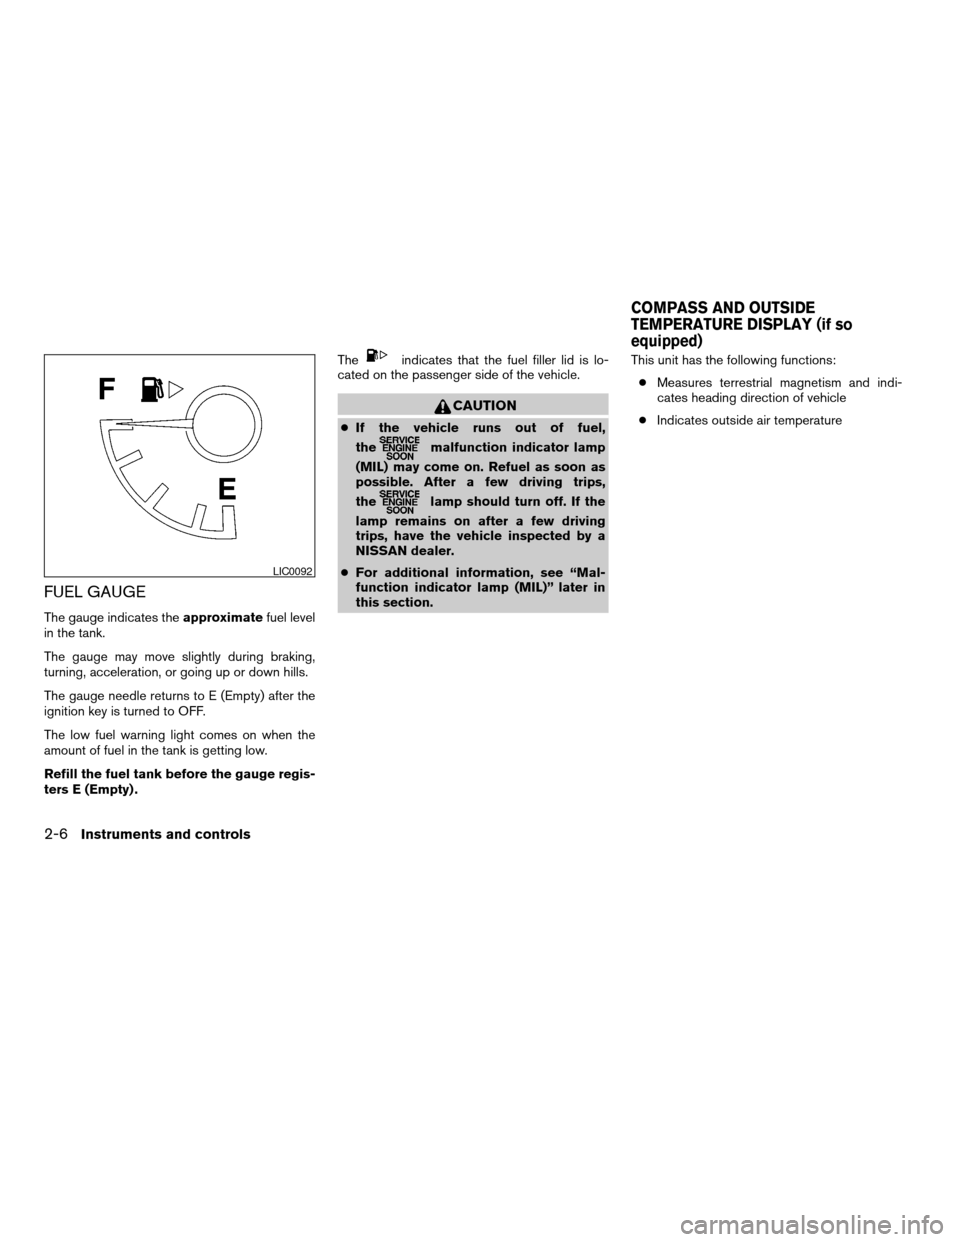
Flaps are provided in the carpet for easy access
to the anchor point locations and are marked with
the label shown.INSTALLATION ON FRONT
PASSENGER SEAT
WARNING
cNever install a rear-facing child re-
straint in the front passenger seat.
Supplemental front air bags inflate with
great force. A rear-facing child restraint
could be struck by the supplemental
front air bag in a crash and could seri-
ously injure or kill your child.
WARNING
cNISSAN recommends that child re-
straints be installed in the rear seat.
However, if you must install a forward-
facing child restraint in the front pas-
senger seat, move the passenger seat
to the rearmost position.
cA child restraint with a top tether strap
should not be used in the front passen-
ger seat.
WRS0210WRS0256WRS0378
Safety—Seats, seat belts and supplemental air bags1-43
ZREVIEW COPY:Ð2004 Xterra(xtr)
Owners Manual(owners)ÐUSA English(nna)
10/23/03Ðdebbie
X
Page 66 of 296

2 Instruments and controls
Instrument panel...................................2-2
Meters and gauges................................2-3
Speedometer and odometer.....................2-3
Tachometer....................................2-5
Engine coolant temperature gauge...............2-5
Fuel gauge....................................2-6
Compass and outside temperature display
(if so equipped)...................................2-6
Outside temperature display.....................2-7
Compass display...............................2-7
Warning/indicator lights and audible reminders.......2-9
Checking bulbs................................2-9
Warning lights................................2-10
Indicator lights................................2-13
Audible reminders.............................2-15
Security system (if so equipped)...................2-15
Vehicle security system.........................2-15
Windshield wiper and washer switch...............2-18
Switch operation..............................2-18
Rear window wiper and washer switch..............2-19
Rear window defroster switch......................2-20
Headlight and turn signal switch....................2-20
Headlight control switch........................2-20Daytime running light system (Canada only)......2-21
Instrument brightness control...................2-22
Turn signal switch.............................2-22
Fog light switch (if so equipped)................2-22
Hazard warning flasher switch.....................2-23
Horn............................................2-23
Vehicle dynamic control (VDC) off switch
(if so equipped)..................................2-24
Power outlet.....................................2-24
Dual 12 volt power outlets (if so equipped)..........2-26
Storage.........................................2-26
Storage compartment..........................2-26
Storage trays (if so equipped)...................2-27
Roof headliner net (if so equipped)..............2-27
Map pocket...................................2-28
Cup holders..................................2-29
Glove box....................................2-30
Console box (if so equipped)...................2-30
Luggage hooks................................2-31
Tonneau cover (if so equipped)..................2-32
Tubular roof rack with gear basket...............2-33
Windows........................................2-36
Power windows (if so equipped)................2-36
ZREVIEW COPY:Ð2004 Xterra(xtr)
Owners Manual(owners)ÐUSA English(nna)
10/23/03Ðdebbie
X
Page 68 of 296

1. Headlight/turn signal switch (P. 2-20)
2. Meters and gauges (P. 2-3)
3. Windshield wiper/washer switch (P.
2-18) and rear window wiper/washer
switch (if so equipped) (P. 2-19)
4. Power outlet (P. 2-24)
5. Heater and air conditioner (P. 4-2)
6. Front passenger supplemental air bag
(P. 1-8)
7. Glove box (P. 2-30)
8. Audio system (P. 4-10)
9.
Hazard warning flasher switch (P. 2-23)
10. Automatic/manual selector lever
(P. 5-10)
11. Transfer case shift lever (if so
equipped) (P. 5-19)
12. Parking brake release lever (P. 5-16)
13. Cruise control main/set switch (if so
equipped) (P. 5-16)
14. Driver supplemental air bag/horn
(P. 1-8, P. 2-23)
15. Steering wheel switch for audio
controls (if so equipped) (P. 4-28)
16. Vehicle dynamic control (VDC) off
switch (if so equipped) (P. 2-24)
17. Instrument brightness control (P. 2-22)
18. Rear window wiper and washer switch
(if so equipped)(P. 2-19)
WIC0641
INSTRUMENT PANEL
2-2Instruments and controls
ZREVIEW COPY:Ð2004 Xterra(xtr)
Owners Manual(owners)ÐUSA English(nna)
10/23/03Ðdebbie
X
Page 69 of 296

1. Tachometer
2. Warning/indicator lights
3. Speedometer
4. Engine coolant temperature gauge
5. Fuel gauge
6. Odometer/twin trip odometer7. Change button1. Speedometer
2. Odometer
3. Reset button
SPEEDOMETER AND ODOMETER
Speedometer
The speedometer indicates vehicle speed in
miles per hour (MPH) and kilometers per hour
(km/h) .
Odometer/Twin trip
The odometer records the total distance the ve-
hicle has been driven.
LIC0631
WIC0632
METERS AND GAUGES
Instruments and controls2-3
ZREVIEW COPY:Ð2004 Xterra(xtr)
Owners Manual(owners)ÐUSA English(nna)
10/23/03Ðdebbie
X
Page 72 of 296

FUEL GAUGE
The gauge indicates theapproximatefuel level
in the tank.
The gauge may move slightly during braking,
turning, acceleration, or going up or down hills.
The gauge needle returns to E (Empty) after the
ignition key is turned to OFF.
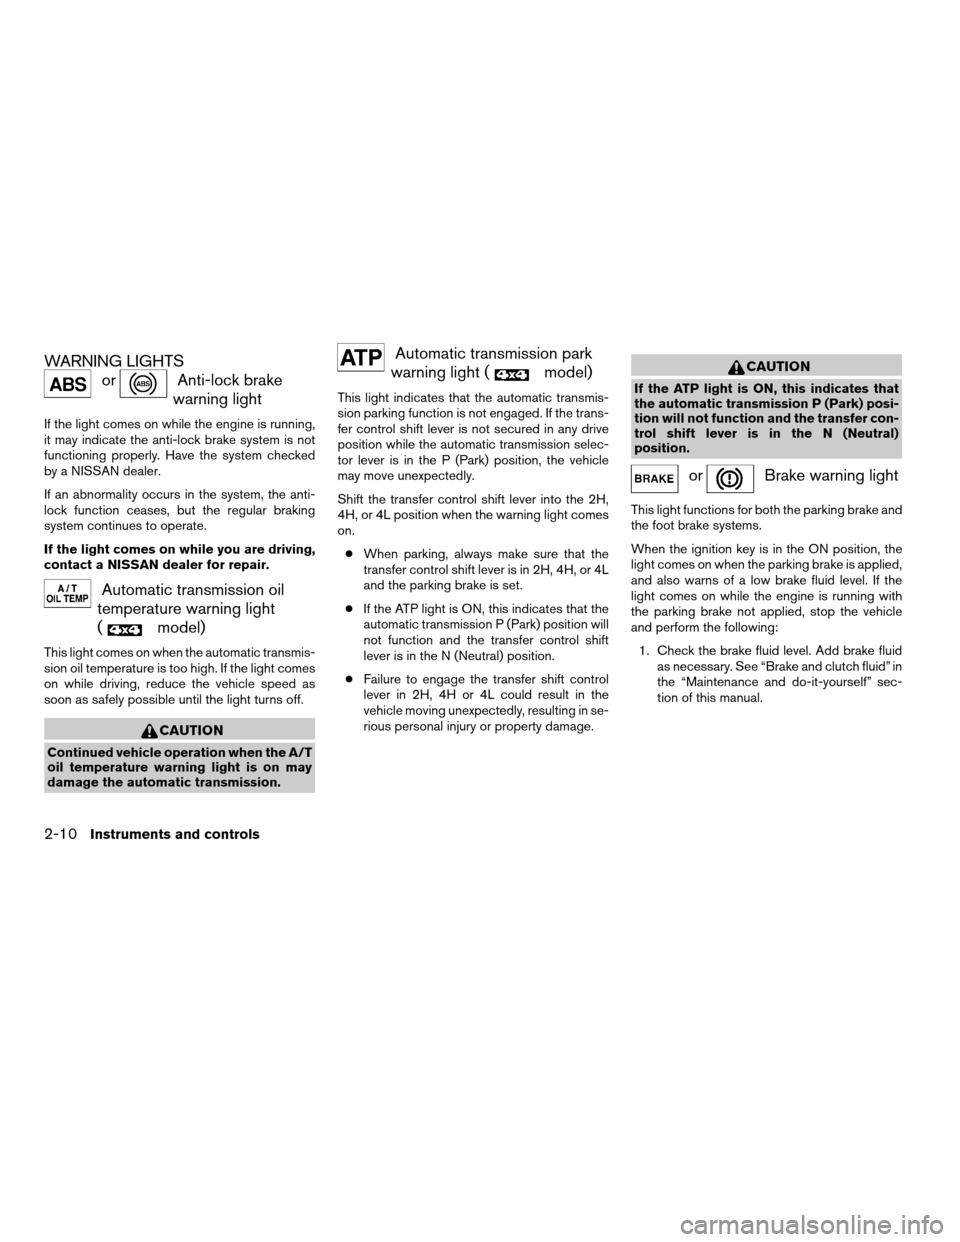
The low fuel warning light comes on when the
amount of fuel in the tank is getting low.
Refill the fuel tank before the gauge regis-
ters E (Empty) .The
indicates that the fuel filler lid is lo-
cated on the passenger side of the vehicle.
CAUTION
cIf the vehicle runs out of fuel,
the
malfunction indicator lamp
(MIL) may come on. Refuel as soon as
possible. After a few driving trips,
the
lamp should turn off. If the
lamp remains on after a few driving
trips, have the vehicle inspected by a
NISSAN dealer.
cFor additional information, see “Mal-
function indicator lamp (MIL)” later in
this section.This unit has the following functions:
cMeasures terrestrial magnetism and indi-
cates heading direction of vehicle
cIndicates outside air temperature
LIC0092
COMPASS AND OUTSIDE
TEMPERATURE DISPLAY (if so
equipped)
2-6Instruments and controls
ZREVIEW COPY:Ð2004 Xterra(xtr)
Owners Manual(owners)ÐUSA English(nna)
10/23/03Ðdebbie
X
Page 75 of 296

orAnti-lock brake warning lightLow fuel warning light4-wheel drive indicator light (if so equipped)
Automatic transmission oil temperature warn-
ing light (model)Low tire pressure warning light (if so equipped)High beam indicator light (Blue)
Automatic transmission park warning light
(model)Low windshield washer fluid warning light (if so
equipped)Malfunction indicator lamp (MIL)
orBrake warning lightSeat belt warning light and chimeOverdrive off indicator light (automatic trans-
mission only)
Charge warning lightSupplemental air bag warning lightSlip indicator light (if so equipped)
Door open warning lightCRUISE main switch indicator light (if so
equipped)Turn signal/hazard indicator lights
Engine oil pressure warning lightCruise SET switch indicator light (if so
equipped)Vehicle dynamic control off indicator light (if so
equipped)
CHECKING BULBS
With all doors closed, apply the parking brake
and turn the ignition key to the ON position
without starting the engine. The following lights
will come on:
,or,,,
If the driver’s seat belt is fastened before the
ignition key is turned to the ON position,
the
light will not come on.
The following lights come on briefly and then go
off:
or,,,,,,
If any light fails to come on, it may indicate
a burned-out bulb or an open circuit in the
electrical system. Have the system repaired
promptly.
WARNING/INDICATOR LIGHTS AND
AUDIBLE REMINDERS
Instruments and controls2-9
ZREVIEW COPY:Ð2004 Xterra(xtr)
Owners Manual(owners)ÐUSA English(nna)
10/23/03Ðdebbie
X
Page 76 of 296

WARNING LIGHTS
orAnti-lock brake
warning light
If the light comes on while the engine is running,
it may indicate the anti-lock brake system is not
functioning properly. Have the system checked
by a NISSAN dealer.
If an abnormality occurs in the system, the anti-
lock function ceases, but the regular braking
system continues to operate.
If the light comes on while you are driving,
contact a NISSAN dealer for repair.
Automatic transmission oil
temperature warning light
(
model)
This light comes on when the automatic transmis-
sion oil temperature is too high. If the light comes
on while driving, reduce the vehicle speed as
soon as safely possible until the light turns off.
CAUTION
Continued vehicle operation when the A/T
oil temperature warning light is on may
damage the automatic transmission.
Automatic transmission park
warning light (
model)
This light indicates that the automatic transmis-
sion parking function is not engaged. If the trans-
fer control shift lever is not secured in any drive
position while the automatic transmission selec-
tor lever is in the P (Park) position, the vehicle
may move unexpectedly.
Shift the transfer control shift lever into the 2H,
4H, or 4L position when the warning light comes
on.
cWhen parking, always make sure that the
transfer control shift lever is in 2H, 4H, or 4L
and the parking brake is set.
cIf the ATP light is ON, this indicates that the
automatic transmission P (Park) position will
not function and the transfer control shift
lever is in the N (Neutral) position.
cFailure to engage the transfer shift control
lever in 2H, 4H or 4L could result in the
vehicle moving unexpectedly, resulting in se-
rious personal injury or property damage.
CAUTION
If the ATP light is ON, this indicates that
the automatic transmission P (Park) posi-
tion will not function and the transfer con-
trol shift lever is in the N (Neutral)
position.
orBrake warning light
This light functions for both the parking brake and
the foot brake systems.
When the ignition key is in the ON position, the
light comes on when the parking brake is applied,
and also warns of a low brake fluid level. If the
light comes on while the engine is running with
the parking brake not applied, stop the vehicle
and perform the following:
1. Check the brake fluid level. Add brake fluid
as necessary. See “Brake and clutch fluid” in
the “Maintenance and do-it-yourself” sec-
tion of this manual.
2-10Instruments and controls
ZREVIEW COPY:Ð2004 Xterra(xtr)
Owners Manual(owners)ÐUSA English(nna)
10/23/03Ðdebbie
X