2004 NISSAN QUEST fuses
[x] Cancel search: fusesPage 247 of 320

8 Maintenance and do-it-yourself
Maintenance requirements..........................8-2
General maintenance..............................8-2
Explanation of general maintenance items.........8-2
Maintenance precautions...........................8-5
Engine compartment check locations................8-6
Engine cooling system.............................8-7
Checking engine coolant level...................8-7
Changing engine coolant........................8-8
Engine oil.........................................8-8
Checking engine oil level........................8-8
Changing engine oil............................8-9
Changing engine oil filter.......................8-10
4-speed automatic transmission fluid...............8-11
Temperature conditions for checking.............8-11
5-speed automatic transmission fluid...............8-12
Power steering fluid...............................8-13
Brake fluid.......................................8-13
Brake fluid....................................8-14
Window washer fluid.............................8-14
Window washer fluid reservoir..................8-14
Battery..........................................8-15
Jump starting.................................8-16
Drive belts.......................................8-16
Spark plugs......................................8-17Replacing spark plugs.........................8-17
Air cleaner.......................................8-18
In-cabin microfilter.............................8-18
Windshield wiper blades..........................8-19
Cleaning.....................................8-19
Replacing....................................8-19
Parking brake and brake pedal.....................8-22
Checking parking brake........................8-22
Checking brake pedal..........................8-22
Brake booster.................................8-23
Fuses...........................................8-23
Engine compartment...........................8-23
Passenger compartment.......................8-24
Keyfob battery replacement........................8-25
Lights...........................................8-26
Headlights....................................8-26
Fog lights (if so equipped)......................8-26
Exterior and interior lights.......................8-27
Wheels and tires.................................8-31
Tire pressure..................................8-31
Tire labeling...................................8-33
Types of tires..................................8-36
Tire chains....................................8-36
Changing wheels and tires.....................8-37
ZREVIEW COPY:Ð2004 Quest(van)
Owners Manual(owners)ÐUSA English(nna)
10/08/03Ðtbrooks
X
Page 269 of 320

BRAKE BOOSTER
Check the brake booster function as follows:
1. With the engine off, press and release the
brake pedal several times. When brake
pedal movement (distance of travel) remains
the same from one pedal application to the
next, continue on to the next step.
2. While depressing the brake pedal, start the
engine. The pedal height should drop a little.
3. With the brake pedal depressed, stop the
engine. Keep the pedal depressed for about
30 seconds. The pedal height should not
change.
4. Run the engine for one minute without de-
pressing the brake pedal, then turn it off.
Depress the brake pedal several times. The
pedal travel distance will decrease gradually
with each depression as the vacuum is re-
leased from the booster.
If the brakes do not operate properly, have the
brakes checked by a NISSAN dealer.
ENGINE COMPARTMENT
CAUTION
Never use a fuse of a higher or lower
amperage rating than specified on the
fuse box cover. This could damage the
electrical system or cause a fire.
If any electrical equipment does not come on,
check for an open fuse.
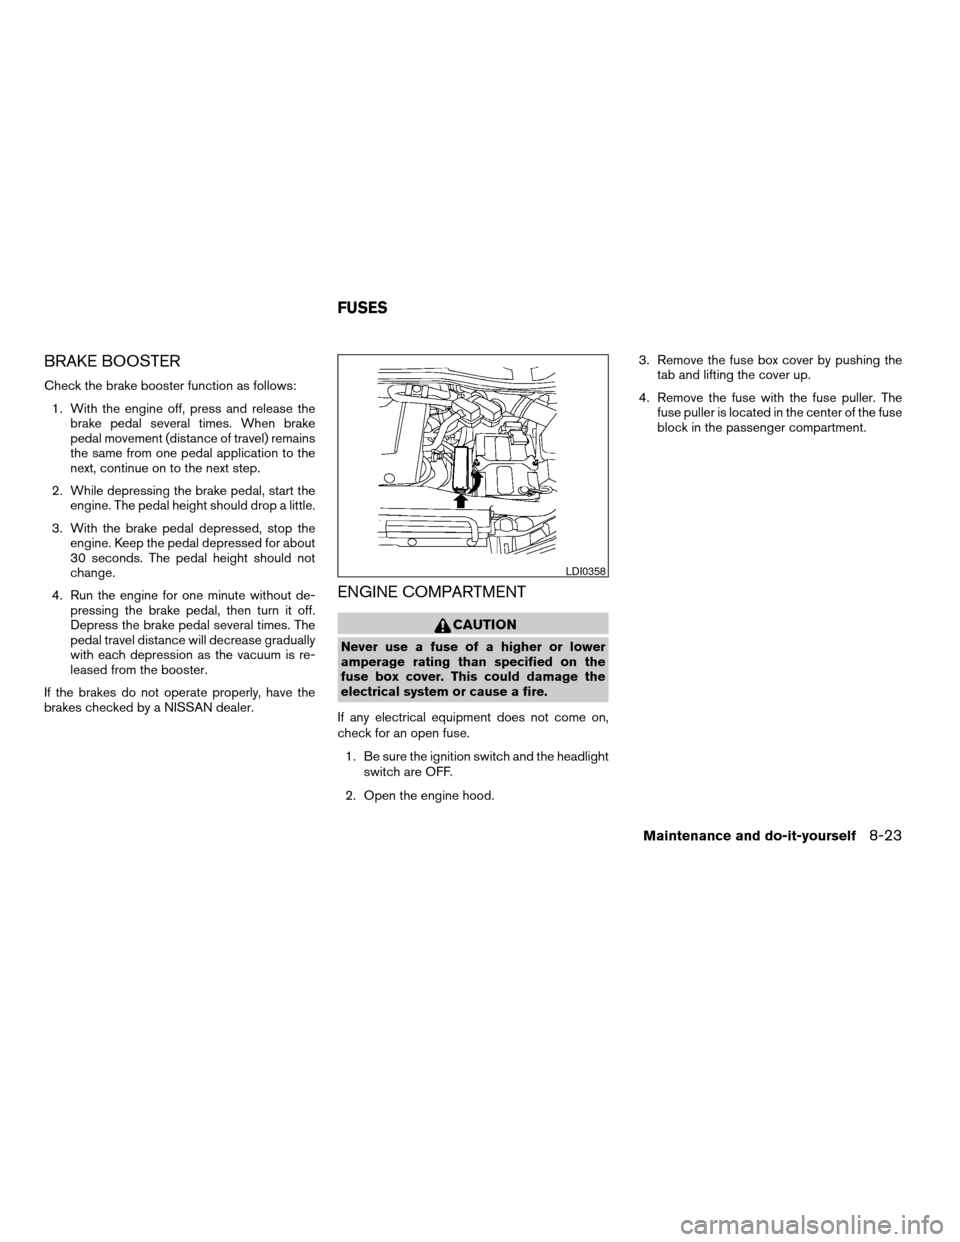
1. Be sure the ignition switch and the headlight
switch are OFF.
2. Open the engine hood.3. Remove the fuse box cover by pushing the
tab and lifting the cover up.
4. Remove the fuse with the fuse puller. The
fuse puller is located in the center of the fuse
block in the passenger compartment.
LDI0358
FUSES
Maintenance and do-it-yourself8-23
ZREVIEW COPY:Ð2004 Quest(van)
Owners Manual(owners)ÐUSA English(nna)
10/08/03Ðtbrooks
X
Page 270 of 320

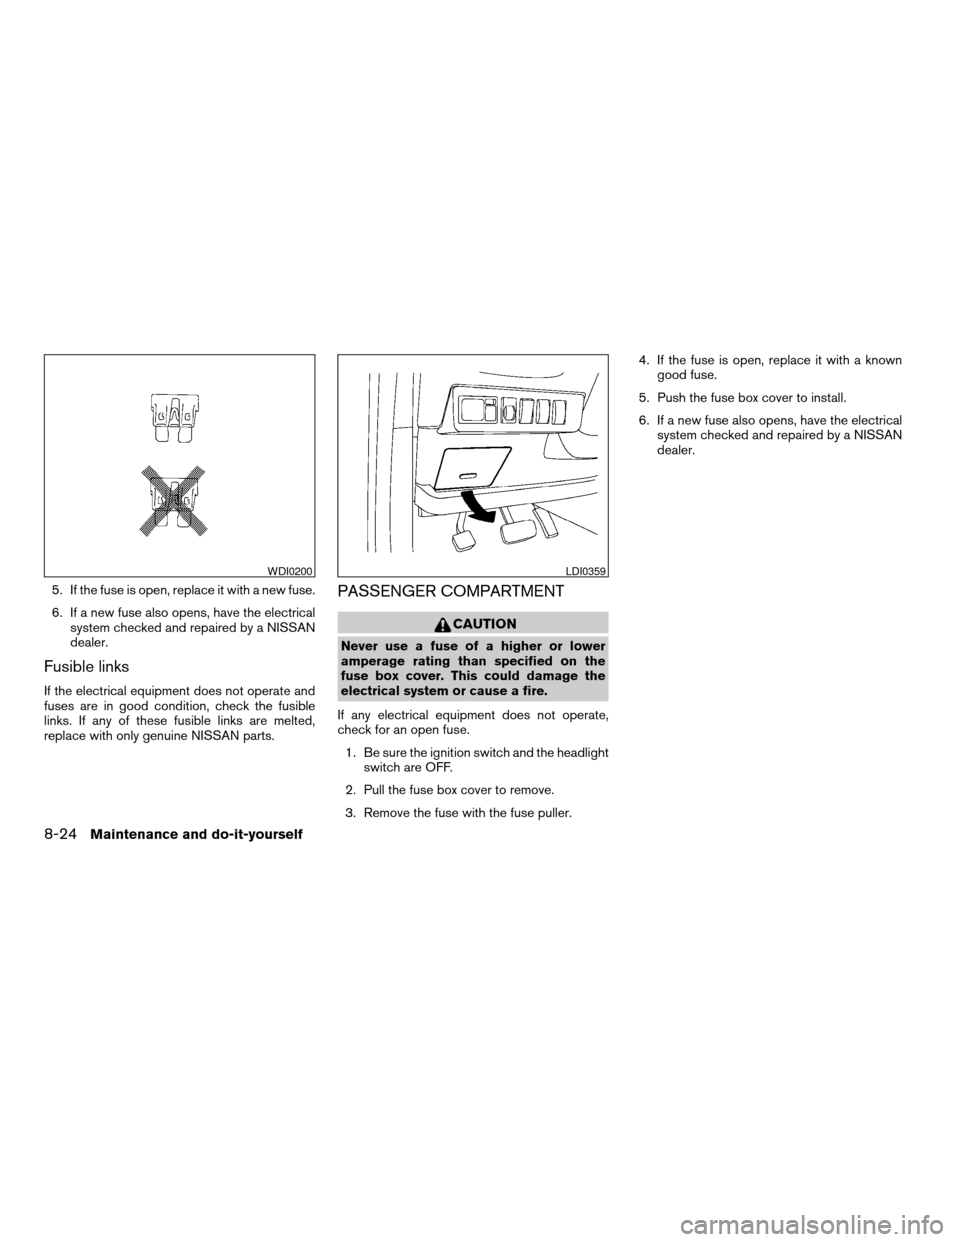
5. If the fuse is open, replace it with a new fuse.
6. If a new fuse also opens, have the electrical
system checked and repaired by a NISSAN
dealer.
Fusible links
If the electrical equipment does not operate and
fuses are in good condition, check the fusible
links. If any of these fusible links are melted,
replace with only genuine NISSAN parts.
PASSENGER COMPARTMENT
CAUTION
Never use a fuse of a higher or lower
amperage rating than specified on the
fuse box cover. This could damage the
electrical system or cause a fire.
If any electrical equipment does not operate,
check for an open fuse.
1. Be sure the ignition switch and the headlight
switch are OFF.
2. Pull the fuse box cover to remove.
3. Remove the fuse with the fuse puller.4. If the fuse is open, replace it with a known
good fuse.
5. Push the fuse box cover to install.
6. If a new fuse also opens, have the electrical
system checked and repaired by a NISSAN
dealer.
WDI0200LDI0359
8-24Maintenance and do-it-yourself
ZREVIEW COPY:Ð2004 Quest(van)
Owners Manual(owners)ÐUSA English(nna)
10/08/03Ðtbrooks
X
Page 311 of 320

Fuel
Capacities and recommended
fuel/lubricants.................9-2
Fuel economy................5-14
Fuel filler cap................3-20
Fuel filler lid.................3-20
Fuel filler lid and cap............3-20
Fuel gauge..................2-5
Fuel octane rating..............9-3
Fuel recommendation............9-3
Fuses......................8-23
Fusible links...................8-24
G
Garage door opener, HomeLinkTUniversal
Transceiver...................2-43
Garment hook..................2-34
Gascap.....................3-20
Gauge
Engine coolant temperature gauge.....2-4
Fuel gauge..................2-5
Odometer...................2-4
Speedometer.................2-4
Tachometer..................2-4
General maintenance..............8-2
Glove box....................2-28
Glove box lock.................2-28
Grocery hooks.................2-30
H
Hazard warning flasher switch.........2-20
Head restraints.................1-10Headlight and turn signal switch........2-15
Headlights....................8-26
Headphones
(See DVD entertainment system).......4-47
Headrest storage................2-34
Heated seats..................2-21
Heater
Heater and air conditioner
controls................4-17, 4-27
Heater operation...........4-19, 4-28
Rear seat air conditioner..........4-29
HomeLinkTUniversal Transceiver.......2-43
Hood release..................3-14
Horn.......................2-20
I
Ignition switch..................5-5
Immobilizer system..........2-12, 3-2, 5-6
Important vehicle information label.......9-10
In-cabin microfilter...............8-18
Increasing fuel economy............5-14
Indicator lights and audible reminders
(See warning/indicator lights and audible
reminders).....................2-6
Inside automatic anti-glare mirror.......3-23
Inside mirror...................3-23
Instrument brightness control.........2-18
Instrument panel.................2-2
Interior lights
(see Lights on demand switch)........2-41
ISOFIX child restraints.............1-51J
Jump starting...................6-7
K
Key ........................3-2
Keyless entry system
(See remote keyless entry system).......3-9
L
Labels
Air conditioner specification label.....9-11
Emission control information label.....9-10
Engine serial number............9-10
F.M.V.S.S. certification label........9-10
Vehicle identification number (VIN) plate . .9-9
Warning labels (for SRS)..........1-29
LATCH
(Lower Anchors and Tethers for CHildren)
System......................1-51
License plate
Installing the license plate.........9-11
Light
Air bag warning light.........1-30, 2-9
Brake light (See stop light).........8-27
Bulb check/instrument panel........2-6
Bulb replacement..............8-27
Charge warning light.............2-7
Cornering light...............2-19
Fog light switch...............2-19
Headlight and turn signal switch......2-15
10-3
ZREVIEW COPY:Ð2004 Quest(van)
Owners Manual(owners)ÐUSA English(nna)
10/08/03Ðtbrooks
X