2004 NISSAN QUEST engine
[x] Cancel search: enginePage 88 of 320

While the vehicle dynamic control system is op-
erating, you might feel slight vibration or hear the
system working when starting the vehicle or ac-
celerating, but this is normal.
AUDIBLE REMINDERS
Brake pad wear warning
The front disc brake pads have audible wear
warnings. When a front brake pad requires re-
placement, it makes a high pitched scraping
sound when the vehicle is in motion, whether or
not the brake pedal is depressed. Have the
brakes checked as soon as possible if the warn-
ing sound is heard.
Key reminder chime
A chime sounds if the driver’s door is opened
while the key is left in the ignition switch. Remove
the key and take it with you when leaving the
vehicle.
Light reminder chime
With the ignition switch in the OFF position, a
chime sounds when the driver’s door is opened if
the headlights or parking lights are on.
Turn the headlight control switch off before leav-
ing the vehicle.
NISSAN VEHICLE IMMOBILIZER
SYSTEM (NVIS)
The NISSAN Vehicle Immobilizer System (NVIS)
will not allow the engine to start without the use of
a registered NVIS key.
If the engine fails to start using a registered NVIS
key (for example, when interference is caused by
another NVIS key, an automated toll road device
or automatic payment device on the key ring) ,
restart the engine using the following proce-
dures:
1. Leave the ignition switch in the ON position
for approximately 5 seconds.
2. Turn the ignition switch to the OFF or LOCK
position, and wait approximately 5 seconds.
3. Repeat steps 1 and 2.
4. Restart the engine while holding the device
(which may have caused the interference)
separate from the registered NVIS key.
If the no start condition re-occurs, NISSAN rec-
ommends placing the registered NVIS key on a
separate key ring to avoid interference from other
devices.Statement related to Section 15 of FCC
Rules for NISSAN Vehicle Immobilizer Sys-
tem (CONT ASSY — IMMOBILIZER, ANT
ASSY — IMMOBILIZER)
This device complies with part 15 of the
FCC Rules and RSS-210 of Industry
Canada. Operation is subject to the follow-
ing two conditions;
(1) This device may not cause harmful in-
terference, and (2) this device must accept
any interference received, including inter-
ference that may cause undesired opera-
tion of the device.
CHANGES OR MODIFICATIONS NOT EX-
PRESSLY APPROVED BY THE MANUFAC-
TURER FOR COMPLIANCE COULD VOID
THE USER’S AUTHORITY TO OPERATE
THE EQUIPMENT.
SECURITY SYSTEM
2-12Instruments and controls
ZREVIEW COPY:Ð2004 Quest(van)
Owners Manual(owners)ÐUSA English(nna)
10/08/03Ðtbrooks
X
Page 91 of 320
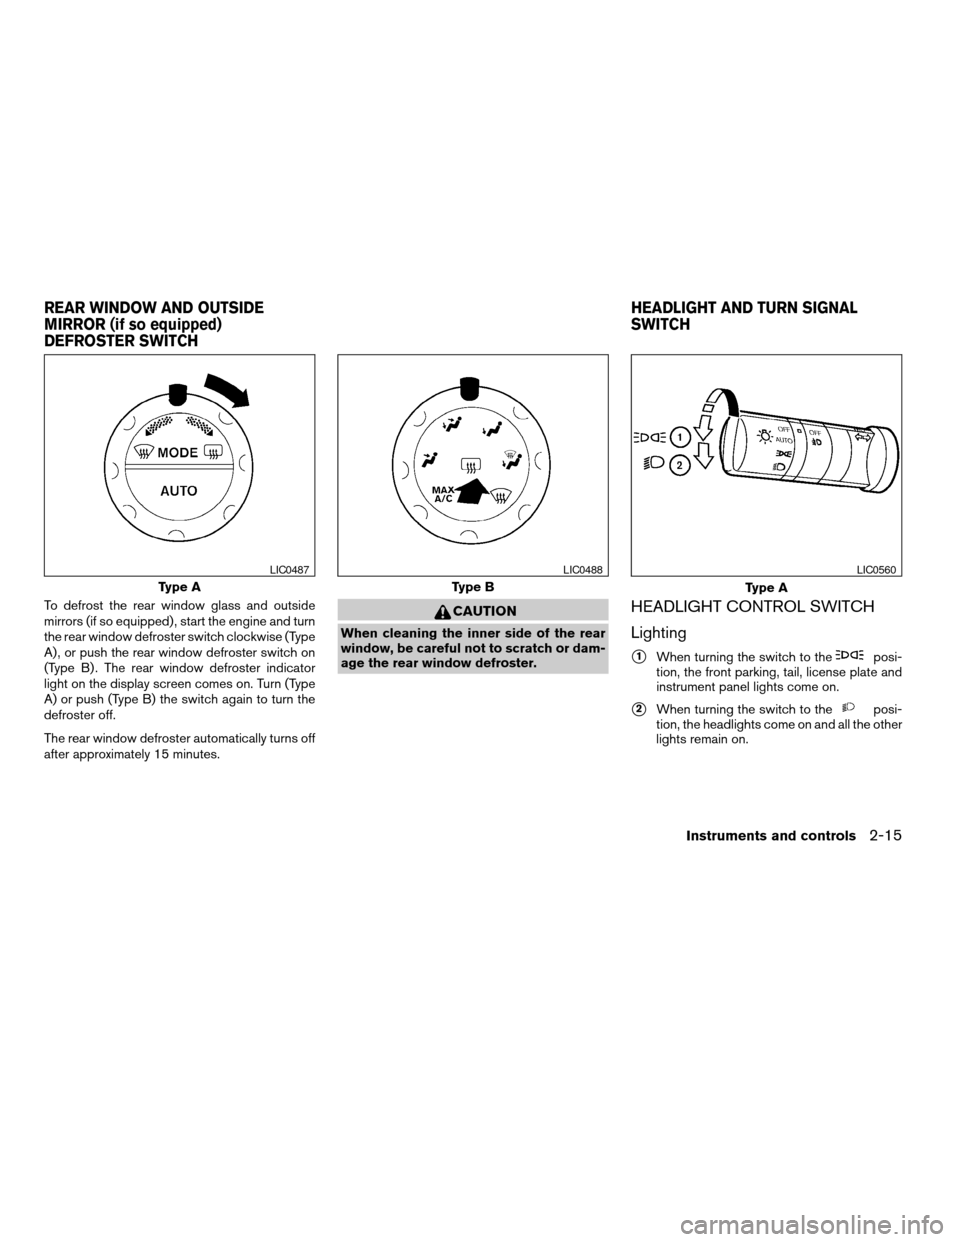
To defrost the rear window glass and outside
mirrors (if so equipped) , start the engine and turn
the rear window defroster switch clockwise (Type
A) , or push the rear window defroster switch on
(Type B) . The rear window defroster indicator
light on the display screen comes on. Turn (Type
A) or push (Type B) the switch again to turn the
defroster off.
The rear window defroster automatically turns off
after approximately 15 minutes.CAUTION
When cleaning the inner side of the rear
window, be careful not to scratch or dam-
age the rear window defroster.
HEADLIGHT CONTROL SWITCH
Lighting
s1When turning the switch to theposi-
tion, the front parking, tail, license plate and
instrument panel lights come on.
s2When turning the switch to theposi-
tion, the headlights come on and all the other
lights remain on.
Type A
LIC0487
Type B
LIC0488
Type A
LIC0560
REAR WINDOW AND OUTSIDE
MIRROR (if so equipped)
DEFROSTER SWITCHHEADLIGHT AND TURN SIGNAL
SWITCH
Instruments and controls2-15
ZREVIEW COPY:Ð2004 Quest(van)
Owners Manual(owners)ÐUSA English(nna)
10/08/03Ðtbrooks
X
Page 93 of 320

NOTE:
Autolight activation sensitivity and the
time delay for autolight shutoff can be ad-
justed. See “Personalized settings menu”
(vehicles without navigation system) or
“Vehicle electronic systems” (vehicles with
navigation system) in the “Display screen,
heater, air conditioner and audio systems”
section later in this manual.
To turn on the autolight system:
1. Make sure the headlight switch is in the
AUTO position.
2. Turn the ignition key to ON.
3. The autolight system automatically turns the
headlights on and off.
Initially, if the ignition switch is turned OFF and a
door is opened and left open, the headlights
remain on for 5 minutes. During that 5 minutes:
cif all doors are closed, the headlights remain
on for 45 seconds, then turn off.
cif another door is opened, then the 5 minute
timer is reset.
To turn the autolight system off, turn the switch to
the OFF,
,orposition.Be sure you do not put anything on top of
the autolight sensor located on top of the
instrument panel. The autolight sensor
controls the autolight; if it is covered, the
autolight sensor reacts as if it is dark out
and the headlights will illuminate. If this
occurs while parked with the engine off
and the key in the ON position, your vehi-
cle’s battery could become discharged.
Headlight beam select
s1To select the high beam function, push the
lever forward. The high beam lights come on
and the
light illuminates.
s2Pull the lever back to select the low beam.
s3Pulling and releasing the lever flashes the
headlight high beams on and off.
Battery saver system
If the ignition switch is turned OFF while the
headlight switch is in theorposi-
tion, the headlights will turn off after 5 minutes.
LIC0390
Instruments and controls2-17
ZREVIEW COPY:Ð2004 Quest(van)
Owners Manual(owners)ÐUSA English(nna)
10/08/03Ðtbrooks
X
Page 94 of 320
After the headlights automatically turn off with the
headlight switch in theorposition,
the headlights will illuminate again for 5 minutes if
the headlight switch is moved to the OFF position
and then turned to the
orposition.
CAUTION
cBe sure to turn the light switch to the
OFF position when you leave the ve-
hicle for extended periods of time, oth-
erwise the battery will go dead.
cNever leave the light switch on when
the engine is not running for extended
periods of time even if the headlights
turn off automatically.
DAYTIME RUNNING LIGHT SYSTEM
(Canada only)
The headlights automatically illuminate at a re-
duced intensity when the engine is started with
the parking brake released. The daytime running
lights operate with the headlight switch in the
OFF position or in the
position. Turn the
headlight switch to theposition for full
illumination when driving at night.
If the parking brake is applied before the engine is
started, the daytime running lights do not illumi-
nate. The daytime running lights illuminate whenthe parking brake is released. The daytime run-
ning lights will remain on until the ignition switch
is turned off.
WARNING
When the daytime running light system is
active, tail lights on your vehicle are not
on. It is necessary at dusk to turn on your
headlights. Failure to do so could cause
an accident injuring yourself and others.
INSTRUMENT BRIGHTNESS
CONTROL
The instrument cluster illuminates when the igni-
tion switch is in ON position.
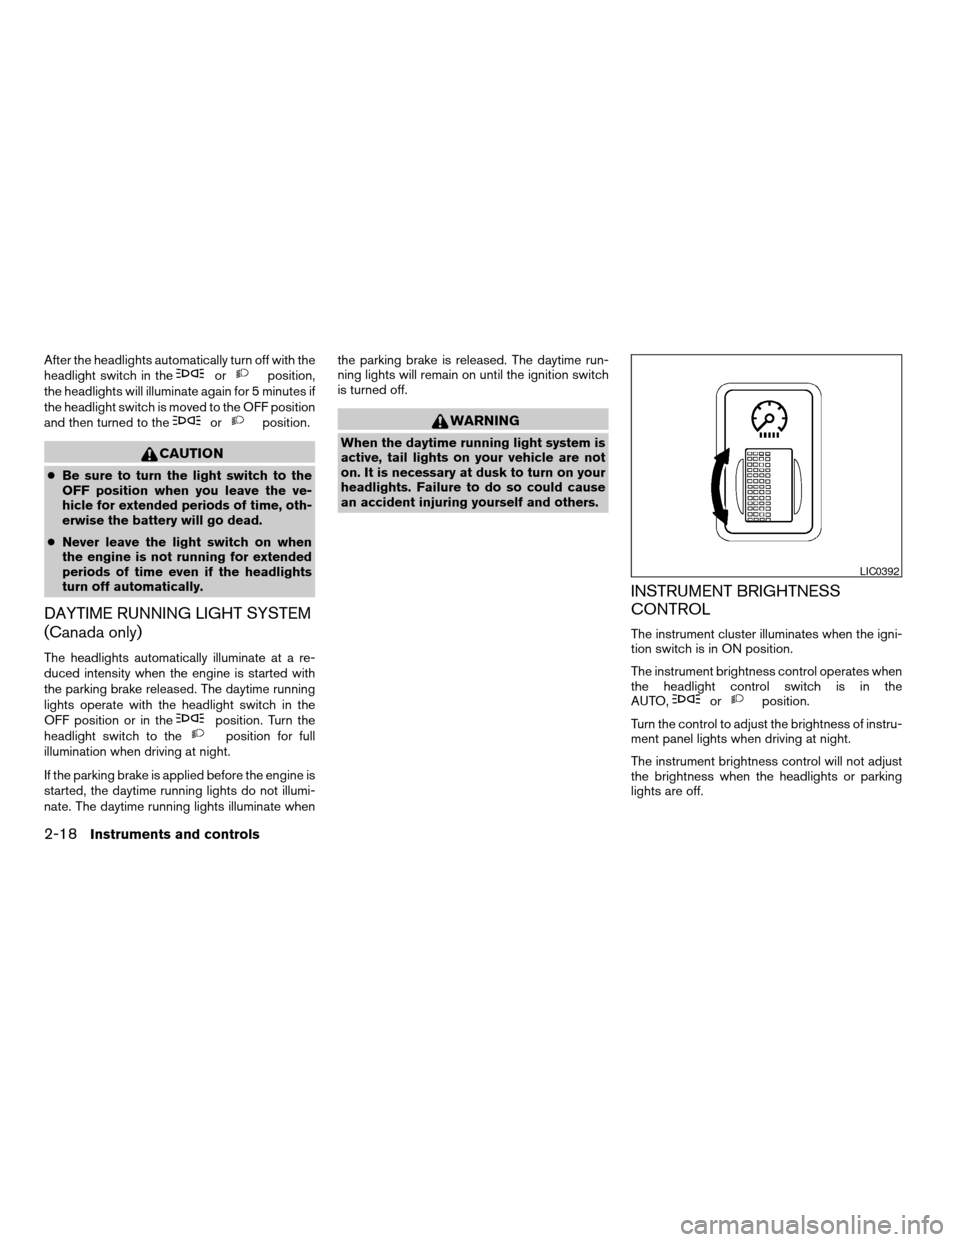
The instrument brightness control operates when
the headlight control switch is in the
AUTO,
orposition.
Turn the control to adjust the brightness of instru-
ment panel lights when driving at night.
The instrument brightness control will not adjust
the brightness when the headlights or parking
lights are off.
LIC0392
2-18Instruments and controls
ZREVIEW COPY:Ð2004 Quest(van)
Owners Manual(owners)ÐUSA English(nna)
10/08/03Ðtbrooks
X
Page 97 of 320
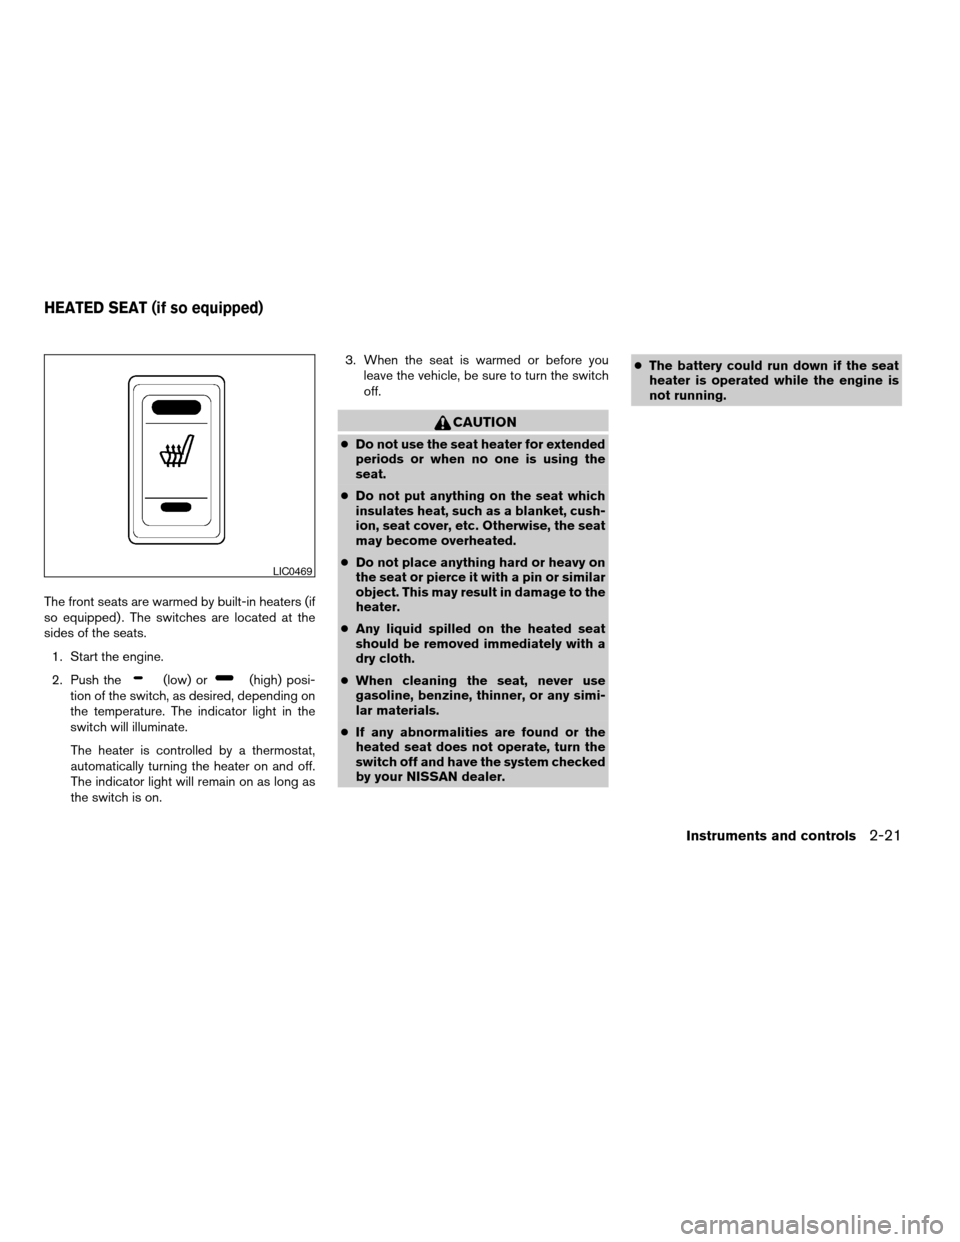
The front seats are warmed by built-in heaters (if
so equipped) . The switches are located at the
sides of the seats.
1. Start the engine.
2. Push the
(low) or(high) posi-
tion of the switch, as desired, depending on
the temperature. The indicator light in the
switch will illuminate.
The heater is controlled by a thermostat,
automatically turning the heater on and off.
The indicator light will remain on as long as
the switch is on.3. When the seat is warmed or before you
leave the vehicle, be sure to turn the switch
off.
CAUTION
cDo not use the seat heater for extended
periods or when no one is using the
seat.
cDo not put anything on the seat which
insulates heat, such as a blanket, cush-
ion, seat cover, etc. Otherwise, the seat
may become overheated.
cDo not place anything hard or heavy on
the seat or pierce it with a pin or similar
object. This may result in damage to the
heater.
cAny liquid spilled on the heated seat
should be removed immediately with a
dry cloth.
cWhen cleaning the seat, never use
gasoline, benzine, thinner, or any simi-
lar materials.
cIf any abnormalities are found or the
heated seat does not operate, turn the
switch off and have the system checked
by your NISSAN dealer.cThe battery could run down if the seat
heater is operated while the engine is
not running.
LIC0469
HEATED SEAT (if so equipped)
Instruments and controls2-21
ZREVIEW COPY:Ð2004 Quest(van)
Owners Manual(owners)ÐUSA English(nna)
10/08/03Ðtbrooks
X
Page 98 of 320
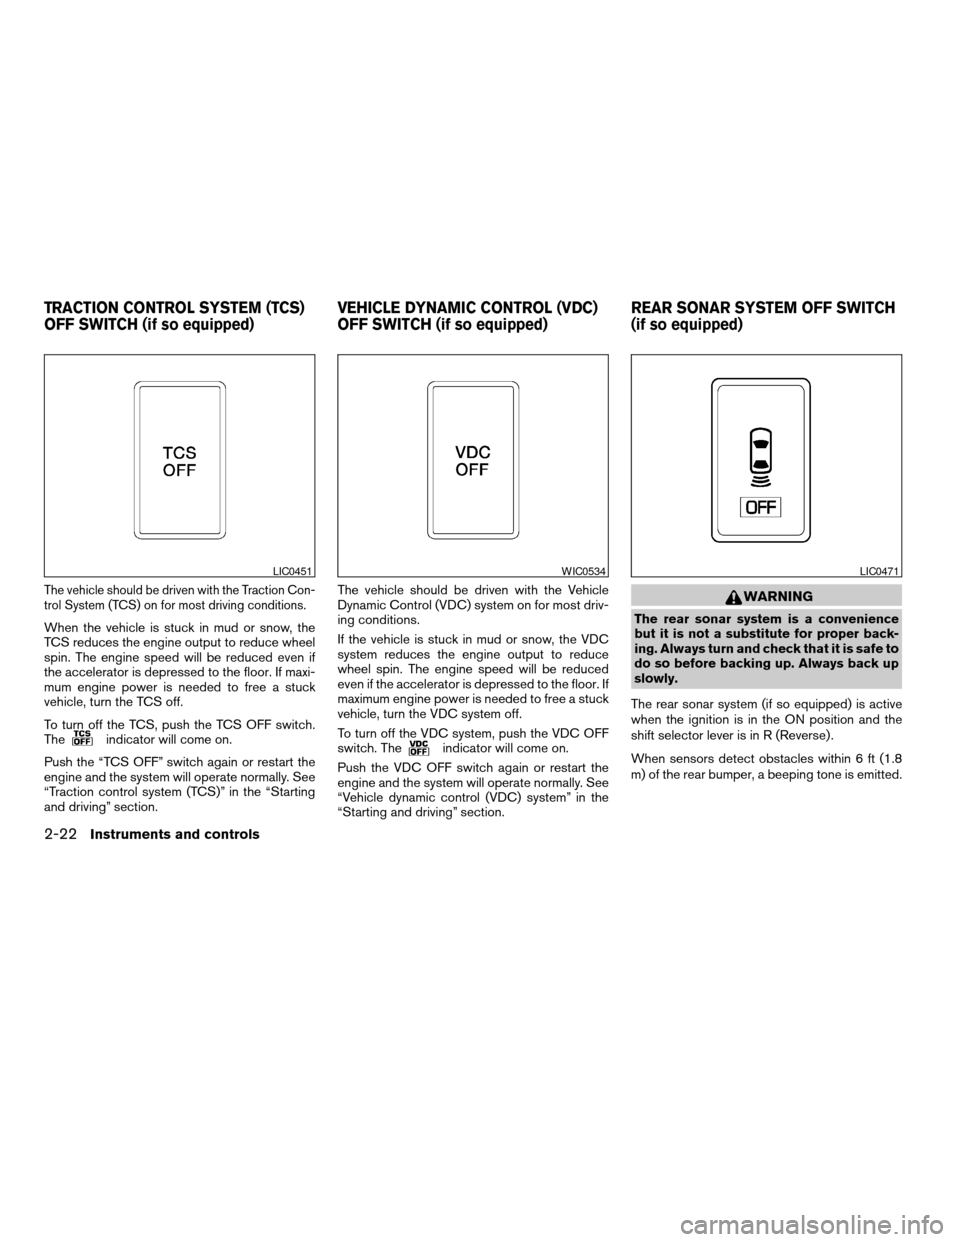
The vehicle should be driven with the Traction Con-
trol System (TCS) on for most driving conditions.
When the vehicle is stuck in mud or snow, the
TCS reduces the engine output to reduce wheel
spin. The engine speed will be reduced even if
the accelerator is depressed to the floor. If maxi-
mum engine power is needed to free a stuck
vehicle, turn the TCS off.
To turn off the TCS, push the TCS OFF switch.
The
indicator will come on.
Push the “TCS OFF” switch again or restart the
engine and the system will operate normally. See
“Traction control system (TCS)” in the “Starting
and driving” section.The vehicle should be driven with the Vehicle
Dynamic Control (VDC) system on for most driv-
ing conditions.
If the vehicle is stuck in mud or snow, the VDC
system reduces the engine output to reduce
wheel spin. The engine speed will be reduced
even if the accelerator is depressed to the floor. If
maximum engine power is needed to free a stuck
vehicle, turn the VDC system off.
To turn off the VDC system, push the VDC OFF
switch. Theindicator will come on.
Push the VDC OFF switch again or restart the
engine and the system will operate normally. See
“Vehicle dynamic control (VDC) system” in the
“Starting and driving” section.
WARNING
The rear sonar system is a convenience
but it is not a substitute for proper back-
ing. Always turn and check that it is safe to
do so before backing up. Always back up
slowly.
The rear sonar system (if so equipped) is active
when the ignition is in the ON position and the
shift selector lever is in R (Reverse) .
When sensors detect obstacles within 6 ft (1.8
m) of the rear bumper, a beeping tone is emitted.
LIC0451WIC0534LIC0471
TRACTION CONTROL SYSTEM (TCS)
OFF SWITCH (if so equipped)VEHICLE DYNAMIC CONTROL (VDC)
OFF SWITCH (if so equipped)REAR SONAR SYSTEM OFF SWITCH
(if so equipped)
2-22Instruments and controls
ZREVIEW COPY:Ð2004 Quest(van)
Owners Manual(owners)ÐUSA English(nna)
10/08/03Ðtbrooks
X
Page 99 of 320
The rear sonar system can be disabled by push-
ing the OFF switch. When the system is disabled,
the indicator light on the switch will illuminate.
The system will automatically reset the next time
the ignition switch is turned on.
See “Rear sonar system” in the “Starting and
driving” section.
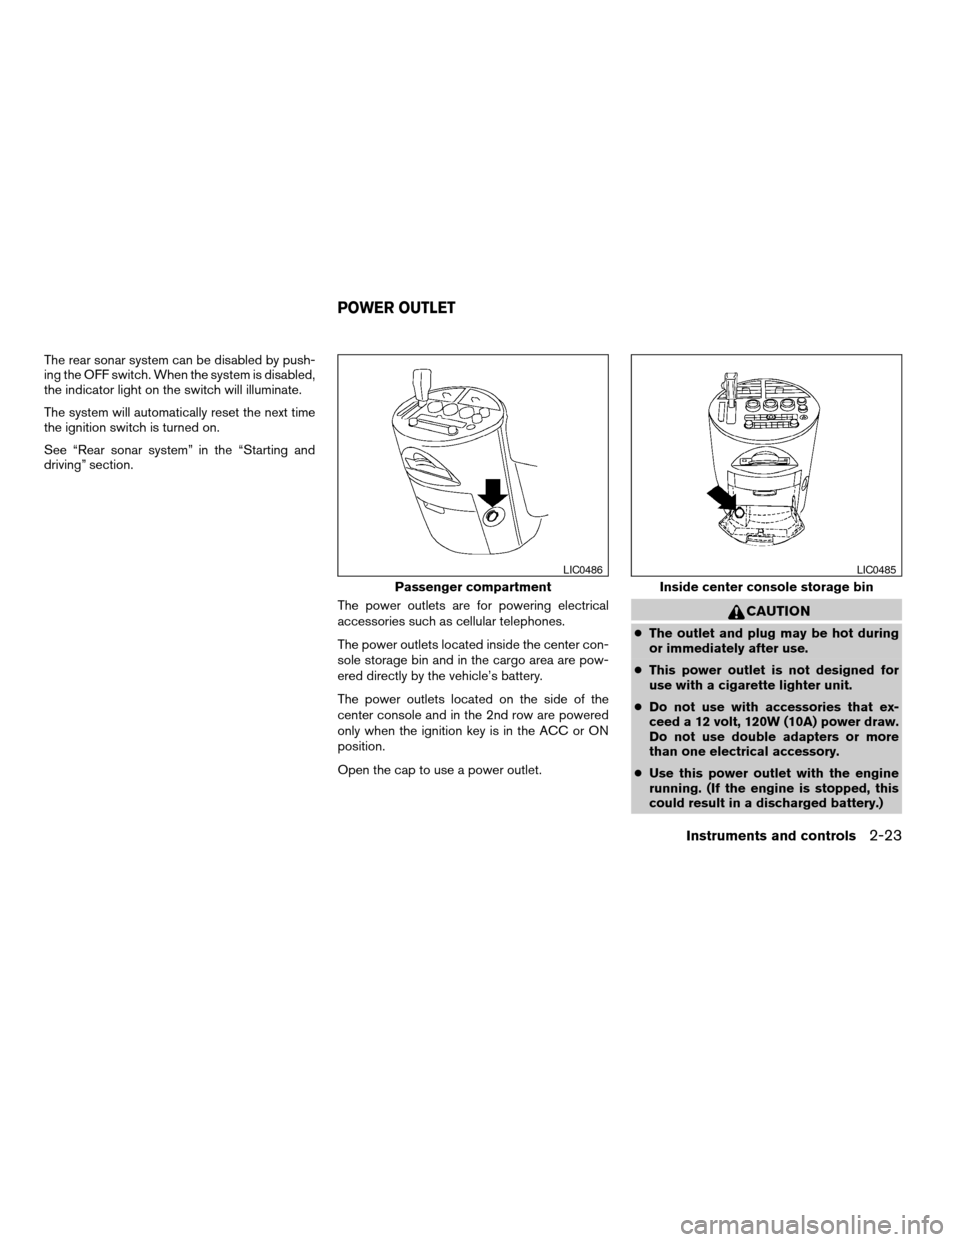
The power outlets are for powering electrical
accessories such as cellular telephones.
The power outlets located inside the center con-
sole storage bin and in the cargo area are pow-
ered directly by the vehicle’s battery.
The power outlets located on the side of the
center console and in the 2nd row are powered
only when the ignition key is in the ACC or ON
position.
Open the cap to use a power outlet.
CAUTION
cThe outlet and plug may be hot during
or immediately after use.
cThis power outlet is not designed for
use with a cigarette lighter unit.
cDo not use with accessories that ex-
ceed a 12 volt, 120W (10A) power draw.
Do not use double adapters or more
than one electrical accessory.
cUse this power outlet with the engine
running. (If the engine is stopped, this
could result in a discharged battery.)
Passenger compartment
LIC0486
Inside center console storage bin
LIC0485
POWER OUTLET
Instruments and controls2-23
ZREVIEW COPY:Ð2004 Quest(van)
Owners Manual(owners)ÐUSA English(nna)
10/08/03Ðtbrooks
X
Page 119 of 320
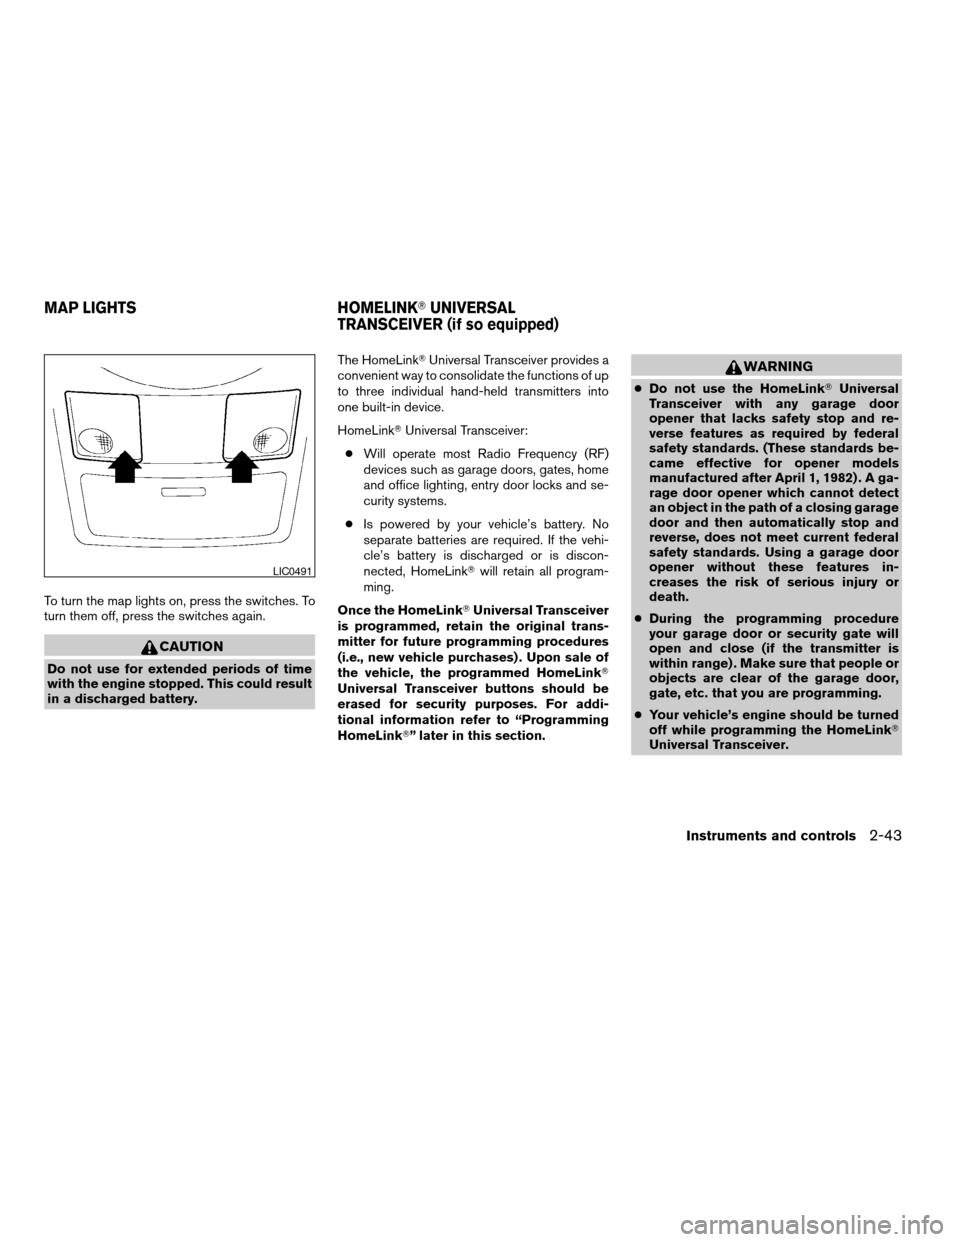
To turn the map lights on, press the switches. To
turn them off, press the switches again.
CAUTION
Do not use for extended periods of time
with the engine stopped. This could result
in a discharged battery.The HomeLinkTUniversal Transceiver provides a
convenient way to consolidate the functions of up
to three individual hand-held transmitters into
one built-in device.
HomeLinkTUniversal Transceiver:
cWill operate most Radio Frequency (RF)
devices such as garage doors, gates, home
and office lighting, entry door locks and se-
curity systems.
cIs powered by your vehicle’s battery. No
separate batteries are required. If the vehi-
cle’s battery is discharged or is discon-
nected, HomeLinkTwill retain all program-
ming.
Once the HomeLinkTUniversal Transceiver
is programmed, retain the original trans-
mitter for future programming procedures
(i.e., new vehicle purchases) . Upon sale of
the vehicle, the programmed HomeLinkT
Universal Transceiver buttons should be
erased for security purposes. For addi-
tional information refer to “Programming
HomeLinkT” later in this section.
WARNING
cDo not use the HomeLinkTUniversal
Transceiver with any garage door
opener that lacks safety stop and re-
verse features as required by federal
safety standards. (These standards be-
came effective for opener models
manufactured after April 1, 1982) . A ga-
rage door opener which cannot detect
an object in the path of a closing garage
door and then automatically stop and
reverse, does not meet current federal
safety standards. Using a garage door
opener without these features in-
creases the risk of serious injury or
death.
cDuring the programming procedure
your garage door or security gate will
open and close (if the transmitter is
within range) . Make sure that people or
objects are clear of the garage door,
gate, etc. that you are programming.
cYour vehicle’s engine should be turned
off while programming the HomeLinkT
Universal Transceiver.
LIC0491
MAP LIGHTS HOMELINKTUNIVERSAL
TRANSCEIVER (if so equipped)
Instruments and controls2-43
ZREVIEW COPY:Ð2004 Quest(van)
Owners Manual(owners)ÐUSA English(nna)
10/08/03Ðtbrooks
X