2004 NISSAN QUEST sensor
[x] Cancel search: sensorPage 46 of 320

SUPPLEMENTAL AIR BAG
WARNING LIGHT
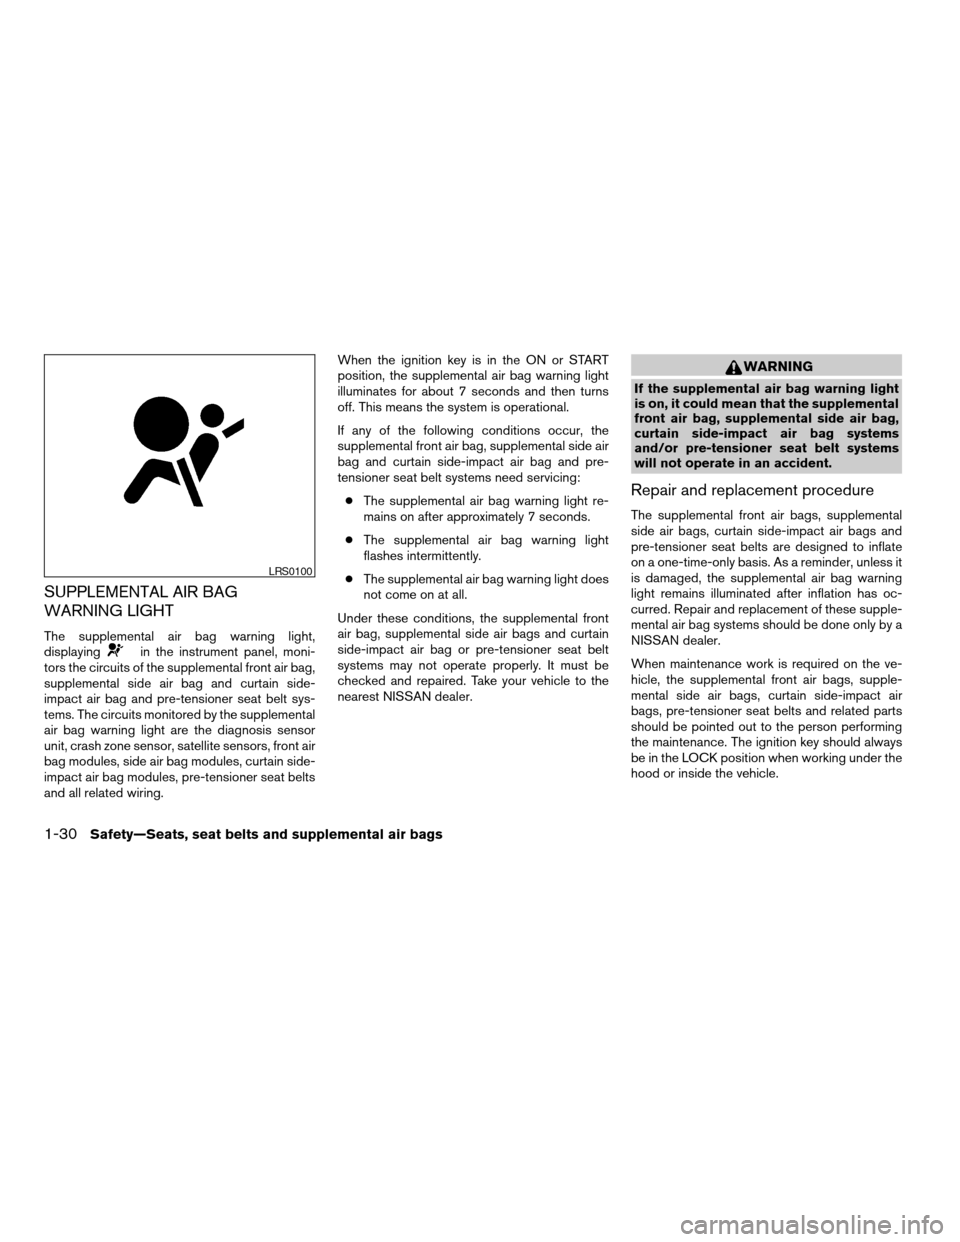
The supplemental air bag warning light,
displayingin the instrument panel, moni-
tors the circuits of the supplemental front air bag,
supplemental side air bag and curtain side-
impact air bag and pre-tensioner seat belt sys-
tems. The circuits monitored by the supplemental
air bag warning light are the diagnosis sensor
unit, crash zone sensor, satellite sensors, front air
bag modules, side air bag modules, curtain side-
impact air bag modules, pre-tensioner seat belts
and all related wiring.When the ignition key is in the ON or START
position, the supplemental air bag warning light
illuminates for about 7 seconds and then turns
off. This means the system is operational.
If any of the following conditions occur, the
supplemental front air bag, supplemental side air
bag and curtain side-impact air bag and pre-
tensioner seat belt systems need servicing:
cThe supplemental air bag warning light re-
mains on after approximately 7 seconds.
cThe supplemental air bag warning light
flashes intermittently.
cThe supplemental air bag warning light does
not come on at all.
Under these conditions, the supplemental front
air bag, supplemental side air bags and curtain
side-impact air bag or pre-tensioner seat belt
systems may not operate properly. It must be
checked and repaired. Take your vehicle to the
nearest NISSAN dealer.
WARNING
If the supplemental air bag warning light
is on, it could mean that the supplemental
front air bag, supplemental side air bag,
curtain side-impact air bag systems
and/or pre-tensioner seat belt systems
will not operate in an accident.
Repair and replacement procedure
The supplemental front air bags, supplemental
side air bags, curtain side-impact air bags and
pre-tensioner seat belts are designed to inflate
on a one-time-only basis. As a reminder, unless it
is damaged, the supplemental air bag warning
light remains illuminated after inflation has oc-
curred. Repair and replacement of these supple-
mental air bag systems should be done only by a
NISSAN dealer.
When maintenance work is required on the ve-
hicle, the supplemental front air bags, supple-
mental side air bags, curtain side-impact air
bags, pre-tensioner seat belts and related parts
should be pointed out to the person performing
the maintenance. The ignition key should always
be in the LOCK position when working under the
hood or inside the vehicle.
LRS0100
1-30Safety—Seats, seat belts and supplemental air bags
ZREVIEW COPY:Ð2004 Quest(van)
Owners Manual(owners)ÐUSA English(nna)
10/08/03Ðtbrooks
X
Page 92 of 320

Autolight system (if so equipped)
The autolight sensors1is located on top of the
instrument panel.
The autolight system allows the headlights to be
set so they turn on and off automatically. The
autolight system can:
cTurn on the headlights, front parking, tail,
license plate and instrument panel lights au-
tomatically when it is dark.
cTurn off all the lights when it is light.
cKeep all the lights on for up to 180 seconds
after you turn the key to OFF and all doors
are closed.
Type B
LIC0687
Type C
LIC0688LIC0515
2-16Instruments and controls
ZREVIEW COPY:Ð2004 Quest(van)
Owners Manual(owners)ÐUSA English(nna)
10/08/03Ðtbrooks
X
Page 93 of 320

NOTE:
Autolight activation sensitivity and the
time delay for autolight shutoff can be ad-
justed. See “Personalized settings menu”
(vehicles without navigation system) or
“Vehicle electronic systems” (vehicles with
navigation system) in the “Display screen,
heater, air conditioner and audio systems”
section later in this manual.
To turn on the autolight system:
1. Make sure the headlight switch is in the
AUTO position.
2. Turn the ignition key to ON.
3. The autolight system automatically turns the
headlights on and off.
Initially, if the ignition switch is turned OFF and a
door is opened and left open, the headlights
remain on for 5 minutes. During that 5 minutes:
cif all doors are closed, the headlights remain
on for 45 seconds, then turn off.
cif another door is opened, then the 5 minute
timer is reset.
To turn the autolight system off, turn the switch to
the OFF,
,orposition.Be sure you do not put anything on top of
the autolight sensor located on top of the
instrument panel. The autolight sensor
controls the autolight; if it is covered, the
autolight sensor reacts as if it is dark out
and the headlights will illuminate. If this
occurs while parked with the engine off
and the key in the ON position, your vehi-
cle’s battery could become discharged.
Headlight beam select
s1To select the high beam function, push the
lever forward. The high beam lights come on
and the
light illuminates.
s2Pull the lever back to select the low beam.
s3Pulling and releasing the lever flashes the
headlight high beams on and off.
Battery saver system
If the ignition switch is turned OFF while the
headlight switch is in theorposi-
tion, the headlights will turn off after 5 minutes.
LIC0390
Instruments and controls2-17
ZREVIEW COPY:Ð2004 Quest(van)
Owners Manual(owners)ÐUSA English(nna)
10/08/03Ðtbrooks
X
Page 98 of 320

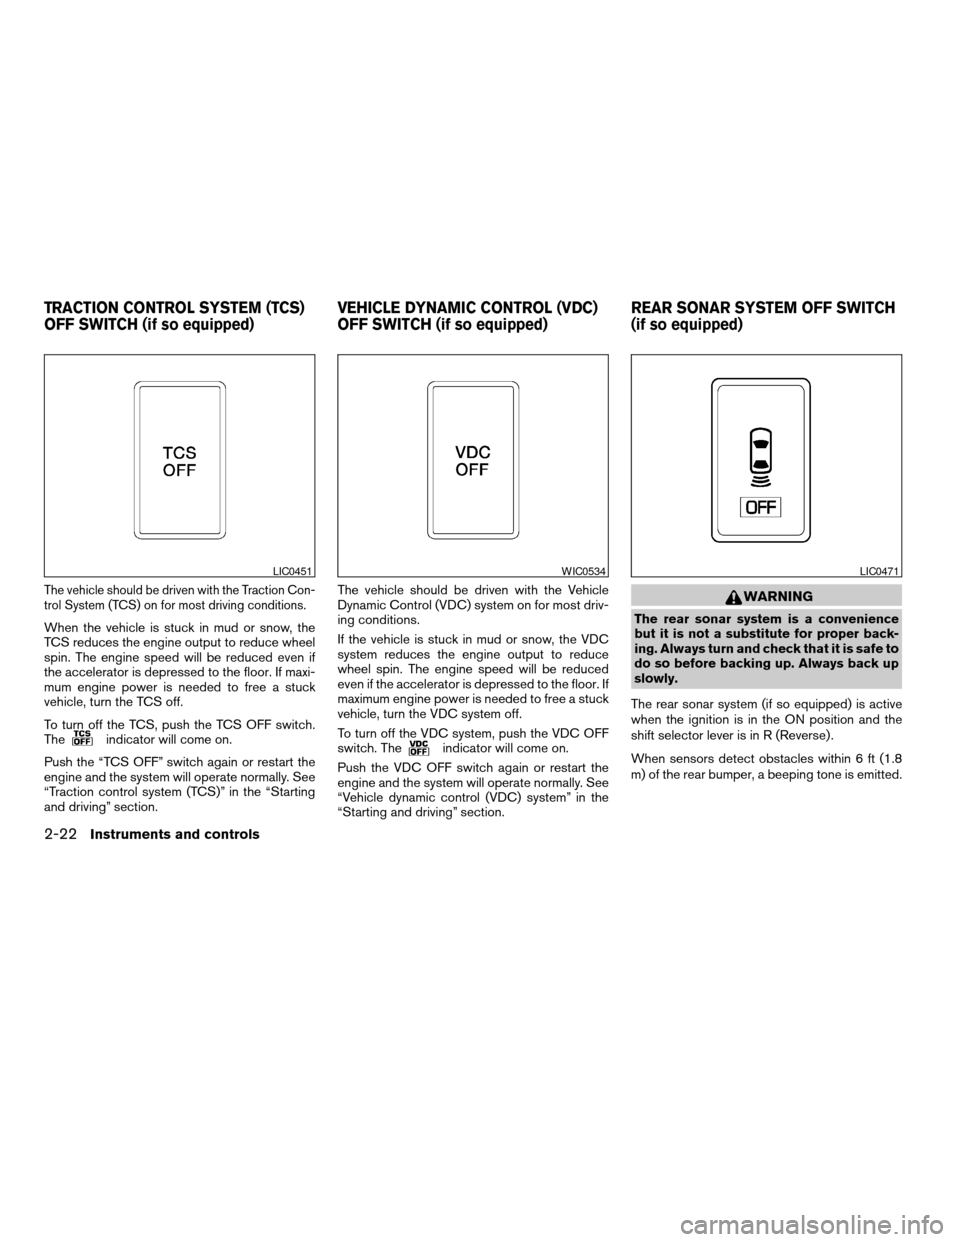
The vehicle should be driven with the Traction Con-
trol System (TCS) on for most driving conditions.
When the vehicle is stuck in mud or snow, the
TCS reduces the engine output to reduce wheel
spin. The engine speed will be reduced even if
the accelerator is depressed to the floor. If maxi-
mum engine power is needed to free a stuck
vehicle, turn the TCS off.
To turn off the TCS, push the TCS OFF switch.
The
indicator will come on.
Push the “TCS OFF” switch again or restart the
engine and the system will operate normally. See
“Traction control system (TCS)” in the “Starting
and driving” section.The vehicle should be driven with the Vehicle
Dynamic Control (VDC) system on for most driv-
ing conditions.
If the vehicle is stuck in mud or snow, the VDC
system reduces the engine output to reduce
wheel spin. The engine speed will be reduced
even if the accelerator is depressed to the floor. If
maximum engine power is needed to free a stuck
vehicle, turn the VDC system off.
To turn off the VDC system, push the VDC OFF
switch. Theindicator will come on.
Push the VDC OFF switch again or restart the
engine and the system will operate normally. See
“Vehicle dynamic control (VDC) system” in the
“Starting and driving” section.
WARNING
The rear sonar system is a convenience
but it is not a substitute for proper back-
ing. Always turn and check that it is safe to
do so before backing up. Always back up
slowly.
The rear sonar system (if so equipped) is active
when the ignition is in the ON position and the
shift selector lever is in R (Reverse) .
When sensors detect obstacles within 6 ft (1.8
m) of the rear bumper, a beeping tone is emitted.
LIC0451WIC0534LIC0471
TRACTION CONTROL SYSTEM (TCS)
OFF SWITCH (if so equipped)VEHICLE DYNAMIC CONTROL (VDC)
OFF SWITCH (if so equipped)REAR SONAR SYSTEM OFF SWITCH
(if so equipped)
2-22Instruments and controls
ZREVIEW COPY:Ð2004 Quest(van)
Owners Manual(owners)ÐUSA English(nna)
10/08/03Ðtbrooks
X
Page 165 of 320

Indicator light is not illuminated — OFFAdjust driver seat when exiting vehicle:
With this option ON, the driver’s seat automati-
cally moves back and returns to the original po-
sition for ease of exit and entry.
Remote unlock driver’s door first:
This option allows you to select which doors will
unlock first during an unlocking operation:
Only the driver’s doorÃ!All the doors
Keyless remote response — horn:
This key allows you to change the horn chirp
mode that occurs when pressing the LOCK or
UNLOCK button on the keyfob.NOTE:
If you change the horn beep or the lamp
flash feature with the keyfob, the mode will
not be changed with the display. Use the
keyfob to return to the previous mode and
re-enable the display control.
Keyless remote response — lights:
This key allows you to change the hazard indica-
tor flash mode that occurs when pressing the
LOCK or UNLOCK button on the keyfob.
NOTE:
If you change the horn beep or the lamp
flash feature with the keyfob, the mode will
not be changed with the display. Use the
keyfob to return to the previous mode and
re-enable the display control.
Auto re-lock time:
This key allows you to set the length of time
before doors auto re-lock.
Sensitivity of automatic headlights:
This key allows you to set the sensitivity of the
automatic headlights:
cLower- less sensitive, automatic headlights
will take longer to come on when the head-
light sensor senses less ambient light.
LHA0381LHA0261
Display screen, heater, air conditioner and audio systems4-13
ZREVIEW COPY:Ð2004 Quest(van)
Owners Manual(owners)ÐUSA English(nna)
10/08/03Ðtbrooks
X
Page 166 of 320

cHigher- more sensitive, automatic head-
lights will come on quicker when the head-
light sensor senses less ambient light.
Automatic headlights off delay:
This key allows you to set the length of time
before the automatic headlights turn off after
exiting the vehicle.
Speed dependent wiper:
This key allows you to turn on or turn off the
driving speed dependent intermittent wiper func-
tion.
Return all settings to default:
When this key is selected and turned on using
the“ENTER”button, all settings made by VE-
HICLE ELECTRONICS will return to the default
settings.
System settings
Language/Unit
The LANGUAGE/UNIT screen will appear when
selecting the“Language/Unit”key and push-
ing the“ENTER”button.
Language: English or French
Unit: US — mile, °F, MPG
Metric — km, °C, L/100 km
You can select the language and unit using the
joystick and“ENTER”button.Clock
Adjusting the time:
Select the“Hours”or“Minutes”key and move
the joystick to the right or left to adjust the time.
The time will change step by step.
After completion of the setting, press the
“PREV”button.
LHA0262LHA0270
4-14Display screen, heater, air conditioner and audio systems
ZREVIEW COPY:Ð2004 Quest(van)
Owners Manual(owners)ÐUSA English(nna)
10/08/03Ðtbrooks
X
Page 181 of 320

REAR CONTROL BUTTON
You can adjust the climate control system for rear
seat passengers using the buttons on the main
control panel. Front passengers can control the
rear functions by placing the controls on any
setting other than the “R”.
OPERATING TIPS
cWhen the engine coolant temperature and
outside air temperature are low, the air flow
from the foot outlets may not operate for a
maximum of 150 seconds. However, this is
not a malfunction. After the coolant tempera-
ture warms up, air flow from the foot outlets
will operate normally.The sunload sensor
s1, located on the top center
of the instrument panel, helps the system main-
tain a constant temperature. Do not put anything
on or around this sensor.To operate the rear air conditioner, the engine
must be running and the front air conditioner
system must be on.
The rear seat air conditioner can be turned on
and off from the front controls. If the rear seat fan
control dial is set to (0) , the air conditioner is
turned off. If it is set to any of the fan speed
positions, air is discharged from the rear vents at
the corresponding speed. When the rear seat fan
control dial is set to (R) , the rear seat passengers
control their own fan speed.
The rear seat air conditioner only works when the
front seat air conditioner is operating.
LHA0356LIC0515
REAR SEAT AIR CONDITIONER
Display screen, heater, air conditioner and audio systems4-29
ZREVIEW COPY:Ð2004 Quest(van)
Owners Manual(owners)ÐUSA English(nna)
10/08/03Ðtbrooks
X
Page 209 of 320

cDo not stop or park the vehicle over
flammable materials such as dry grass,
waste paper or rags. They may ignite
and cause a fire.
CAUTION
cDo not use leaded gasoline. Deposits
from leaded gasoline will seriously re-
duce the three-way catalyst’s ability to
help reduce exhaust pollutants.
cKeep your engine tuned up. Malfunc-
tions in the ignition, fuel injection, or
electrical systems can cause overrich
fuel flow into the three-way catalyst,
causing it to overheat. Do not keep driv-
ing if the engine misfires, or if notice-
able loss of performance or other un-
usual operating conditions are
detected. Have the vehicle inspected
promptly by a NISSAN dealer.
cAvoid driving with an extremely low fuel
level. Running out of fuel could cause
the engine to misfire, damaging the
three-way catalyst.
cDo not race the engine while warming it
up.
cDo not push or tow your vehicle to start
the engine.
LOW TIRE PRESSURE WARNING
SYSTEM
This vehicle is equipped with the low tire pres-
sure warning system, which displays pressure of
all tires (except the spare tire) on the display
screen by sending a signal from a sensor that is
installed in each wheel.
The low tire pressure warning system will activate
only when the vehicle is driven at speeds above
20 MPH (32 km/h) . Also, this system may not
detect a sudden drop in tire pressure (for ex-
ample a flat tire while driving) .
Tire pressure rises and falls depending on the
heat caused by the vehicle’s operation and the
outside temperature. Low outside temperature
can lower the temperature of the air inside the tire
which can cause a lower tire inflation pressure.
This may cause the low tire pressure warning
light to illuminate.
If the warning light illuminates in low ambient
temperature as described above, check the tire
pressure for all four tires. Adjust the tire pressure
to the recommended COLD tire pressure shown
on the Tire and Loading Information label to turn
the low tire pressure warning light OFF.
Frequently check the tire pressure information
display on the display screen and adjust pressure
of each tire properly. (The order of the tire pres-sure figures displayed on the screen does not
correspond with the actual order of the tire posi-
tion.) See “Tire pressure information” in the “Dis-
play screen, heater, air conditioner and audio
systems” section for tire pressure monitor.
Low tire pressure warning
If the vehicle is being driven with very low tire
pressure (lower than 28 psi, 193 kPa) , the low
tire pressure warning light comes on and the
chime sounds for about 10 seconds.
For additional information regarding the above
warning, see “Warning/indicator lights and au-
dible reminders” in the “Instruments and con-
trols” section.
Starting and driving5-3
ZREVIEW COPY:Ð2004 Quest(van)
Owners Manual(owners)ÐUSA English(nna)
10/08/03Ðtbrooks
X