Page 63 of 306
1. Speedometer
2. Warning/indicator lights
3. Tachometer
4. Fuel gauge5. Odometer/trip odometer
6. Reset knobfor trip odometer
7. Engine coolant temperature gauge
SPEEDOMETER AND ODOMETER
SpeedometerThe speedometer indicates vehicle speed.Odometer/twin trip odometerThe odometer/twin trip odometer are displayed
when the ignition key is in the ON position.
The odometer records the total distance the
vehicle has been driven.
The twin trip odometer records the distance of
individual trips.
SIC2018
SIC1440
METERS AND GAUGES
Instruments and controls
2-3
�
04.3.9/R50-D/V5
�
Page 64 of 306
Changing the display:
Push the reset knobto change the display as
follows:
TRIP A→TRIP B→TRIP A
Resetting the trip odometer:
Push the reset knobfor more than 1 second to
reset the trip odometer to zero.
TACHOMETERThe tachometer indicates engine speed in revo-
lutions per minute (rpm).
CAUTION
When engine speed approaches the red
zone, shift to a higher gear. Operating
the engine in the red zone may cause
serious engine damage.
ENGINE COOLANT TEMPERATURE
GAUGEThe gauge indicates the engine coolant tem-
perature.
The engine coolant temperature will vary with the
outside air temperature and driving conditions.
CAUTION
If the gauge indicates engine coolant
temperature over the normal range,
stop
SIC1588
SIC0173
2-4
Instruments and controls
�
04.3.9/R50-D/V5
�
Page 65 of 306
the vehicle as soon as safely possible. If
the engine is overheated, continued op-
eration of the vehicle may seriously
damage the engine. See “If your vehicle
overheats” in the “6. In case of emer-
gency” section for immediate action re-
quired.
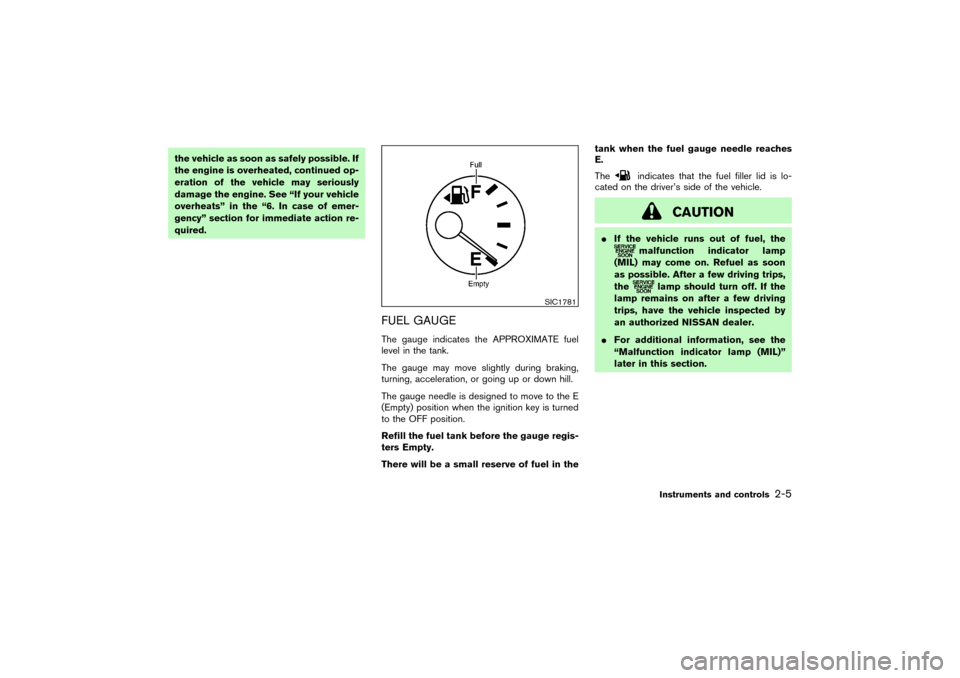
FUEL GAUGEThe gauge indicates the APPROXIMATE fuel
level in the tank.
The gauge may move slightly during braking,
turning, acceleration, or going up or down hill.
The gauge needle is designed to move to the E
(Empty) position when the ignition key is turned
to the OFF position.
Refill the fuel tank before the gauge regis-
ters Empty.
There will be a small reserve of fuel in thetank when the fuel gauge needle reaches
E.
The
indicates that the fuel filler lid is lo-
cated on the driver’s side of the vehicle.
CAUTION
�If the vehicle runs out of fuel, the
malfunction indicator lamp
(MIL) may come on. Refuel as soon
as possible. After a few driving trips,
the
lamp should turn off. If the
lamp remains on after a few driving
trips, have the vehicle inspected by
an authorized NISSAN dealer.
�For additional information, see the
“Malfunction indicator lamp (MIL)”
later in this section.
SIC1781
Instruments and controls
2-5
�
04.3.9/R50-D/V5
�
Page 66 of 306
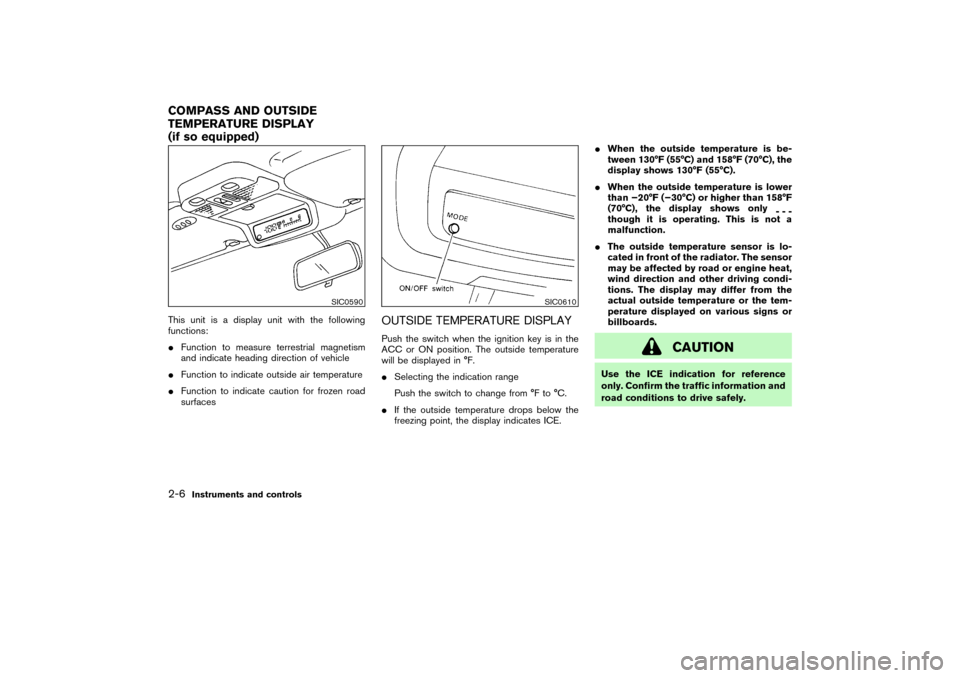
This unit is a display unit with the following
functions:
�Function to measure terrestrial magnetism
and indicate heading direction of vehicle
�Function to indicate outside air temperature
�Function to indicate caution for frozen road
surfaces
OUTSIDE TEMPERATURE DISPLAYPush the switch when the ignition key is in the
ACC or ON position. The outside temperature
will be displayed in °F.
�Selecting the indication range
Push the switch to change from °F to °C.
�If the outside temperature drops below the
freezing point, the display indicates ICE.�When the outside temperature is be-
tween 130°F (55°C) and 158°F (70°C), the
display shows 130°F (55°C).
�When the outside temperature is lower
than −20°F (−30°C) or higher than 158°F
(70°C), the display shows only
---
though it is operating. This is not a
malfunction.
�The outside temperature sensor is lo-
cated in front of the radiator. The sensor
may be affected by road or engine heat,
wind direction and other driving condi-
tions. The display may differ from the
actual outside temperature or the tem-
perature displayed on various signs or
billboards.
CAUTION
Use the ICE indication for reference
only. Confirm the traffic information and
road conditions to drive safely.
SIC0590
SIC0610
COMPASS AND OUTSIDE
TEMPERATURE DISPLAY
(if so equipped)2-6
Instruments and controls
�
04.3.9/R50-D/V5
�
Page 67 of 306
COMPASS DISPLAYPush the switch when the ignition key is in the
ACC or ON position. The direction will be
displayed.Zone variation change procedureThe difference between magnetic north and
geographical north is known as variance. In
some areas, this difference can sometimes be
great enough to cause false compass readings.
Follow these instructions to set the variance for
your particular location if this happens:
1. Establish your location on the zone map.
Record your zone number.
2. Push the ON/OFF switch in for five seconds
until the current zone entry number is dis-
played.
3. Press the ON/OFF switch repeatedly until
the new zone entry number is displayed.
Once the desired zone number is displayed,
stop pressing the ON/OFF switch and the dis-
play will show compass direction within a few
seconds.
SIC0611
Instruments and controls
2-7
�
04.3.9/R50-D/V5
�
Page 68 of 306
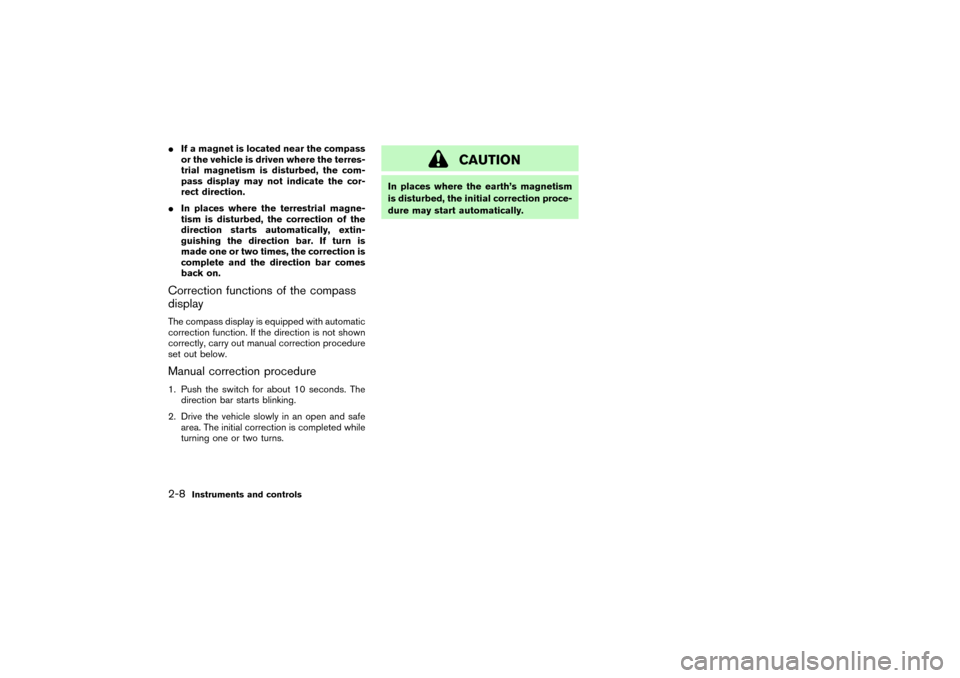
�If a magnet is located near the compass
or the vehicle is driven where the terres-
trial magnetism is disturbed, the com-
pass display may not indicate the cor-
rect direction.
�In places where the terrestrial magne-
tism is disturbed, the correction of the
direction starts automatically, extin-
guishing the direction bar. If turn is
made one or two times, the correction is
complete and the direction bar comes
back on.Correction functions of the compass
displayThe compass display is equipped with automatic
correction function. If the direction is not shown
correctly, carry out manual correction procedure
set out below.Manual correction procedure1. Push the switch for about 10 seconds. The
direction bar starts blinking.
2. Drive the vehicle slowly in an open and safe
area. The initial correction is completed while
turning one or two turns.
CAUTION
In places where the earth’s magnetism
is disturbed, the initial correction proce-
dure may start automatically.
2-8
Instruments and controls
�
04.3.9/R50-D/V5
�
Page 69 of 306
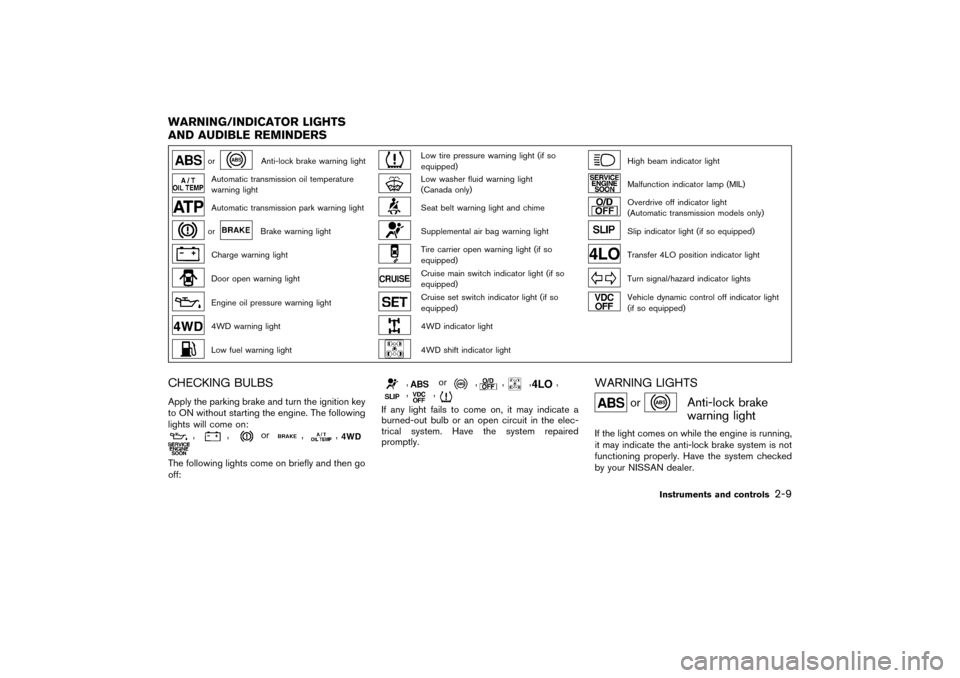
or
Anti-lock brake warning light
Low tire pressure warning light (if so
equipped)
High beam indicator light
Automatic transmission oil temperature
warning light
Low washer fluid warning light
(Canada only)
Malfunction indicator lamp (MIL)
Automatic transmission park warning light
Seat belt warning light and chime
Overdrive off indicator light
(Automatic transmission models only)
or
Brake warning light
Supplemental air bag warning light
Slip indicator light (if so equipped)
Charge warning light
Tire carrier open warning light (if so
equipped)
Transfer 4LO position indicator light
Door open warning light
Cruise main switch indicator light (if so
equipped)
Turn signal/hazard indicator lights
Engine oil pressure warning light
Cruise set switch indicator light (if so
equipped)
Vehicle dynamic control off indicator light
(if so equipped)
4WD warning light
4WD indicator light
Low fuel warning light
4WD shift indicator light
CHECKING BULBSApply the parking brake and turn the ignition key
to ON without starting the engine. The following
lights will come on:
,
,
or
,
,
The following lights come on briefly and then go
off:
,
or
,
,
,
,
,
,
If any light fails to come on, it may indicate a
burned-out bulb or an open circuit in the elec-
trical system. Have the system repaired
promptly.
WARNING LIGHTS
or
Anti-lock brake
warning light
If the light comes on while the engine is running,
it may indicate the anti-lock brake system is not
functioning properly. Have the system checked
by your NISSAN dealer.
WARNING/INDICATOR LIGHTS
AND AUDIBLE REMINDERS
Instruments and controls
2-9
�
04.3.9/R50-D/V5
�
Page 70 of 306
If an abnormality occurs in the system, the
anti-lock function will cease but the ordinary
brakes will continue to operate normally.
If the light comes on while you are driving,
contact your NISSAN dealer for repair.
Automatic transmission oil
temperature warning light
(
model)
This light comes on when the automatic trans-
mission oil temperature is too high. If the light
comes on while driving, reduce the vehicle
speed as soon as safely possible until the light
turns off.
CAUTION
Continued vehicle operation when the
A/T oil temperature warning light is on
may damage the automatic trans-
mission.
Automatic transmission park
warning light (
model)
WARNING
�If the ATP light is ON, this indicates
that the automatic transmission P
(Park) position will not function and
the transfer lever or the transfer case
is in neutral.
Part time 4WD models:
�When parking, always make sure that
the transfer lever is in H or 4L and the
parking brake is set. Failure to en-
gage the transfer control lever in H or
4L could result in the vehicle moving
unexpectedly, resulting in serious
personal injury or property damage.
All mode 4WD models:
�When parking, always make sure that
4WD shift indicator light illuminates
and the parking brake is set. Failure
to engage the 4WD shift switch in 2H,
AUTO, 4H or 4LO could result in the
vehicle moving unexpectedly, result-ing in serious personal injury or prop-
erty damage.
This light indicates that the automatic transmis-
sion parking function is not engaged. If the
transfer control is not secured in any drive
position while the automatic transmission selec-
tor lever is in the P (Park) position, the transmis-
sion will disengage and the wheel will not lock.
Part time 4WD models
Shift the transfer shift lever into the 2H, 4H or 4L
position again to turn off the ATP warning light
when the automatic transmission selector lever
is in the P position and the ATP warning light is
ON.
(Before shifting the transfer shift lever into the 4L
position, move the automatic transmission selec-
tor lever into the N position once, shift the
selector lever into P again and) make sure the
ATP warning light is OFF.
All-mode 4WD models
The warning light may come on when the ignition
switch is ON and the automatic transmission
lever is shifted to the P position while shifting the
transfer case between 4H and 4LO.
Shift the 4WD shift switch to the 2WD, AUTO,
2-10
Instruments and controls
�
04.3.9/R50-D/V5
�