Page 84 of 314

Vehicles with automatic transmission
When the engine is running, the low beam
headlamps are automatically switched on.
In low am")
84 Controls in detailLightingDaytime running lamp mode (Canada
only)
Vehicles with automatic transmission
When the engine is running, the low beam
headlamps are automatically switched on.
In low ambient light conditions the parking
lamps will also switch on.
When you shift from a driving position to
positionN orP, the low beam switches off
(two seconds delay).
Vehicles with manual transmission
With the engine running, the low beam
headlamps are automatically switched on.
For nighttime driving you should turn the
exterior lamp switch to positionB to
permit activation of the high beam head-
lamps.Switching on front fog lamps
�
Make sure the low beam headlamps
are switched on.
�
Pull out exterior lamp switch to first
stop.
The green indicator lamp‡ in the
lamp switch lights up.Switching on rear fog lamp
�
Make sure the low beam headlamps
are switched on.
�
Pull out exterior lamp switch to second
stop.
The yellow indicator lamp† in the
lamp switch lights up.
iThe high beam flasher is always avail-
able.
iFog lamps will operate with the parking
lamps and/or low beam headlamps on.
Fog lamps should only be used in con-
junction with low beam headlamps.
Consult your State or Province Motor
Vehicle Regulations regarding allow-
able lamp operation.
Page 85 of 314
85 Controls in detail
Lighting
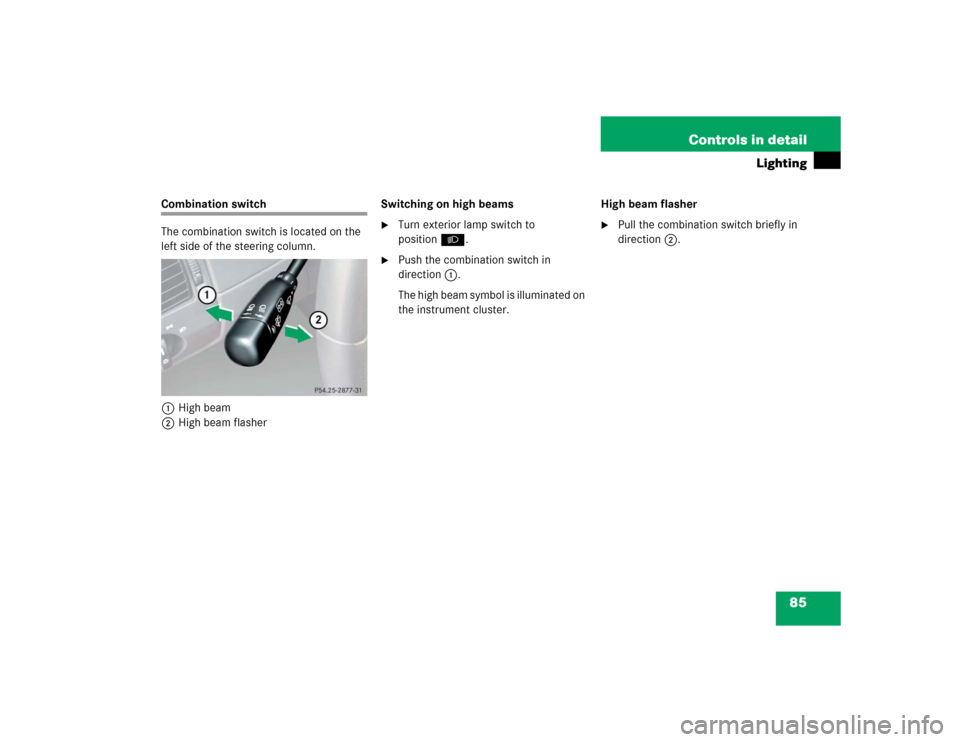
Combination switch
The combination switch is located on the
left side of the steering column.
1High beam
2High beam flasherSwitching on high beams
�
Turn exterior lamp switch to
positionB.
�
Push the combination switch in
direction1.
The high beam symbol is illuminated on
the instrument cluster.High beam flasher
�
Pull the combination switch briefly in
direction2.
Page 86 of 314
86 Controls in detailLightingHazard warning flasher
The hazard warning flasher can be activat-
ed with the ignition switched on or off. It is
activated automatically when an airbag is
deployed.
The switch is located on the center
console.
1Hazard warning flasher switchSwitching on hazard warning flasher
�
Press hazard warning flasher
switch1.
All the turn signals will blink.
Switching off hazard flasher
�
Press hazard warning flasher switch1
again.
Page 87 of 314
87 Controls in detail
Lighting
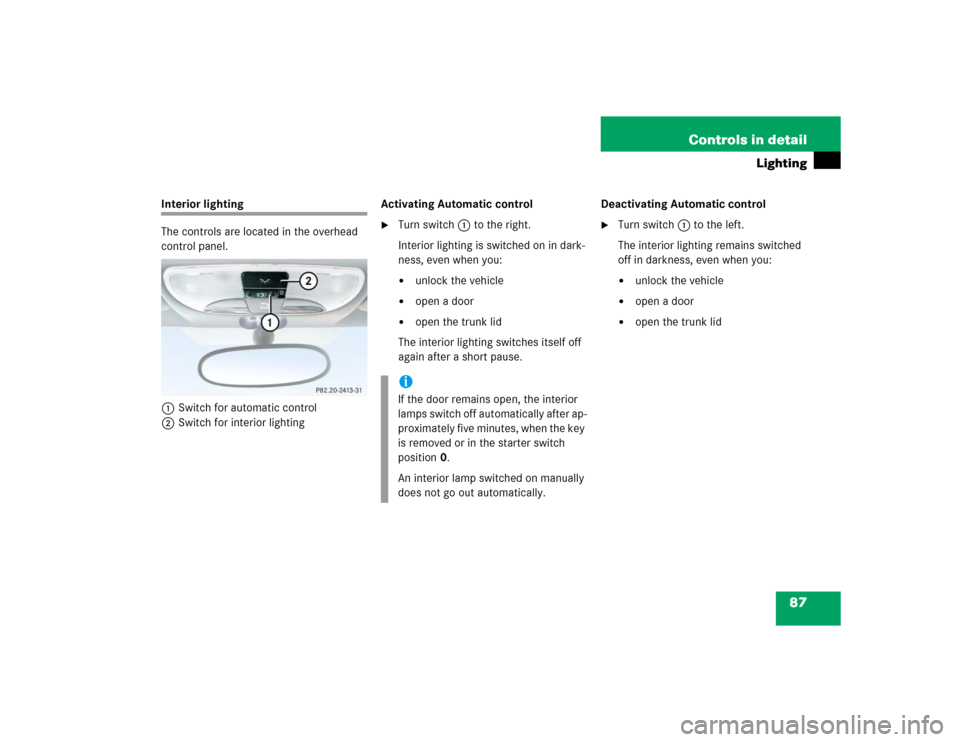
Interior lighting
The controls are located in the overhead
control panel.
1Switch for automatic control
2Switch for interior lightingActivating Automatic control
�
Turn switch1 to the right.
Interior lighting is switched on in dark-
ness, even when you:�
unlock the vehicle
�
open a door
�
open the trunk lid
The interior lighting switches itself off
again after a short pause.Deactivating Automatic control
�
Turn switch1 to the left.
The interior lighting remains switched
off in darkness, even when you:�
unlock the vehicle
�
open a door
�
open the trunk lid
iIf the door remains open, the interior
lamps switch off automatically after ap-
proximately five minutes, when the key
is removed or in the starter switch
position0.
An interior lamp switched on manually
does not go out automatically.
Page 88 of 314
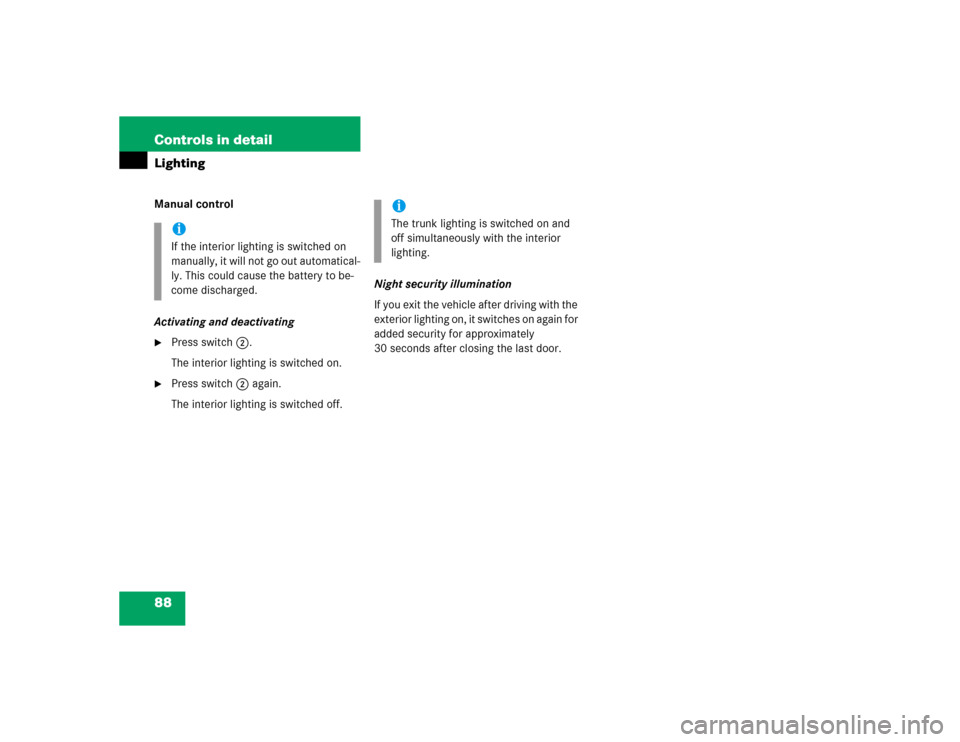
88 Controls in detailLightingManual control
Activating and deactivating�
Press switch2.
The interior lighting is switched on.
�
Press switch2 again.
The interior lighting is switched off.Night security illumination
If you exit the vehicle after driving with the
exterior lighting on, it switches on again for
added security for approximately
30 seconds after closing the last door.iIf the interior lighting is switched on
manually, it will not go out automatical-
ly. This could cause the battery to be-
come discharged.
iThe trunk lighting is switched on and
off simultaneously with the interior
lighting.
Page 99 of 314
 and for adjusting the rear view
mirrors see “Adjusting” (
�page 30) is
found in the “Get")
99 Controls in detail
Good visibility
�Good visibility
Information on the windshield wipers
(�page 44) and for adjusting the rear view
mirrors see “Adjusting” (
�page 30) is
found in the “Getting started” section.
Headlamp cleaning system*
The switch is located on the center con-
sole.
1Headlamp washer switch�
Switch on ignition.
�
Briefly press upper part of switch1.
The headlamps will be cleaned with a
high-pressure water jet.
For information on filling up the washer
reservoir, see "Windshield washer system
and headlamp cleaning system*"
(
�page 184).
Rear view mirror
Automatic antiglare rear view mirror
The reflection brightness of the exterior
rear view mirror on the driver’s side and
the interior rear view mirror will respond
automatically to glare when�
the ignition is switched on
and
�
incoming light from headlamps falls on
the sensor in the interior rear view mir-
ror
The rear view mirror will not react if
�
reverse gear is engaged
�
the interior lighting is turned on
�
the wind screen is installed
(�page 135)
Page 100 of 314

100 Controls in detailGood visibility
Sun visors
The sun visors protect you from sun glare
while driving.
Warning!
G
The automatic antiglare function does not
react if incoming light is not aimed directly
at sensors in the interior rear view mirror.
The interior rear view mirror and the exterior
rear view mirror on the driver’s side do not
react, for example, if the wind screen is in-
stalled.
Glare can endanger you and others.Warning!
G
In the case of an accident, liquid electrolyte
may escape from the mirror housing if the
mirror glass breaks.
Electrolyte has an irritating effect. Do not al-
low the liquid to come into contact with
eyes, skin, clothing, or the respiratory sys-
tem. In case it does, immediately flush af-
fected area with water, and seek medical
help if necessary.
Warning!
G
Exercise care when using the passenger
side exterior rear view mirror. The mirror
surface is convex (outwardly curved surface
for a wider field of view). Objects in mirror
are closer than they appear. Check your in-
terior rear view mirror or glance over your
shoulder before changing lanes.!Electrolyte drops coming into contact
with the vehicle paint finish can be
completely removed only while in the
liquid state by applying plenty of water.
Warning!
G
Do not use the vanity mirror while driving.
Keep the mirrors in the sun visors closed
while vehicle is in motion. Reflected glare
can endanger you and others.
Page 101 of 314

101 Controls in detail
Good visibility
1Mirror cover�
Swing sun visors down when you expe-
rience glare.
�
Push mirror cover1 to the side, as
required.
Rear window defroster
The rear window defroster uses a large
amount of power. To keep the battery
drain to a minimum, switch off the defrost-
er as soon as the rear window is clear. The
defroster is automatically deactivated af-
ter a maximum of 12 minutes.
Activating�
Switch on the ignition.
�
Press buttonF (
�page 102).
The indicator lamp on the button lights
up.
Deactivating
�
Press buttonF (
�page 102) again.
The indicator lamp on the button goes
out.
Warning!
G
Any accumulation of snow and ice should be
removed from the rear window before driv-
ing. Visibility could otherwise be impaired,
endangering you and others.!If the rear window defroster switches
off too soon and the indicator lamp
starts blinking, this means that too
many electrical consumers are operat-
ing simultaneously and there is insuffi-
cient voltage in the battery. The system
responds automatically by deactivating
the rear window defroster.
As soon as the battery has sufficient
voltage, the rear window defroster au-
tomatically turns itself back on.