Page 234 of 434
233 Controls in detail
Useful features
Programming or reprogramming the in-
tegrated remote control
Step 1:�
Switch on ignition.
Step 2:
�
If you have previously programmed an
integrated signal transmitter button
and wish to retain its programming,
proceed to step 3. Otherwise, press
and hold the two outer signal transmit-
ter buttons2 and4 and release
them only when the indicator light be-
gins to flash after approximately 20
seconds (do not hold the button for
longer than 30 seconds). This proce-
dure erases any previous settings for
all three channels and initializes the
memory. If you later wish to program a
second and/or third hand-held trans-
mitter to the remaining two signal
transmitter buttons, do not repeat this
step and begin directly with step 3.Step 3:
�
Hold the end of the hand-held remote
control transmitter6 of the device
you wish to train approximately 2 to
5 in (5 to12 cm) away from the surface
of the integrated remote control locat-
ed on the interior rear view mirror,
keeping the indicator lamp1 in view.
Step 4:
�
Using both hands, simultaneously
press the hand-held transmitter
button5 and the desired integrated
signal transmitter button (2, 3
or4). Do not release the buttons until
completing step 5.
The indicator lamp1 on the integrat-
ed remote control will flash, first slowly
and then rapidly.Step 5:
�
When the indicator lamp1 flashes
rapidly, release both buttons.
Step 6:
�
Press and hold the just-trained inte-
grated signal transmitter button and
observe the indicator lamp1.
If the indicator lamp1 stays on con-
stantly, programming is complete and
your device should activate when the
integrated signal transmitter button is
pressed and released.iThe indicator lamp1 flashes the first
time the signal transmitter button is
programmed. If this button has already
been programmed, the indicator lamp
will only start flashing after 20 sec-
onds.
Page 236 of 434
235 Controls in detail
Useful features
Step 12:�
Confirm the garage door operation by
pressing the programmed integrated
signal transmitter button (2, 3
or4).
Step 13:
�
To program the remaining two buttons,
repeat the steps above starting with
step 3.Gate operator/Canadian programming
Canadian radio-frequency laws require
transmitter signals to “time-out” (or quit)
after several seconds of transmission
which may not be long enough for the inte-
grated signal transmitter to pick up the sig-
nal during programming. Similar to this
Canadian law, some U.S. gate operators
are designed to “time-out” in the same
manner.
If you live in Canada or if you are having dif-
ficulties programming a gate operator (re-
gardless of where you live) by using the
programming procedures, replace step 4
with the following:Step 4:
�
Continue to press and hold the inte-
grated signal transmitter button (2,
3 or4) while you press and re-press
(“cycle”) your hand-held remote con-
trol transmitter6 every two seconds
until the frequency signal has been
learned. Upon successful training, the
indicator lamp1 will flash slowly and
then rapidly after several seconds.
�
Proceed with programming step 5 and
step 6 to complete.
Operation of integrated remote control
�
Switch on ignition.
�
Select and press the appropriate inte-
grated signal transmitter button (2,
3 or4) to activate the remote con-
trolled device.
The integrated remote control trans-
mitter continues to send the signal as
long as the button is pressed – up to
20 seconds.
Page 237 of 434
236 Controls in detailUseful featuresErasing the integrated remote control
memory�
Switch on ignition.
�
Simultaneously hold down the signal
transmitter buttons2 and 4, for ap-
proximately 20 seconds, until the indi-
cator lamp1 blinks rapidly. Do not
hold for longer than 30 seconds.
The codes of all three channels are
erased.Reprogramming a single integrated
signal transmitter button
To program a device using a signal trans-
mitter button previously trained, follow
these steps:
�
Press and hold the desired signal trans-
mitter button (2, 3 or4). Do not re-
lease the button.
�
The indicator lamp will begin to flash af-
ter 20 seconds. Without releasing the
integrated signal transmitter button,
proceed with programming starting
with step 3.
iIf you sell your vehicle, erase the codes
of all three channels.
Page 255 of 434
254 OperationEngine compartment
Closing�
Let the hood drop from a height of ap-
proximately 1
1/2ft (50 cm).
The hood will lock audibly.
�
Check to make sure the hood is fully
closed.
If you can raise the hood at a point
above the headlamps, then it is not
properly closed. Open it again and let it
drop with somewhat greater force.
Warning!
G
If you see flames or smoke coming from the
engine compartment, or if the coolant tem-
perature gauge indicates that the engine is
overheated, do not open the hood. Move
away from the vehicle and do not open the
hood until the engine has cooled. If neces-
sary, call the fire department.
Warning!
G
The engine is equipped with a transistorized
ignition system. Because of the high voltage
it is dangerous to touch any components (ig-
nition coils, spark plug sockets, diagnostic
socket) of the ignition system�
with the engine running
�
while starting the engine
�
if ignition is “on” and the engine is
turned manually
Warning!
G
Be careful that you do not close the hood on
anyone.
Page 256 of 434
255 Operation
Engine compartment
Engine oil
The amount of oil your engine needs will
depend on a number of factors, including
driving style. Higher oil consumption can
occur when�
the vehicle is new
�
the vehicle is driven frequently at
higher engine speeds
Engine oil consumption checks should only
be made after the vehicle break-in period.Checking engine oil level with the
control system
When checking the oil level the vehicle
must
�
be parked on level ground
�
be at normal operating temperature
�
have been stationary for at least five
minutes with the engine turned off
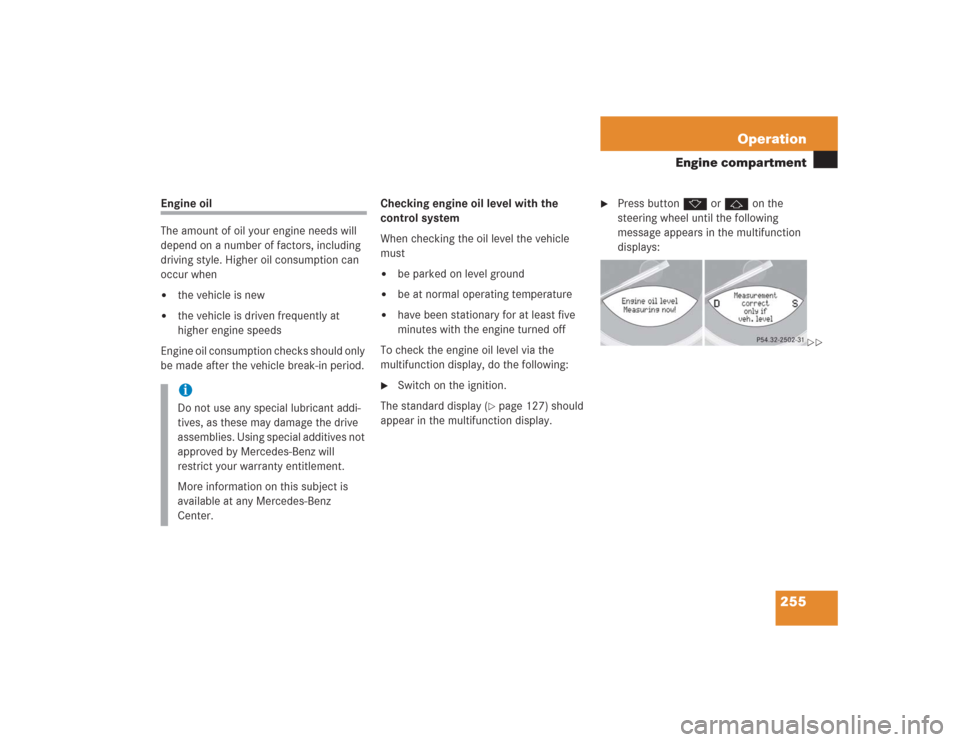
To check the engine oil level via the
multifunction display, do the following:
�
Switch on the ignition.
The standard display (
�page 127) should
appear in the multifunction display.
�
Press buttonk orj on the
steering wheel until the following
message appears in the multifunction
displays:
iDo not use any special lubricant addi-
tives, as these may damage the drive
assemblies. Using special additives not
approved by Mercedes-Benz will
restrict your warranty entitlement.
More information on this subject is
available at any Mercedes-Benz
Center.
��
Page 257 of 434

256 OperationEngine compartment
One of the following messages will
subsequently appear in the right multi-
function display:�
Engine oil level
OK
�
Add 1.0 qt. for
max. oil level(Canada:
1.0 l
)
�
Add 1.5 qts. for
max. oil level(Canada:
1.5 l
)
�
Add 2.0 qts. for
max. oil level(Canada:
2.0 l
)
�
If necessary, add engine oil.
For adding engine oil see (
�page 257).
For more information on engine oil, see the
“Technical data” section (
�page 386) and
(
�page 388).
Other display messages
If the SmartKey or the KEYLESS-GO*
start/stop button is not in position2, the
following message will appear:
Ignit. on to measure
engine oil level�
Switch on ignition.If you see the message:
Observe waiting time�
If engine is at normal operating
temperature, wait five minutes before
repeating the check procedure.
�
If engine is not yet at normal operating
temperature, wait 30 minutes before
repeating the check procedure.
If you see the message:
Engine oil level
Not when engine on
!
�
Turn off the engine.
�
If the engine is at normal operating
temperature, wait five minutes before
checking oil.
�
If the engine is not yet at normal
operating temperature, you must wait
30 minutes before checking oil.
iIf you want to interrupt the checking
procedure, press thek orj
button on the multifunction steering
wheel.
��
Page 266 of 434
265 Operation
Tires and wheels
�
Switch on ignition.
�
Make sure you are viewing the stan-
dard display menu (
�page 127).
�
Press k button until the current in-
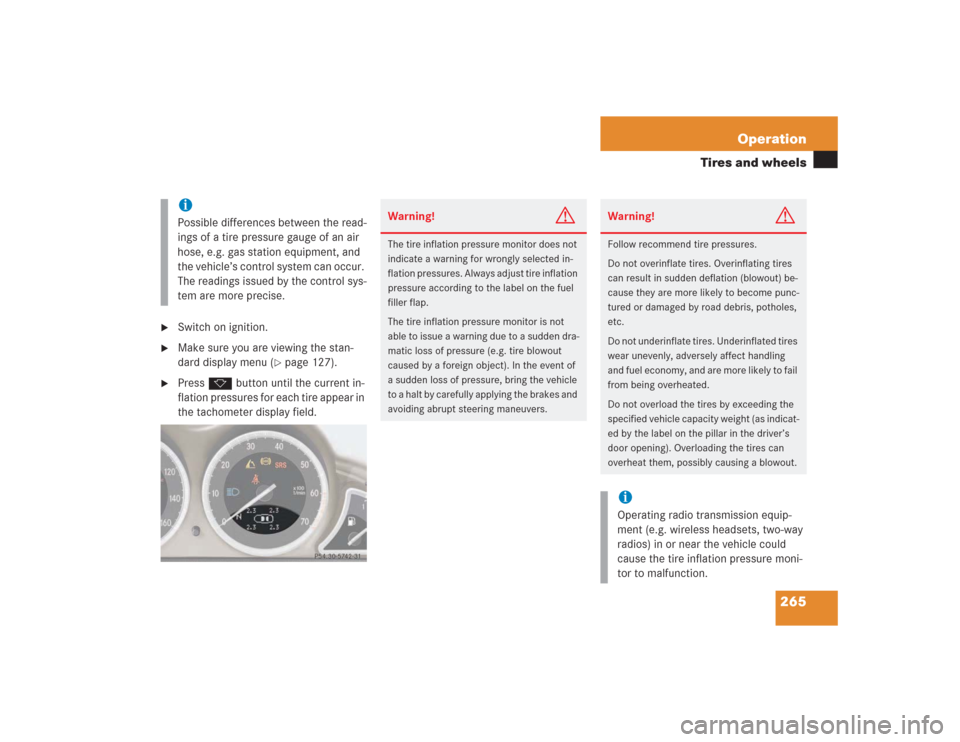
flation pressures for each tire appear in
the tachometer display field.iPossible differences between the read-
ings of a tire pressure gauge of an air
hose, e.g. gas station equipment, and
the vehicle’s control system can occur.
The readings issued by the control sys-
tem are more precise.
Warning!
G
The tire inflation pressure monitor does not
indicate a warning for wrongly selected in-
flation pressures. Always adjust tire inflation
pressure according to the label on the fuel
filler flap.
The tire inflation pressure monitor is not
able to issue a warning due to a sudden dra-
matic loss of pressure (e.g. tire blowout
caused by a foreign object). In the event of
a sudden loss of pressure, bring the vehicle
to a halt by carefully applying the brakes and
avoiding abrupt steering maneuvers.
Warning!
G
Follow recommend tire pressures.
Do not overinflate tires. Overinflating tires
can result in sudden deflation (blowout) be-
cause they are more likely to become punc-
tured or damaged by road debris, potholes,
etc.
Do not underinflate tires. Underinflated tires
wear unevenly, adversely affect handling
and fuel economy, and are more likely to fail
from being overheated.
Do not overload the tires by exceeding the
specified vehicle capacity weight (as indicat-
ed by the label on the pillar in the driver’s
door opening). Overloading the tires can
overheat them, possibly causing a blowout.iOperating radio transmission equip-
ment (e.g. wireless headsets, two-way
radios) in or near the vehicle could
cause the tire inflation pressure moni-
tor to malfunction.
Page 272 of 434
271 Operation
Maintenance
�Maintenance
We strongly recommend that you have
your vehicle serviced by an authorized
Mercedes-Benz Center, in accordance with
the Service Booklet at the times called for
by the FSS (F
lexible S
ervice S
ystem).
Failure to have the vehicle maintained in
accordance with the Service Booklet at the
designated times /mileage called for by
the FSS may result in vehicle damage not
covered by the Mercedes-Benz Limited
Warranty.
FSS will notify you when your next service
is due.
Approximately one month before your next
service is due, one of the following mes-
sages will appear in the right multifunction
display while you are driving or when you
switch on the ignition (example service A):
Service A in xx days
Service A in xx miles (km)
Service A Due now!
The type of service due is indicated in the
left multifunction display:
9Minor service (A)
´Major service (B)
Clearing the service indicator
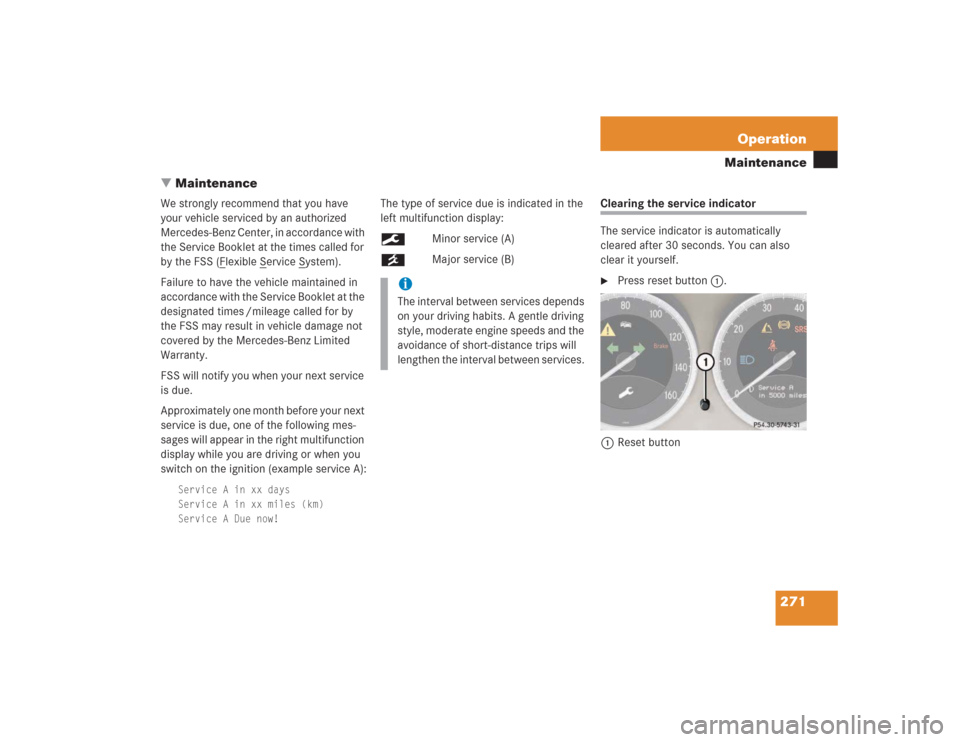
The service indicator is automatically
cleared after 30 seconds. You can also
clear it yourself.�
Press reset button1.
1Reset button
iThe interval between services depends
on your driving habits. A gentle driving
style, moderate engine speeds and the
avoidance of short-distance trips will
lengthen the interval between services.