Page 23 of 344
23 At a glance
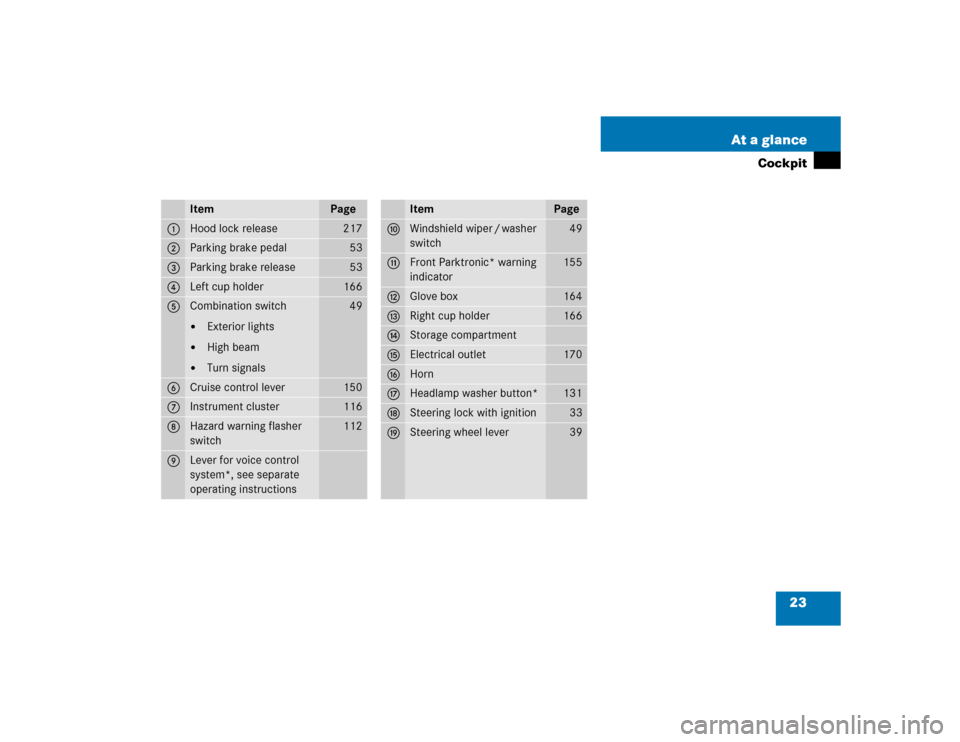
Cockpit
Item
Page
1
Hood lock release
217
2
Parking brake pedal
53
3
Parking brake release
53
4
Left cup holder
166
5
Combination switch�
Exterior lights
�
High beam
�
Turn signals
49
6
Cruise control lever
150
7
Instrument cluster
116
8
Hazard warning flasher
switch
112
9
Lever for voice control
system*, see separate
operating instructions
Item
Page
a
Windshield wiper / washer
switch
49
b
Front Parktronic* warning
indicator
155
c
Glove box
164
d
Right cup holder
166
e
Storage compartment
f
Electrical outlet
170
g
Horn
h
Headlamp washer button*
131
j
Steering lock with ignition
33
k
Steering wheel lever
39
Page 28 of 344
28 At a glanceCenter consoleLower part
Item
Page
1
Ashtray with cigarette
lighter
168
2
Gear selector lever for
automatic transmission
46
3
Power window switch, right
front door
144
4
Power window switch, right
rear door
144
5
Parktronic system*
deactivation switch
156
6
Storage compartment with
cup holder
166
Item
Page
7
Exterior rear view mirror
adjustment switch
40
Exterior rear view mirror
electrically folding*
128
8
Central locking switch
93
9
Power window switch, left
rear door
144
a
Switch for rear door win-
dow override
73
b
Power window switch, left
front door
144
Page 29 of 344
29 At a glance
Overhead control panel
�Overhead control panel
Item
Page
1
Front left interior lighting
112
2
Signal transmitter buttons
for garage door opener
180
3
Front right interior lighting
112
4
Roadside Assistance
button
175
Information button
177
5
Interior lighting control
112
6
Trip computer* display
186
7
Rear view mirror
126
Item
Page
8
Right reading lamp on / off
114
9
Automatic antiglare func-
tion* on / off
126
a
Left reading lamp on / off
114
b
Glass breakage sensor
84
c
Trip computer* control
186
Tow-away alarm switch
85
d
Tele Aid* (emergency call
system) button
171
e
Sliding / pop-up roof*
switch
148
Page 33 of 344

33 Getting started
Unlocking
Steering lock positions
0For removing key
The steering is locked when the key is
removed from the steering lock. If
necessary, move steering wheel
slightly to allow the locking mechanism
to engage.
1Unlocking steering
Power supply to some electrical con-
sumers, such as seat adjustment.
2Ignition (power supply for all electrical
consumers) and driving position
3Starting position
Warning!
G
When leaving the vehicle, always remove the
key from the steering lock and lock the vehi-
cle. Do not leave children unattended in the
vehicle, or with access to an unlocked vehi-
cle. Unsupervised use of vehicle equipment
may cause an accident and / or serious per-
sonal injury.iThe key can only be withdrawn in
position0.
If necessary, move steering wheel
slightly to allow the key to be turned
clockwise to position1.
A warning sounds when the driver’s
door is opened and the key is in steer-
ing lock position0 or1.
The key can only be removed from the
steering lock with the gear selector le-
ver in positionP.
!To prevent accelerated battery dis-
charge and a possible dead battery, al-
ways remove the key from the steering
lock when the engine is not in opera-
tion.
Page 36 of 344
36 Getting startedAdjustingSeat backrest tilt�
Turn handwheel2 forward or back-
ward until your hands are slightly ang-
led when holding the steering wheel.
Seat height
�
Lift handle3.
�
Use your body weight to push the seat
downwards.
�
Lift your weight off the seat to obtain a
higher seat position.
�
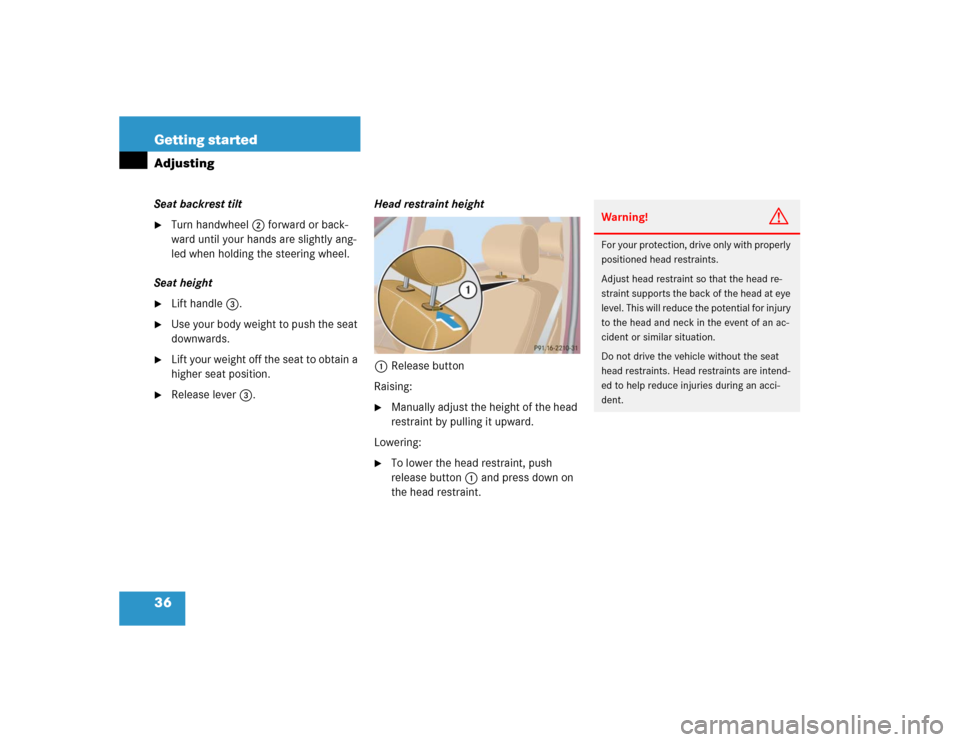
Release lever3.Head restraint height
1Release button
Raising:
�
Manually adjust the height of the head
restraint by pulling it upward.
Lowering:
�
To lower the head restraint, push
release button1 and press down on
the head restraint.
Warning!
G
For your protection, drive only with properly
positioned head restraints.
Adjust head restraint so that the head re-
straint supports the back of the head at eye
level. This will reduce the potential for injury
to the head and neck in the event of an ac-
cident or similar situation.
Do not drive the vehicle without the seat
head restraints. Head restraints are intend-
ed to help reduce injuries during an acci-
dent.
Page 38 of 344

38 Getting startedAdjustingSeat cushion tilt�
Press the switch up or down in the di-
rection of arrow3 until your upper
legs are lightly supported.
Seat backrest tilt
�
Press the switch forward or backward
in the direction of arrow1 until your
arms are slightly angled when holding
the steering wheel.
Seat height
�
Press the switch up or down in the di-
rection of arrow4.Head restraint height
1Release button
Raising:
�
Manually adjust the height of the head
restraint by pulling it upward.
Lowering:
�
To lower the head restraint, push
release button1 and press down on
the head restraint.
Warning!
G
For your protection, drive only with properly
positioned head restraints.
Adjust head restraint so that the head re-
straint supports the back of the head at eye
level. This will reduce the potential for injury
to the head and neck in the event of an ac-
cident or similar situation.
Do not drive the vehicle without the seat
head restraints. Head restraints are intend-
ed to help reduce injuries during an acci-
dent.
Page 44 of 344

44 Getting startedDriving�
With a smooth motion, pull the belt
from seat belt outlet4.
�
Place the belt over your shoulder.
�
Push latch plate1 into buckle2 until
it clicks.
�
If necessary, tighten the lap portion to
a snug fit by pulling shoulder portion
up.
�
I f ne ce ss ar y, a djus t the s ea t be lt to the
correct height (
�page 45).
Proper use of seat belts:
�
Do not twist the belt when fastening.
�
Adjust the seat belt so that the shoul-
der portion is located as close as possi-
ble to the middle of the shoulder (it
should not touch the neck or pass un-
der the arm).
�
Position the lap belt as low as possible
on your hips (over hip joint) and not
across the abdomen.
�
Place the seat backrest in a nearly up-
right position.
�
Never use a seat belt for more than one
person at a time.
�
Do not fasten a seat belt around a per-
son and another object at the same
time.
�
Check your seat belt during travel to
ensure that it is properly positioned.
�
Ensure that the seat belt is always fit-
ted snugly. You should avoid wearing
bulky clothing, such as winter coats,
when traveling in the vehicle.
Warning!
G
Do not pass belts over sharp edges. They
could tear.
Do not allow the belt to get caught in the
door or in the seat adjustment mechanism.
This could damage the belt.
Never attempt to make modifications to
seat belts. This could impair the effective-
ness of the belts.
Damaged seat belts or belts that were highly
stressed in an accident must be replaced.
Contact an authorized Mercedes-Benz Light
Truck Center.
Page 47 of 344

47 Getting started
Driving
Starting difficulties
If the engine does not start as described,
carry out the following steps:�
Turn key in starter to position0 and re-
peat starting procedure.
Remember that extended starting at-
tempts can drain the battery.
�
Get a jump start (
�page 281).
If the engine does not start after several
starting attempts, there could be a mal-
function in the engine electronics or in the
fuel supply system.
�
Notify an authorized Mercedes-Benz
Light Truck Center.Parking brake
1Parking brake pedal
2Release handle
�
Release the parking brake by pulling on
handle2.
The indicator lampÉ in the instru-
ment cluster goes out.
Driving
�
Depress the brake pedal.
�
Place the gear selector lever in
positionD orR.
�
Release the brake pedal.
�
Carefully depress the accelerator
pedal.
Warning!
G
When leaving the vehicle, always remove the
key from the steering lock and lock the vehi-
cle. Do not leave children unattended in the
vehicle, or with access to an unlocked vehi-
cle. Children could release the parking
brake, which could result in an accident
and / or serious personal injury.
iWait for the gear selection process to
complete before setting the vehicle in
motion.