Page 127 of 442
127 Controls in detail
Instrument cluster
Coolant temperature gauge
During severe operating conditions, e. g.
stop-and-go traffic, the coolant tempera-
ture may rise close to 248°F (120°C).
The engine should not be operated with
the coolant temperature above 248°F
(120°C). Doing so may cause serious en-
gine damage which is not covered by the
Mercedes-Benz Limited Warranty.
Trip odometer
Make sure you are viewing the trip odome-
ter display (
�page 129).
�
If it is not displayed, press the è or
ÿ repeatedly until the trip odome-
ter appears.
�
Press and hold the reset button on the
instrument cluster (
�page 22) until
the trip odometer is reset.
Warning!
G
�
Driving when your engine is overheated
can cause some fluids which may have
leaked into the engine compartment to
catch fire. You could be seriously
burned.
�
Steam from an overheated engine can
cause serious burns and can occur just
by opening the hood. Stay away from
the engine if you see or hear steam com-
ing from it.
Turn off the engine, get out of the vehicle
and do not stand near the vehicle until the
engine has cooled down.
iExcessive coolant temperature trigger
a warning in the multifunction display
(�page 314).
Page 134 of 442
134 Controls in detailControl systemStandard display menu
You can select the functions in the stan-
dard display menu with buttonk
orj.
The following functions are available:Display digital speedometer
�
Press buttonj twice.
The current vehicle speed is shown in
the multifunction display.
AUDIO menu
The functions in the
Audio
menu operate
the audio equipment which you currently
have turned on.
If no audio equipment is currently turned
on, the message
AUDIO OFF
is shown in the
display.
The following functions are available:Select radio station
�
Turn on the radio. Refer to separate op-
erating instructions.
�
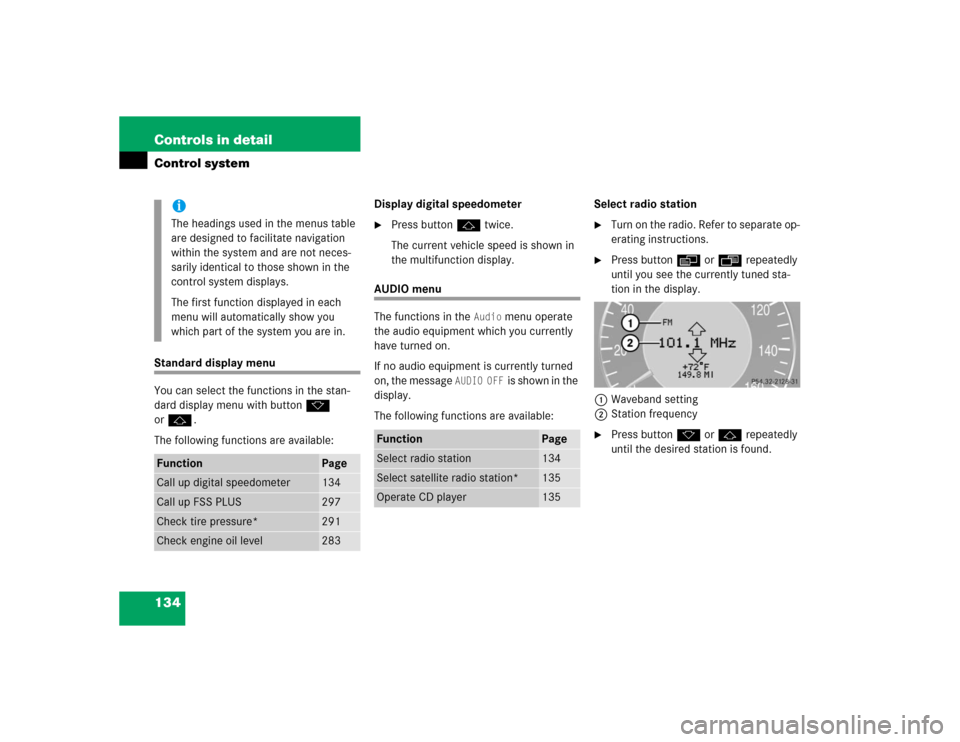
Press buttonè orÿ repeatedly
until you see the currently tuned sta-
tion in the display.
1Waveband setting
2Station frequency
�
Press buttonk orj repeatedly
until the desired station is found.
iThe headings used in the menus table
are designed to facilitate navigation
within the system and are not neces-
sarily identical to those shown in the
control system displays.
The first function displayed in each
menu will automatically show you
which part of the system you are in.
Function
Page
Call up digital speedometer
134
Call up FSS PLUS
297
Check tire pressure*
291
Check engine oil level
283
Function
Page
Select radio station
134
Select satellite radio station*
135
Operate CD player
135
Page 136 of 442
136 Controls in detailControl systemNAVI* menu
The
Navi
menu contains the functions
needed to operate your navigation system.
�
Press buttonè orÿ repeatedly
until you see the message
Navi
in the
display.
�
If the navigation system is switched off,
the message
Navi Off
is shown in the
display.
�
If the navigation system is switched on,
the message
Navi Active
is shown in
the display.
Please refer to the COMAND manual for in-
structions on how to activate the route
guidance system.
Distronic* menu
Use the Distronic menu to display the cur-
rent settings for your Distronic system.
What information is shown in the display
depends on whether the Distronic system
is active or inactive.
Please refer to the “Driving systems” sec-
tion of this manual (
�page 214) for in-
structions on how to activate Distronic.
�
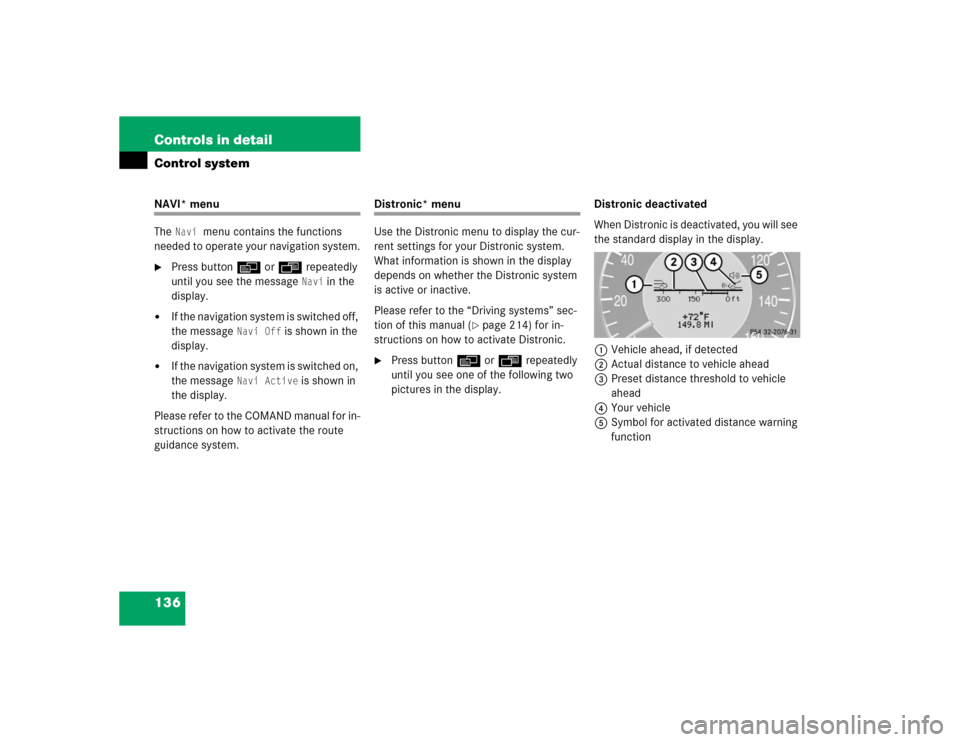
Press buttonè orÿ repeatedly
until you see one of the following two
pictures in the display.Distronic deactivated
When Distronic is deactivated, you will see
the standard display in the display.
1Vehicle ahead, if detected
2Actual distance to vehicle ahead
3Preset distance threshold to vehicle
ahead
4Your vehicle
5Symbol for activated distance warning
function
Page 140 of 442
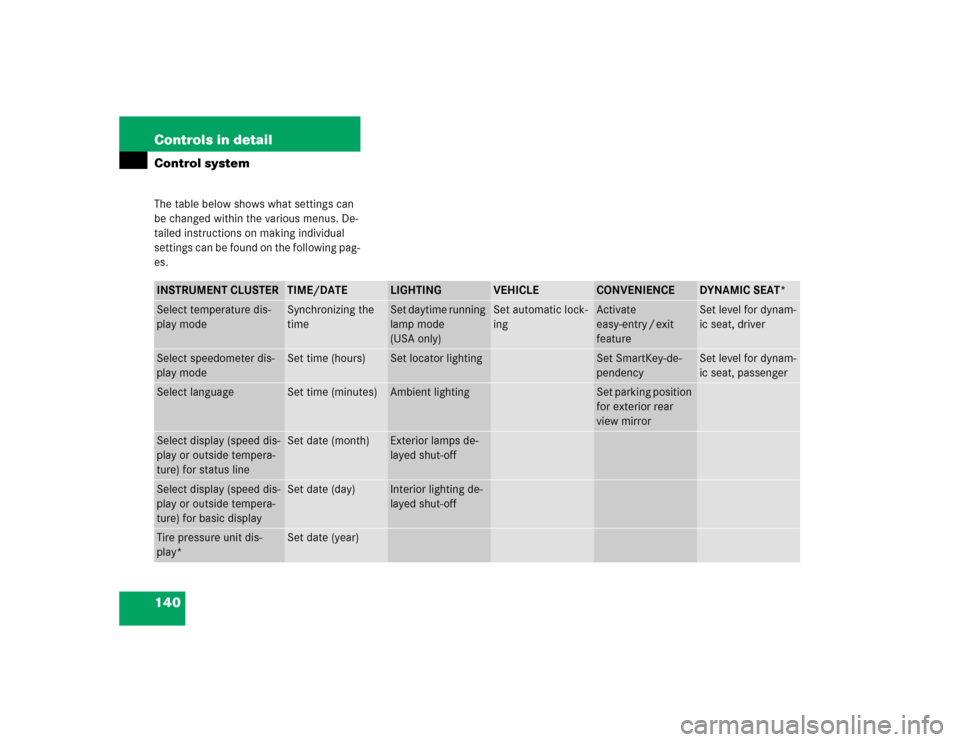
140 Controls in detailControl systemThe table below shows what settings can
be changed within the various menus. De-
tailed instructions on making individual
settings can be found on the following pag-
es.INSTRUMENT CLUSTER
TIME/DATE
LIGHTING
VEHICLE
CONVENIENCE
DYNAMIC SEAT*
Select temperature dis-
play mode
Synchronizing the
time
Set daytime running
lamp mode
(USA only)
Set automatic lock-
ing
Activate
easy-entry / exit
feature
Set level for dynam-
ic seat, driver
Select speedometer dis-
play mode
Set time (hours)
Set locator lighting
Set SmartKey-de-
pendency
Set level for dynam-
ic seat, passenger
Select language
Set time (minutes)
Ambient lighting
Set parking position
for exterior rear
view mirror
Select display (speed dis-
play or outside tempera-
ture) for status line
Set date (month)
Exterior lamps de-
layed shut-off
Select display (speed dis-
play or outside tempera-
ture) for basic display
Set date (day)
Interior lighting de-
layed shut-off
Tire pressure unit dis-
play*
Set date (year)
Page 144 of 442
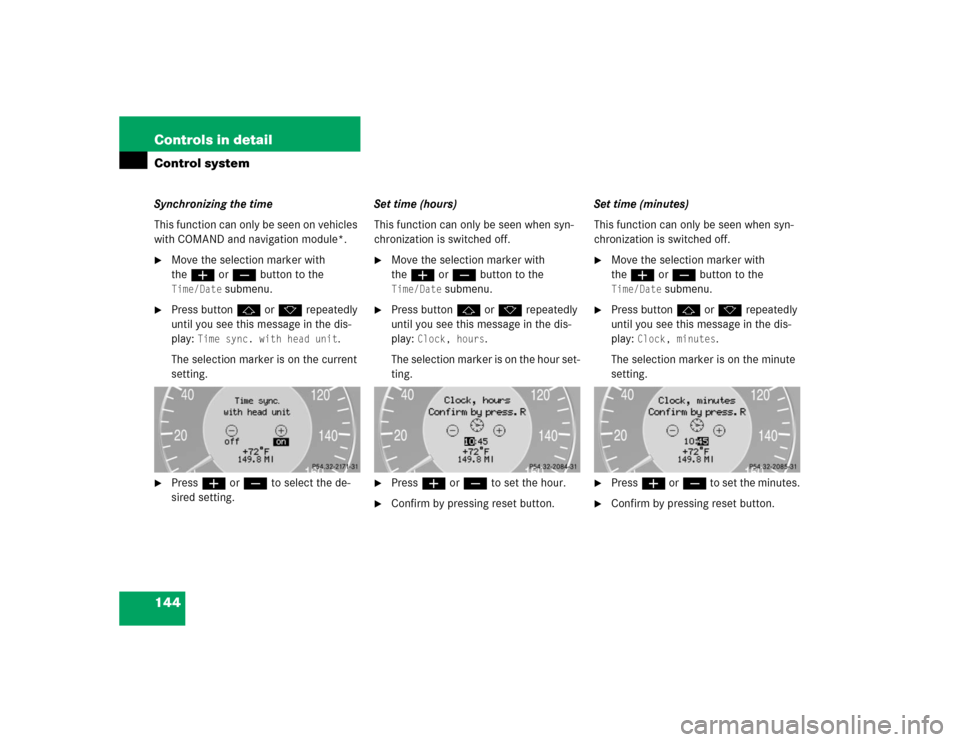
144 Controls in detailControl systemSynchronizing the time
This function can only be seen on vehicles
with COMAND and navigation module*.�
Move the selection marker with
theæ orç button to the Time/Date
submenu.
�
Press buttonj ork repeatedly
until you see this message in the dis-
play:
Time sync. with head unit
.
The selection marker is on the current
setting.
�
Pressæ orç to select the de-
sired setting.Set time (hours)
This function can only be seen when syn-
chronization is switched off.
�
Move the selection marker with
theæ orç button to the Time/Date
submenu.
�
Press buttonj ork repeatedly
until you see this message in the dis-
play:
Clock, hours
.
The selection marker is on the hour set-
ting.
�
Pressæ orç to set the hour.
�
Confirm by pressing reset button.Set time (minutes)
This function can only be seen when syn-
chronization is switched off.
�
Move the selection marker with
theæ orç button to the Time/Date
submenu.
�
Press buttonj ork repeatedly
until you see this message in the dis-
play:
Clock, minutes
.
The selection marker is on the minute
setting.
�
Pressæ orç to set the minutes.
�
Confirm by pressing reset button.
Page 146 of 442
146 Controls in detailControl systemLighting submenu
Access the
Lighting
submenu via the
Set-
tings
menu. Use the
Lighting
submenu
to change the lamp and lighting settings on
your vehicle. The following functions are
available:Setting daytime running lamp mode
(USA only)
�
Move the selection marker with
theæ orç button to the Lighting
submenu.
�
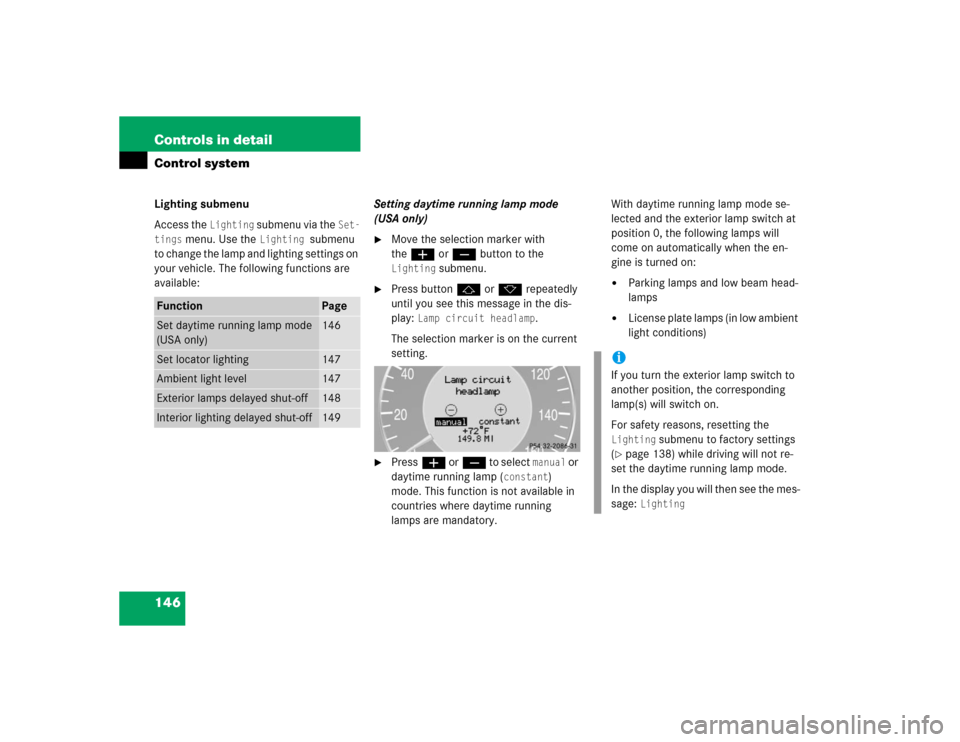
Press buttonj ork repeatedly
until you see this message in the dis-
play:
Lamp circuit headlamp
.
The selection marker is on the current
setting.
�
Pressæ orç to select
manual
or
daytime running lamp (
constant
)
mode. This function is not available in
countries where daytime running
lamps are mandatory.With daytime running lamp mode se-
lected and the exterior lamp switch at
position 0, the following lamps will
come on automatically when the en-
gine is turned on:
�
Parking lamps and low beam head-
lamps
�
License plate lamps (in low ambient
light conditions)
Function
Page
Set daytime running lamp mode
(USA only)
146
Set locator lighting
147
Ambient light level
147
Exterior lamps delayed shut-off
148
Interior lighting delayed shut-off
149
iIf you turn the exterior lamp switch to
another position, the corresponding
lamp(s) will switch on.
For safety reasons, resetting the Lighting
submenu to factory settings
(
�page 138) while driving will not re-
set the daytime running lamp mode.
In the display you will then see the mes-
sage:
Lighting
Page 147 of 442

147 Controls in detail
Control system
Setting locator lighting
During darkness, the following lamps will
come on when the exterior lamp switch is
in position
U
, the locator lighting fea-
ture is activated and the vehicle is un-
locked by SmartKey:
�
Parking lamps
�
Tail lamps
�
License plate lamps
�
Front fog lamps
The locator lighting switches off when the
driver’s door is opened. It switches off au-
tomatically after a period of approximately
40 seconds.
�
Move the selection marker with
theæ orç button to the
Light-
ing
submenu.
�
Press buttonj ork repeatedly
until you see this message in the dis-
play:
Function Surround lighting
.
The selection marker is on the current
setting.
�
Pressæ orç to select the de-
sired setting.
The locator lighting will be switched on
or off.
Ambient light level
Using this function, you can adjust the
brightness of the ambient lighting.
�
Move the selection marker with the
æ orç button to the Lighting
submenu.
�
Press button j ork repeatedly
until you see the message
Ambient
light Level
in the display.
The selection marker is on the current
setting.
�
Press æ orç to select the
brightness of the lighting. 1 represents
the darkest setting and 5 represents
the brightest setting.
The ambient light is switched off below
setting 1 or above setting 5. The selec-
tion marker points to off.
Page 148 of 442
148 Controls in detailControl systemSetting night security illumination (Exte-
rior lamps delayed shut-off)
Use the
Headlamps delayed shut-off
function to set whether and for how long
you would like the exterior lamps to illumi-
nate during darkness after all doors are
closed. When the delayed shut-off feature
is activated and the exterior lamp switch is
in position
U
, the following lamps will
remain lit after you remove the SmartKey
from the starter switch:
�
Parking lamps
�
Tail lamps
�
License plate lamps
�
Front fog lamps
�
Move the selection marker with
theæ orç button to the
Light-
ing
submenu.
�
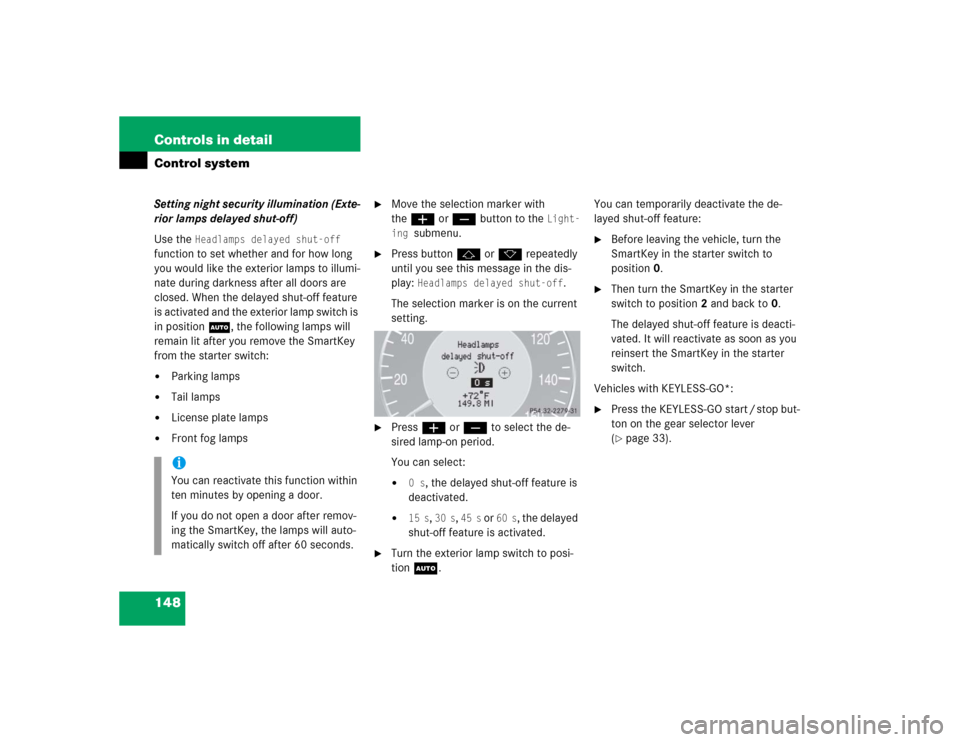
Press buttonj ork repeatedly
until you see this message in the dis-
play:
Headlamps delayed shut-off
.
The selection marker is on the current
setting.
�
Pressæ orç to select the de-
sired lamp-on period.
You can select:�
0 s
, the delayed shut-off feature is
deactivated.
�
15 s
, 30 s
, 45 s
or
60 s
, the delayed
shut-off feature is activated.
�
Turn the exterior lamp switch to posi-
tion U.You can temporarily deactivate the de-
layed shut-off feature:
�
Before leaving the vehicle, turn the
SmartKey in the starter switch to
position0.
�
Then turn the SmartKey in the starter
switch to position2 and back to0.
The delayed shut-off feature is deacti-
vated. It will reactivate as soon as you
reinsert the SmartKey in the starter
switch.
Vehicles with KEYLESS-GO*:
�
Press the KEYLESS-GO start / stop but-
ton on the gear selector lever
(�page 33).
iYou can reactivate this function within
ten minutes by opening a door.
If you do not open a door after remov-
ing the SmartKey, the lamps will auto-
matically switch off after 60 seconds.