Page 117 of 442
117 Controls in detail
Memory function
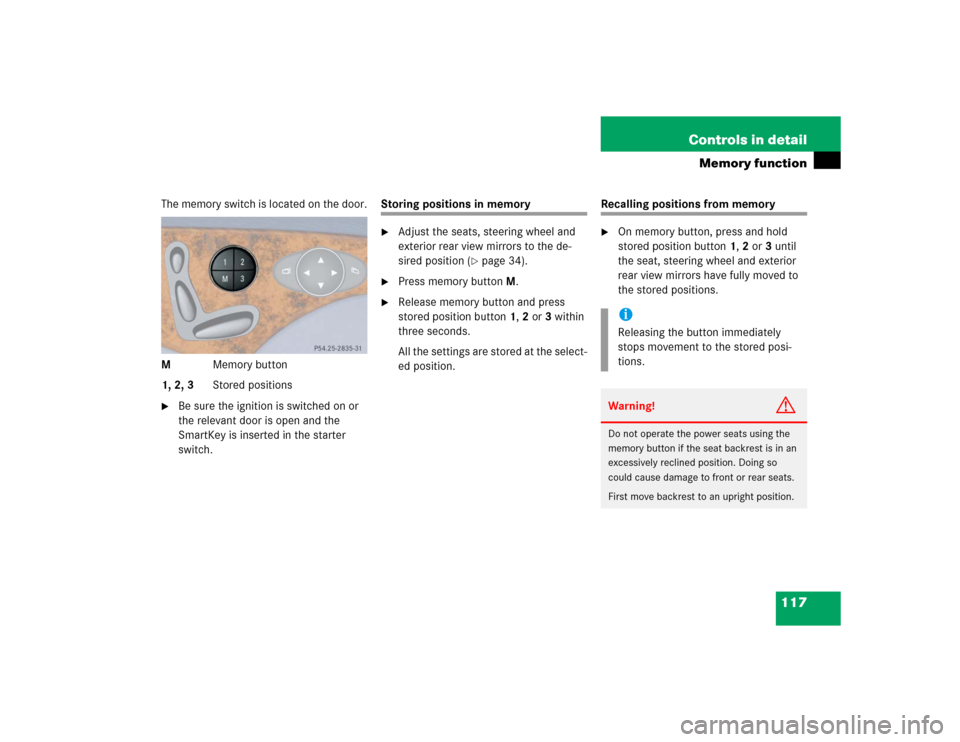
The memory switch is located on the door.
MMemory button
1, 2, 3Stored positions�
Be sure the ignition is switched on or
the relevant door is open and the
SmartKey is inserted in the starter
switch.
Storing positions in memory�
Adjust the seats, steering wheel and
exterior rear view mirrors to the de-
sired position (
�page 34).
�
Press memory buttonM.
�
Release memory button and press
stored position button 1, 2 or 3 within
three seconds.
All the settings are stored at the select-
ed position.
Recalling positions from memory�
On memory button, press and hold
stored position button1, 2 or3 until
the seat, steering wheel and exterior
rear view mirrors have fully moved to
the stored positions.iReleasing the button immediately
stops movement to the stored posi-
tions.Warning!
G
Do not operate the power seats using the
memory button if the seat backrest is in an
excessively reclined position. Doing so
could cause damage to front or rear seats.
First move backrest to an upright position.
Page 118 of 442
118 Controls in detailMemory functionStoring exterior rear view mirror park-ing position
For easier parking you can adjust the pas-
senger-side exterior rear view mirror so
that you can see the right rear wheel as
soon as you engage reverse gearR.
For information on activating the parking
position, see “Activating exterior rear view
mirror parking position” (
�page 169).
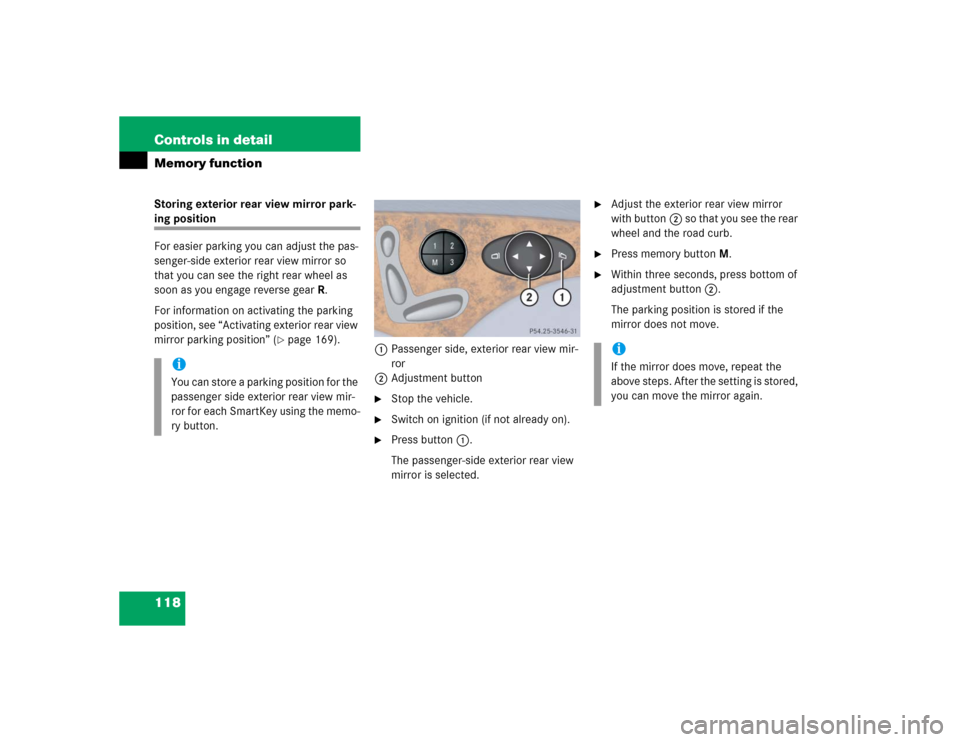
1Passenger side, exterior rear view mir-
ror
2Adjustment button
�
Stop the vehicle.
�
Switch on ignition (if not already on).
�
Press button1.
The passenger-side exterior rear view
mirror is selected.
�
Adjust the exterior rear view mirror
with button2 so that you see the rear
wheel and the road curb.
�
Press memory button M.
�
Within three seconds, press bottom of
adjustment button2.
The parking position is stored if the
mirror does not move.
iYou can store a parking position for the
passenger side exterior rear view mir-
ror for each SmartKey using the memo-
ry button.
iIf the mirror does move, repeat the
above steps. After the setting is stored,
you can move the mirror again.
Page 124 of 442
124 Controls in detailLightingSwitching on the hazard warning
flasher�
Press the hazard warning flasher
switch.
All turn signals will flash.
Switching off the hazard warning
flasher
�
Press hazard warning flasher switch
again.
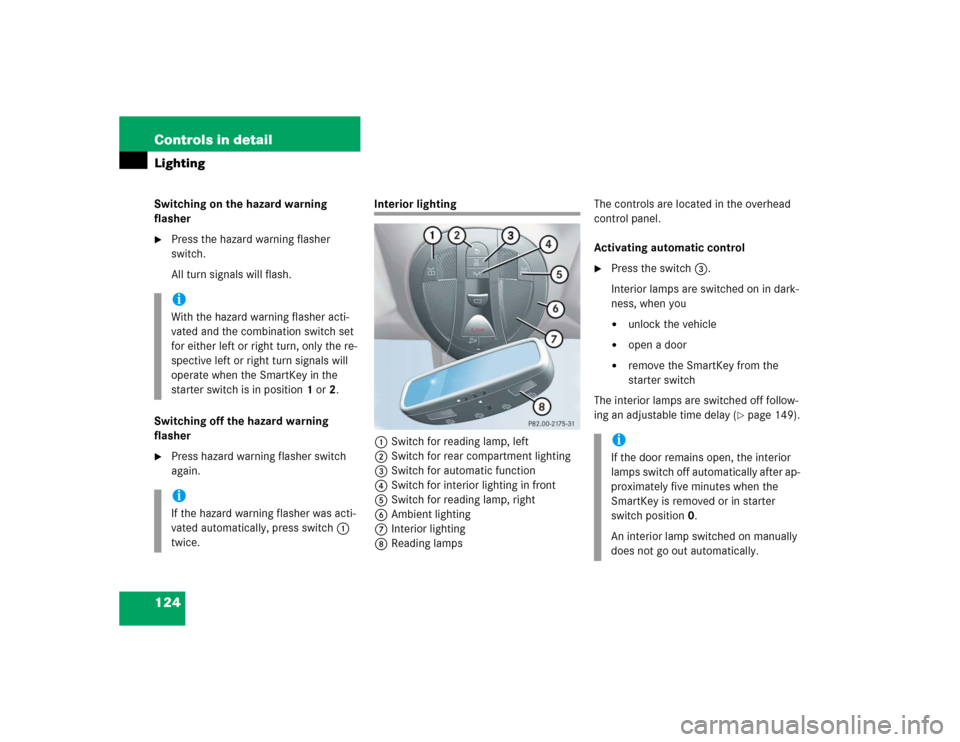
Interior lighting
1Switch for reading lamp, left
2Switch for rear compartment lighting
3Switch for automatic function
4Switch for interior lighting in front
5Switch for reading lamp, right
6Ambient lighting
7Interior lighting
8Reading lampsThe controls are located in the overhead
control panel.
Activating automatic control
�
Press the switch3.
Interior lamps are switched on in dark-
ness, when you�
unlock the vehicle
�
open a door
�
remove the SmartKey from the
starter switch
The interior lamps are switched off follow-
ing an adjustable time delay (
�page 149).
iWith the hazard warning flasher acti-
vated and the combination switch set
for either left or right turn, only the re-
spective left or right turn signals will
operate when the SmartKey in the
starter switch is in position1 or2.iIf the hazard warning flasher was acti-
vated automatically, press switch1
twice.
iIf the door remains open, the interior
lamps switch off automatically after ap-
proximately five minutes when the
SmartKey is removed or in starter
switch position0.
An interior lamp switched on manually
does not go out automatically.
Page 126 of 442
126 Controls in detailInstrument cluster
�Instrument clusterA full view illustration of the instrument
cluster can be found in the “At a glance”
section of this manual (
�page 22).
The instrument cluster is activated when
you
�
open a door
�
turn on the ignition
�
press the reset button (
�page 22)
�
switch on the exterior lamps
You can change the instrument cluster set-
tings in the instrument cluster submenu of
the control system (
�page 141).
Instrument cluster illumination
Use the reset button (
�page 22) to adjust
the illumination brightness for the instru-
ment cluster.To brighten illumination
�
Turn the reset button in the instrument
cluster clockwise (
�page 22).
The instrument cluster illumination will
brighten.
To dim illumination
�
Turn the reset button in the instrument
cluster counterclockwise (
�page 22).
The instrument cluster illumination will
dim.
iThe instrument cluster illumination is
dimmed or brightened automatically to
suit ambient light conditions.
The instrument cluster illumination will
also be adjusted automatically when
you switch on the vehicle’s exterior
lamps.
Page 147 of 442

147 Controls in detail
Control system
Setting locator lighting
During darkness, the following lamps will
come on when the exterior lamp switch is
in position
U
, the locator lighting fea-
ture is activated and the vehicle is un-
locked by SmartKey:
�
Parking lamps
�
Tail lamps
�
License plate lamps
�
Front fog lamps
The locator lighting switches off when the
driver’s door is opened. It switches off au-
tomatically after a period of approximately
40 seconds.
�
Move the selection marker with
theæ orç button to the
Light-
ing
submenu.
�
Press buttonj ork repeatedly
until you see this message in the dis-
play:
Function Surround lighting
.
The selection marker is on the current
setting.
�
Pressæ orç to select the de-
sired setting.
The locator lighting will be switched on
or off.
Ambient light level
Using this function, you can adjust the
brightness of the ambient lighting.
�
Move the selection marker with the
æ orç button to the Lighting
submenu.
�
Press button j ork repeatedly
until you see the message
Ambient
light Level
in the display.
The selection marker is on the current
setting.
�
Press æ orç to select the
brightness of the lighting. 1 represents
the darkest setting and 5 represents
the brightest setting.
The ambient light is switched off below
setting 1 or above setting 5. The selec-
tion marker points to off.
Page 151 of 442
151 Controls in detail
Control system
After entering the vehicle, the steering
wheel and seat will move into the position
stored in memory when�
the driver’s door is closed
�
you put the SmartKey in the starter
switch or press the KEYLESS-GO
start/stop button*
�
you press the appropriate stored posi-
tion button on the memory switch
(�page 117).
�
Move the selection marker with
theæ orç button to
the
Convenience
submenu.
�
Press buttonj ork repeatedly
until you see this message in the dis-
play:
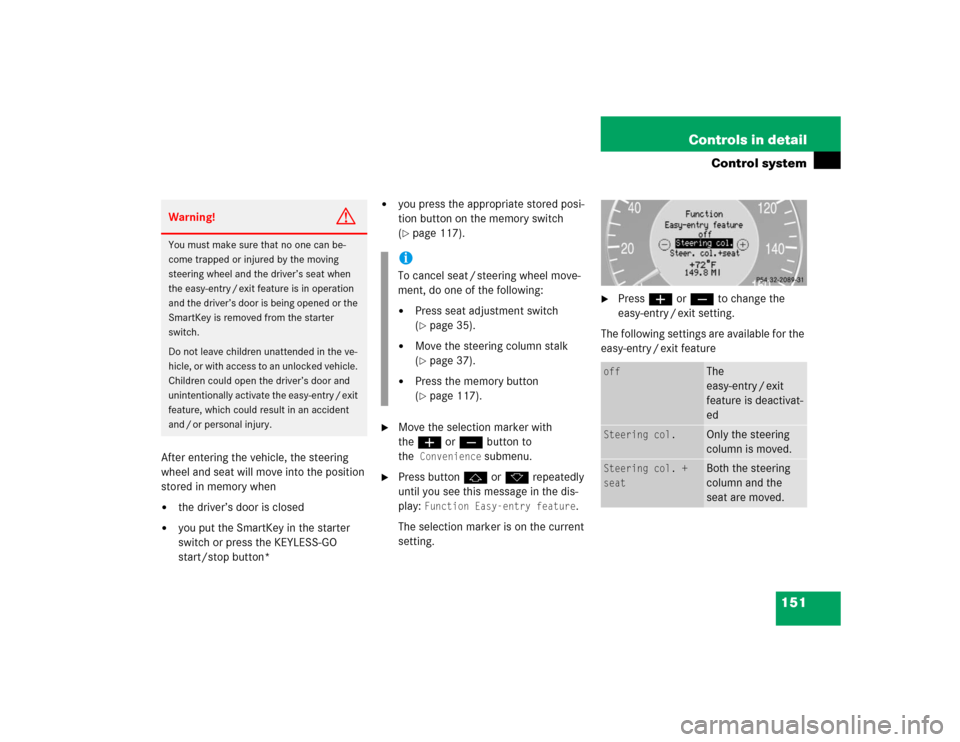
Function Easy-entry feature
.
The selection marker is on the current
setting.
�
Pressæ orç to change the
easy-entry / exit setting.
The following settings are available for the
easy-entry / exit feature
Warning!
G
You must make sure that no one can be-
come trapped or injured by the moving
steering wheel and the driver’s seat when
the easy-entry / exit feature is in operation
and the driver’s door is being opened or the
SmartKey is removed from the starter
switch.
Do not leave children unattended in the ve-
hicle, or with access to an unlocked vehicle.
Children could open the driver’s door and
unintentionally activate the easy-entry / exit
feature, which could result in an accident
and / or personal injury.
iTo cancel seat / steering wheel move-
ment, do one of the following:�
Press seat adjustment switch
(�page 35).
�
Move the steering column stalk
(�page 37).
�
Press the memory button
(�page 117).
off
The
easy-entry / exit
feature is deactivat-
ed
Steering col.
Only the steering
column is moved.
Steering col. +
seat
Both the steering
column and the
seat are moved.
Page 152 of 442
152 Controls in detailControl systemSetting SmartKey-dependency
Use this function to set whether the mem-
ory settings for the seats, the steering
wheel, the mirrors and other settings of
the control system should be stored sepa-
rately for each SmartKey (
�page 88).
�
Move the selection marker with
theæ orç button to
the
Convenience
submenu.
�
Press buttonj ork repeatedly
until you see this message in the dis-
play:
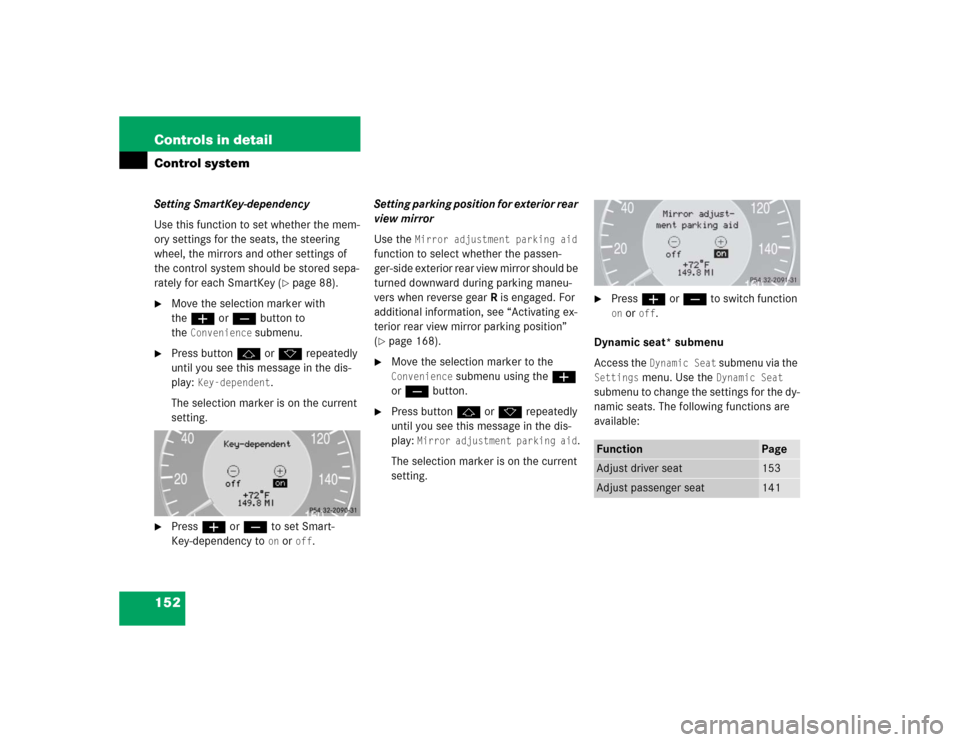
Key-dependent
.
The selection marker is on the current
setting.
�
Pressæ orç to set Smart-
Key-dependency to
on or
off
. Setting parking position for exterior rear
view mirror
Use the
Mirror adjustment parking aid
function to select whether the passen-
ger-side exterior rear view mirror should be
turned downward during parking maneu-
vers when reverse gearR is engaged. For
additional information, see “Activating ex-
terior rear view mirror parking position”
(
�page 168).
�
Move the selection marker to the Convenience
submenu using theæ
orç button.
�
Press buttonj ork repeatedly
until you see this message in the dis-
play:
Mirror adjustment parking aid
.
The selection marker is on the current
setting.
�
Pressæ orç to switch function on or
off
.
Dynamic seat* submenu
Access the Dynamic Seat
submenu via the
Settings
menu. Use the
Dynamic Seat
submenu to change the settings for the dy-
namic seats. The following functions are
available:
Function
Page
Adjust driver seat
153
Adjust passenger seat
141
Page 153 of 442
153 Controls in detail
Control system
Adjusting the dynamic seat
The function dynamic seat adjustment lets
you determine the way the seat adjusts
while driving.�
Move the selection marker with
theæ orç button to the Dynamic Seat
submenu.
�
Press buttonj ork repeatedly
until you see this message in the dis-
play:
Dyn. Multi-cont. Seat, driver
for the driver seat or Dyn. Multi-cont. Seat, fr. pass.
for the passenger seat.
The selection marker is on the current
setting.
�
Pressæ orç to switch function Level 1
or
Level 2
.
Trip computer menu
Use the trip computer menu to call up sta-
tistical data on your vehicle. The following
information is available:Fuel consumption statistics after start
�
Press buttonÿ orè repeatedly
until you see the first function of the
Trip computer menu.
�
Press buttonj ork repeatedly
until you see this message in the left
display:
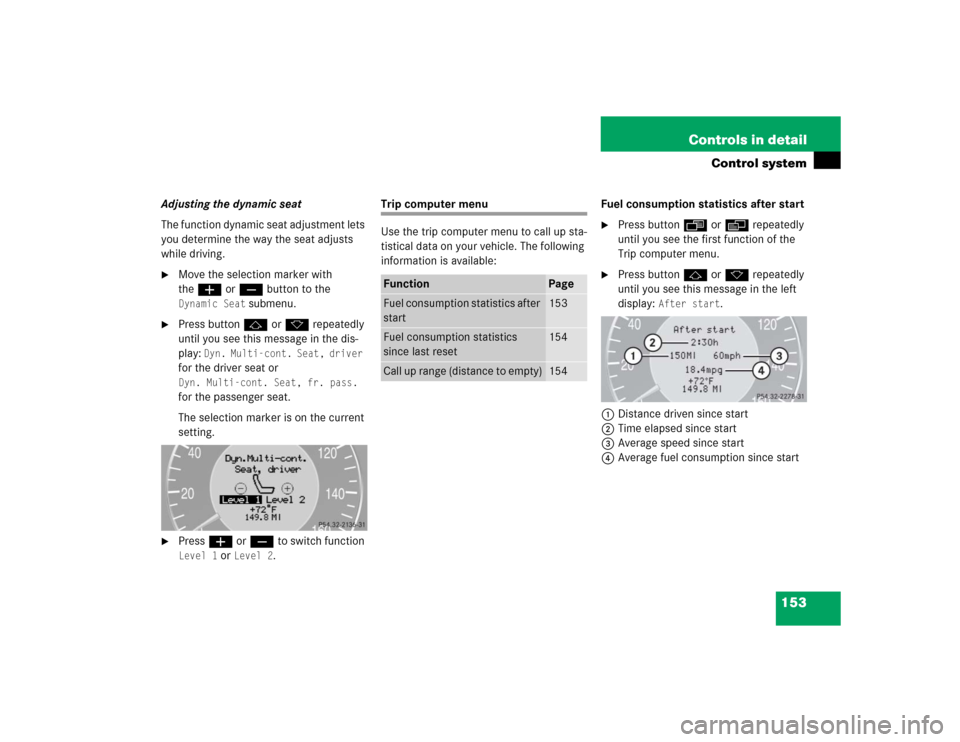
After start
.
1Distance driven since start
2Time elapsed since start
3Average speed since start
4Average fuel consumption since start
Function
Page
Fuel consumption statistics after
start
153
Fuel consumption statistics
since last reset
154
Call up range (distance to empty)
154