Page 146 of 440
146 Controls in detailControl system
With daytime running lamp mode se-
lected and the exterior lamp switch at
position0, the following lamps will
come on automatically when the en-
gine is turned on:�
Parking lamps and low beam head-
lamps
�
License plate lamps (in low ambient
light conditions) Setting locator lighting
During darkness, the following lamps will
come on when the exterior lamp switch is
in position U, the locator lighting fea-
ture is activated, and the vehicle is un-
locked with the SmartKey:
�
Parking lamps
�
Tail lamps
�
License plate lamps
�
Front fog lamps
To activate locator lighting:
�
Make sure the function surround light-
ing is set to
on, see (
�page 146).
�
Turn the exterior lamp switch to posi-
tion U.
The locator lighting switches off when the
driver’s door is opened. It switches off au-
tomatically after a period of approximately
40 seconds.
�
Move the selection marker with
theæ orç button to the
Light-
ning
submenu.
�
Press buttonj ork repeatedly
until you see this message in the dis-
play:
Function Surround lighting
.
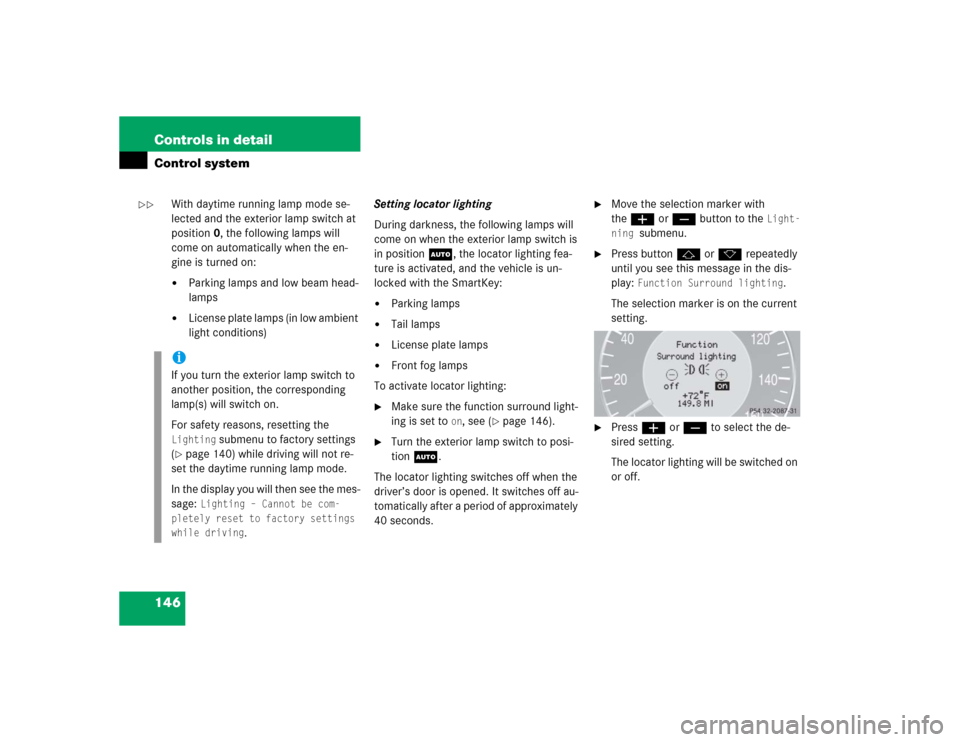
The selection marker is on the current
setting.
�
Pressæ orç to select the de-
sired setting.
The locator lighting will be switched on
or off.
iIf you turn the exterior lamp switch to
another position, the corresponding
lamp(s) will switch on.
For safety reasons, resetting the Lighting
submenu to factory settings
(
�page 140) while driving will not re-
set the daytime running lamp mode.
In the display you will then see the mes-
sage:
Lighting – Cannot be com-
pletely reset to factory settings
while driving
.
��
Page 147 of 440
147 Controls in detail
Control system
Setting night security illumination
(Exterior lamps delayed shut-off)
Use the
Headlamps delayed shut-off
function to set whether and for how long
you would like the exterior lamps to illumi-
nate during darkness after all doors are
closed. When the delayed shut-off feature
is activated and the exterior lamp switch is
in position U, the following lamps will
remain lit after you remove the SmartKey
from the starter switch:
�
Parking lamps
�
Tail lamps
�
License plate lamps
�
Front fog lampsTo activate night security illumination:
�
Select delayed shut-off period,
see (
�page 147).
�
Turn the exterior lamp switch to posi-
tion U.
To select delayed shut-off period:
�
Move the selection marker with
theæ orç button to the
Light-
ing
submenu.
�
Press buttonj ork repeatedly
until you see this message in the dis-
play:
Headlamps delayed shut-off
.
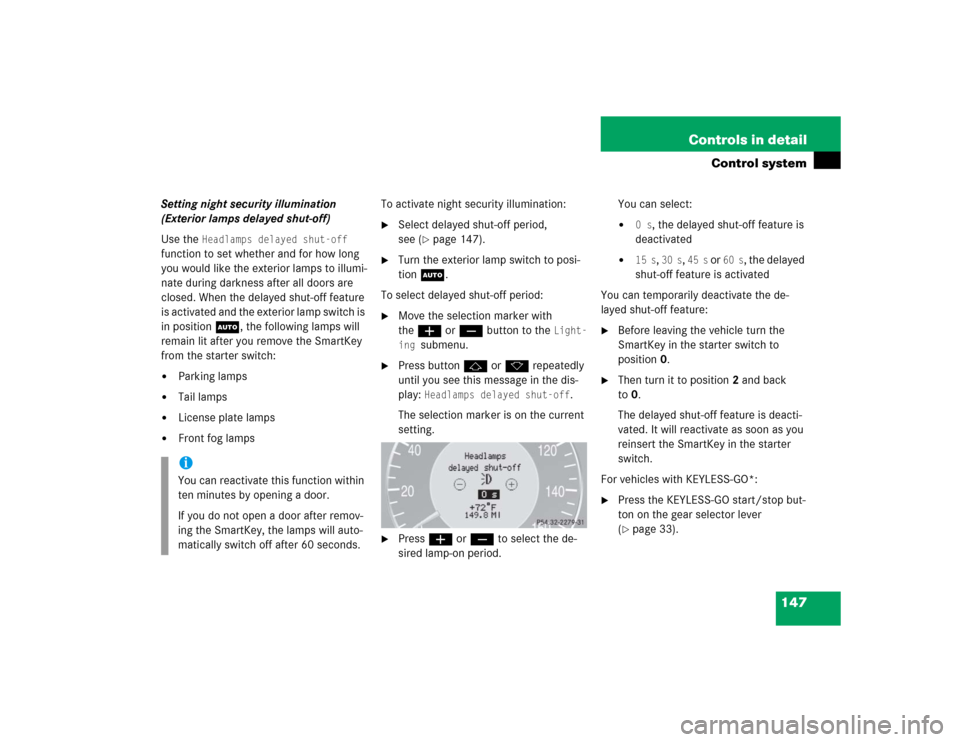
The selection marker is on the current
setting.
�
Pressæ orç to select the de-
sired lamp-on period.You can select:
�
0 s
, the delayed shut-off feature is
deactivated
�
15 s
, 30 s
, 45 s
or
60 s
, the delayed
shut-off feature is activated
You can temporarily deactivate the de-
layed shut-off feature:
�
Before leaving the vehicle turn the
SmartKey in the starter switch to
position0.
�
Then turn it to position2 and back
to0.
The delayed shut-off feature is deacti-
vated. It will reactivate as soon as you
reinsert the SmartKey in the starter
switch.
For vehicles with KEYLESS-GO*:
�
Press the KEYLESS-GO start/stop but-
ton on the gear selector lever
(�page 33).
iYou can reactivate this function within
ten minutes by opening a door.
If you do not open a door after remov-
ing the SmartKey, the lamps will auto-
matically switch off after 60 seconds.
Page 148 of 440

148 Controls in detailControl systemInterior lighting delayed shut-off
Use this function to set whether and for
how long you would like the interior light-
ing to remain lit during darkness after the
SmartKey is removed from the starter
switch.�
Move the selection marker with
theæ orç button to the
Light-
ing
submenu.
�
Press buttonj ork repeatedly
until you see this message in the dis-
play:
Interior lamp delayed
shut-off
.
The selection marker is on the current
setting.
�
Pressæ orç to select the de-
sired lamp-on time period. You can se-
lect:�
0 s
, the delayed shut-off feature is
deactivated.
�
5 s
, 10 s
, 15 s
or
20 s
, the delayed
shut-off feature is activated.
Vehicle submenu
Access the
Vehicle
submenu via the
Set-
tings
menu. Use the
Vehicle
submenu to
make general vehicle settings. The follow-
ing functions are available:Setting station selection mode
Use the
Audio Search function
to select
the manual or memory station selection
mode for the radio (
�page 135).
�
Move the selection marker with
theæ orç button to the
Vehi-
cle
submenu.
�
Press buttonj ork repeatedly
until you see this message in the dis-
play:
Audio Search function
.
The selection marker is on the current
setting.
�
Pressæ orç to select the de-
sired station selection mode. You can
select:�
freq.
�
memory
selects next stored station
Function
Page
Set station selection mode
(radio)
148
Set automatic locking
149
Set opening limiter for trunk lid
149
Page 167 of 440
167 Controls in detail
Good visibility
Rear view mirror
More information on setting the rear view
mirrors can be found in the “Getting start-
ed” section (
�page 38).
Automatic antiglare rear view mirror
The reflection brightness of the exterior
rear view mirror on the driver’s side and
the interior rear view mirror will respond
automatically to glare when
�
the ignition is switched on,
and
�
incoming light from headlamps falls on
the sensor in the interior rear view mir-
ror.
The rear view mirror will not react if
�
reverse gear is engaged
�
the interior lighting is turned on
Warning!
G
The automatic antiglare function does not
react if incoming light is not aimed directly
at sensors in the interior rear view mirror.
The interior rear view mirror and the exterior
rear view mirror on the driver’s side do not
react, for example, if the rear window sun
shade* is in raised position.
Glare can endanger you and others.Warning!
G
In the case of an accident, liquid electrolyte
may escape from the mirror housing if the
mirror glass breaks.
Electrolyte has an irritating effect. Do not al-
low the liquid to come into contact with
eyes, skin, clothing, or respiratory system.
In case it does, immediately flush affected
area with water, and seek medical help if
necessary.
Warning!
G
Exercise care when using the passenger
side exterior rear view mirror. The mirror
surface is convex (outwardly curved surface
for a wider field of view). Objects in mirror
are closer than they appear. Check your in-
terior rear view mirror or glance over your
shoulder before changing lanes.!Electrolyte drops coming into contact
with the vehicle paint finish can be
completely removed only while in the
liquid state by applying plenty of water.
Page 169 of 440
169 Controls in detail
Good visibility
Sun visors
The sun visors protect you from sun glare
while driving.�
Swing sun visors down when you expe-
rience glare.1Mounting
2Sun visor
3Mirror cover
4Mirror lamp
�
To use mirror, lift up cover3.If sunlight enters through a side window:
�
disengage sun visor from mounting1.
�
pivot sun visor to the side.
The sun visors are extendable.
�
Adjust the sun visors by pushing or
pulling in the direction of the arrow.
Warning!
G
Do not use the vanity mirror while driving.
Keep the mirrors in the sun visors closed
while vehicle is in motion. Reflected glare
can endanger you and others.
iIf you disengage the sun visor from
mounting1, mirror lamp4 will
switch off.
Page 185 of 440
185 Controls in detail
Audio system
Item
Page
1
CD mode selector
199
2
Manual tuning
(radio)
189
Fast forward/reverse
(cassette, CD)
198,
202
Speed dialing memory
(telephone*)
207
3
Radio mode selector
189
4
Display panelCassette compartment
behind display panel
Item
Page
5
Alpha-numeric keypadBand selection,
station buttons (radio)
189
CD selection (CD)
201
Telephone number entry,
retrieving speed dialing
memory (telephone)
204
6
Scanning (radio, cassette,
CD)
191,
198,
202
7
Function button
190
8
Light-emitting diode
Item
Page
9
Function keys
a
Cassette eject
197
b
Cassette mode selector
196
c
Telephone* mode selector
203
d
Seek tuning (radio)
190
Track search (cassette,
CD)
197,
202
Speed dialing memory
(telephone)
207
e
On/off
186
Volume
186
Page 191 of 440
191 Controls in detail
Audio system
Scan tuning�
Starting scan tuning�
Select desired frequency band.
�
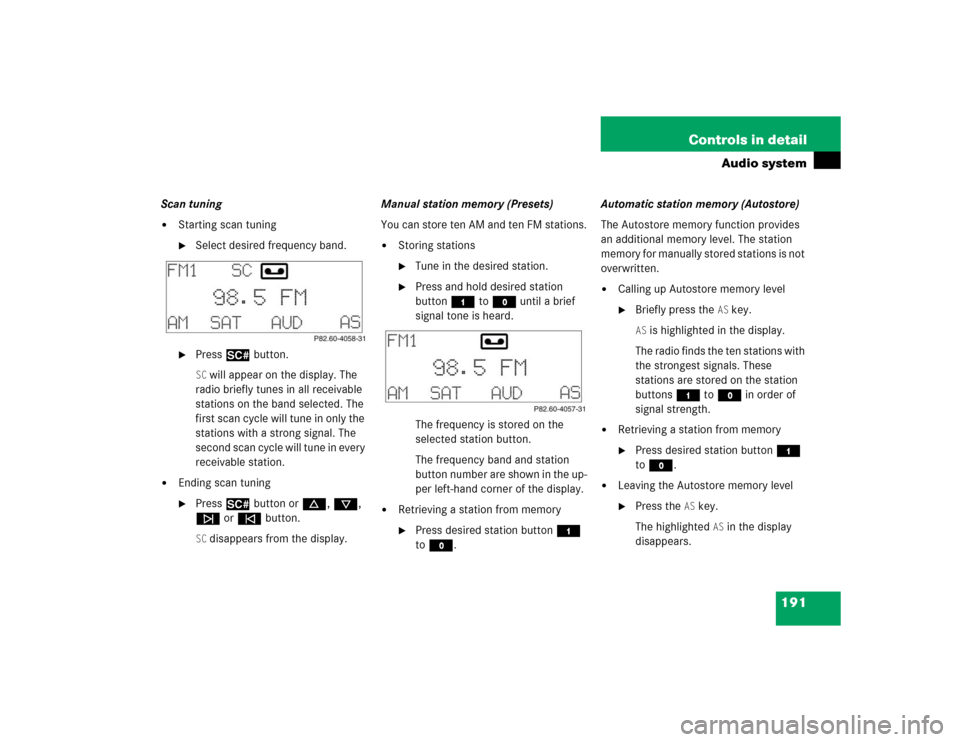
Press2 button.SC will appear on the display. The
radio briefly tunes in all receivable
stations on the band selected. The
first scan cycle will tune in only the
stations with a strong signal. The
second scan cycle will tune in every
receivable station.
�
Ending scan tuning�
Press2 button ord, c,
f ore button.SC disappears from the display.Manual station memory (Presets)
You can store ten AM and ten FM stations.
�
Storing stations�
Tune in the desired station.
�
Press and hold desired station
button4 toM until a brief
signal tone is heard.
The frequency is stored on the
selected station button.
The frequency band and station
button number are shown in the up-
per left-hand corner of the display.
�
Retrieving a station from memory�
Press desired station button4
toM.Automatic station memory (Autostore)
The Autostore memory function provides
an additional memory level. The station
memory for manually stored stations is not
overwritten.
�
Calling up Autostore memory level�
Briefly press the
AS key.
AS is highlighted in the display.
The radio finds the ten stations with
the strongest signals. These
stations are stored on the station
buttons4 toM in order of
signal strength.
�
Retrieving a station from memory�
Press desired station button4
toM.
�
Leaving the Autostore memory level�
Press the
AS key.
The highlighted
AS in the display
disappears.
Page 198 of 440
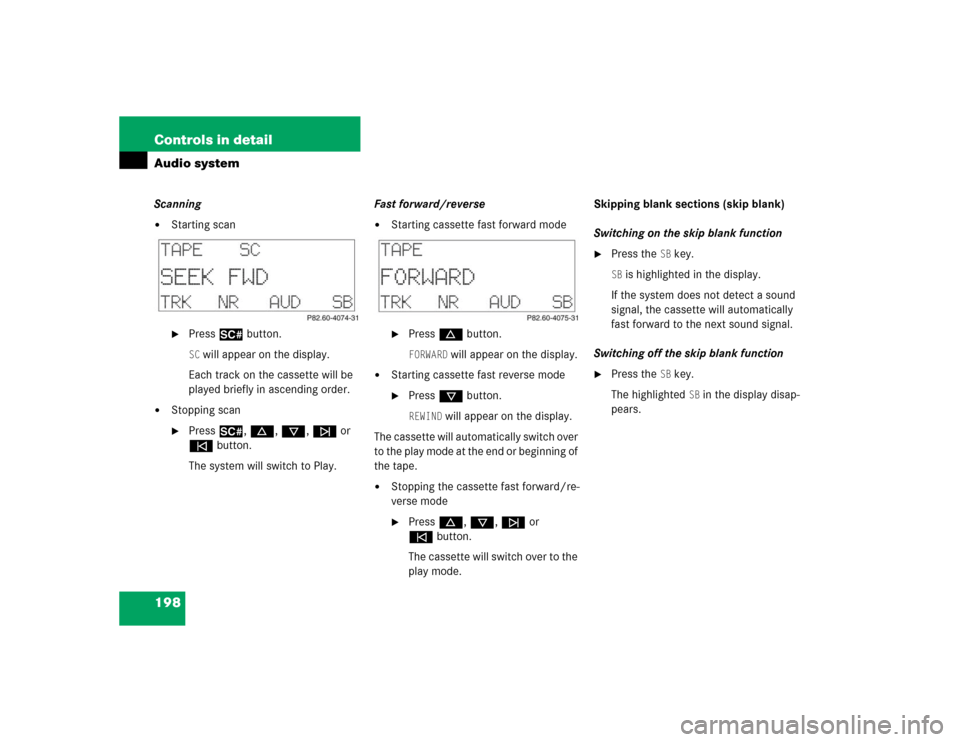
198 Controls in detailAudio systemScanning�
Starting scan�
Press2 button.SC will appear on the display.
Each track on the cassette will be
played briefly in ascending order.
�
Stopping scan�
Press2, d, c, f or
ebutton.
The system will switch to Play.Fast forward/reverse
�
Starting cassette fast forward mode�
Pressd button.FORWARD
will appear on the display.
�
Starting cassette fast reverse mode�
Pressc button.REWIND
will appear on the display.
The cassette will automatically switch over
to the play mode at the end or beginning of
the tape.
�
Stopping the cassette fast forward/re-
verse mode�
Pressd, c, f or
ebutton.
The cassette will switch over to the
play mode.Skipping blank sections (skip blank)
Switching on the skip blank function
�
Press the
SB key.
SB is highlighted in the display.
If the system does not detect a sound
signal, the cassette will automatically
fast forward to the next sound signal.
Switching off the skip blank function
�
Press the
SB key.
The highlighted
SB in the display disap-
pears.