Page 175 of 4449

AT-98
TROUBLE DIAGNOSIS
Revision: 2004 November 2004 FX35/FX45
GEAR — X XGear position recognized by the TCM updated
after gear-shifting
ENGINE SPEED (rpm) X X X
TURBINE REV (rpm) X X X
OUTPUT REV (rpm) X X X
GEAR RATIO — X X
TC SLIP SPEED (rpm) — X XDifference between engine speed and torque
converter input shaft speed
F SUN GR REV (rpm) — — X
F CARR GR REV (rpm) — — X
ATF TEMP SE 1 (V) X — X
ATF TEMP SE 2 (V) X — X
ATF TEMP 1 (°C) — X X
ATF TEMP 2 (°C) — X X
BATTERY VOLT (V) X — X
ATF PRES SW 1 (ON-OFF display) X X X (for FR/B solenoid)
ATF PRES SW 2 (ON-OFF display) X X X (for LC/B solenoid)
ATF PRES SW 3 (ON-OFF display) X X X (for I/C solenoid)
ATF PRES SW 5 (ON-OFF display) X X X (for D/C solenoid)
ATF PRES SW 6 (ON-OFF display) X X X (for HLR/C solenoid)
PNP SW 1 (ON-OFF display) X — X
PNP SW 2 (ON-OFF display) X — X
PNP SW 3 (ON-OFF display) X — X
PNP SW 4 (ON-OFF display) X — X
1 POSITION SW (ON-OFF display) X — X
SLCT LVR POSI — X XSelector lever position is recognized by the
TCM.
For fail-safe operation, the specific value used
for control is displayed.
OD CONT SW (ON-OFF display) X — X
Not mounted but displayed. POWERSHIFT SW (ON-OFF display) X — X
HOLD SW (ON-OFF display) X — X
MANU MODE SW (ON-OFF display) X — X
NON M-MODE SW (ON-OFF display) X — X
UP SW LEVER (ON-OFF display) X — X
DOWN SW LEVER (ON-OFF display) X — X
SFT UP ST SW (ON-OFF display) — — X
Not mounted but displayed.
SFT DWN ST SW (ON-OFF display) — — X
ASCD·OD CUT (ON-OFF display) — — X
ASCD·CRUISE (ON-OFF display) — — X
ABS SIGNAL (ON-OFF display) — — X
ACC OD CUT (ON-OFF display) — — X
ICC (intelligent cruise control)
ACC SIGNAL (ON-OFF display) — — XMonitored item (Unit)Monitor Item Selection
Remarks ECU
INPUT
SIGNALSMAIN SIG-
NALSSELEC-
TION
FROM
MENU
Page 179 of 4449
AT-102
TROUBLE DIAGNOSIS
Revision: 2004 November 2004 FX35/FX45
7. Perform test drive to check gear shift feeling in accordance with
instructions displayed.
8. Touch “YES” or “NO”.
9. CONSULT-II procedure ended.
�If “NG” appears on the scene, a malfunction may exist.
Go to “Diagnostic Procedure”.
Display Items List
*: Do not use, but displayed.
SCIA5163E
SCIA5162E
DTC work support item Description Check item
I/C SOL FUNCTN CHECK* — —
FR/B SOL FUNCTN CHECK* — —
D/C SOL FUNCTN CHECK* — —
HLR/C SOL FUNCTN CHECK* — —
LC/B SOL FUNCTN CHECK* — —
TCC SOL FUNCTN CHECKFollowing items for “TCC solenoid function (lock-up) ” can be con-
firmed.
�Self-diagnosis status (whether the diagnosis is being performed
or not)
�Self-diagnosis result (OK or NG)
�TCC solenoid valve
�Hydraulic control circuit
Page 181 of 4449
AT-104
TROUBLE DIAGNOSIS
Revision: 2004 November 2004 FX35/FX45
Judgement Self-diagnosis Code
If there is a malfunction, the lamp lights up for the time corresponding to the suspect circuit.
Erase Self-diagnosis
�In order to make it easier to find the cause of hard-to-duplicate malfunctions, malfunction information is
stored into the control unit as necessary during use by the user. This memory is not erased no matter how
many times the ignition switch is turned ON and OFF.
�However, this information is erased by turning ignition switch “OFF” after executing self-diagnostics or by
erasing the memory using the CONSULT-II.
SCIA4758E
Page 182 of 4449

DTC U1000 CAN COMMUNICATION LINE
AT-105
D
E
F
G
H
I
J
K
L
MA
B
AT
Revision: 2004 November 2004 FX35/FX45
DTC U1000 CAN COMMUNICATION LINEPFP:23710
DescriptionACS007AK
CAN (Controller Area Network) is a serial communication line for real time application. It is an on-vehicle mul-
tiplex communication line with high data communication speed and excellent malfunction detection ability.
Many electronic control units are equipped onto a vehicle, and each control unit shares information and links
with other control units during operation (not independent). In CAN communication, control units are con-
nected with 2 communication lines (CAN H line, CAN L line) allowing a high rate of information transmission
with less wiring. Each control unit transmits/receives data but selectively reads required data only.
On Board Diagnosis LogicACS007AL
�This is an OBD-II self-diagnostic item.
�Diagnostic trouble code “CAN COMM CIRCUIT” with CONSULT-II or U1000 without CONSULT-II is
detected when TCM cannot communicate to other control units.
Possible CauseACS007AM
Harness or connectors
(CAN communication line is open or shorted.)
DTC Confirmation ProcedureACS007AN
NOTE:
If “DTC Confirmation Procedure” has been previously performed, always turn ignition switch “OFF”
and wait at least 10 seconds before performing the next test.
After the repair, perform the following procedure to confirm the malfunction is eliminated.
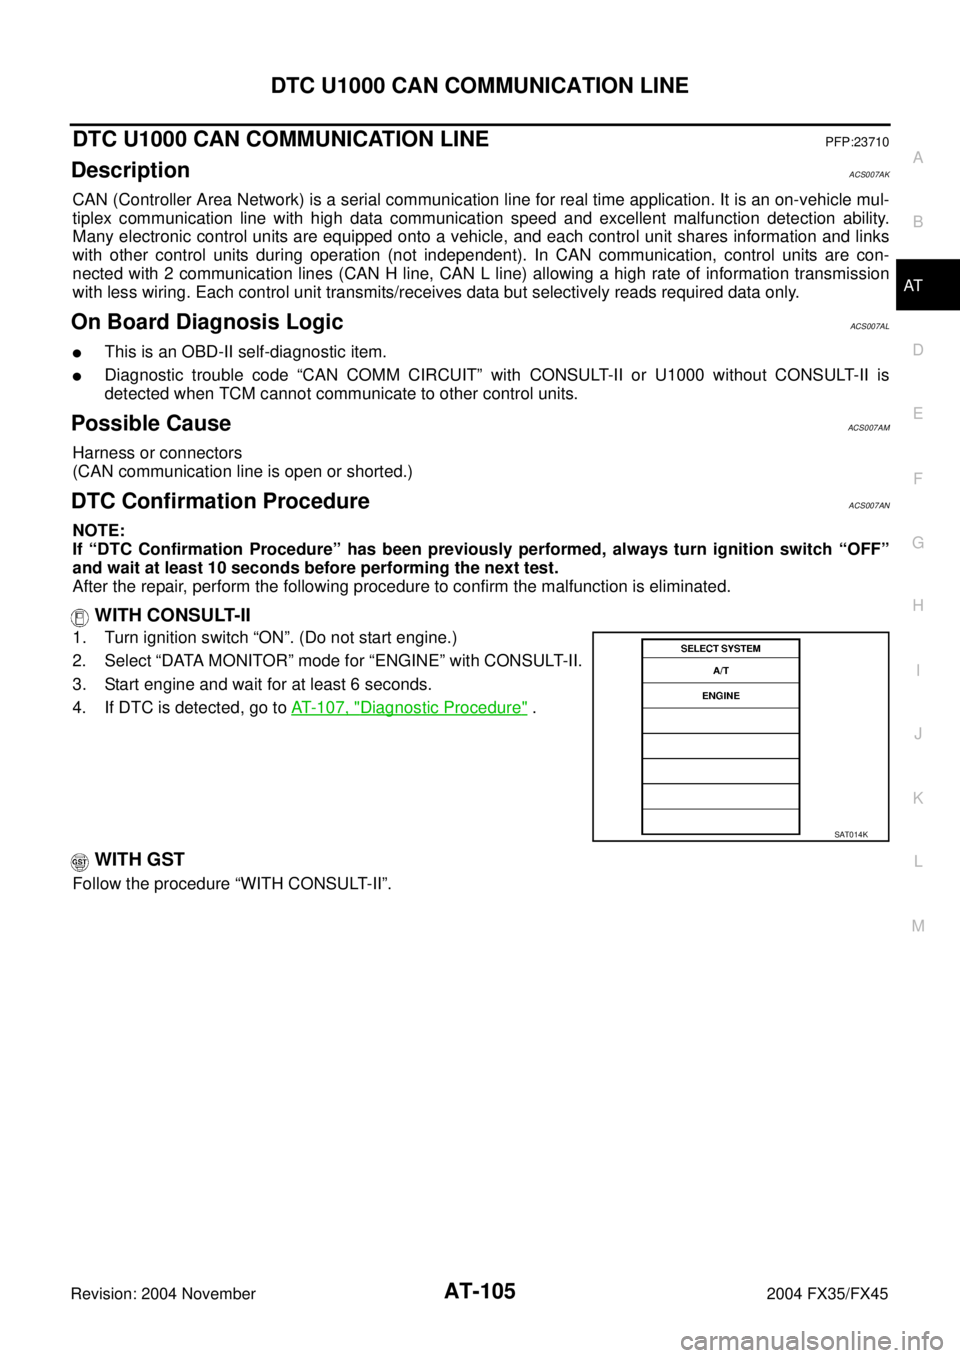
WITH CONSULT-II
1. Turn ignition switch “ON”. (Do not start engine.)
2. Select “DATA MONITOR” mode for “ENGINE” with CONSULT-II.
3. Start engine and wait for at least 6 seconds.
4. If DTC is detected, go to AT- 1 0 7 , "
Diagnostic Procedure" .
WITH GST
Follow the procedure “WITH CONSULT-II”.
SAT014K
Page 188 of 4449
DTC P0615 START SIGNAL CIRCUIT
AT-111
D
E
F
G
H
I
J
K
L
MA
B
AT
Revision: 2004 November 2004 FX35/FX45
3. CHECK TERMINAL CORD ASSEMBLY
1. Remove control valve with TCM. Refer to AT- 2 4 2 , "
Control Valve with TCM and A/T Fluid Temperature
Sensor 2" .
2. Disconnect A/T assembly harness connector and control valve with TCM harness connector.
3. Check continuity between A/T assembly harness connector terminal and control valve with TCM harness
connector terminal. Refer to AT- 1 0 9 , "
Wiring Diagram — AT — STSIG" .
4. If OK, check harness for short to ground and short to power.
OK or NG
OK >> Replace the control valve with TCM. Refer to AT- 2 4 2 , "Control Valve with TCM and A/T Fluid Tem-
perature Sensor 2" .
NG >> Replace open circuit or short to ground and short to power in harness or connectors.
4. CHECK DTC
Perform “DTC Confirmation Procedure”.
�Refer to AT- 1 0 8 , "DTC Confirmation Procedure" .
OK or NG
OK >>INSPECTION END
NG >> GO TO 2.
Page 191 of 4449

AT-114
DTC P0705 PARK/NEUTRAL POSITION SWITCH
Revision: 2004 November 2004 FX35/FX45
Diagnostic ProcedureACS007B3
1. CHECK PNP SW CIRCUIT
With CONSULT-II
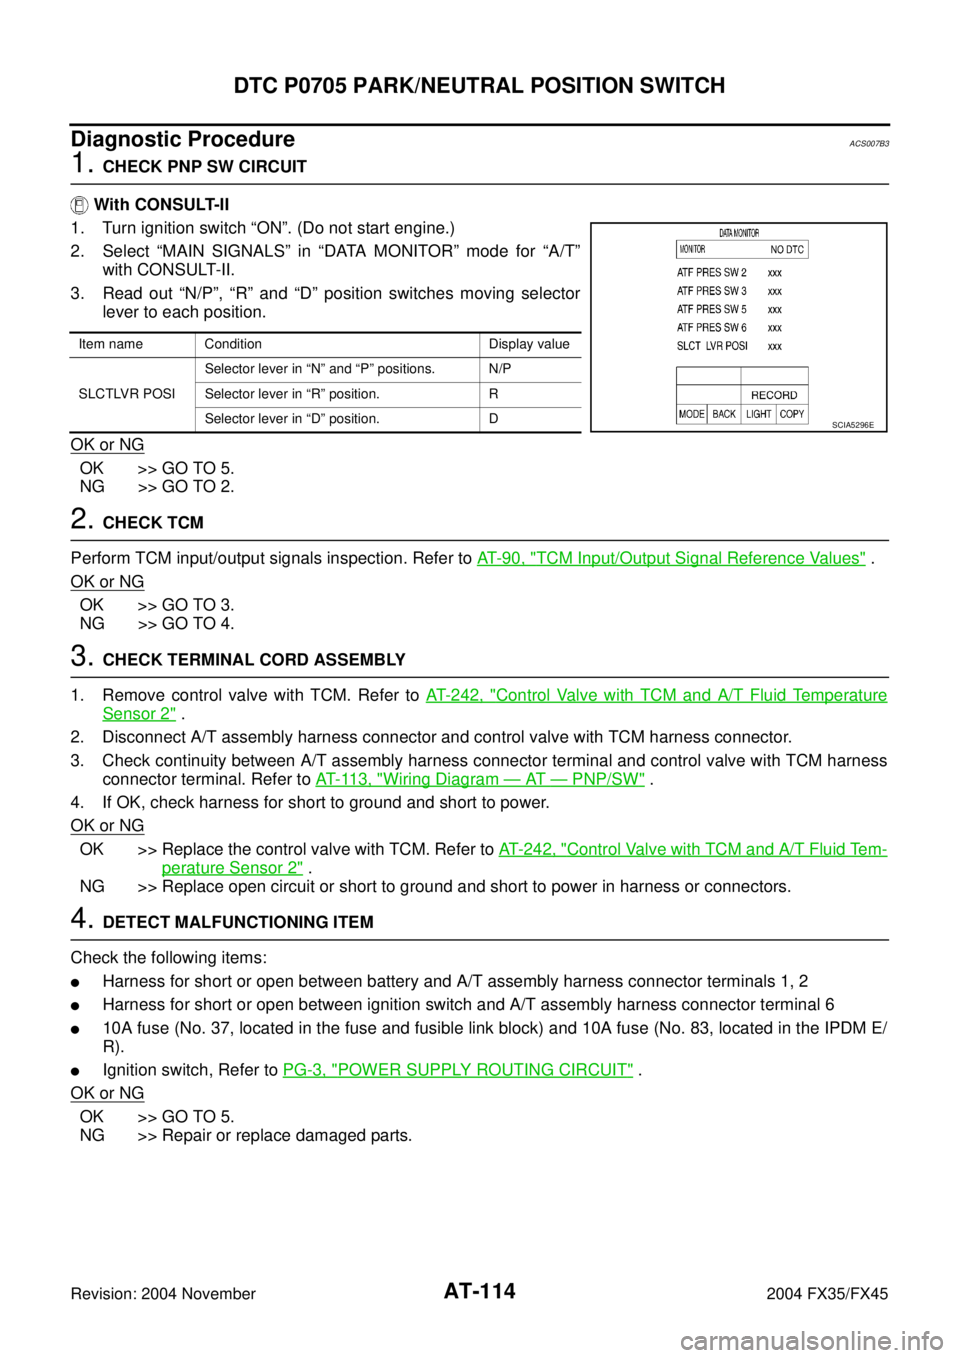
1. Turn ignition switch “ON”. (Do not start engine.)
2. Select “MAIN SIGNALS” in “DATA MONITOR” mode for “A/T”
with CONSULT-II.
3. Read out “N/P”, “R” and “D” position switches moving selector
lever to each position.
OK or NG
OK >> GO TO 5.
NG >> GO TO 2.
2. CHECK TCM
Perform TCM input/output signals inspection. Refer to AT- 9 0 , "
TCM Input/Output Signal Reference Values" .
OK or NG
OK >> GO TO 3.
NG >> GO TO 4.
3. CHECK TERMINAL CORD ASSEMBLY
1. Remove control valve with TCM. Refer to AT- 2 4 2 , "
Control Valve with TCM and A/T Fluid Temperature
Sensor 2" .
2. Disconnect A/T assembly harness connector and control valve with TCM harness connector.
3. Check continuity between A/T assembly harness connector terminal and control valve with TCM harness
connector terminal. Refer to AT- 11 3 , "
Wiring Diagram — AT — PNP/SW" .
4. If OK, check harness for short to ground and short to power.
OK or NG
OK >> Replace the control valve with TCM. Refer to AT- 2 4 2 , "Control Valve with TCM and A/T Fluid Tem-
perature Sensor 2" .
NG >> Replace open circuit or short to ground and short to power in harness or connectors.
4. DETECT MALFUNCTIONING ITEM
Check the following items:
�Harness for short or open between battery and A/T assembly harness connector terminals 1, 2
�Harness for short or open between ignition switch and A/T assembly harness connector terminal 6
�10A fuse (No. 37, located in the fuse and fusible link block) and 10A fuse (No. 83, located in the IPDM E/
R).
�Ignition switch, Refer to PG-3, "POWER SUPPLY ROUTING CIRCUIT" .
OK or NG
OK >> GO TO 5.
NG >> Repair or replace damaged parts.
Item name Condition Display value
SLCTLVR POSISelector lever in “N” and “P” positions. N/P
Selector lever in “R” position. R
Selector lever in “D” position. D
SCIA5296E
Page 196 of 4449

DTC P0720 VEHICLE SPEED SENSOR A/T (REVOLUTION SENSOR)
AT-119
D
E
F
G
H
I
J
K
L
MA
B
AT
Revision: 2004 November 2004 FX35/FX45
Diagnostic ProcedureACS007BA
1. CHECK INPUT SIGNALS
With CONSULT-II
1. Turn ignition switch “ON”. (Do not start engine.)
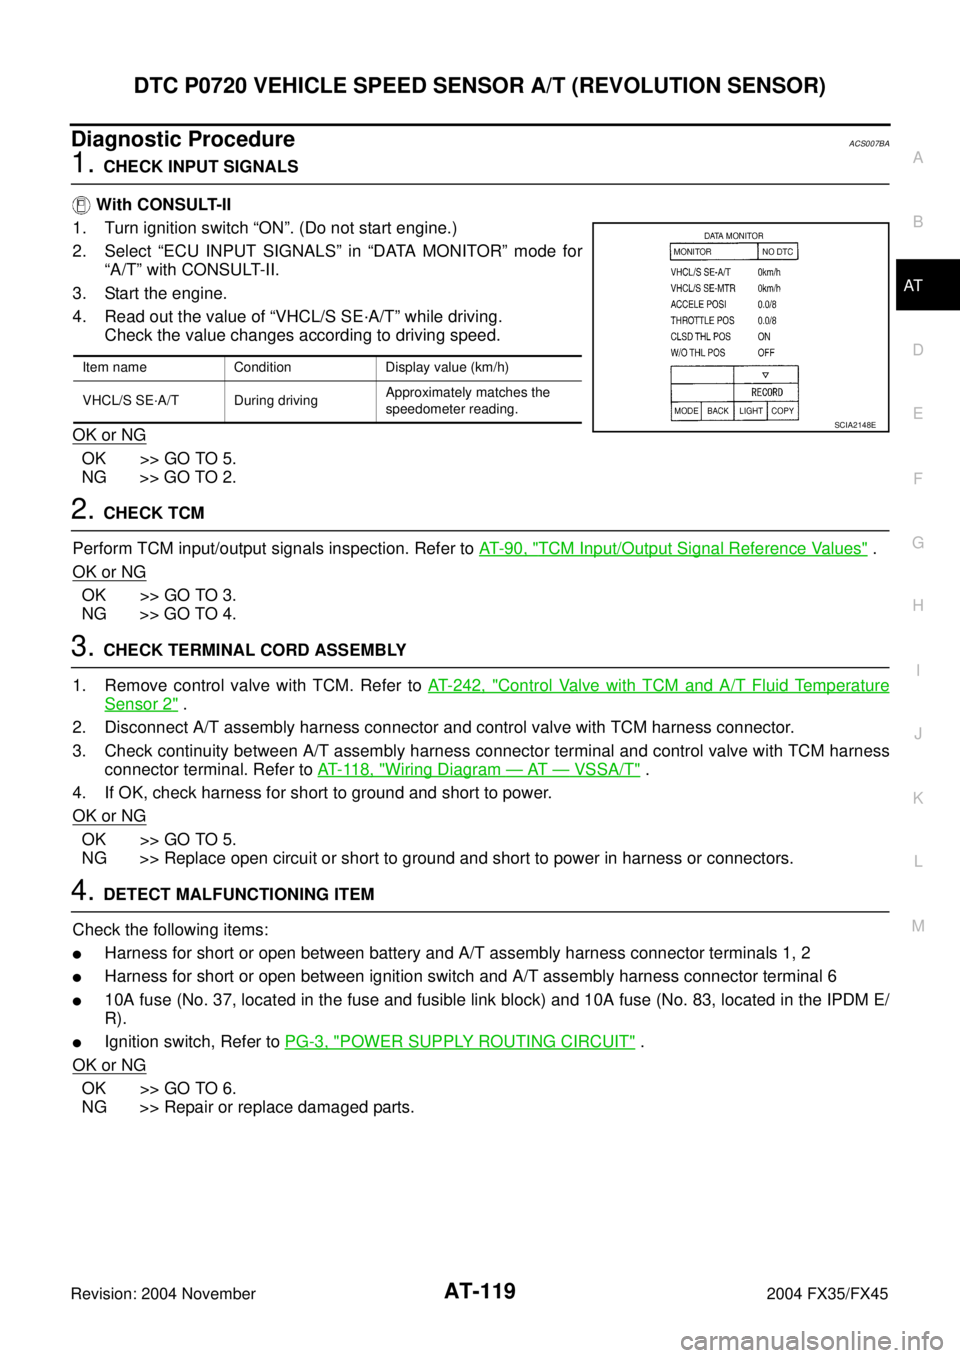
2. Select “ECU INPUT SIGNALS” in “DATA MONITOR” mode for
“A/T” with CONSULT-II.
3. Start the engine.
4. Read out the value of “VHCL/S SE·A/T” while driving.
Check the value changes according to driving speed.
OK or NG
OK >> GO TO 5.
NG >> GO TO 2.
2. CHECK TCM
Perform TCM input/output signals inspection. Refer to AT- 9 0 , "
TCM Input/Output Signal Reference Values" .
OK or NG
OK >> GO TO 3.
NG >> GO TO 4.
3. CHECK TERMINAL CORD ASSEMBLY
1. Remove control valve with TCM. Refer to AT- 2 4 2 , "
Control Valve with TCM and A/T Fluid Temperature
Sensor 2" .
2. Disconnect A/T assembly harness connector and control valve with TCM harness connector.
3. Check continuity between A/T assembly harness connector terminal and control valve with TCM harness
connector terminal. Refer to AT- 11 8 , "
Wiring Diagram — AT — VSSA/T" .
4. If OK, check harness for short to ground and short to power.
OK or NG
OK >> GO TO 5.
NG >> Replace open circuit or short to ground and short to power in harness or connectors.
4. DETECT MALFUNCTIONING ITEM
Check the following items:
�Harness for short or open between battery and A/T assembly harness connector terminals 1, 2
�Harness for short or open between ignition switch and A/T assembly harness connector terminal 6
�10A fuse (No. 37, located in the fuse and fusible link block) and 10A fuse (No. 83, located in the IPDM E/
R).
�Ignition switch, Refer to PG-3, "POWER SUPPLY ROUTING CIRCUIT" .
OK or NG
OK >> GO TO 6.
NG >> Repair or replace damaged parts.
Item name Condition Display value (km/h)
VHCL/S SE·A/T During drivingApproximately matches the
speedometer reading.
SCIA2148E
Page 197 of 4449
AT-120
DTC P0720 VEHICLE SPEED SENSOR A/T (REVOLUTION SENSOR)
Revision: 2004 November 2004 FX35/FX45
5. REPLACE THE REVOLUTION SENSOR AND CHECK DTC
1. Replace the revolution sensor. Refer to AT- 2 6 0 , "
Revolution Sensor Components (2WD Models Only)"
(2WD models) or AT- 2 8 6 , "Disassembly" (AWD models).
2. Perform “DTC Confirmation Procedure”. Refer to AT- 11 6 , "
DTC Confirmation Procedure" .
OK or NG
OK >>INSPECTION END
NG >> Replace the control valve with TCM. Refer to AT- 2 4 2 , "
Control Valve with TCM and A/T Fluid Tem-
perature Sensor 2" .
6. CHECK DTC
Perform “DTC Confirmation Procedure”.
�Refer to AT- 11 6 , "DTC Confirmation Procedure" .
OK or NG
OK >>INSPECTION END
NG >> GO TO 2.