2004 FORD F150 ignition
[x] Cancel search: ignitionPage 166 of 280
Sand
When driving over sand, try to keep all four wheels on the most solid
area of the trail. Avoid reducing the tire pressures but shift to a lower
gear and drive steadily through the terrain. Apply the accelerator slowly
and avoid spinning the wheels.
If you must reduce the tire pressure for whatever reason in sand, make
sure you re-inflate the tires as soon as possible.
Avoid excessive speed because vehicle momentum can work against you
and cause the vehicle to become stuck to the point that assistance may
be required from another vehicle. Remember, you may be able to back
out the way you came if you proceed with caution.
Mud and water
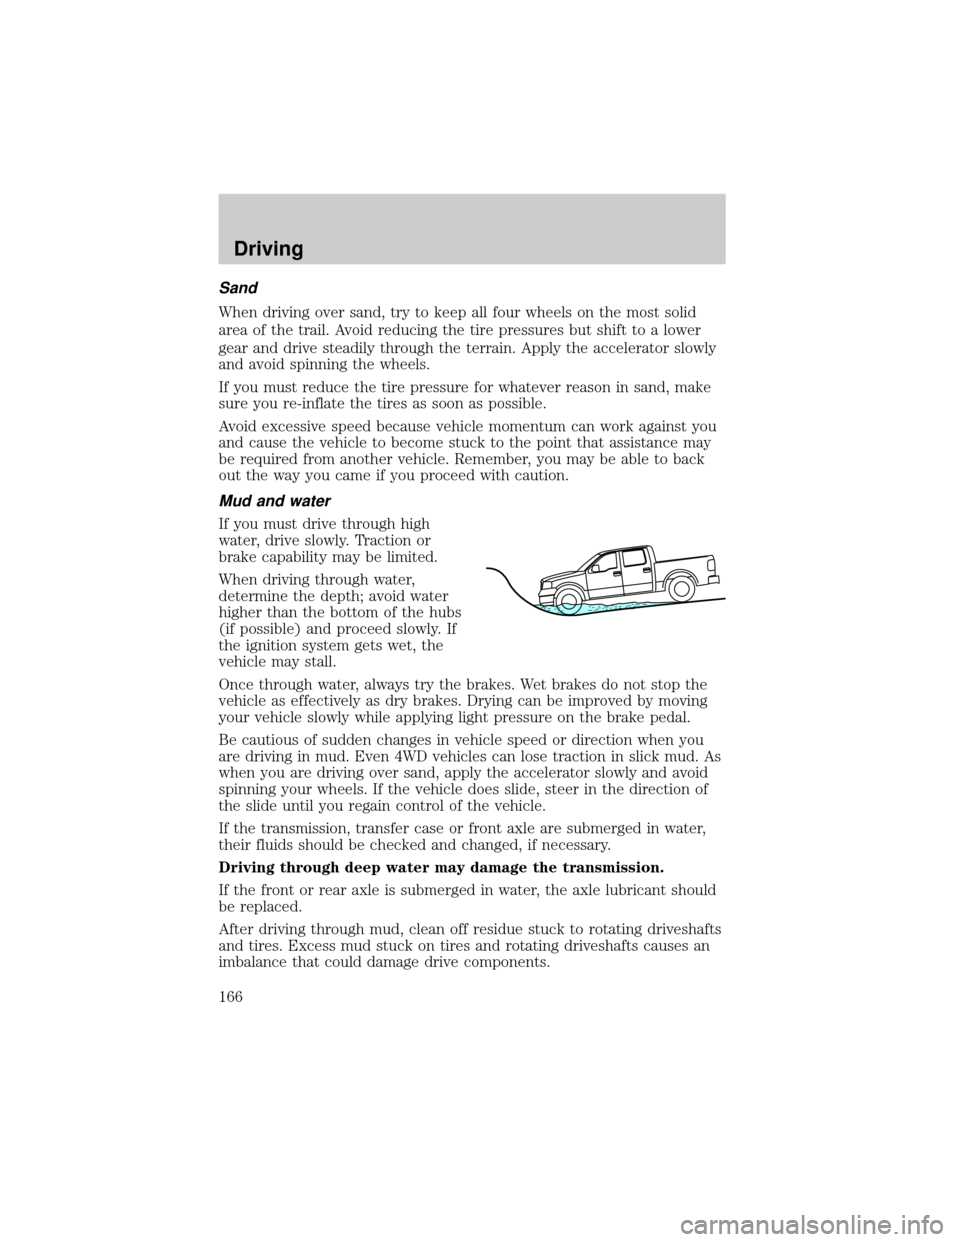
If you must drive through high
water, drive slowly. Traction or
brake capability may be limited.
When driving through water,
determine the depth; avoid water
higher than the bottom of the hubs
(if possible) and proceed slowly. If
the ignition system gets wet, the
vehicle may stall.
Once through water, always try the brakes. Wet brakes do not stop the
vehicle as effectively as dry brakes. Drying can be improved by moving
your vehicle slowly while applying light pressure on the brake pedal.
Be cautious of sudden changes in vehicle speed or direction when you
are driving in mud. Even 4WD vehicles can lose traction in slick mud. As
when you are driving over sand, apply the accelerator slowly and avoid
spinning your wheels. If the vehicle does slide, steer in the direction of
the slide until you regain control of the vehicle.
If the transmission, transfer case or front axle are submerged in water,
their fluids should be checked and changed, if necessary.
Driving through deep water may damage the transmission.
If the front or rear axle is submerged in water, the axle lubricant should
be replaced.
After driving through mud, clean off residue stuck to rotating driveshafts
and tires. Excess mud stuck on tires and rotating driveshafts causes an
imbalance that could damage drive components.
Driving
166
Page 179 of 280
Crew Cab 4x4 (139º wheelbase)
Engine Rear axle ratio Maximum
GCWR-kg
(lbs.)Maximum
trailer
weight-kg
(lbs.)
4.6L 3.55 5307 (11700) 2721 (6000)
4.6L 3.73 5534 (12200) 2948 (6500)
5.4L (w/17º
tires)3.55 6350 (14000) 3719 (8200)
5.4L (w/18º
tires)3.55 6123 (13500) 3493 (7700)
5.4L (w/17º
tires)3.73 6804 (15000) 4173 (9200)
5.4L (w/18º
tires)3.73 6577 (14500) 3946 (8700)
Trailer frontal area considerations:
²Not to exceed towing vehicle frontal area without Class IV trailer
towing package
²Not to exceed 5.52 square meters (60 square feet) with Class IV
trailer towing package
Preparing to tow
Use the proper equipment for towing a trailer and make sure it is
properly attached to your vehicle. See your dealer or a reliable trailer
dealer if you require assistance.
Hitches
Do not use hitches that clamp onto the vehicle's bumper or attach to the
axle. You must distribute the load in your trailer so that 10%±15% of the
total weight of the trailer is on the tongue.
Load equalizing hitch
When hooking up a trailer using a load equalizing hitch, always use the
following procedure:
1. Park the unloaded vehicle on a level surface. With the ignition on and
all doors closed, allow the vehicle to stand for several minutes so that it
can level.
Driving
179
Page 187 of 280
Canadian customers who require roadside assistance, call
1±800±665±2006.
If you need to arrange roadside assistance for yourself, Ford Motor
Company will reimburse a reasonable amount. To obtain reimbursement
information, U.S. Ford or Mercury vehicles customers call
1-800-241-3673; Lincoln vehicle customers call 1±800±521±4140.
Canadian customers who need to obtain reimbursement information, call
1±800±665±2006.
ROADSIDE COVERAGE BEYOND BASIC WARRANTY
In the United States, you may purchase additional roadside assistance
coverage beyond this period through the Ford Auto Club by contacting
your Ford or Lincoln Mercury dealer.
Similarly in Canada, for uninterrupted Roadside Assistance coverage, you
may purchase extended coverage prior to your Basic Warranty's Roadside
Assistance expiring. For more information and enrollment, contact
1±877±294±2582 or visit our website at www.ford.ca.
HAZARD FLASHER
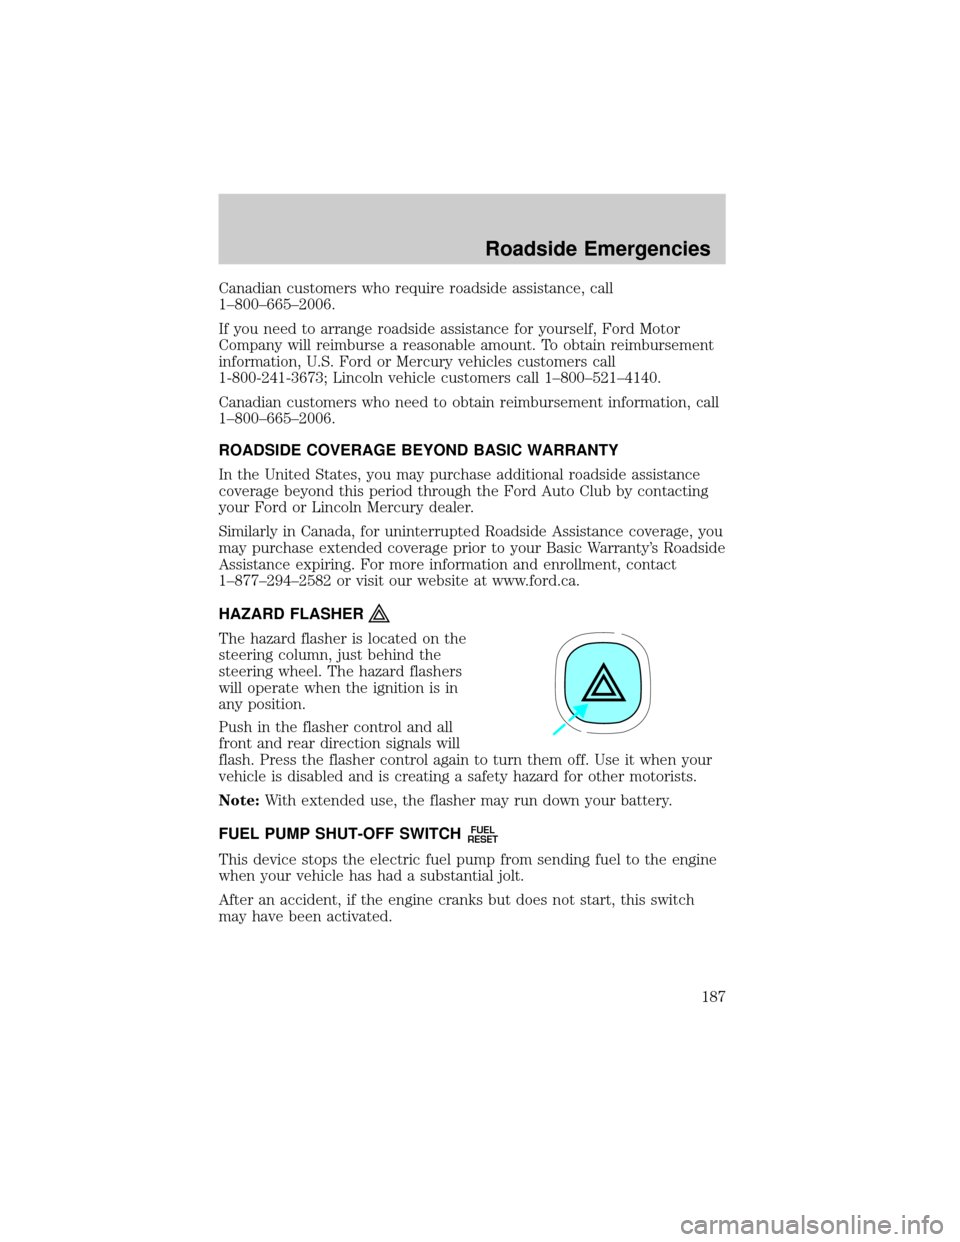
The hazard flasher is located on the
steering column, just behind the
steering wheel. The hazard flashers
will operate when the ignition is in
any position.
Push in the flasher control and all
front and rear direction signals will
flash. Press the flasher control again to turn them off. Use it when your
vehicle is disabled and is creating a safety hazard for other motorists.
Note:With extended use, the flasher may run down your battery.
FUEL PUMP SHUT-OFF SWITCH
FUEL
RESET
This device stops the electric fuel pump from sending fuel to the engine
when your vehicle has had a substantial jolt.
After an accident, if the engine cranks but does not start, this switch
may have been activated.
Roadside Emergencies
187
Page 188 of 280

This switch is located in the front
passenger's footwell, behind the kick
panel access cover, in front of the
fuse box. The access cover needs to
be removed to reset the fuel pump
shut-off switch.
To reset the switch:
1. Turn the ignition OFF.
2. Check the fuel system for leaks.
3. If no leaks are apparent, reset the
switch by pushing in on the reset
button.
4. Turn the ignition ON.
5. Wait a few seconds and return
the key to OFF.
6. Make another check of leaks.
FUSES AND RELAYS
Fuses
If electrical components in the
vehicle are not working, a fuse may
have blown. Blown fuses are
identified by a broken wire within
the fuse. Check the appropriate
fuses before replacing any electrical
components.
Note:Always replace a fuse with one that has the specified amperage
rating. Using a fuse with a higher amperage rating can cause severe wire
damage and could start a fire.
15
Roadside Emergencies
188
Page 192 of 280

Fuse/Relay
LocationFuse Amp
RatingPassenger Compartment Fuse
Panel Description
27 5A* Passenger Air bag Deactivation
(PAD) warning lamp, Cluster air
bag warning lamp, Cluster RUN
/START power
28 5A* SecuriLock transceiver (PATS)
29 15A* PCM 4x4 power
30 Ð Not used
31 20A* Radio power
32 15A* Vapor Management Valve (VMV),
A/C clutch relay, Canister vent,
Heated Exhaust Gas Oxygen
(HEGO) sensors #11 and #21,
CMCV, Mass Air Flow (MAF)
sensor, VCT
33 15A* Shift solenoid, CMS #12 and #22
34 20A* Fuel injectors and PCM power
35 20A* Instrument cluster high beam
indicator, High beam headlamps
36 10A* Trailer tow right turn/stop lamps
37 20A* Rear power point
38 25A* Subwoofer power
39 20A* Instrument panel power point
40 20A* Low beam headlamps, DRL
41 20A* Cigar lighter, Diagnostic connector
power
42 10A* Trailer tow left turn/stop lamps
101 30A** Starter solenoid
102 20A** Ignition switch feed
103 20A** ABS valves
104 Ð Not used
105 30A** Electric trailer brakes
106 30A** Trailer tow battery charge
Roadside Emergencies
192
Page 196 of 280
The use of tire sealants may damage your tires.
Spare tire information
Your vehicle is equipped with a spare tire that may be used as a spare or
a regular tire. The spare tire wheel may not match the road wheel, and is
not equipped with wheel trim. The wheel trim from the wheel/tire may
be used on the spare if the wheels match.
If your vehicle is equipped with 4WD, a spare tire of a different
size than the road tires should not be used. Use of such a tire
could result in damage to driveline components and an increased risk
of loss of vehicle control, vehicle rollover, personal injury or death.
Location of the spare tire and tools
The spare tire and tools for your vehicle are stowed in the following
locations:
Tool Location
Spare tire Under the vehicle, just forward of
the rear bumper
Jack, jack handle and lug nut
wrenchRegular Cab: Behind the interior
trim on the passenger side of the
cab
SuperCrew and SuperCab: Under
the rear seat on the passenger side
Removing the spare tire
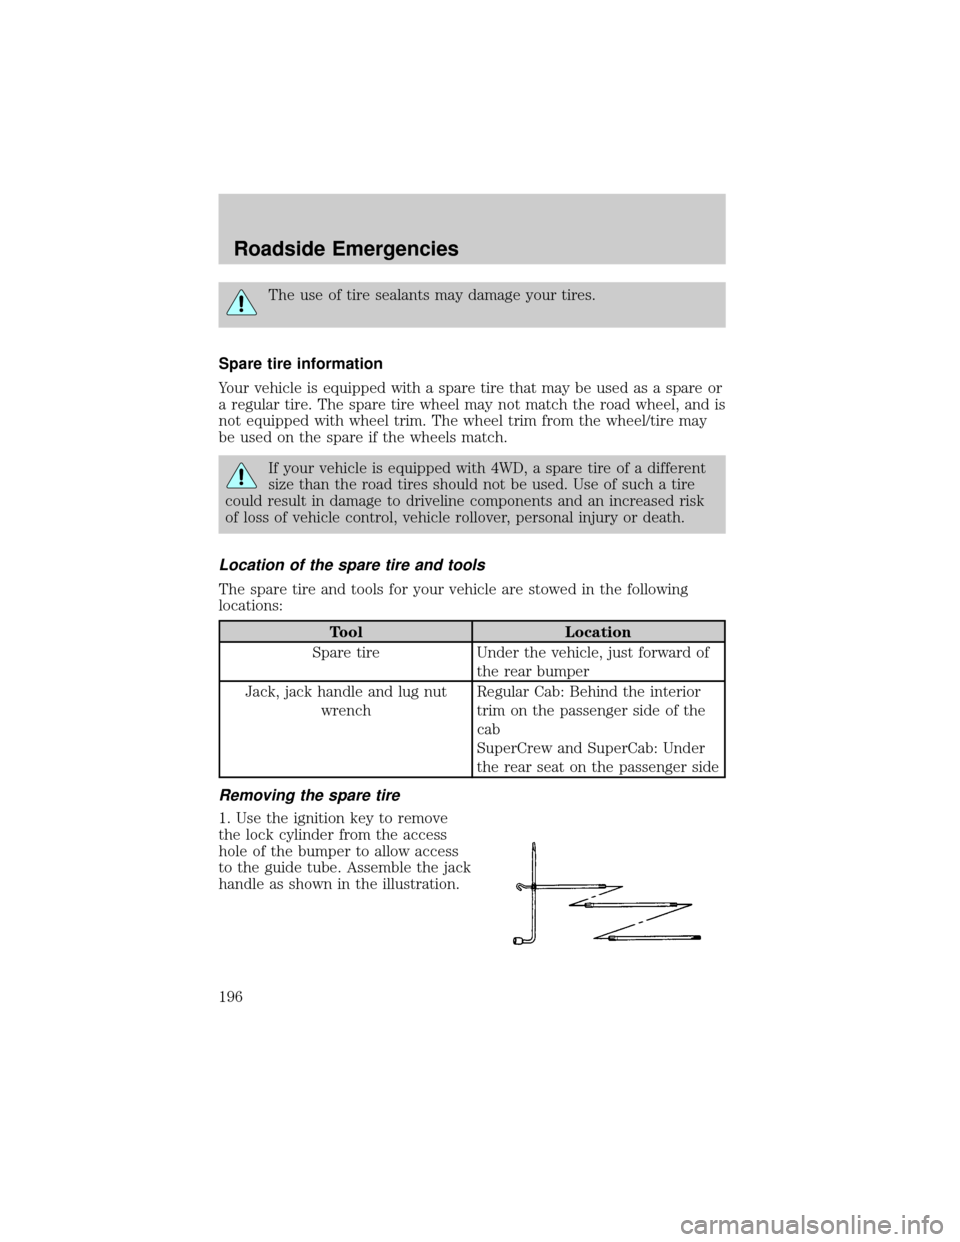
1. Use the ignition key to remove
the lock cylinder from the access
hole of the bumper to allow access
to the guide tube. Assemble the jack
handle as shown in the illustration.
Roadside Emergencies
196
Page 241 of 280
Many of the world's automakers approved the World-wide Fuel Charter
that recommends gasoline specifications to provide improved
performance and emission control system protection for your vehicle.
Gasolines that meet the World-wide Fuel Charter should be used when
available. Ask your fuel supplier about gasolines that meet the
World-wide Fuel Charter.
Cleaner air
Ford endorses the use of reformulated ªcleaner-burningº gasolines to
improve air quality.
Running out of fuel
Avoid running out of fuel because this situation may have an adverse
affect on powertrain components.
If you have run out of fuel:
²You may need to cycle the ignition from OFF to ON several times after
refueling, to allow the fuel system to pump the fuel from the tank to
the engine.
²Your ªService Engine Soonº indicator may come on. For more
information on the ªService Engine Soonº indicator, refer to the
Instrument clusterchapter.
Fuel Filter
For fuel filter replacement, see your dealer or a qualified service
technician. Refer to the scheduled maintenance guide for the appropriate
intervals for changing the fuel filter.
Replace the fuel filter with an authorized Motorcraft part. The
customer warranty may be void for any damage to the fuel system
if an authorized Motorcraft fuel filter is not used.
ESSENTIALS OF GOOD FUEL ECONOMY
Measuring techniques
Your best source of information about actual fuel economy is you, the
driver. You must gather information as accurately and consistently as
possible. Fuel expense, frequency of fill-ups or fuel gauge readings are
NOT accurate as a measure of fuel economy. We do not recommend
taking fuel economy measurements during the first 1,600 km (1,000
miles) of driving (engine break-in period). You will get a more accurate
measurement after 3,000 km±5,000 km (2,000 miles-3,000 miles).
Maintenance and Specifications
241
Page 242 of 280
Filling the tank
The advertised fuel capacity of the fuel tank on your vehicle is equal to
the rated refill capacity of the fuel tank as listed in theRefill capacities
section of this chapter.
The advertised capacity is the amount of the indicated capacity and the
empty reserve combined. Indicated capacity is the difference in the
amount of fuel in a full tank and a tank when the fuel gauge indicates
empty. Empty reserve is the small amount of fuel remaining in the fuel
tank after the fuel gauge indicates empty.
The amount of usable fuel in the empty reserve varies and should
not be relied upon to increase driving range. When refueling your
vehicle after the fuel gauge indicates empty, you might not be
able to refuel the full amount of the advertised capacity of the
fuel tank due to the empty reserve still present in the tank.
For consistent results when filling the fuel tank:
²Turn the engine/ignition switch to the off position prior to refueling,
an error in the reading may result if the engine is left running.
²Use the same filling rate setting (low Ð medium Ð high) each time
the tank is filled.
²Allow no more than 3 automatic click-offs when filling.
²Always use fuel with the recommended octane rating.
²Use a known quality gasoline, preferably a national brand.
²Use the same side of the same pump and have the vehicle facing the
same direction each time you fill up.
²Have the vehicle loading and distribution the same every time.
Your results will be most accurate if your filling method is consistent.
Calculating fuel economy
1. Fill the fuel tank completely and record the initial odometer reading
(in kilometers or miles).
2. Each time you fill the tank, record the amount of fuel added (in liters
or gallons).
3. After at least three to five tank fill-ups, fill the fuel tank and record
the current odometer reading.
4. Subtract your initial odometer reading from the current odometer
reading.
Maintenance and Specifications
242