2004 FORD F150 ignition
[x] Cancel search: ignitionPage 78 of 280

MINI MESSAGE CENTER ELECTRONIC COMPASS/TEMPERATURE
DISPLAY (IF EQUIPPED)
Outside air temperature
The outside temperature display is
contained in the instrument cluster
and displays all the time, except
when a warning message is present.
To turn the display off or change
the display from English to metric see your dealer.
Compass
The compass reading may be affected when you drive near large
buildings, bridges, power lines and powerful broadcast antennas.
Magnetic or metallic objects placed in, on or near the vehicle may also
affect compass accuracy.
Usually, when something affects the compass readings, the compass will
correct itself after a few days of operating your vehicle in normal
conditions. If the compass still appears to be inaccurate, a manual
calibration may be necessary. Refer toCompass calibration
adjustment.
Most geographic areas (zones) have a magnetic north compass point that
varies slightly from the northerly direction on maps. This variation is four
degrees between adjacent zones and will become noticeable as the
vehicle crosses multiple zones. A correct zone setting will eliminate this
error. Refer toCompass zone adjustment.
Compass zone adjustment
1. Determine which magnetic zone
you are in for your geographic
location by referring to the zone
map.
2. Turn ignition to the ON position.
3. Start the engine.
1 2 3
4
5
6 7 8 9 101112 13 14 15
Driver Controls
78
Page 79 of 280

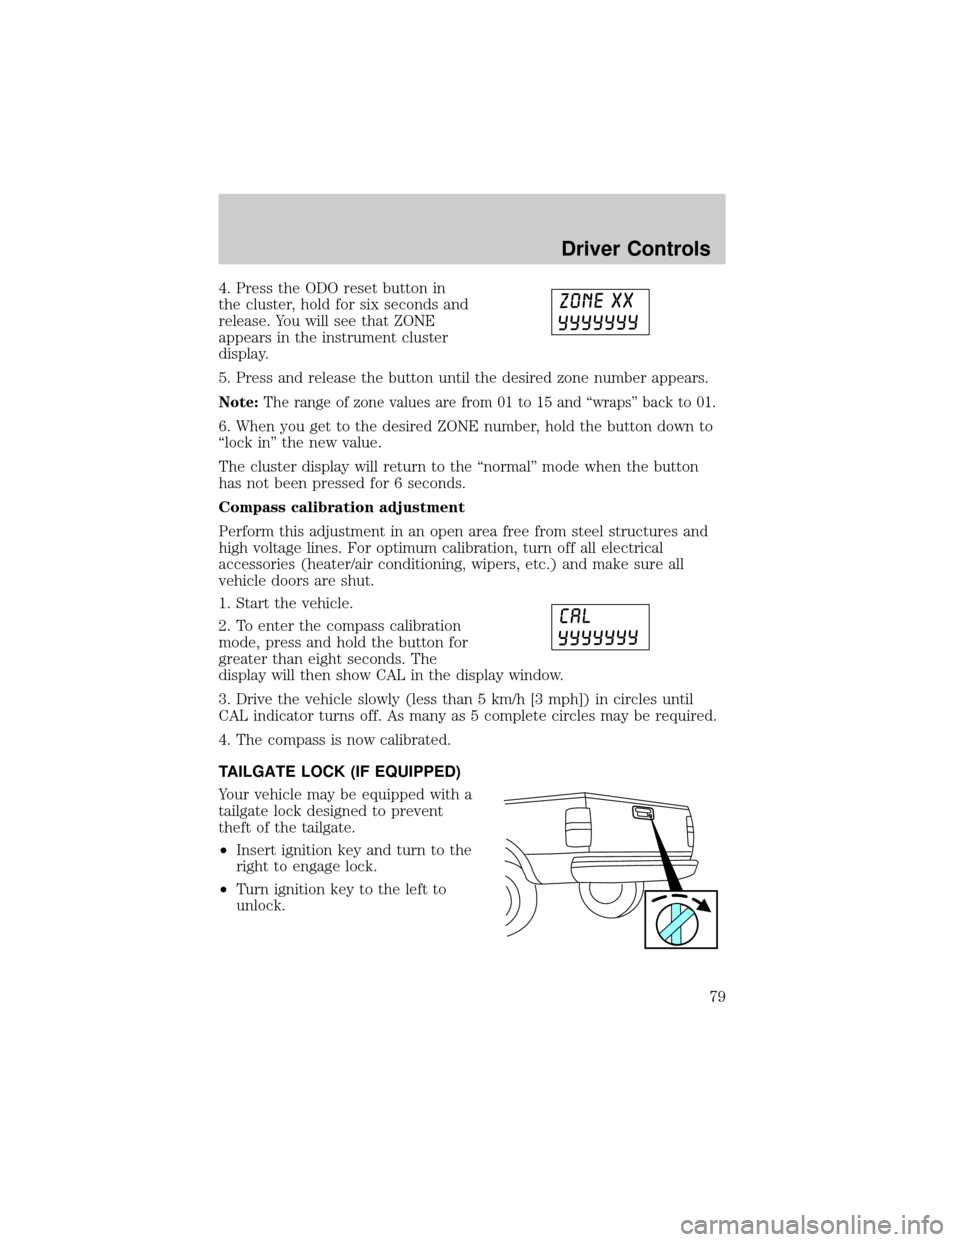
4. Press the ODO reset button in
the cluster, hold for six seconds and
release. You will see that ZONE
appears in the instrument cluster
display.
5. Press and release the button until the desired zone number appears.
Note:The range of zone values are from 01 to 15 and ªwrapsº back to 01.
6. When you get to the desired ZONE number, hold the button down to
ªlock inº the new value.
The cluster display will return to the ªnormalº mode when the button
has not been pressed for 6 seconds.
Compass calibration adjustment
Perform this adjustment in an open area free from steel structures and
high voltage lines. For optimum calibration, turn off all electrical
accessories (heater/air conditioning, wipers, etc.) and make sure all
vehicle doors are shut.
1. Start the vehicle.
2. To enter the compass calibration
mode, press and hold the button for
greater than eight seconds. The
display will then show CAL in the display window.
3. Drive the vehicle slowly (less than 5 km/h [3 mph]) in circles until
CAL indicator turns off. As many as 5 complete circles may be required.
4. The compass is now calibrated.
TAILGATE LOCK (IF EQUIPPED)
Your vehicle may be equipped with a
tailgate lock designed to prevent
theft of the tailgate.
²Insert ignition key and turn to the
right to engage lock.
²Turn ignition key to the left to
unlock.
Driver Controls
79
Page 82 of 280

KEYS
The key operates all locks on your vehicle. In case of loss, replacement
keys are available from your dealer.
You should always carry a second key with you in a safe place in case
you require it in an emergency.
Refer toSecuriLockyPassive Anti-Theft Systemfor more information.
POWER DOOR LOCKS (IF EQUIPPED)
Press control to unlock all vehicle doors.
Press control to lock all vehicle
doors.
Smart unlocking feature
The smart unlocking feature
prevents you from locking yourself
out of your vehicle.
With the key in any ignition
position:
²The driver's door will
automatically unlock if it is locked
by the driver's power lock control
while the driver's door is open.
The vehicle may still be locked with
the key in the ignition, and performing one of the following actions:
²Pressing the manual lock button on the door.
²Operating the remote entry transmitter.
²Operating the keyless entry keypad.
²Operating the driver's door with a key.
Locks and Security
Locks and Security
82
Page 85 of 280

Your vehicle is equipped with a remote entry system which allows you to:
²unlock the vehicle doors without
a key.
²lock all the vehicle doors without
a key.
²activate the personal alarm.
If there is any potential remote keyless entry problem with your vehicle,
ensureALL remote entry transmittersare taken to the dealership, to
aid in troubleshooting.
Unlocking the doors
1. Pressand release to unlock the driver's door.Note:The interior
lamps will illuminate.
2. Press
and release again within three seconds to unlock all the
doors.
Locking the doors
1. Pressand release to lock all the doors. The parklamps will flash.
2. Press
and release again within three seconds to confirm that all the
doors are closed and locked.Note:The doors will lock again, the horn
will chirp once, and the parklamps will flash once more.
If any of the doors are not properly closed the horn will make two quick
chirps and the headlamps will not flash.
Power door lock disable feature (if equipped)
The UNLOCK
feature on your power door locks will not work from
inside the vehicle when:
²the ignition has been turned to the OFF position, and
²20 seconds elapse after all vehicle doors are closed and locked using
the remote entry transmitter, the keyless entry pad, or the power door
lock control (while the accompanying door is open).
Locks and Security
85
Page 86 of 280

The UNLOCKfeature will work again after:
²a door has become ajar,
²the ignition is turned to the ON position, or
²using the UNLOCK
control on your remote entry transmitter or
unlocking via the keyless entry keypad.
Deactivating/activating power door lock disable feature
You must complete Steps 1±5 within 30 seconds, or the procedure will
have to be repeated. If the procedure needs to be repeated, you must
wait a minimum of 30 seconds to begin again.
1. Turn the ignition to the ON position, then press the UNLOCK button
three times.
2. Turn the ignition to the OFF position, then press the UNLOCK button
three times.
3. Turn the ignition to the ON position, and within five seconds, press
the LOCK button two times. Two horn chirps should be heard, indicating
that the system has been disabled. Conversely, two horn chirps followed
by a honk will indicate that the system is enabled.
4. Pressing the power door LOCK button two times again will turn the
feature ON if it was previously OFF, or OFF if it was previously ON.
Every two consecutive presses of the LOCK button after successfully
entering the configuration mode will change the enable/disable condition
of the feature.
5. Turn the ignition to the OFF position to exit programming.
Sounding a panic alarm
Press
to activate the alarm. Press again or turn the ignition to ACC
or ON to deactivate.
Note:The panic alarm will only operate when the ignition is in the OFF
position.
Memory feature (if equipped)
The remote entry system can also control the memory feature.
Press the
control once to unlock the driver's door. Pressing the
control will automatically move the seat and adjustable pedals to the
desired memory position (the memory position corresponds to the
transmitter being used).
Locks and Security
86
Page 89 of 280

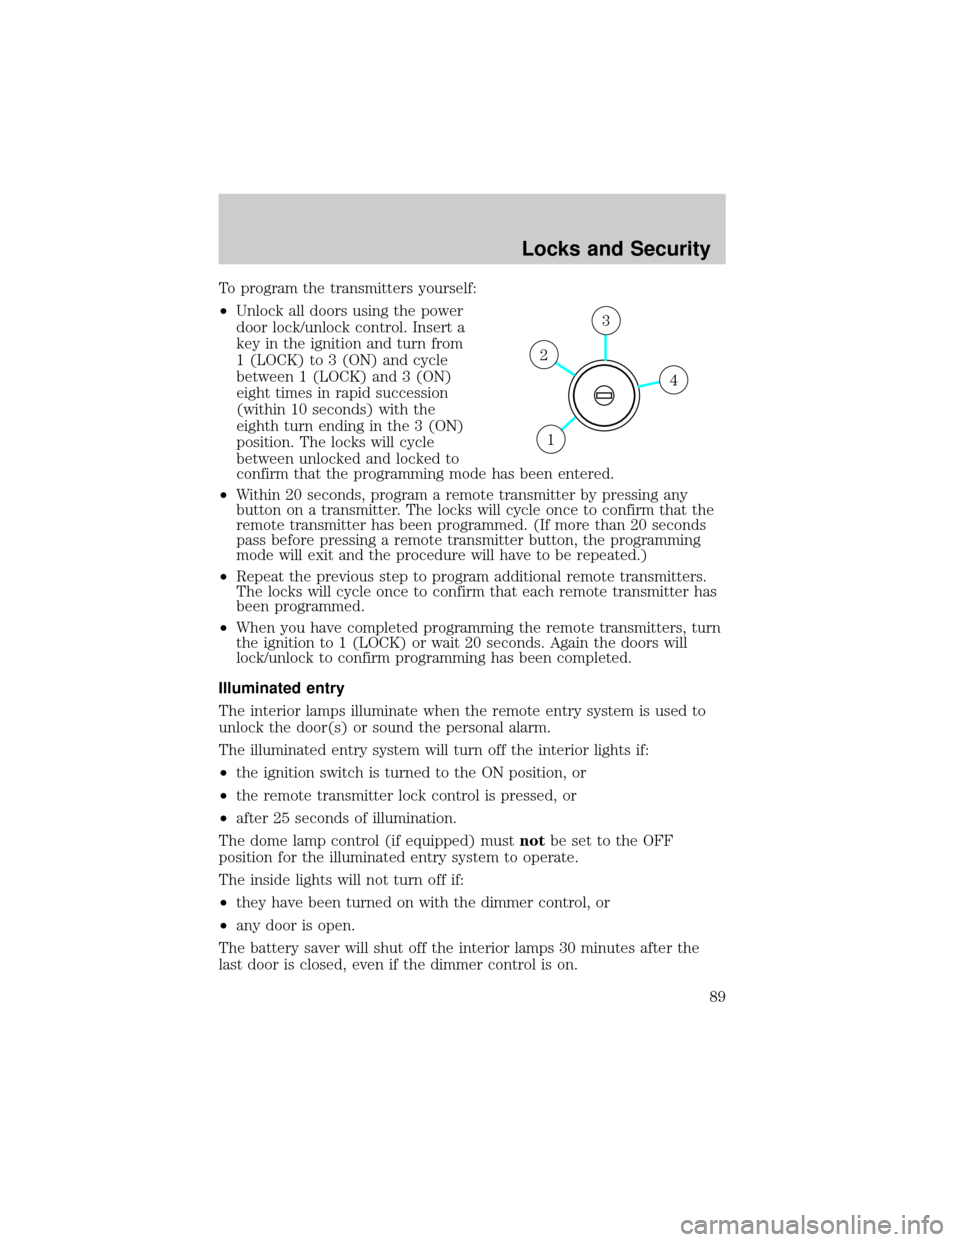
To program the transmitters yourself:
²Unlock all doors using the power
door lock/unlock control. Insert a
key in the ignition and turn from
1 (LOCK) to 3 (ON) and cycle
between 1 (LOCK) and 3 (ON)
eight times in rapid succession
(within 10 seconds) with the
eighth turn ending in the 3 (ON)
position. The locks will cycle
between unlocked and locked to
confirm that the programming mode has been entered.
²Within 20 seconds, program a remote transmitter by pressing any
button on a transmitter. The locks will cycle once to confirm that the
remote transmitter has been programmed. (If more than 20 seconds
pass before pressing a remote transmitter button, the programming
mode will exit and the procedure will have to be repeated.)
²Repeat the previous step to program additional remote transmitters.
The locks will cycle once to confirm that each remote transmitter has
been programmed.
²When you have completed programming the remote transmitters, turn
the ignition to 1 (LOCK) or wait 20 seconds. Again the doors will
lock/unlock to confirm programming has been completed.
Illuminated entry
The interior lamps illuminate when the remote entry system is used to
unlock the door(s) or sound the personal alarm.
The illuminated entry system will turn off the interior lights if:
²the ignition switch is turned to the ON position, or
²the remote transmitter lock control is pressed, or
²after 25 seconds of illumination.
The dome lamp control (if equipped) mustnotbe set to the OFF
position for the illuminated entry system to operate.
The inside lights will not turn off if:
²they have been turned on with the dimmer control, or
²any door is open.
The battery saver will shut off the interior lamps 30 minutes after the
last door is closed, even if the dimmer control is on.
4
3
2
1
Locks and Security
89
Page 90 of 280

Perimeter lighting feature
The perimeter lighting feature illuminates the exterior of the vehicle in
order to provide better visibility to the user while he or she approaches
and enters the vehicle.
The perimeter lighting feature activates when:
²the ignition is in the OFF position,
²the autolamp sensor determines that it is dark, and
²the user activates an unlock feature, using either the remote keyless
transmitter or the keypad.
The perimeter lighting feature will illuminate the headlamps and parking
lamps for 25 seconds, or until:
²the ignition is turned to any position other than the OFF position, or
²the user activates a lock feature, using either the remote keyless
transmitter or the keypad.
Enabling/disabling the perimeter lighting feature
Your vehicle comes with the perimeter lighting feature enabled. To
disable or re-enable this feature, perform the following steps within 30
seconds:
1. Turn the ignition to the ON position, then press the
control three
times.
2. Turn the ignition to the OFF position, then press the
control three
times.
3. Turn the ignition to the ON position, and within five seconds, press
the
control two times. A short horn chirp followed by a long horn
activation confirms that the perimeter lighting feature has been enabled.
A short horn chirp by itself confirms that the feature has been disabled.
4. Pressing the power doorcontrol two times again will turn the feature
ON if it was previously OFF, or OFF if it was previously ON. Every two
consecutive presses of the
control after successfully entering the
configuration mode will change the enable/disable condition of the feature.
5. Turn the ignition to the OFF position to exit programming.
Autolock (if equipped)
The autolock feature will lock all the doors when:
²all the doors are closed,
²the ignition is in the ON position,
Locks and Security
90
Page 91 of 280

²you shift into any gear putting the vehicle in motion, and
²the brake pedal is released.
The autolock feature repeats when:
²any door is opened then closed while the ignition is in the ON
position, and
²you put the vehicle in motion by releasing the brake pedal.
Deactivating/activating autolock
Your vehicle comes with the autolock feature activated. There are three
methods to enable/disable this feature: One is through your dealer, the
second with a power door unlock/lock sequence and the third with the
keypad.
Before following the activation or deactivation procedures, make sure
that the anti-theft system is not armed, ignition is off, and all vehicle
doors are closed.
Power door unlock/lock procedure
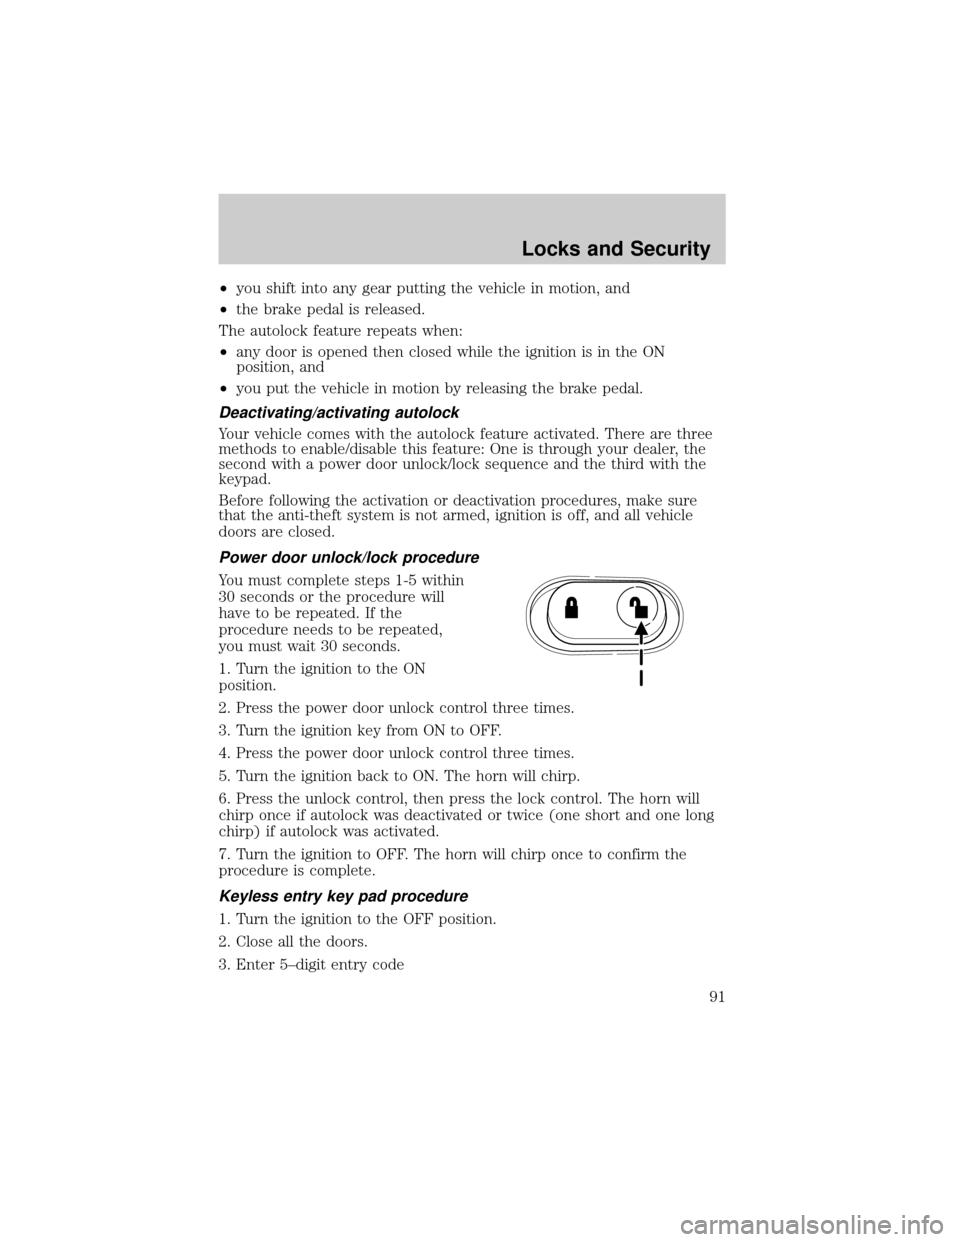
You must complete steps 1-5 within
30 seconds or the procedure will
have to be repeated. If the
procedure needs to be repeated,
you must wait 30 seconds.
1. Turn the ignition to the ON
position.
2. Press the power door unlock control three times.
3. Turn the ignition key from ON to OFF.
4. Press the power door unlock control three times.
5. Turn the ignition back to ON. The horn will chirp.
6. Press the unlock control, then press the lock control. The horn will
chirp once if autolock was deactivated or twice (one short and one long
chirp) if autolock was activated.
7. Turn the ignition to OFF. The horn will chirp once to confirm the
procedure is complete.
Keyless entry key pad procedure
1. Turn the ignition to the OFF position.
2. Close all the doors.
3. Enter 5±digit entry code
Locks and Security
91