Page 136 of 280
4. Insert the belt tongue into the
proper buckle (the buckle closest to
the direction the tongue is coming
from) for that seating position until
you hear a snap and feel the latch
engage. Make sure the tongue is
latched securely by pulling on it.
5. To put the retractor in the
automatic locking mode, grasp the
shoulder portion of the belt and pull
downward until all of the belt is
pulled out and a click is heard.
6. Allow the belt to retract. The belt will click as it retracts to indicate it
is in the automatic locking mode.
7. Pull the lap belt portion across
the child seat toward the buckle and
pull up on the shoulder belt while
pushing down with your knee on the
child seat.
Seating and Safety Restraints
136
Page 137 of 280

8. Allow the safety belt to retract to
remove any slack in the belt.
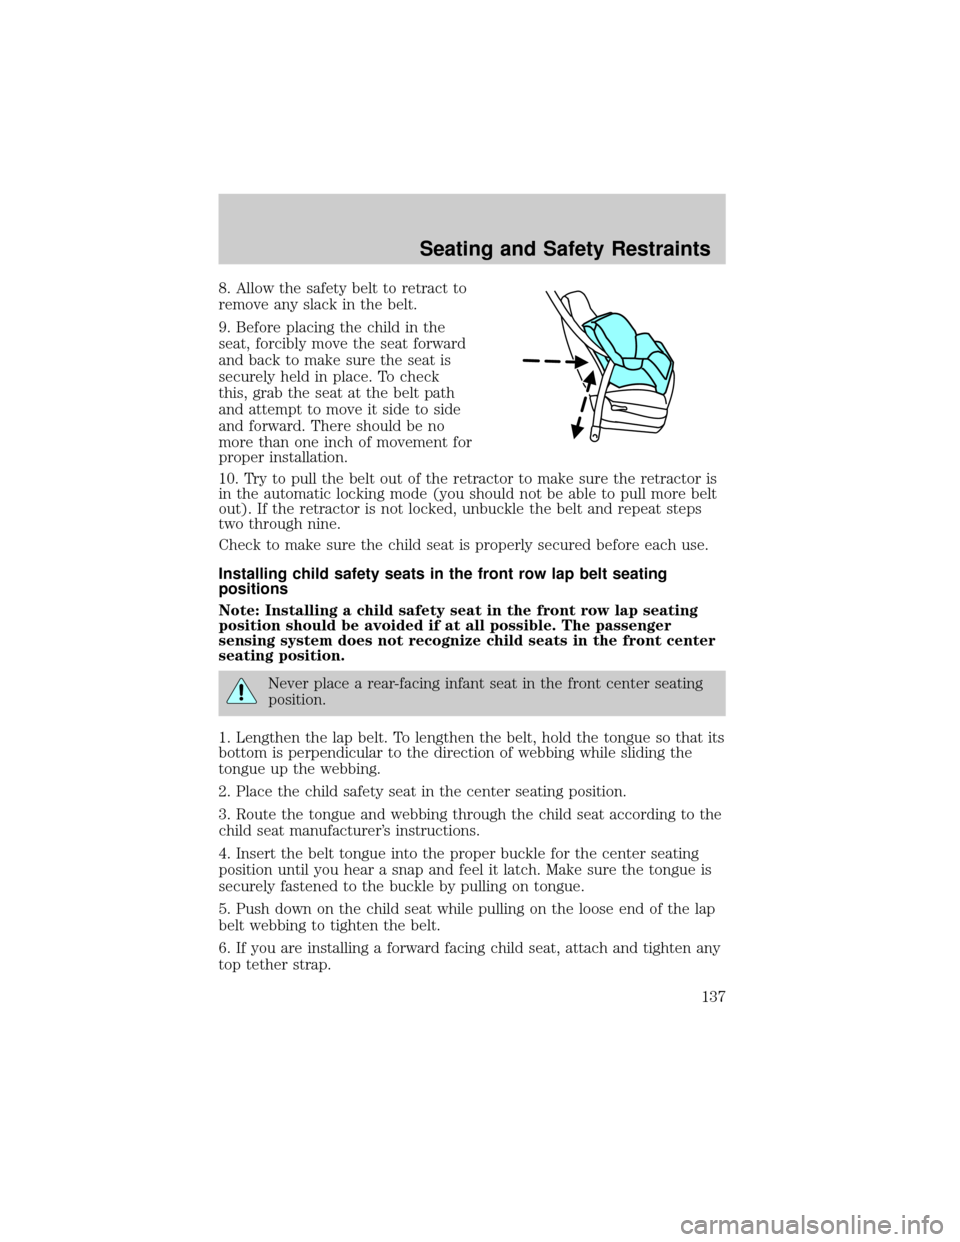
9. Before placing the child in the
seat, forcibly move the seat forward
and back to make sure the seat is
securely held in place. To check
this, grab the seat at the belt path
and attempt to move it side to side
and forward. There should be no
more than one inch of movement for
proper installation.
10. Try to pull the belt out of the retractor to make sure the retractor is
in the automatic locking mode (you should not be able to pull more belt
out). If the retractor is not locked, unbuckle the belt and repeat steps
two through nine.
Check to make sure the child seat is properly secured before each use.
Installing child safety seats in the front row lap belt seating
positions
Note: Installing a child safety seat in the front row lap seating
position should be avoided if at all possible. The passenger
sensing system does not recognize child seats in the front center
seating position.
Never place a rear-facing infant seat in the front center seating
position.
1. Lengthen the lap belt. To lengthen the belt, hold the tongue so that its
bottom is perpendicular to the direction of webbing while sliding the
tongue up the webbing.
2. Place the child safety seat in the center seating position.
3. Route the tongue and webbing through the child seat according to the
child seat manufacturer's instructions.
4. Insert the belt tongue into the proper buckle for the center seating
position until you hear a snap and feel it latch. Make sure the tongue is
securely fastened to the buckle by pulling on tongue.
5. Push down on the child seat while pulling on the loose end of the lap
belt webbing to tighten the belt.
6. If you are installing a forward facing child seat, attach and tighten any
top tether strap.
Seating and Safety Restraints
137
Page 140 of 280
²Front seat Regular Cab center
(located on back panel)
If the tether strap is clipped
incorrectly, the child safety
seat may not be retained properly
in the event of a collision.
5. Install the child safety seat tightly
using the LATCH anchors or safety
belts. Follow the instructions in this
chapter.
6. Tighten the child safety seat
tether strap according to the
manufacturer's instructions.
If the safety seat is not
anchored properly, the risk
of a child being injured in a
collision greatly increases.
Seating and Safety Restraints
140
Page 141 of 280

Rear seat tether strap attachment
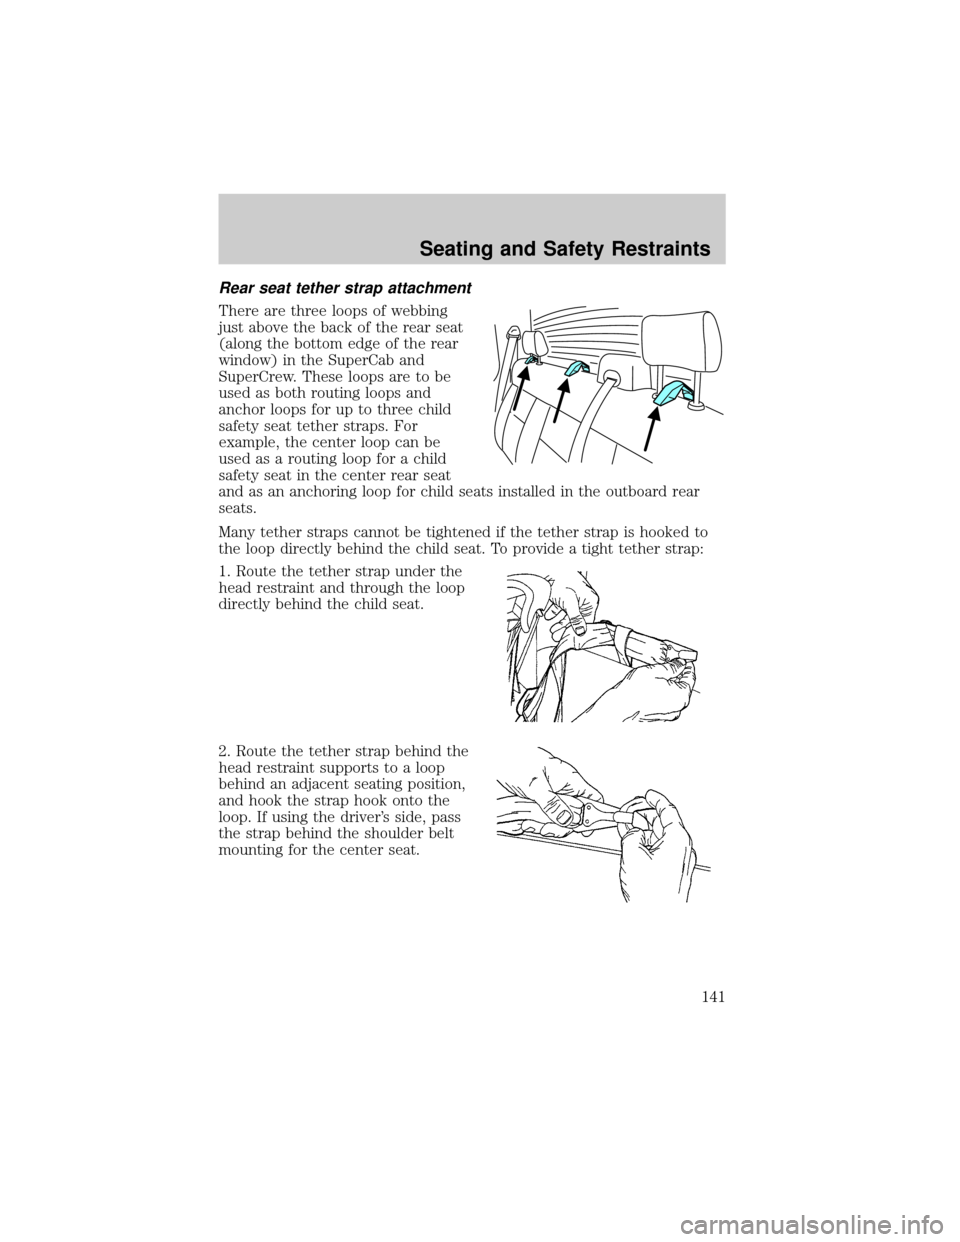
There are three loops of webbing
just above the back of the rear seat
(along the bottom edge of the rear
window) in the SuperCab and
SuperCrew. These loops are to be
used as both routing loops and
anchor loops for up to three child
safety seat tether straps. For
example, the center loop can be
used as a routing loop for a child
safety seat in the center rear seat
and as an anchoring loop for child seats installed in the outboard rear
seats.
Many tether straps cannot be tightened if the tether strap is hooked to
the loop directly behind the child seat. To provide a tight tether strap:
1. Route the tether strap under the
head restraint and through the loop
directly behind the child seat.
2. Route the tether strap behind the
head restraint supports to a loop
behind an adjacent seating position,
and hook the strap hook onto the
loop. If using the driver's side, pass
the strap behind the shoulder belt
mounting for the center seat.
Seating and Safety Restraints
141
Page 142 of 280
3. Install the child safety seat tightly
using the LATCH anchors or safety
belts. Follow the instructions in this
chapter.
4. Tighten the tether strap
according to the child seat
manufacturer's instructions.
Attaching safety seats with LATCH (Lower Anchors and Tethers for
Children) attachments for child seat anchors
Some child safety seats have two rigid or webbing mounted attachments
that connect to two anchors at certain seating positions in your vehicle.
This type of child seat eliminates the need to use seat belts to attach the
child seat. For forward-facing child seats, the tether strap must also be
attached to the proper tether anchor. SeeAttaching safety seats with
tether strapsin this chapter.
Your vehicle is equipped with LATCH anchors for child seat installation
at the following seating positions:
²F150 Regular Cab
²F150 SuperCab and SuperCrew
Seating and Safety Restraints
142
Page 145 of 280

Do not start your vehicle in a closed garage or in other enclosed
areas. Exhaust fumes can be toxic. Always open the garage door
before you start the engine. SeeGuarding against exhaust fumesin
this chapter for more instructions.
If you smell exhaust fumes inside your vehicle, have your dealer
inspect your vehicle immediately. Do not drive if you smell
exhaust fumes.
Important safety precautions
A computer system controls the engine's idle revolutions per minute
(RPM). When the engine starts, the idle RPM runs higher than normal in
order to warm the engine. If the engine idle speed does not slow down
automatically, have the vehicle checked. Do not allow the vehicle to idle
for more than 10 minutes at the higher engine RPM.
Before starting the vehicle:
1. Make sure all vehicle occupants have buckled their safety belts. For
more information on safety belts and their proper usage, refer to the
Seating and Safety Restraintschapter.
2. Make sure the headlamps and vehicle accessories are off.
3. Make sure the gearshift is in P
(Park).
Driving
145
Page 147 of 280
Make sure the corresponding lights illuminate or illuminate briefly. If a
light fails to illuminate, have the vehicle serviced.
²If the driver's safety belt is fastened, the
light may not illuminate.
Driving
147
Page 151 of 280

TRACTION-LOK AXLE (IF EQUIPPED)
This axle provides added traction on slippery surfaces, particularly when
one wheel is on a poor traction surface. Under normal conditions, the
Traction-Lok axle functions like a standard rear axle.
PREPARING TO DRIVE YOUR VEHICLE
Utility vehicles have a significantly higher rollover rate than
other types of vehicles.
In a rollover crash, an unbelted person is significantly more likely
to die than a person wearing a safety belt.
Your vehicle has larger tires and increased ground clearance, giving the
vehicle a higher center of gravity than a passenger car.
Vehicles with a higher center of gravity such as utility and
four-wheel drive vehicles handle differently than vehicles with a
lower center of gravity. Utility and four-wheel drive vehicles arenot
designed for cornering at speeds as high as passenger cars any more
than low-slung sports cars are designed to perform satisfactorily under
off-road conditions. Avoid sharp turns, excessive speed and abrupt
maneuvers in these vehicles. Failure to drive cautiously could result in
an increased risk of loss of vehicle control, vehicle rollover, personal
injury and death.
Loaded vehicles, with a higher center of gravity, may handle
differently than unloaded vehicles. Extra precautions, such as
slower speeds and increased stopping distance, should be taken when
driving a heavily loaded vehicle.
AUTOMATIC TRANSMISSION OPERATION
Brake-shift interlock - column-shift transmission
This vehicle is equipped with a park/brake-shift interlock feature that
prevents the gearshift lever from being moved from P (Park) when the
ignition is in the ON position unless brake pedal is depressed.
If you cannot move the gearshift lever out of P (Park) with ignition in
the ON position and the brake pedal depressed, it is possible that a fuse
Driving
151