2004 DODGE STRATUS COUPE radio
[x] Cancel search: radioPage 228 of 388

will show the track number and index time in minutes
and seconds. Play will begin at the start of track 1.
Seek Button
Press the top of the SEEK button for the next selection on
the CD. Press the bottom of the button to return to the
beginning of the current selection.
FF /TUNE/ RW Button
Press the FF (Fast Forward) button and the CD player
will fast forward through the tracks until the button is
released.
Random Play
Press the button while the CD is playing to activate
Random Play. This feature plays the selections on the
compact disc in random order to provide an interesting
change of pace. The CD changer stays in the random
mode when changing to the next disc.
NOTE:The changer will not random play between
discs.
Press the top of the SEEK button once to move to the next
randomly selected track. Press the bottom of the SEEKbutton to go back to the beginning of the track. Press
button for a second time to stop Random Play.
Radio/CD Button
Press this button to select between CD player and radio.
Time Button
Press this button to change the display from elapsed CD
playing time to time of the day.
Scan Button
Press this button to play the first 10 seconds of each track.
To stop the scan function, press the button a second time.
Loading the CD Changer
The CD changer has one load/eject button located on the
right side of the faceplate, and 4 disc position buttons.
1. Select the desired disc position.
2. Wait for the green READY light to stop flashing.
3. Gently insert the CD at a slight downward angle.
4. Press the next disc position and proceed to load
additional CD's.
228 FOR PLEASANT DRIVING
Page 229 of 388

Playing Discs
The radio display indicates the CD number (the slot
where the CD is loaded), and the current track being
played at the time.
If more than one CD is loaded in the CD changer, it
automatically plays the next CD after playing the last
track of the current CD. If there is only one CD loaded, it
will automatically return to the first track of the CD. To
play any available disc select the desired disc position
button.
Removing Discs from the CD Changer
1. Press the load/eject button then press the desired disc
position button to eject that CD.
2. The display will flash the disc number that is being
ejected.
3. If the disc is not removed from the unit within 15
seconds the disc will automatically re-load.
STEERING WHEEL REMOTE CONTROL
SWITCHES (IF SO EQUIPPED)
These switches can be used when the ignition switch is in
the ªONº position.
1. Seek up / Fast forward APS button / Track up button
2. Volume up button
3. Preset change / Disc up button
4. Mode change button
H12D0070
FOR PLEASANT DRIVING 229
6
Page 230 of 388

5. Seek down / Rewind APS button / Track down button
6. Volume down button
NOTE:
²Do not push two or more of the steering wheel
remote control switches at the same time.
How to adjust the volume
Volume up button - 2
The volume will increase when this button is pressed.
Volume down button - 6
The volume will decrease when this button is pressed.
To listen to the audio system
Select the desired mode by lightly pressing the Mode
change button (4). Every time the button is pressed, the
mode can be changed.
Radio (AM)!Radio (FM)!Tape!CD
NOTE:
²Tape or CD mode cannot be selected unless a tape or
CD is in the slot.
To listen to the radio
To select AM/FM mode
Mode change button - 4
Select the desired band (AM or FM) by pressing this
button.
Automatic tuning the radio
Seek up button - 1
Seek down button - 5
After pressing these buttons, release the buttons, and
reception of the selected station will begin.
To select the preset memory
Preset change button - 3
When the radio is on and this button is pressed, the
preset station frequencies are sequentially selected each
time the button is pressed; 1, 2, 3, 4, 5, 6, 7, 8, 9, 10, 1, 2 etc.
230 FOR PLEASANT DRIVING
Page 234 of 388

Do not wipe in a circle. Never use any chemicals such
as benzine, paint thinner, a disc spray cleaner, or an
anti-static agent on the disc.
(8) Do not use a ball point pen, felt pen, pencil, etc. to
write on the label surface of the disc.
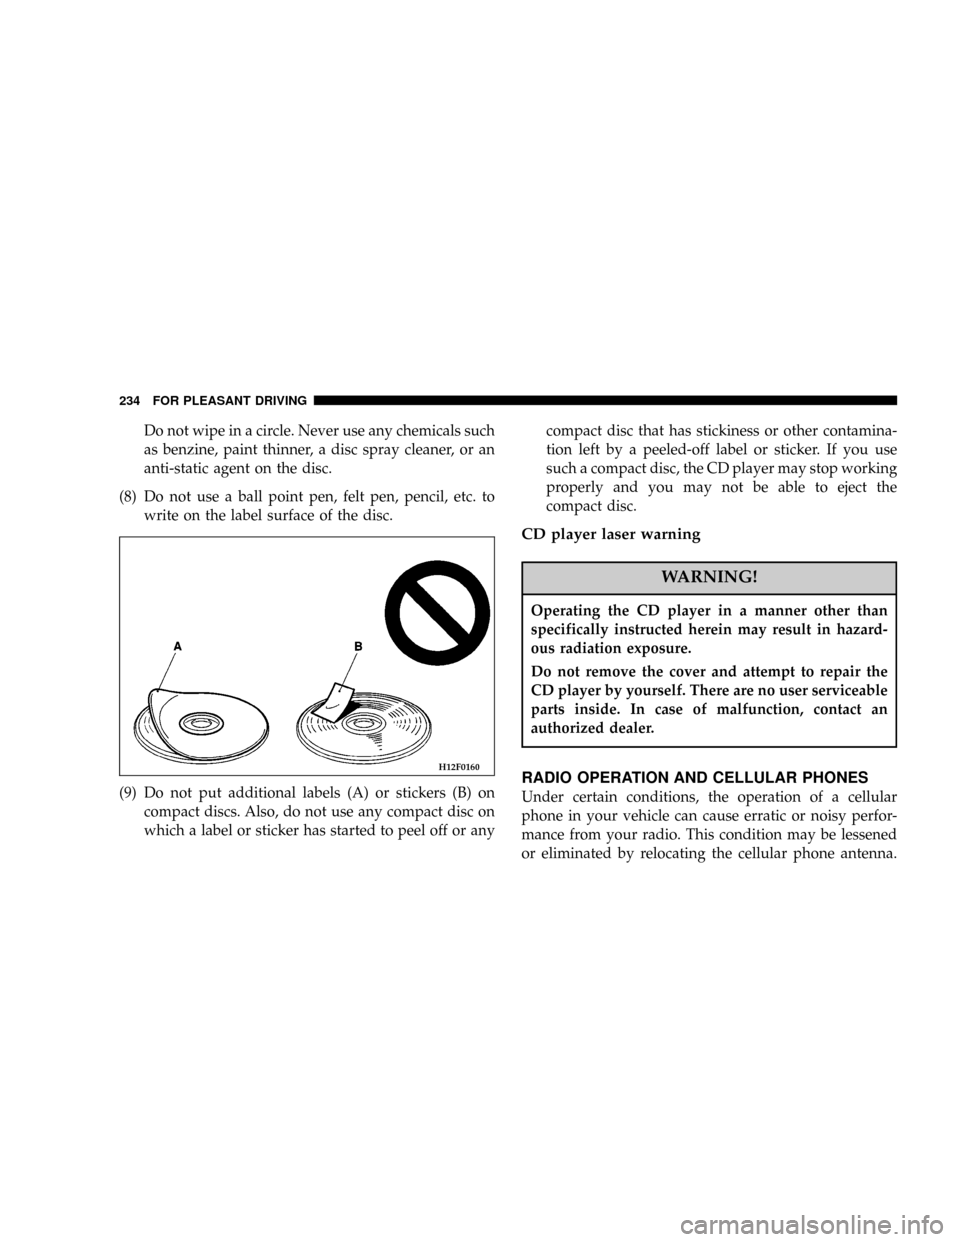
(9) Do not put additional labels (A) or stickers (B) on
compact discs. Also, do not use any compact disc on
which a label or sticker has started to peel off or anycompact disc that has stickiness or other contamina-
tion left by a peeled-off label or sticker. If you use
such a compact disc, the CD player may stop working
properly and you may not be able to eject the
compact disc.
CD player laser warning
WARNING!
Operating the CD player in a manner other than
specifically instructed herein may result in hazard-
ous radiation exposure.
Do not remove the cover and attempt to repair the
CD player by yourself. There are no user serviceable
parts inside. In case of malfunction, contact an
authorized dealer.
RADIO OPERATION AND CELLULAR PHONES
Under certain conditions, the operation of a cellular
phone in your vehicle can cause erratic or noisy perfor-
mance from your radio. This condition may be lessened
or eliminated by relocating the cellular phone antenna.
H12F0160
234 FOR PLEASANT DRIVING
Page 235 of 388

This condition is not harmful to the radio. If your radio
performance does not satisfactorily ªclearº by the repo-
sitioning of the antenna, it is recommended that the radio
volume be turned down or off during cellular phone
operation.
VENTS
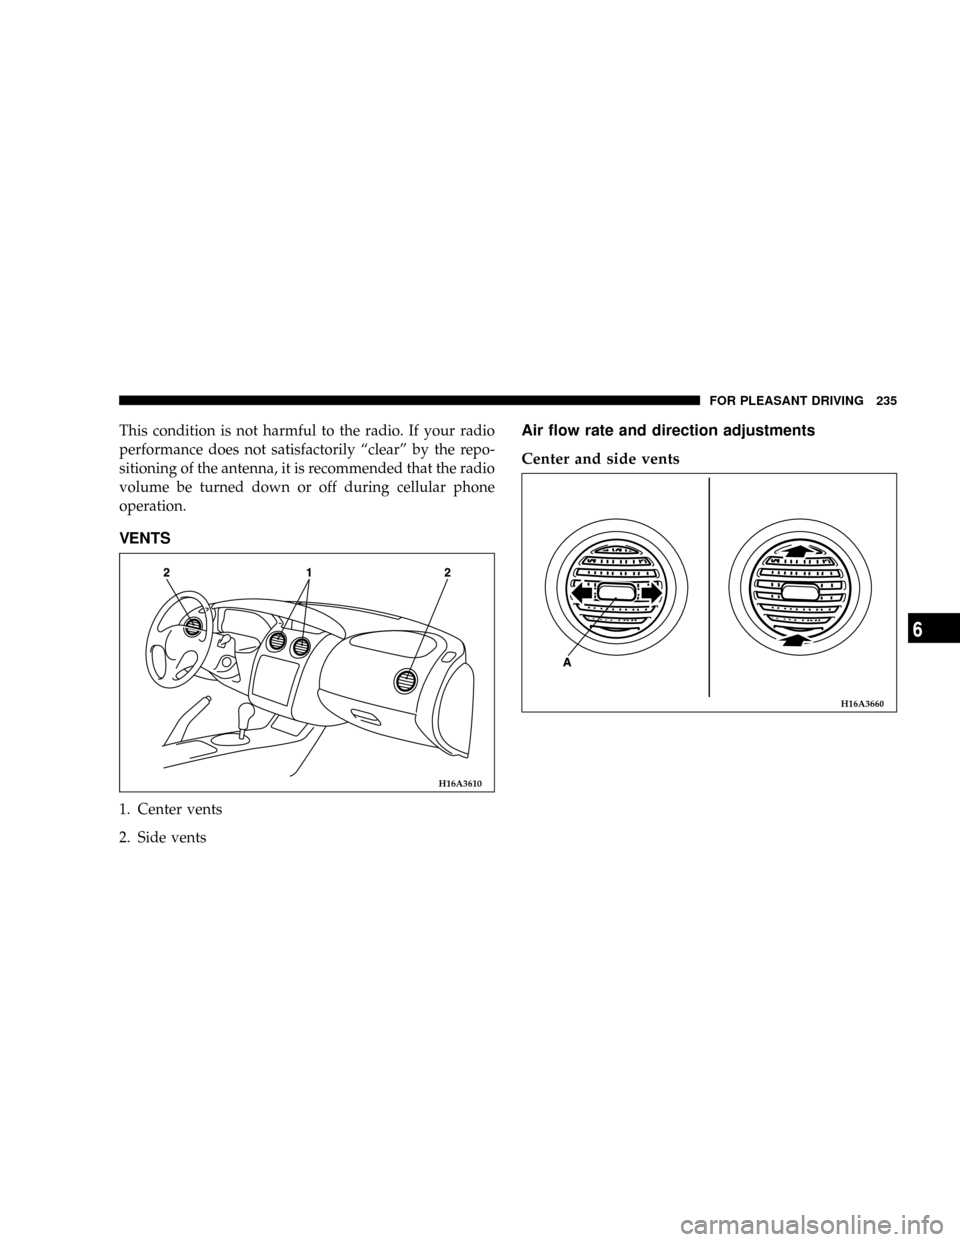
1. Center vents
2. Side vents
Air flow rate and direction adjustments
Center and side vents
H16A3610
H16A3660
FOR PLEASANT DRIVING 235
6
Page 248 of 388

CAUTION!
The air conditioning system in your vehicle must be
charged with the refrigerant HFC-134a and the lubri-
cant SUN-PAG 56.
Use of any other refrigerant or lubricant will cause
severe damage which will result in the need to
replace your vehicle's entire air conditioning system.
The release of refrigerant into the atmosphere is not
recommended.
The new refrigerant (HFC-134a) in your vehicle is
designed not to harm the earth's ozone layer. How-
ever, it may slightly contribute to global warming.
It is recommended that the refrigerant be recovered
and recycled for future use.
During a long period of disuse
The air conditioning should be operated for at least five
minutes each a week, even in cold weather. This is to
maintain lubrication of the compressor internal parts and
maintain the air conditioning in the best operating con-
dition.
INSTALLATION OF ACCESSORIES
CAUTION!
Before any electrical or electronic accessories are
installed, consult an authorized dealer.
1. Improper installation of an electrical or electronic
accessory may cause a fire or electrical problem.
It also could result in failure of warranty coverage under
the new vehicle limited warranty.
2. When using a communication system such as a cellu-
lar phone or a radio set inside the vehicle, be sure to
install a separate external antenna. When a cellular phone
or a radio set is used by using an internal antenna alone,
it might cause failure to the vehicle's electrical system
and could interfere with safe operation of the vehicle.
248 FOR PLEASANT DRIVING
Page 317 of 388

Spark plugs
Spark plugs must fire properly to assure proper engine
performance and emission-control.
Do not reuse spark plugs by cleaning or regapping. Spark
plugs should be replaced at the mileage specified on the
scheduled maintenance chart.
Your vehicle may be equipped with standard type spark
plugs or iridium tipped ones. Iridium tipped spark plugs
are identified by blue marks on the ceramic. They do notrequire replacement as frequently as the conventional
type spark plug and are designed to last much longer.
NOTE: Use the recommended or equivalent spark plugs
listed under ªEngine specificationsº on page 367.
Use of non-recommended plugs will cause engine dam-
age, loss of performance or radio noise.
Ignition cables
The ignition cables should be kept clean, properly con-
nected, and fully seated. Terminals should be fully seated
and should not be removed from the distributor or coil
towers unless they are damaged or cable testing indicates
high resistance or broken insulation. Cracked, damaged,
or faulty cables must be replaced.
Distributor cap and rotor
Check the distributor cap and rotor to maintain proper
function and good emission control.
P15A0340
MAINTENANCE 317
9
Page 386 of 388

Mopar Parts........................315,375
Odometer..........................106,110
Oil pressure gauge...................... 106
Oil pressure warning light.............107,114
Oil
Engine oil........................... 318
Onboard Diagnostic System............... 314
Opener, Garage Door.................... 132
Operation during cold weather............. 202
Operation under adverse driving conditions . . . 263
Overdrive indicator..................... 107
Oversize tires.......................... 336
Owner 's Manual....................... 377
Parking brake
Operating method.................... 169
Parking brake lever stroke.............. 332
Polishing............................. 258
Power brakes.......................... 172
Power door locks........................ 34
Power windows......................... 43
Proper shift points...................... 167Puncture (tire changing).................. 274
Radial ply tires........................ 336
Radiator cap..................... 311,322,323
Radio................................ 219
General information................... 216
Reading lamps......................... 131
Reading light.......................... 131
Rear seats............................. 66
Rear window defroster................... 125
Replacement of light bulbs................ 292
Reporting Safety Defects................. 375
Safe driving techniques.................. 200
Scheduled maintenance.................. 340
Seat belt extender....................... 75
Seat Belts
Adjustable seat belt anchor.............73,80
And Pregnant Women.................. 87
Child restraint........................ 76
Maintenance and inspection.............. 88
Seat belt extender...................... 75
Seat belt reminder/warning light......... 107
386 INDEX