Page 147 of 426

NOTE:If the gauge pointer moves to either extreme of
the gauge, the ªCheck Gagesº indicator will illuminate
and a single chime will sound.
14. Security
The light will flash rapidly for approximately 16 seconds
when the vehicle theft alarm is arming. The light will
flash at a slower rate after the alarm is set. The security
light will also come on for about two seconds when the
ignition is first turned ON.
15. Transmission Range Indicator (Automatic
Tranmissions Only)
When the gear selector lever is moved, this indicator
shows the automatic transmission gear range selected.
16. CRUISE Light
This indicator lights when the electronic speed control
system is turned on.17. Water In Fuel Indicator
Indicates there is water detected in the fuel
filter bowl. Refer to the Maintenance section,
Draining Fuel/Water Separator Filter, for water
drain procedure.
18. Brake System Warning Light
This light illuminates when the ignition key is turned to
the ON position and remains on for a few seconds. If the
light stays on longer, it may be an indication that the
parking brake has not been released. This light will
illuminate if the brake fluid is low, especially when
braking or accelerating hard. This light will illuminate if
the ABS indicator light has a malfunction. This light will
flash if the engine is running and the parking brake is on.
If the light remains on when the parking brake is
released, it indicates a possible brake hydraulic system
malfunction. In this case, the light will remain on until
the cause is corrected.
UNDERSTANDING YOUR INSTRUMENT PANEL 147
4
Page 150 of 426

27. Low Fuel Warning Light
Glows when the pointer is between ªEº and 1/8
indication mark (approximately 15% of tank vol-
ume) on the fuel gauge. When the fuel gauge
pointer is on ªEº (equivalent to Distance To Empty [DTE]
= 0 on the overhead console if so equipped) there is
reserve fuel capacity, which corresponds to approxi-
mately 8% of tank volume. This reserve capacity was put
in place to prevent the likelihood of customers running
out of fuel when operating at maximum load conditions
in areas where there aren't many gas stations.
Ram fuel tank volumes are as follows:
²34 gallons - 2500/3500 short box models
²35 gallons - 2500/3500 long box models28. Transmission Oil Temperature Warning Light
(Automatic Transmissions Only)
This light indicates that there is excessive trans-
mission fluid temperature that might occur
with severe usage such as trailer towing. If this
light comes on, stop the vehicle and run the
engine at idle or faster, with the transmission in NEU-
TRAL until the light goes off.
29. Check Gages
This light illuminates when the Voltmeter, Engine
Oil Pressure or Engine Coolant Temperature
gages indicate a reading either too high or too low.
Examine the gages carefully, and follow the instructions
above for each indicated problem.
150 UNDERSTANDING YOUR INSTRUMENT PANEL
Page 154 of 426

Every time a preset button is used a corresponding
button number will be displayed.
Balance
The balance control adjusts the left-to-right speaker bal-
ance. Press the BAL button in and it will pop out. Adjust
the balance and push the button back in.
Fade
The fade control provides for balance between the front
and rear speakers. Press the FADE button in and it will
pop out. Adjust the balance and push the button back in.
Bass and Treble Tone Control
The tone controls consist of 2 separate bands. The bass
band is on the left, and the treble band is on the right.
Each band is adjusted by a slider control with a detent at
the mid-position. Moving the control up or down in-
creases or decreases amplification of that band. The mid
position provides a balanced output.
AM/FM Selection
Press the AM/FM button to change from AM to FM. The
operating mode will be displayed next to the station
frequency. The display will show ST when a stereo
station is received in the FM mode.
Mode Button
Press the MODE button to select between the cassette
tape player, CD changer, or the Satellite Radio (if
equipped). When the Satellite Radio (if equipped) is
selected ªSAº will appear in your radio display.
A CD or tape may remain in the player while in the
Satellite or radio mode.
Cassette Player Features
With ignition OFF and the sound system OFF, you can
eject the tape cassette by pushing the EJECT button.
154 UNDERSTANDING YOUR INSTRUMENT PANEL
Page 170 of 426

AM/FM Selection
Press the AM/FM button to change from AM to FM. The
operating mode will be displayed next to the station
frequency. The display will show ST when a stereo
station is received.
To Set The Radio Push-Button Memory
When you are receiving a station that you wish to
commit to push-button memory, press the SET button.
SET 1 will show in the display window. Select the ª1±5º
button you wish to lock onto this station and press and
release that button. If a button is not selected within 5
seconds after pressing the SET button, the station will
continue to play but will not be locked into push-button
memory.
You may add a second station to each push-button by
repeating the above procedure with this exception: Press
the SET button twice and SET 2 will show in the display
window. Each button can be set for SET 1 and SET 2 inboth AM and FM. This allows a total of 10 AM and 10 FM
stations to be locked into push-button memory. The
stations stored in SET 2 memory can be selected by
pressing the push-button twice. Every time a preset
button is used a corresponding button number will be
displayed.Time
Press the TIME button to change the display between
radio frequency and time.
General Information
This radio complies with Part 15 of FCC rules and with
RSS-210 of Industry Canada. Operation is subject to the
following conditions:
1. This device may not cause harmful interference,
2. This device must accept any interference received,
including interference that may cause undesired opera-
tion.
170 UNDERSTANDING YOUR INSTRUMENT PANEL
Page 171 of 426

NOTE:Changes or modifications not expressively ap-
proved by the party responsible for compliance could
void the user's authority to operate the equipment.
CD Player Operation
NOTE:The ignition switch must be in the ON or ACC
position and the volume control ON before the CD player
will operate.
Inserting The Compact Disc
CAUTION!
This CD player will accept 43¤4inch (12 cm) discs
only. The use of other sized discs may damage the
CD player mechanism.
You may either insert or eject a disc with the radio OFF.If you insert a disc with the ignition ON and the radio
OFF, the display will show the time of day.
If the power is ON, the unit will switch from radio to CD
mode and begin to play when you insert the disc. The
display will show the track number and index time in
minutes and seconds. Play will begin at the start of track
one.
Seek
Press the top of the SEEK button for the next selection on
the CD. Press the bottom of the button to return to the
beginning of the current selection, or return to the
beginning of the previous selection if the CD is within the
first second of the current selection.
EJT Ð Eject
Press the EJT button and the disc will unload and move
to the entrance for easy removal. The unit will switch to
the radio mode.
UNDERSTANDING YOUR INSTRUMENT PANEL 171
4
Page 177 of 426

5 seconds after pressing the SET RND button, the station
will continue to play but will not be locked into push-
button memory.
You may add a second station to each push-button by
repeating the above procedure with this exception: Press
the SET button twice and SET 2 will show in the display
window. Each button can be set for SET 1 and SET 2 in
both AM and FM. This allows a total of 12 AM and 12 FM
stations to be locked into push-button memory. The
stations stored in SET 2 memory can be selected by
pressing the corresponding push-button twice. Every
time a preset button is used, a corresponding button
number will be displayed.
Time Button
Press the TIME button to change the display between
radio frequency and time.
General Information
This radio complies with Part 15 of FCC rules and with
RSS-210 of Industry Canada. Operation is subject to the
following conditions:
1. This device may not cause harmful interference,
2. This device must accept any interference received,
including interference that may cause undesired opera-
tion.
NOTE:Changes or modifications not expressively ap-
proved by the party responsible for compliance could
void the user's authority to operate the equipment.
CD Player Operation
NOTE:The ignition switch must be in the ON or ACC
position and the Power / Volume control pushed ON
before the CD player will operate.
UNDERSTANDING YOUR INSTRUMENT PANEL 177
4
Page 178 of 426

Inserting The Compact Disc
CAUTION!
This CD player will accept 43¤4inch (12 cm) discs
only. The use of other sized discs may damage the
CD player mechanism.
You may either insert or eject a disc with the radio OFF.
If you insert a disc with the ignition ON and the radio
OFF, the display will show the time of day. If you insert
a disc with the ignition OFF, the display will show the
time of day for about 5 seconds, then go out.
If you insert a disc with the ignition ON and the radio
ON, the unit will switch from radio to CD mode and
begin to play when you insert the disc. The display willshow the disc number, the track number, and index time
in minutes and seconds. Play will begin at the start of
track 1.
LOAD/ EJT Ð Load
Press the LOAD/ EJT button and the button with the
corresponding number where the CD is being loaded.
After the radio displays ªloadº insert the CD into the
player.
Radio display will show ªloadingº when it is being
loaded.
LOAD / EJT Ð Eject
Press the LOAD/ EJT button and the button with the
corresponding number where the CD was loaded and the
disc will unload and move to the entrance for easy
removal.
Radio display will show ªejectingº when it is being
ejected.
178 UNDERSTANDING YOUR INSTRUMENT PANEL
Page 181 of 426

By pressing the SEEK button when the PTY icon is
displayed, the radio will be tuned to the next frequency
station with the same selected PTY name. The PTY
function only operates when in the FM mode.
The radio display will flash ªSEEKº and the selected PTY
program type when searching for the next PTY station. If
no station is found with the selected PTY program type,
the radio will return to the last station.
If a preset button is activated while in the PTY (Program
Type) mode, the PTY mode will be exited and the radio
will tune to the preset station.
By pressing the SCAN button when the PTY icon is
displayed, the radio will stop at every PTY station on the
band and list each corresponding program type in the
radio display.
Time
Press the TIME button to change the display from
elapsed CD playing time to time of day.
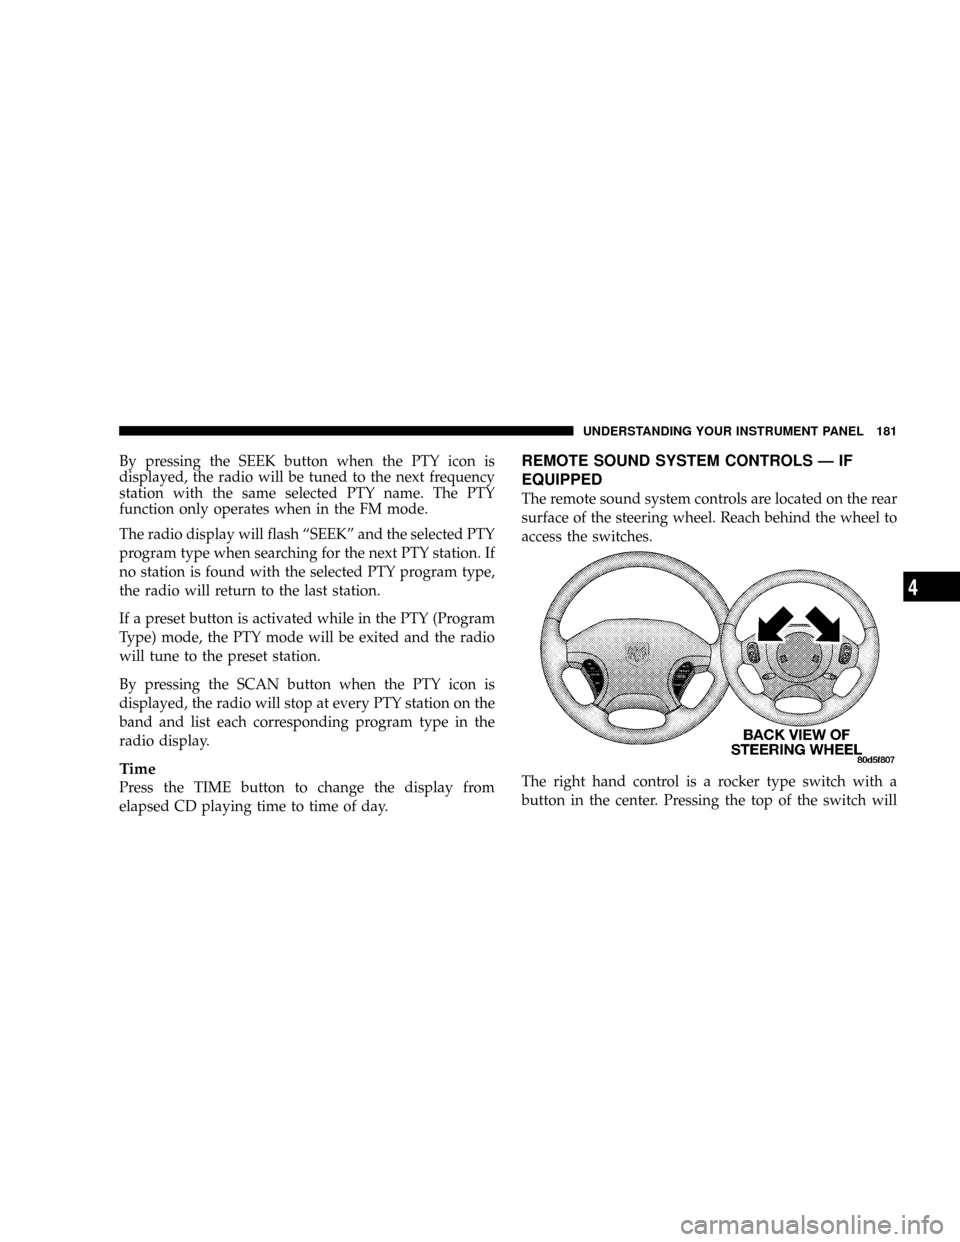
REMOTE SOUND SYSTEM CONTROLS Ð IF
EQUIPPED
The remote sound system controls are located on the rear
surface of the steering wheel. Reach behind the wheel to
access the switches.
The right hand control is a rocker type switch with a
button in the center. Pressing the top of the switch will
UNDERSTANDING YOUR INSTRUMENT PANEL 181
4