2004 DODGE NEON SRT window
[x] Cancel search: windowPage 71 of 200

You may add a second station to each push-button by
repeating the above procedure with this exception: Press
the SET button twice and SET 2 will show in the display
window. Each button can be set for SET 1 and SET 2 in
both AM and FM. This allows a total of 10 AM and 10 FM
stations to be locked into push-button memory. The
stations stored in SET 2 memory can be selected by
pressing the push-button twice. Every time a preset
button is used a corresponding button number will be
displayed.
Time
Press the TIME button to change the display between
radio frequency and time.
General Information
This radio complies with Part 15 of FCC rules and with
RSS-210 of Industry Canada. Operation is subject to the
following conditions:
1. This device may not cause harmful interference,
2. This device must accept any interference received,
including interference that may cause undesired opera-
tion.
NOTE:Changes or modifications not expressively ap-
proved by the party responsible for compliance could
void the user's authority to operate the equipment.
CD Player Operation
NOTE:
The ignition switch must be in the ON or ACC
position and the volume control ON before the CD player
will operate.
Inserting The Compact Disc
CAUTION!
This CD player will accept only 4.75 inch (12 cm)
discs only. The use of other sized discs may damage
the CD player mechanism.
You may either insert or eject a disc with the radio OFF.
If you insert a disc with the ignition ON and the radio
OFF, the display will show the time of day.
If the power is ON, the unit will switch from radio to CD
mode and begin to play when you insert the disc. The
UNDERSTANDING YOUR INSTRUMENT PANEL 71
4
Page 79 of 200

Bi-Level
Air is directed through the panel and floor out-
lets.
NOTE:
There is a difference in temperature between the
upper and lower outlets for added comfort. The warmer
air goes to the floor outlets. This feature gives improved
comfort during sunny but cool conditions.
NOTE:If you choose either the Mix or Defrost modes
while the Circulation control is in the Recirculation
Mode, the system will automatically switch to the Out-
side Air mode and the knob will move to that position.
Floor
Air is directed through the floor outlets and side
window demist outlets with a small amount
through the defrost outlet.
Mix
Air is directed through the floor, defrost and side
window demist outlets. This setting works best
in cold or snowy conditions that require extra
heat at the windshield. This setting is good for main-
taining comfort while reducing moisture on the wind-
shield.Defrost
Air is directed through the windshield and side
window demist outlets. Use this mode with
maximum fan and temperature settings for best wind-
shield and side window defrosting.
NOTE:
The air conditioning compressor operates in
both Mix and Defrost or a blend of these modes even if
the fan switch is not in the A/C position. This dehumidi-
fies the air to help dry the windshield. To improve fuel
economy, use these modes only when necessary.
Temperature Control
Use this control to regulate
the temperature of the air in-
side the passenger compart-
ment. The blue area of the
scale indicates cooler tem-
peratures while the red area
indicates warmer tempera-
tures.
UNDERSTANDING YOUR INSTRUMENT PANEL 79
4
Page 80 of 200

NOTE:If your air conditioning performance seems
lower than expected, check the front of the A/C con-
denser located in front of the radiator, for an accumula-
tion of dirt or insects. Clean with a gentle water spray
from behind the radiator and through the condenser.
Fabric front fascia protectors may reduce air flow to the
condenser, reducing air conditioning performance.
Circulation Control
Use this control to choose be-
tween outside air intake or
recirculation of the air inside
the vehicle. Only use the re-
circulate mode to temporarily
block out any outside odors,
smoke, or dust and to cool the
interior rapidly upon initial
start up in very hot or humid
weather.
This control only operates in the Outside Air and Recir-
culate modes; there is no in between position. Do not
place the control between these positions.
NOTE:Continuous use of the recirculate mode may
make the inside air stuffy and window fogging may
occur. Extended use of this mode is not recommended.
In cold weather, the use of the Recirculate position will
cause windows to fog on the inside because of moisture
build up inside the vehicle. For maximum defogging,
select the Outside Air position.
If the mode control is in the range between Mix and
Defrost and you choose the Recirculate mode, the mode
control knob will automatically move to the Mix position.
NOTE:If you choose either the Mix or Defrost modes
and the Circulation control is in the Recirculate Mode, the
system will automatically switch to the Outside Air
position.
80 UNDERSTANDING YOUR INSTRUMENT PANEL
Page 82 of 200

Window Fogging
Vehicle side windows tend to fog on the inside in mild
rainy or humid weather. To clear the windows, use the
A/C, PANEL and blower controls. Direct the panel
outlets toward the side windows. Do not use recirculate
without A/C for long periods as fogging may occur.
Interior fogging on the windshield can be quickly re-
moved by using the defrost position.
If the fogging problem persists, clean the inside window
surfaces. The cause of undue fogging may be dirt collect-
ing on the inside surface of the glass
NOTE:In cold weather, the use of the recirculate
position will cause windows to fog on the inside because
of moisture build up inside the vehicle. For maximum
defogging, use the Outside Air position.
Summer Operation
Air conditioned vehicles must be protected with a high-
quality antifreeze coolant to provide proper corrosion
protection and to raise the boiling point of the coolant for
protection against overheating. A 50% concentration is
recommended.
Outside Air Intake
When operating the system during the winter months,
make sure the air intake, directly in front of the wind-
shield, is free of ice, slush, snow or other obstructions
such as leaves. Leaves collected in the air-intake plenum
may reduce air flow and plug the plenum water drains.
The blower air will heat faster in cold weather if you use
only a low blower speed for the first few minutes of
vehicle operation.
Side Window Demisters
A side window demister outlet is at each end of the
instrument panel. These nonadjustable outlets direct air
toward the side windows when the system is in either the
FLOOR, MIX, or DEFROST mode. The air is directed at
the area of the windows through which you view the
outside mirrors.
82 UNDERSTANDING YOUR INSTRUMENT PANEL
Page 83 of 200

ELECTRIC REAR WINDOW DEFROSTER
A push-button at the center of the instrument
panel, below the radio, turns the defroster ON or
OFF. An amber light shows that the defroster is on.
NOTE:The defroster turns off automatically after 10
minutes of operation. Each following activation of the
defroster will last for five minutes.
CAUTION!
To avoid damaging the electrical conductors, do not
use scrapers, sharp instruments, or abrasive window
cleaners on the interior surface of the rear window.
Labels can be peeled off after soaking with warm
water.
TURBO BOOST GAUGE
Your vehicle is equipped with a boost gauge that indi-
cates the intake manifold pressure relative to barometric
pressure. The engine management system in your vehicle
intelligently regulates intake manifold pressure based on
environmental (ambient) and engine operating condi-
tions. With the accelerator pedal fully depressed, it is
normal for the maximum intake manifold pressure
(boost) to vary from 11 to 15 psi.
If low octane fuel (below the recommended 91 octane
(R+M)/2)) is used, boost will be reduced significantly.
Normal boost levels will return once the recommended
fuel is used and the engine controller adapts to the fuel
octane level.
UNDERSTANDING YOUR INSTRUMENT PANEL 83
4
Page 93 of 200

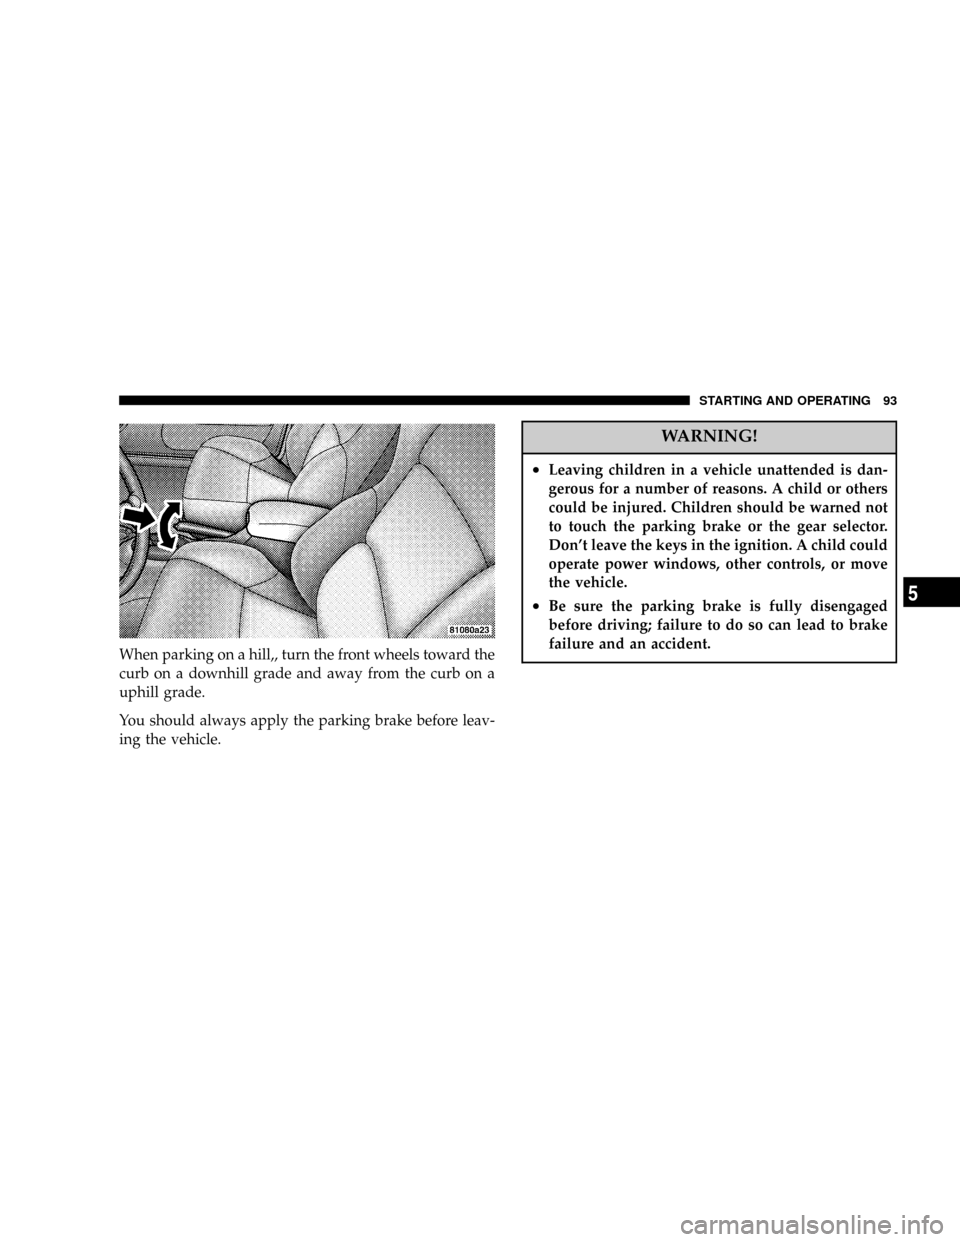
When parking on a hill,, turn the front wheels toward the
curb on a downhill grade and away from the curb on a
uphill grade.
You should always apply the parking brake before leav-
ing the vehicle.
WARNING!
²Leaving children in a vehicle unattended is dan-
gerous for a number of reasons. A child or others
could be injured. Children should be warned not
to touch the parking brake or the gear selector.
Don't leave the keys in the ignition. A child could
operate power windows, other controls, or move
the vehicle.
²Be sure the parking brake is fully disengaged
before driving; failure to do so can lead to brake
failure and an accident.
STARTING AND OPERATING 93
5
Page 159 of 200

WARNING!
Do not use volatile solvents for cleaning purposes.
Many are potentially flammable, and if used in
closed areas they may cause respiratory harm.
Cleaning Headlights
Your vehicle has plastic headlights that are lighter and
less susceptible to stone breakage than glass headlights.
Plastic is not as scratch resistant as glass and therefore
different lens cleaning procedures must be followed.
To minimize the possibility of scratching the lenses and
reducing light output, avoid wiping with a dry cloth. To
remove road dirt, wash with a mild soap solution fol-
lowed by rinsing.
Do not use abrasive cleaning components, solvents, steel
wool or other aggressive material to clean the lenses.
Glass Surfaces
All glass surfaces should be cleaned on a regular basis
with any commercial household-type glass cleaner.
Never use an abrasive type cleaner. Use caution whencleaning inside rear windows equipped with electric
defrosters. Do not use scrapers or other sharp instru-
ments which may scratch the elements.
Instrument Panel Cover
The instrument panel cover has a low glare surface which
minimizes reflections in the windshield. Do not use
protectants or other products which may cause undesir-
able reflections. Use soap and warm water to restore the
low glare surface.
Cleaning Plastic Instrument Cluster Lenses
The lenses in front of the instruments in the vehicle are
molded in clear plastic. When cleaning the lenses, care
must be taken to avoid scratching the plastic.
1. Clean with a wet soft rag. A mild soap solution may be
used, but do not use high alcohol content of abrasive
cleaners. If soap is used, wipe clean with a clean damp
rag.
2. Dry with a soft tissue.
MAINTAINING YOUR VEHICLE 159
7
Page 193 of 200

Catalytic Converter..................... 141
CD Changer.........................72,73
CD Player...........................69,71
Center High Mounted Stop Light........... 164
Chains, Tire........................... 111
Changing A Flat Tire.................... 122
Charging System Light................... 65
Child Restraint......................... 35
Child Safety Locks....................... 14
Circuit Breakers.....................160,161
Cleaning
Glass.............................. 159
Headlights.......................... 159
Climate Control......................... 78
Clock................................. 68
Compact Disc Maintenance................ 77
Compact Spare Tire..................... 107
Console............................... 58
Contract, Service....................... 186
Cool Down, Turbo....................... 89
Coolant...........................149,166
Cooling System........................ 148
Adding Coolant (Antifreeze)............. 150Coolant Level.....................148,150
Disposal of Used Coolant............... 149
Drain, Flush, and Refill................. 148
Inspection........................... 150
Points to Remember................150,151
Pressure Cap........................ 150
Rubber and Plastic Components.......... 152
Selection of Coolant................... 149
Corrosion Protection.................... 155
Crankcase Emission Control System......... 142
Cup Holder............................ 58
Customer Assistance.................... 184
Daytime Running Lights.................. 54
Dealer Service......................... 136
Defroster, Rear Window................... 83
Defroster, Windshield..................44,79
Dimmer Control........................ 53
Dimmer Switch, Headlight................. 55
Disposal
Engine Oil.......................... 140
Door Locks............................ 12
Door Locks, Automatic................... 13
INDEX 193
10