2004 DODGE DAKOTA coolant level
[x] Cancel search: coolant levelPage 101 of 300

12. Seat Belt Reminder Light
This light comes on for several seconds after the
ignition is turned ON as a reminder to ªbuckle
up.º This light will remain on as long as the seat
belt remains unbuckled. If this light flashes, it indi-
cates a fault in the airbag system. Have the system
checked by an authorized dealer.
13. Low Washer Fluid Indicator
This light comes on when the washer fluid level falls
below approximately 1/4 full. The light will remain on
until fluid is added and ignition switch is cycled.
14. Brake System Warning Light
This light will light when the ignition key is turned to the
ON position and will remain on for a few seconds. If the
light stays on, it may be an indication that the parking
brake has not been released, or there is a low brake fluid
level. If the light remains on when the parking brake has
been disengaged, and the fluid level is at the full mark on
the master cylinder reservoir, it indicates a possible brake
hydraulic system malfunction. In this case, the light will
remain on until the cause is corrected. If the parking
brake is applied, the light will flash when the gearposition is out of park for automatic transmissions, or the
engine RPM is greater than 0 for manual transmissions.
If brake failure is indicated, immediate repair is neces-
sary.Operating the vehicle in this condition is danger-
ous!
15. SERVICE 4WD Indicator
This light monitors the electric shift 4WD
system. This light will come on when the
ignition key is turned to the ON position and
will stay on for 2 seconds. If the light stays
on or comes on during driving, it means that the 4WD
system is not functioning properly and that service is
required.
16. Check Gages
This light illuminates when the Voltmeter, En-
gine Oil Pressure or Engine Coolant Tempera-
ture gages indicate a reading either too high or too
low. Examine the gages carefully, and follow the
instructions above for each indicated problem.
NOTE:
When the ignition switch is turned to OFF, the
Fuel Gage, Voltmeter, Oil Pressure and Engine Coolant
INSTRUMENT PANEL AND CONTROLS 101
4
Page 239 of 300

CAUTION!
Mixing of coolants other than specified (non-
HOAT), may result in engine damage that may not
be covered under the new vehicle warranty, and
decreased corrosion protection. If a non-HOAT cool-
ant is introduced into the cooling system in an
emergency, it should be replaced with the specified
coolant as soon as possible.
Do not use plain water alone or alcohol base anti-
freeze products. Do not use additional rust inhibi-
tors or antirust products, as they may not be compat-
ible with the radiator coolant and may plug the
radiator.
This vehicle has not been designed for use with
Propylene Glycol based coolants. Use of Propylene
Glycol based coolants is not recommended.
Adding Coolant
When adding coolant or refilling system, a 50% solution
of ethylene glycol antifreeze coolant in water should beused. Higher concentrations (not to exceed 65%) are
required if temperatures below ±37ÉF (± 38ÉC) are antici-
pated.
Use only high purity water such as distilled or deionized
water when mixing the water/antifreeze solution. The
use of lower quality water will reduce the amount of
corrosion protection in the engine cooling system.
Please note that it is the owner's responsibility to main-
tain the proper level of protection against freezing ac-
cording to the temperatures occurring in the area where
the vehicle is operated.
WARNING!
Never add coolant to the radiator when the engine is
overheated. Do not loosen or remove pressure cap to
cool overheated engine. The coolant is under pres-
sure and severe scalding could result.
MAINTAINING YOUR VEHICLE 239
7
Page 240 of 300

Coolant Pressure Cap
The coolant pressure cap must be fully tightened to
prevent loss of coolant, and to insure that coolant will
return to the radiator from the coolant reserve tank.
The pressure cap should be inspected and cleaned if there
is any accumulation of foreign material on the sealing
surfaces.
WARNING!
The warning words ªDO NOT OPEN HOTº on the
coolant pressure cap are a safety precaution. Heat
causes pressure to build up in the cooling system. To
prevent scalding or injury, do not remove the pres-
sure cap when the system is hot or under pressure.
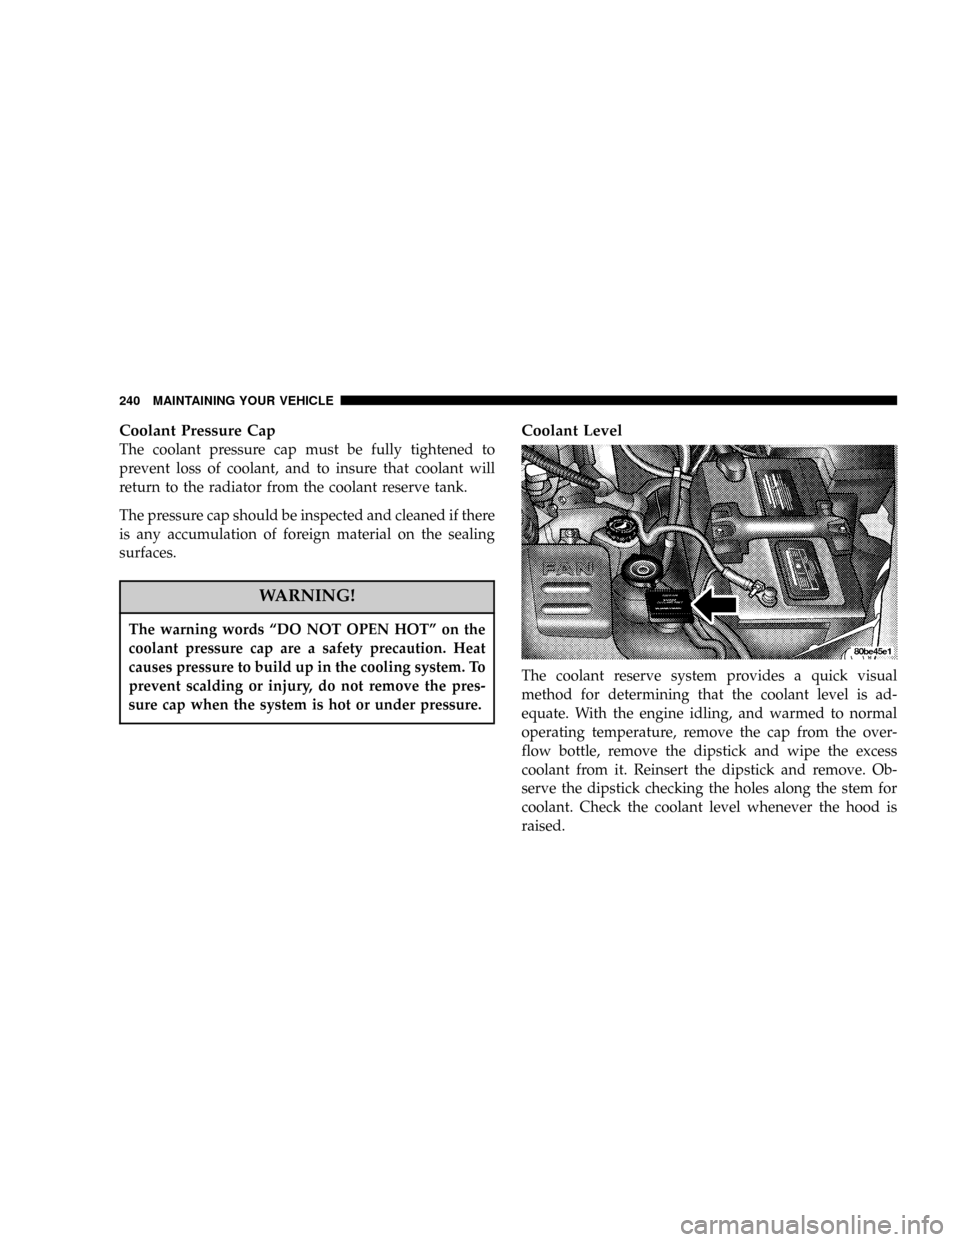
Coolant Level
The coolant reserve system provides a quick visual
method for determining that the coolant level is ad-
equate. With the engine idling, and warmed to normal
operating temperature, remove the cap from the over-
flow bottle, remove the dipstick and wipe the excess
coolant from it. Reinsert the dipstick and remove. Ob-
serve the dipstick checking the holes along the stem for
coolant. Check the coolant level whenever the hood is
raised.
240 MAINTAINING YOUR VEHICLE
Page 241 of 300

The radiator normally remains completely full, so there is
no need to remove the pressure cap except when check-
ing coolant freeze point or when replacing coolant. Your
service attendant should be advised of this. When addi-
tional coolant is needed to maintain the proper level, it
should be added to the overflow bottle. Do not overfill.
Points To Remember
A. Do not overfill the reserve tank (overflow bottle).
B. Check coolant freeze point in the radiator and in the
reserve tank. If antifreeze needs to be added, contents of
reserve tank also must be protected against freezing.
C. If frequent coolant additions are required, or if the
level in the reserve tank does not drop when the engine
cools, the cooling system should be pressure tested for
leaks.D. Maintain a minimum coolant concentration of 50%
ethylene glycol.
E. Make sure that the radiator and reserve tank overflow
hoses are not kinked or obstructed.
F. Keep the front of the radiator clean. If your vehicle is
equipped with air conditioning, keep the front of the
condenser clean also.
G. The thermostat should not be changed for summer or
winter operation. If replacement is ever necessary, install
ONLY the correct type thermostat. Other designs may
result in unsatisfactory cooling performance.
Emission Related Components
Fuel System Hoses And Vapor/Vacuum Harnesses
When the vehicle is serviced for scheduled maintenance,
inspect surface of hoses and nylon tubing for evidence of
heat and mechanical damage. Hard and brittle rubber,
cracking, checking, tears, cuts, abrasions, and excessive
swelling suggest deterioration of the rubber. Particular
attention should be given to examining hose surfaces
nearest to high heat sources, such as the exhaust mani-
fold.
MAINTAINING YOUR VEHICLE 241
7
Page 264 of 300

CAUTION!
Failure to perform the required maintenance items
may result in damage to the vehicle.
At Each Stop for Fuel
²
Check the engine oil level about 5 minutes after a fully
warmed engine is shut off. Checking the oil level while
the vehicle is on level ground will improve the accu-
racy of the oil level reading. Add oil only when the
level is at or below the ADD or MIN mark.
²Check the windshield washer solvent and add if
required.
Once a Month
²
Check tire pressure and look for unusual wear or
damage.
²Inspect the battery and clean and tighten the terminals
as required.
²Check the fluid levels of coolant reservoir, brake
master cylinder, and transmission and add as needed.
²Check all lights and all other electrical items for correct
operation.
At Each Oil Change
²
Change the engine oil filter.
²Inspect the exhaust system.
²Inspect the brake hoses.
²Inspect the CV joints (if equipped) and front suspen-
sion components.
²Check the automatic transmission fluid level (if
equipped).
²Check the manual transmission fluid level (if
equipped).
²Check the coolant level, hoses, and clamps.
Tire Rotation
²
Rotate the tires every 6,000 miles (10 000 km).
264 MAINTENANCE SCHEDULES
8
M
A
I
N
T
E
N
A
N
C
E
S
C
H
E
D
U
L
E
S
Page 275 of 300
![DODGE DAKOTA 2004 3.G Owners Manual Miles 36,000 42,000 48,000 54,000 60,000 66,000
(Kilometers) (58 000) (67 000) (77 000) (84 000) (96 000) (106 000)
[Months] [36] [42] [48] [54] [60] [66]
Change engine oil and engine oil filter. X XX DODGE DAKOTA 2004 3.G Owners Manual Miles 36,000 42,000 48,000 54,000 60,000 66,000
(Kilometers) (58 000) (67 000) (77 000) (84 000) (96 000) (106 000)
[Months] [36] [42] [48] [54] [60] [66]
Change engine oil and engine oil filter. X XX](/manual-img/12/5586/w960_5586-274.png)
Miles 36,000 42,000 48,000 54,000 60,000 66,000
(Kilometers) (58 000) (67 000) (77 000) (84 000) (96 000) (106 000)
[Months] [36] [42] [48] [54] [60] [66]
Change engine oil and engine oil filter. X XXXXX
Flush and replace engine coolant at 60
months, regardless of mileage.X
Check transfer case fluid level (4X4). X
Inspect brake linings. X X
Replace engine air cleaner filter.X
Replace spark plugs.X
Inspect PCV valve, replace as necessary.*X
Inspect auto tension drive belt and replace if
required.X
SCHEDULE ªAº 275
8
M
A
I
N
T
E
N
A
N
C
E
S
C
H
E
D
U
L
E
S
Page 288 of 300

Adding Engine Coolant (Antifreeze)......... 239
Adding Fuel........................186,208
Air Conditioner Maintenance.............. 233
Air Conditioning....................... 134
Air Conditioning, Operating Tips........135,137
Air Conditioning Refrigerant.............. 234
Air Conditioning System................. 134
Air Pressure, Tires...................176,182
Airbag...........................31,34,102
Airbag Light........................... 38
Airbag On/Off Switch.................... 34
Alarm.............................21,102
Alarm, Panic........................... 19
Alignment and Balance.................. 181
Alterations/Modifications, Vehicle............ 5
Antifreeze (Engine Coolant)............238,258
Anti-Lock Brake System...............164,165
Anti-Lock Warning Light................. 102
Anti-Theft System....................21,102
Appearance Care....................... 249
Automatic Dimming Mirror................ 59
Automatic Transmission............144,146,245
Adding Fluid........................ 246Fluid and Filter Changes................ 247
Fluid Level Check..................... 245
Fluid Type.......................247,260
Gear Ranges......................... 147
Overdrive........................... 148
Shifting............................ 146
Special Additives..................... 247
Torque Converter..................... 149
Axle Fluid............................ 260
Axle Lubrication....................... 248
Backfire, Engine........................ 190
Ball Joints............................ 235
Battery............................... 232
Charging........................... 215
Emergency Starting.................... 215
Gas Caution......................... 215
Keyless Transmitter Replacement.......... 21
Saving Feature........................ 68
Belts, Drive........................... 230
Belts, Seat............................. 25
Body Mechanism Lubrication.............. 235
B-Pillar Location....................... 172
288 INDEX
Page 290 of 300

Compact Disc Maintenance............... 132
Compact Disc Player.................106,110
Compact Spare Tire..................... 178
Compass.............................. 79
Compass Calibration...................79,80
Computer, Trip/Travel.................... 77
Console, Floor.......................... 88
Console, Overhead....................... 76
Contract, Service....................... 282
Converter, Catalytic..................... 189
Coolant Pressure Cap.................... 240
Cooling System.....................237,240
Adding Coolant (Antifreeze)............. 239
Coolant Capacity..................... 258
Coolant Level........................ 240
Disposal of Used Coolant............... 238
Drain, Flush, and Refill................. 238
Inspection........................... 237
Points to Remember................... 241
Radiator Cap........................ 240
Selection of Coolant.............238,258,259
Temperature Gauge.................... 99
Cruise Control.......................... 74Cruise Light........................... 104
Cup Holder............................ 89
Customer Assistance.................... 280
Daytime Running Lights.................. 69
Dealer Service......................... 225
Defroster, Rear Window.................. 140
Defroster, Windshield...............54,133,136
Delay Wipers........................... 71
Diagnostic System, Onboard............... 223
Differential, Limited-Slip................. 162
Dimmer Switch, Headlight................ 100
Dipsticks
Automatic Transmission................ 245
Oil (Engine)......................... 226
Power Steering....................... 234
Disabled Vehicle Towing................. 217
Disc Brakes........................... 243
Disposal
Used Coolant........................ 238
Door Ajar............................ 103
Door Locks..........................13,14
Door Opener, Garage..................... 81
290 INDEX